It’s crazy to think it has been 7 months since we started doing a little facelift to our guest bath. In what I’m sure has to be one of the longest bathroom makeovers in blogging history I’m thrilled to report that we’ve restarted working on it.
Why now after 7 months?
When a certain leading company of bathroom/kitchen fixtures offers to send you a new faucet, you take it, and then realize later that your bathroom is in total disrepair and no matter how fabulous the faucet is, it will surely look like poo if you don’t do something about everything else, and fast.
So that’s where we are. I’ve got to say, I’m pretty thankful for the gentle push body slam back into bathroom renovations because without it, I’m certain it would have been another 7 months before it got any action.
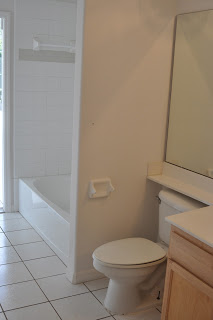
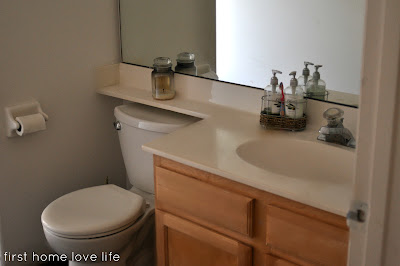
To take you back…here’s what it looked like on inspection day…
Nothing wrong with it really. It was clean and functional, and that’s all you really need. Before we moved in we replaced the toilets and flooring throughout the house. The white tile was in okay condition, but because I slipped and fell on tile similar to this a few years ago that resulted in a badly broken ankle I wanted it gone and replaced with something a little less slippery ice skating rink-ish.
So we moved in, and lived with it as is for about a year. No paint. No baseboards. As is. Then…last August we decided to finally paint the walls, and put up some beadboard wallpaper.
We were moving along, but with my daughters birthday and holidays quickly approaching, the bathroom was put indefinitely on the back burner. Until now.
So what’s that mean? Over the next couple of weeks (and I promise that it will get finished within that time frame) I will be mainly focusing on bathroom projects and progress.
Want proof?
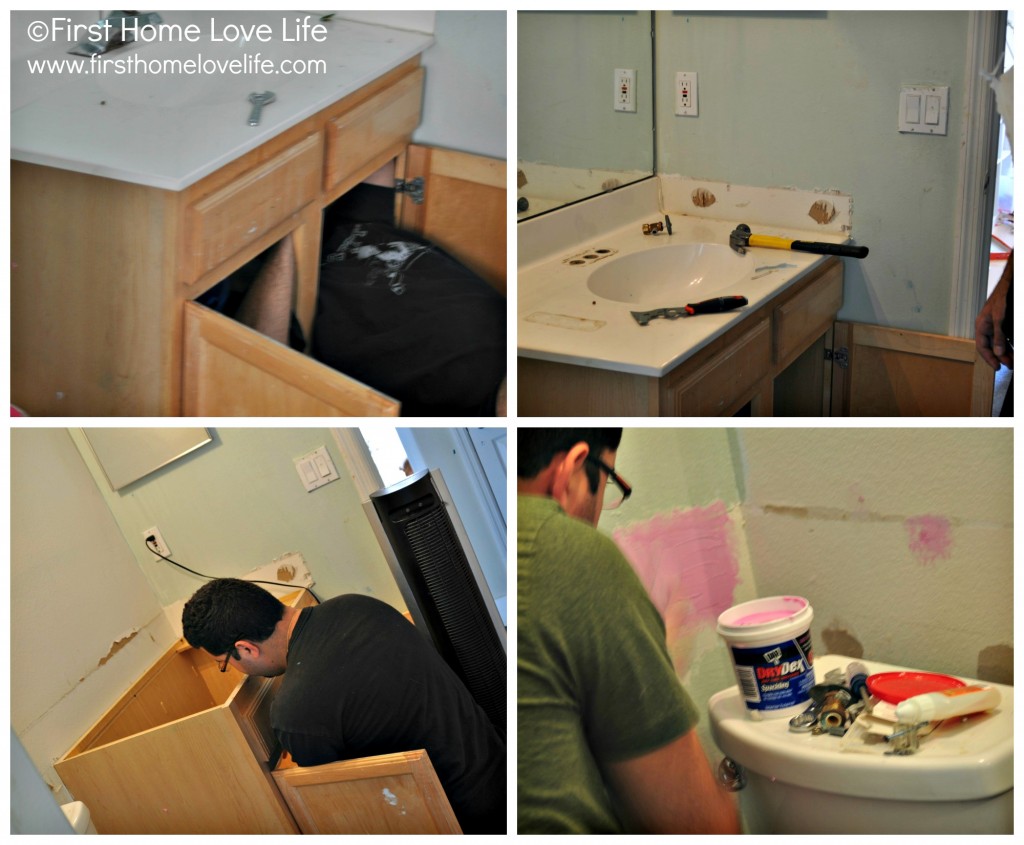
Here’s a sneak peak at the exciting stuff happening around here!
A whole-lotta gutting, scrubbing, and patching hence the title.
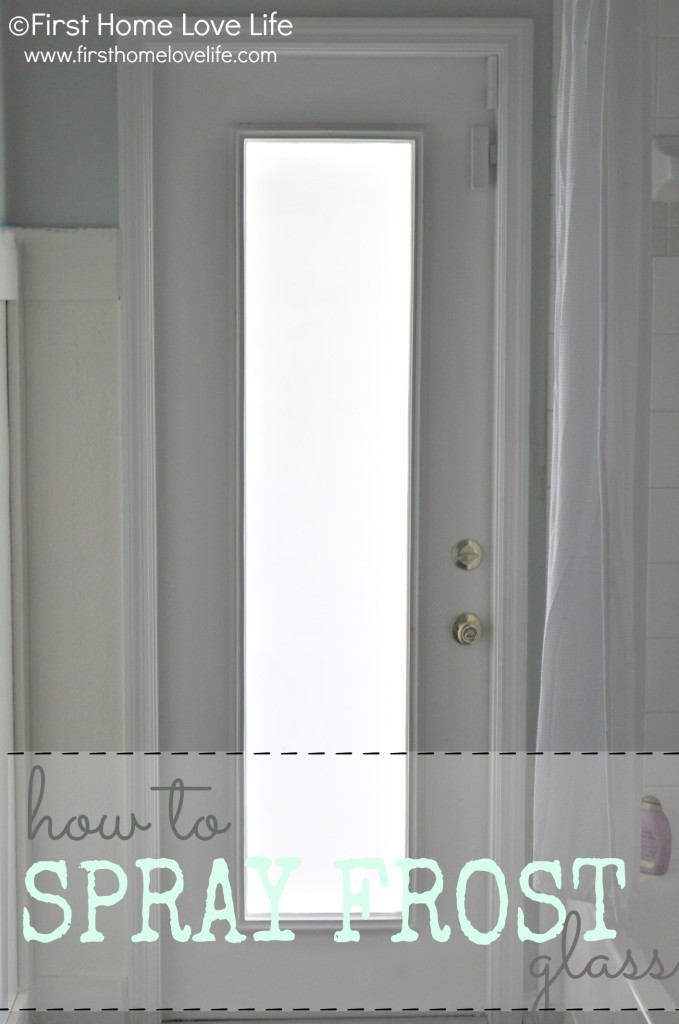
But today’s post is focusing on the frosting. Frosting glass that is.
One of the things that has bothered me about this bathroom is the lack luster of natural light it receives.
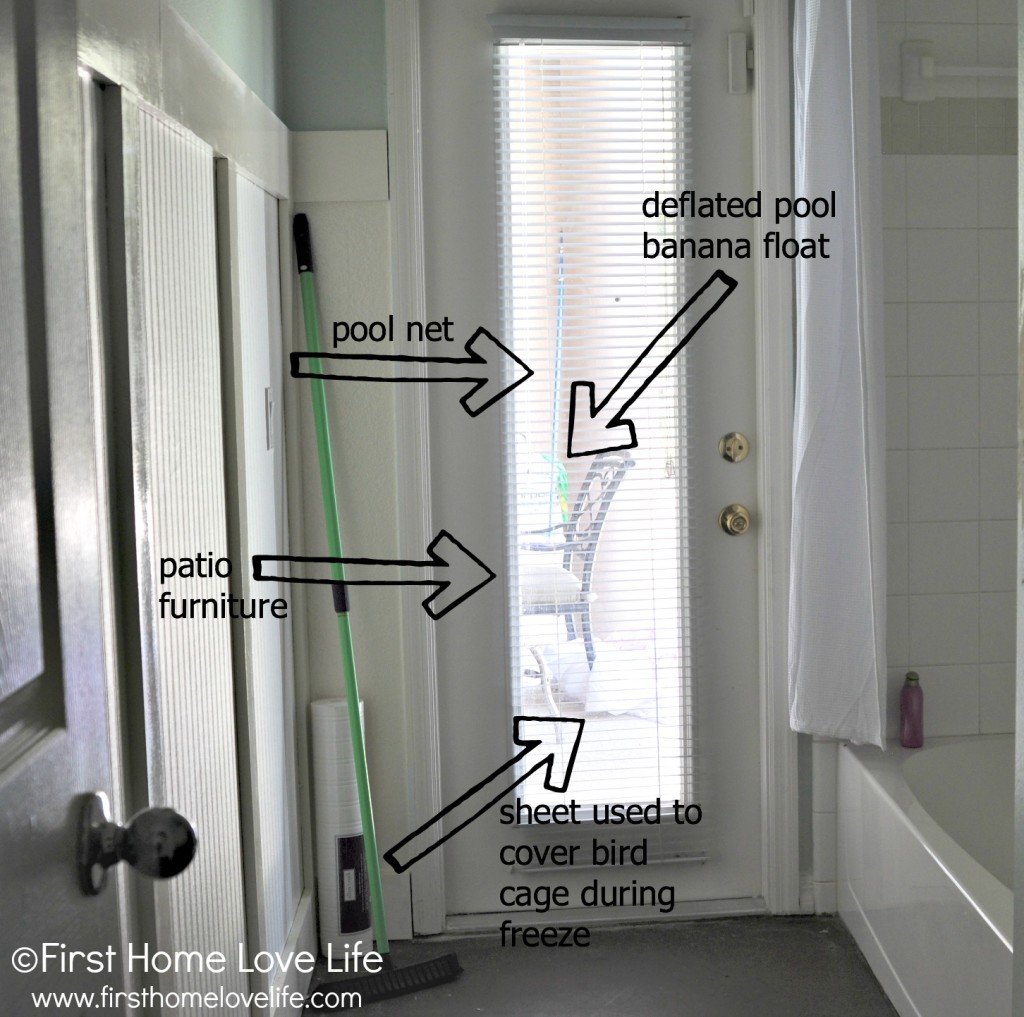
The previous owners had installed mini blinds on the door leading out to the patio, but it annoyed me having to open and close them all the time.
I love natural light. My windows are always wide open, but when your view looks like this…
You need to figure out a way to hide the view without losing the light.
Not to mention the view looking in would be twice as scary, just saying.
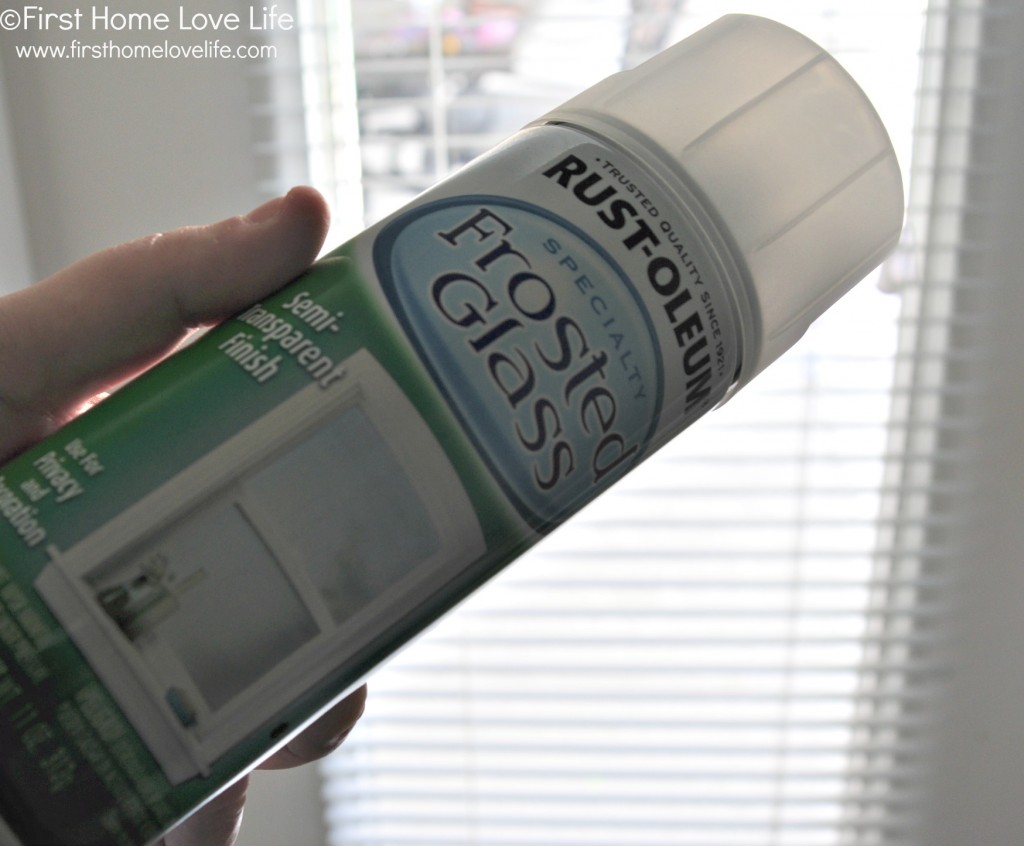
I had thought about buying frosted film, but after hearing and reading mixed reviews I decided to give Rustoleum Frosted Glass Spray Paint a try.
For less than five bucks I figured it was worth a shot, and besides…
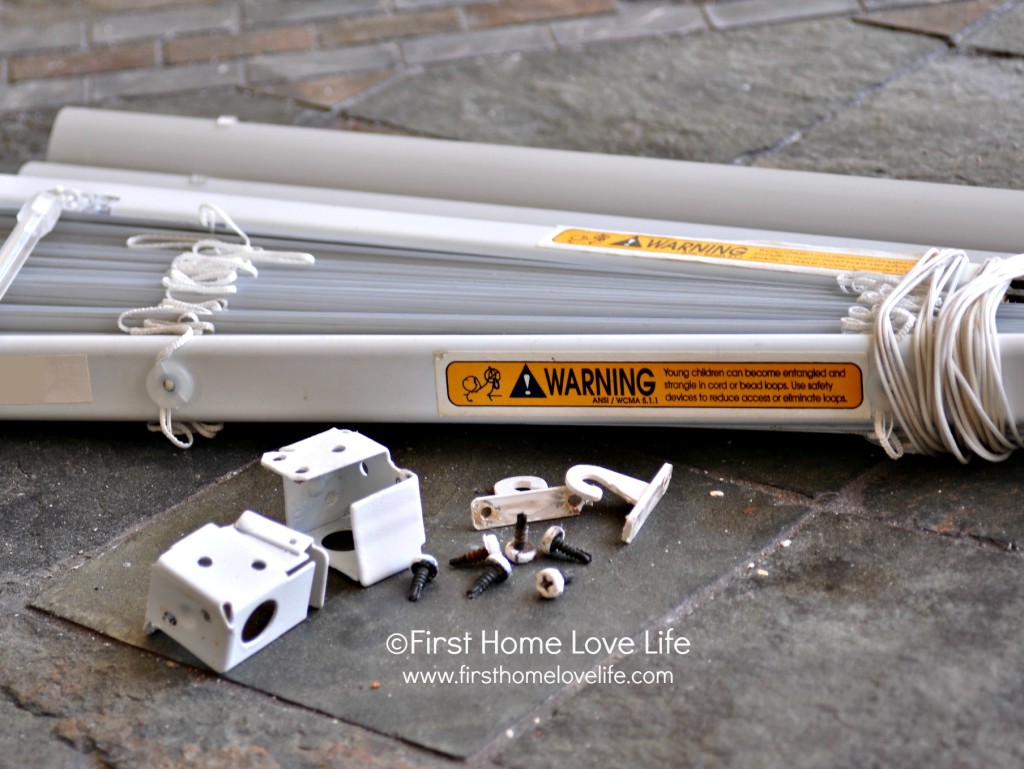
Those mini blinds I plan on selling at our semi annual community garage sale, along with our large builder grade mirror, old faucet, and vanity top that all got removed. This way I can regain some moola for bathroom accessories later. That’s how I roll…
There ain’t no shame in my game.
So once the mini blinds came down I gave the whole door a good scrub down with soap and water, and patched the holes where the screws came from.
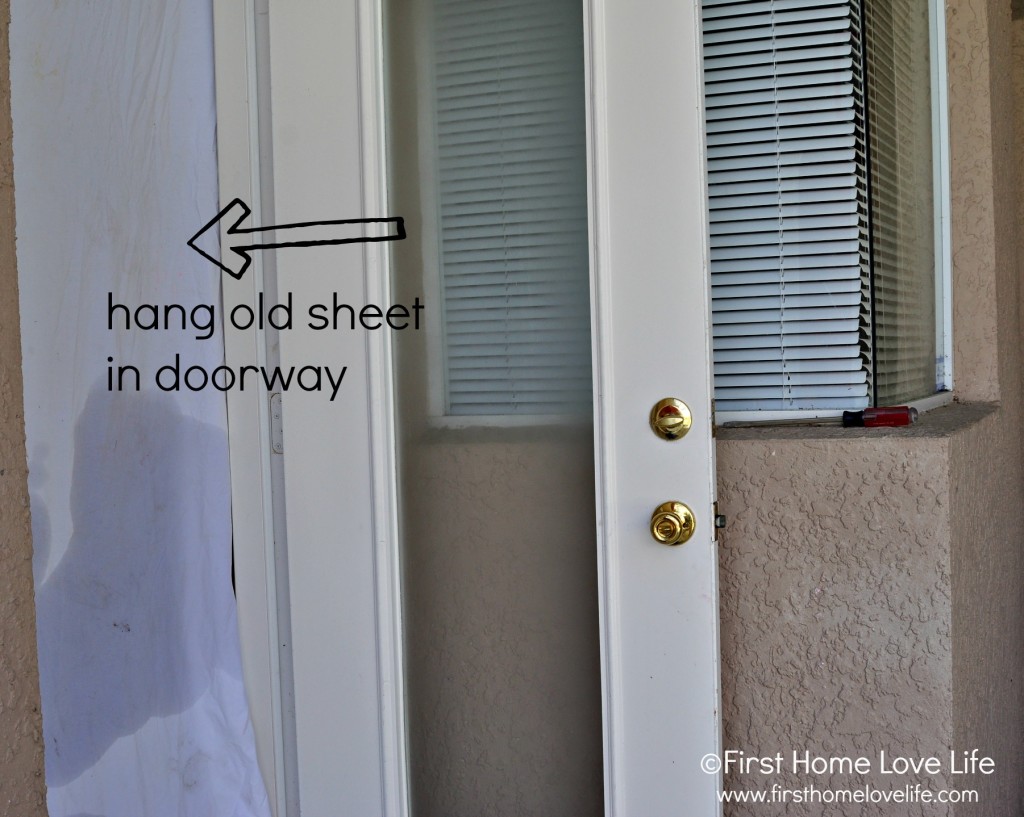
Be forewarned…This frosted spray paint is potent guys! That old sheet that was laying on the floor got hung up in the doorway so the back flow wouldn’t get all over the bathroom. But the smell…On the can it says to use in a well ventilated area which should be code for (YOU MAY BE ASPHYXIATED IF YOU DON’T WEAR A MASK TOO!)
I was outside, in a ventilated area, but no mask, and man do I have a headache right now. So do as I say, and not as I do.
The directions stated to hold the can 10-12 inches away from the glass and apply the paint in even back and forth overlapping movements.
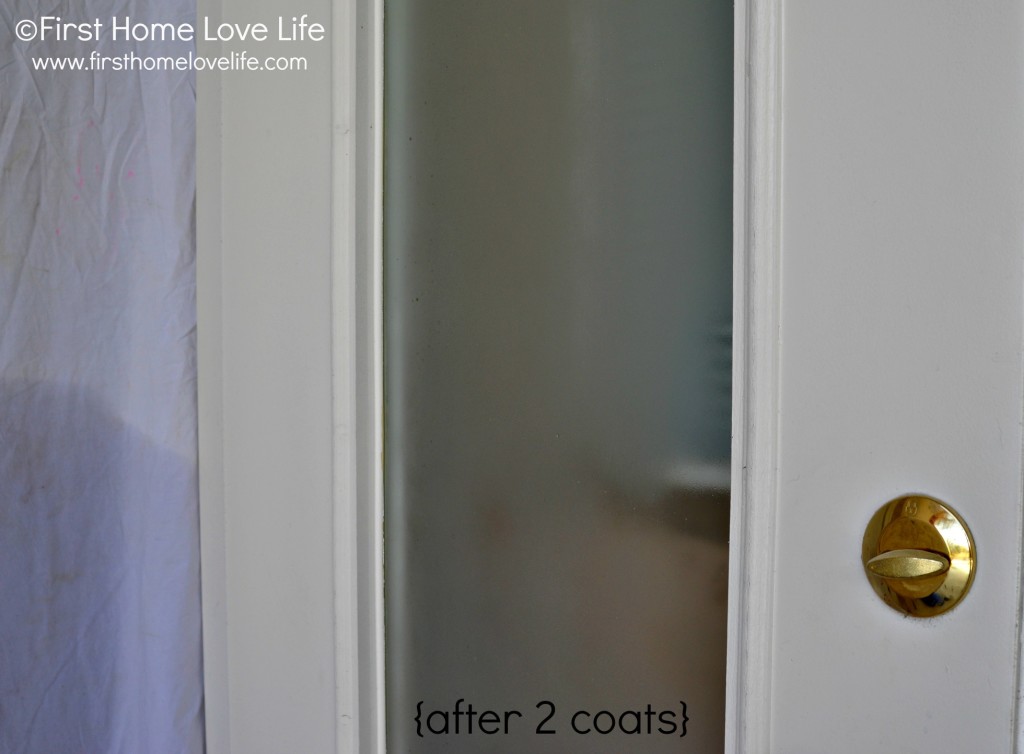
I did two coats, waiting about 1 minute in between and then let it dry and cure for 10 minutes.
It was kind of splotchy in some areas, so I did the whole process again and after 4 coats it was perfect.
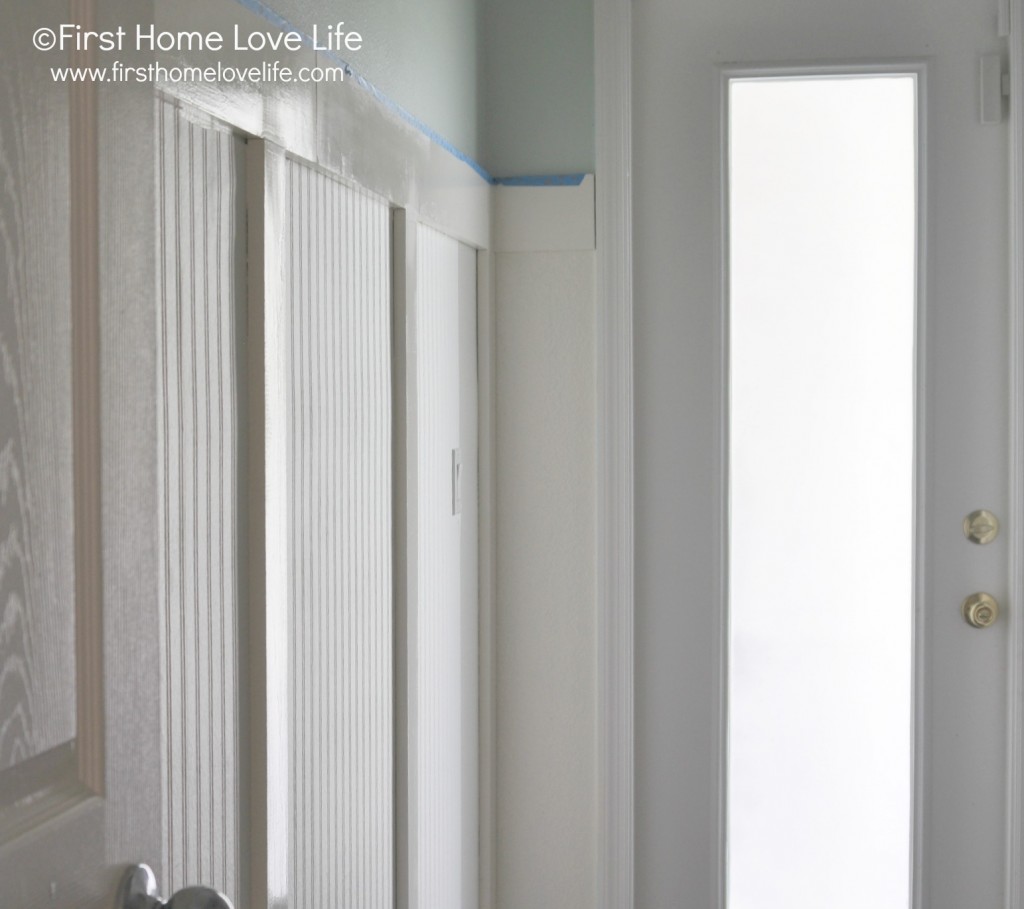
The frosted glass spray paint worked like a charm. Total privacy, and as an added unexpected bonus…it makes the natural light glow brighter then before!
Would I recommend it? Absolutely! Just make sure to do the proper prep work and you too can have a stunningly beautiful frosted glass window or door.
XO





I was just wondering if this frost spray is permanent or is there a way to remove it if you’re not happy with how it turns out?
That’s a great question. I’m assuming it’s permanent for the most part, but because you’re using it on glass, you could probably apply paint remover and scrape it right off with no problem.
Amazed!! Might need to just give this a little try.
I was very impressed with how well it turned out! Love it!
Just to clarify (I have an external glass door I want to do this with but am so afraid of doing it wrong)…you sprayed everything on the external/outer side of the glass only, correct? And how do you manage to keep it clean?
No…glad you brought this up! I sprayed the interior side of the glass panel. I’m not sure how it would do on the external side unless it was under a covered porch than it would probably be okay. I haven’t cleaned it yet because I just did a few weeks ago, but probably just will use a swifter duster on it and a damp soft cloth with water so I wont scratch it.
How has it held up? Does it scratch easily? I have thought about doing this, but then I imagine all the fun my kids would have scratching it off.
It only scratches if you or a child really tries to get at it (which my daughter did unfortunately), so I wouldn’t use it as a permanent solution, but for the most part it has held up okay!
Do you have to cover up the wood on the door surrounding the glass with anything?
I didn’t, but painters tape and newspaper would be the best solution if you have a nice door you don’t want to ruin.