Yes. Yes you can, and today I’m sharing my tips on how to get professional looking spray painted cabinets for less than $20!
::COLLECTIVE GASP::
I know… 😉
I’ve been super sick for the past two weeks with allergy-sinusinfection-headcoldfromyouknowwhere-atosis.
My husband can tell you when I’m sick, it’s a very bad thing. Not because I whine and moan about not feeling good…oh no…when I’m sick it gives me time to rest…
…and when I rest, I think about things…
……things like our master bathroom could really use a fresh coat of paint……
…….and while we’re at it, let’s give everything a facelift including the vanity and shower…..
……….oh yeah…and let’s finally put some flooring down, because not even kidding…we’ve had concrete sub flooring for going on 3 years now… #reallifeyo
So the minute I was able to somewhat breathe without feeling like my brain was leaking through from my nose—was that TMI? Sorry…
I hopped in the car, drove to get my supplies, and got to work for an on the whim master bathroom makeover that came out of left field!
Sorry, sweetie! #loveyou 😉
So here’s the thing…I’ve spray painted these cabinets before.
When we moved into this house in 2011, I decided one day to just take whatever leftover white spray paint I had and spray over the orangey-oak-builders delights in our master bath.
At that time I was thinking this would be a very temporary thing (so I didn’t blog about it)…that we would be gutting out the bathroom entirely within a few months…
That was THREE years ago.
So if you’ve ever wondered about how cabinets would hold up if they were spray painted…I can tell you from experience that in 3 years they looked just the same as the day I did them!
Three years worth of pretty heavy use including door slams, drawer bangs, makeup spills, and toothpaste spits gone horribly wrong…
So it’s safe to say that I think spray paint is a pretty good competitor in the world of cabinetry painting AS LONG AS THE PREP WORK IS DONE!
STEP 1-
Remove doors and drawer fronts from the cabinet base, move them to a well-ventilated area and place on top of an old sheet or newspaper. Tape off any areas of the object not to be painted (like the counters) and protect the surrounding area with newspaper or a drop cloth.
Here’s the thing…spray paint is MESSY!
If you don’t take the time to cover any and everything that you don’t want covered in over spray, it’s going to look like a mess.
Now because I knew we would be painting the walls and installing floor after this was done I wasn’t so concerned with getting a mist of paint on those things. But I took the time to really cover the vanity top well and tape along the edge for a clean line.
STEP 2-
Sand with a sanding block or electric sander. You don’t need to completely hit raw wood, but you do need to give the paint something to stick to, so roughing up the surface will make sure you get a good bond.
STEP 3-
Wipe off the dust from sanding and make sure your surface is clean and free of any debris. I usually will use a lint free cloth- first dry to dust, and then damp to clean off anything else. Let the cabinets dry completely before priming.
STEP 4-
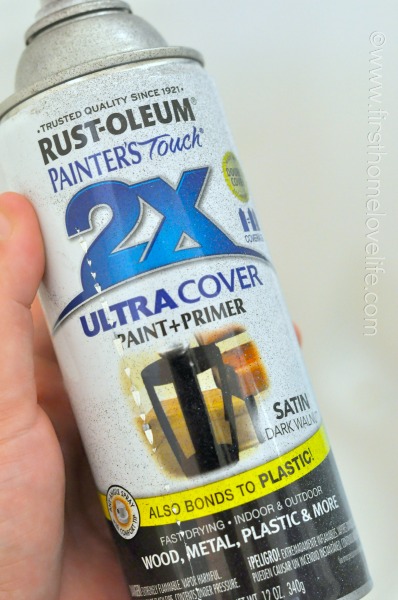
Prime. You’ve made it this far so don’t start to slack! This is the easy part now! A coat of spray primer is going to give even more staying power to your spray paint. You can even use the primer and paint in one like I did to make it easier. This is the same kind of spray paint I used before and it held up fine, so I decided to give it a go again!
STEP 5-
Paint. Multiple long flowing and light strokes, back and forth and then up and down while holding the can about 8-10 inches away will give you the professional no brush stroke finish that will make the cabinets look more like a custom order then a painted pick me up.
STEP 6–
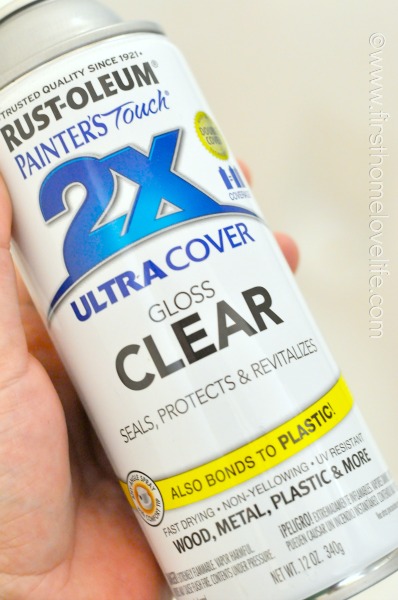
Seal. This is especially necessary if you plan to be using harsh cleaning chemicals when wiping down your cabinets. You still might get the occasional chip (just like you could using latex paint to paint a cabinet) but think of this as an extra layer of protective skin for your cabinet.
Then let the cabinets dry and cure for the necessary time and add some hardware to really spruce them up!
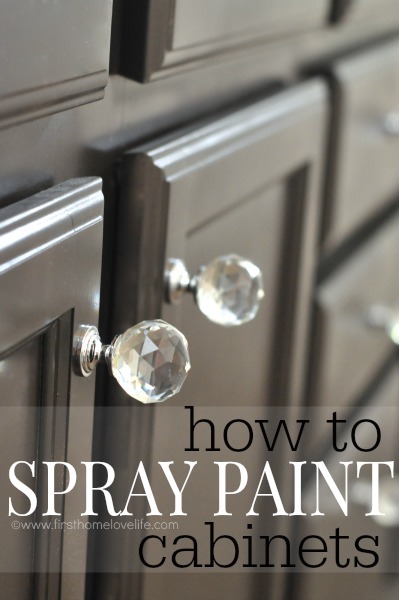
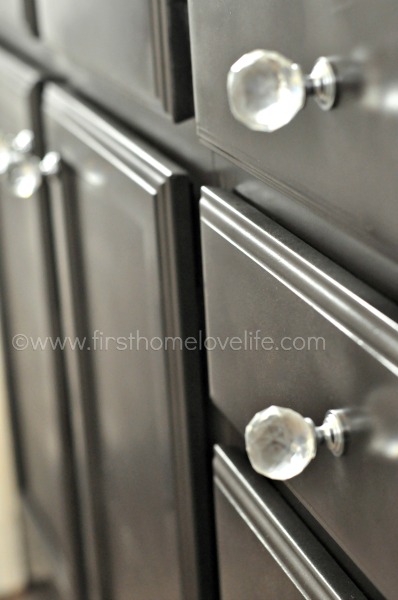
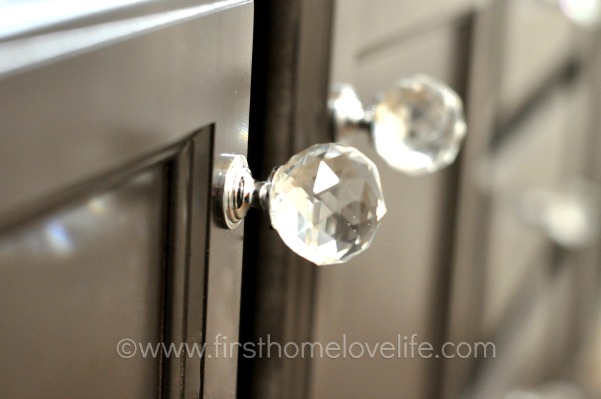
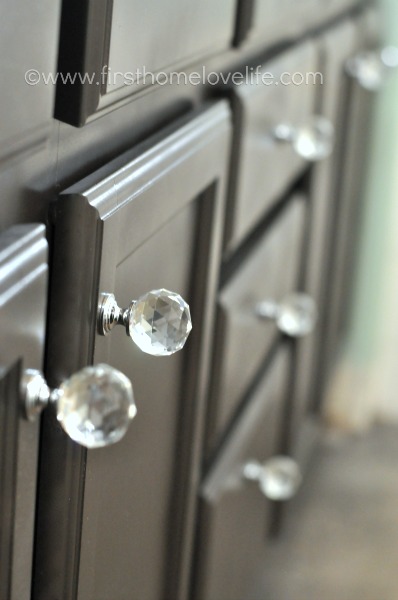
I picked these gorgeous glass knobs. I think they’re the perfect touch to my newly, more sophisticated dark walnut cabinets 😉
And I can’t wait to show you what I’m spray painting next! 🙂
Have you used spray paint on cabinets in your own home? How are they holding up?
Talk to you soon friends, take care!
XO





Oh you are such a tease!
From what I can see… they look fabulous 😉
Can’t wait to see what else you are up to.
And the whole bathroom once you’re done!
I’d like a full shot please. lol
Shannon
Shannon @ Fox Hollow Cottage recently posted…Free Printables For DIY Nautical Art Work
You’re just going to have to wait 😉 Patience, dear! XO
I used he same paint but the brick type form and the clear gloss..love it..doing other rooms now..
sounds neat!
Great job and I love the color. When we were renovating our home 5 years ago we wanted to brighten up our kitchen cabinets. The actual cabinet frames were yellowish from cooking and natural wear and tear but the actual doors were still crisp white because of their finish. We used a Rustoleum spray paint that was actually made for skintight cabinets. No prep needed other than wiping down the cabinets. We were scared to try it but took the plunge and omg for $10 it was so worth it!
Katie recently posted…Easy Garage Organization with Rubbermaid FastTrack 5 Piece Kit
Cool Katie! I love the idea of no prep painting 🙂
What color is your cabinets?
It’s the Walnut spray paint in the picture
Love this look. Been trying to show my husband these ideas but I think once I show him yours, he will go for it! How much do you think total it cost?? I’m trying to do 2 bathrooms for under 100
It was 2 cans of spray paint + 1 can of sealer which came in around 18ish dollars. The knobs were $5 a piece x 8 for my vanity. So it was just around $60. I totally think you could do 2 bathrooms for less than $100!
Hi
Loved the idea but my cabinets are Formica. Anyone knows if paint would stick ?
It will stick, but it will unfortunately peel so this wouldn’t work on Formica 🙁
did you do the inside of the cabinets?
I didn’t on these since they’re in the master and no one sees them, but you could if you wanted to.
Looks great! I’m just wondering if you have a front view picture?? In my experience with the clear gloss top coat it turns out streaky and leaves some foggy spots. It’s hard to tell if you had the same problem becuAse the only thing in focus on your pictures is the knobs. Can you please post a picture of the doors in focus ?? Thanks!! Great work 🙂
I don’t have a front view picture because my bathroom is unfortunately awkwardly shaped (kind of like an L). I can tell you I didn’t have that experience with the top coat on my cabinets, but if you feel uneasy about using it, do a practice cabinet first, and if it turns out streaky just repaint over it.
I want to try this on my NEW cabinets. I don’t know if you would call me a perfectionist or obsessive. ha ha. ..but if it isn’t perfect or close to perfect I totally regret doing things. I have always wanted to paint EVERYTHING 🙂 but am terrified I’ll mess it up. I was seriously thinking about finally taking the plunge but when you said it would “occasionally chip” it freaked me out. Do you mind being more specific and do you mean with all furniture and all paints? When a person paints that has never done it before is it always going to come out unprofessional and not look perfect? I also have the added paranoia because I followed instructions to a T and ruined a night stand years ago. Then the fear has kept me from decorating like I want ever since and I STILL don’t know what went wrong with that piece of furniture. I’m not for sure but it could have been because I left it in the sun to dry. Thanks for any advice or info. 🙂
Well just like a car if you hit it hard enough or scrape it on something a bit a paint will chip off. Prepare to do touch ups and maintenance on your cabinets about once a year to keep them looking fresh. If you don’t have experience painting furniture, I would definitely suggest practicing it first. You can pick up old cabinets for as little as $5 at a habitat restore. Practice your technique and different products before moving on to your new cabinets.
Well that was so very helpful. I have a habitat store and didn’t know about them. This is going to be so helpful. Thank you! Also, what is maintenance and touch up? Is this fully painting it or just using a fine brush to fill in the chips? How much time usually goes by until they need to be fully painted again? Than you so much for your responses. 🙂 Leah
Usually just a touch up with a small brush, or a light spray of the spray paint. You wouldn’t need to entirely repaint it unless there was a major spill or something, and regarding how much time, it really depends on how hard your family is on stuff. I have a young daughter and a husband who can sometimes be rough with cabinets by slamming them and stuff plus two large dogs that run up against things when they’re playing, so it’s easier for knicks and scrapes to happen here and there. I treat painted furniture the same way I do walls. Usually every 4 years or so give it a fresh coat to keep it looking clean.
I am looking at painting my Cabinets as well, so thanks i really appreciate the article.
FYI
At Lowes they sell a little $5 piece that keeps people from slamming cabinet doors. I asked for them a while ago, and none knew what they were. however i still found them in the section by all of the knobs for the drawers. My mother in law has seen mine and purchased some as well.
I want to paint my kitchen cabinets – I can take the doors off – but how did you paint the rest of the cabinets that are attached to the wall – a brush??
I used spray paint for this project, but I wouldn’t recommend it for a big project like a kitchen.
Hello, I love this, I’m going to try in a few weeks. I have a few questions. 1. Do you only need two products the Paint & Prime spray and Clear gloss spray?
Approximately how many cans did you use?
How did you cover inside the shelves when you painted inner panel off the cabinets?