Since our guest room is pretty much finished for now and our main goals have been accomplished for the space I’m so ready to move on and tackle a few other spaces in our house. Our home office, or more like my office/craft space where I sit and talk to you all is in definite need of some better organization and a little prettifying so I think I’m heading there next. I’m treading dangerous water here though and feel like one wrong move could cause a landslide of washi tape, paint, and glitter so we’re going to ease into this slowly…baby steps, you know? 😉
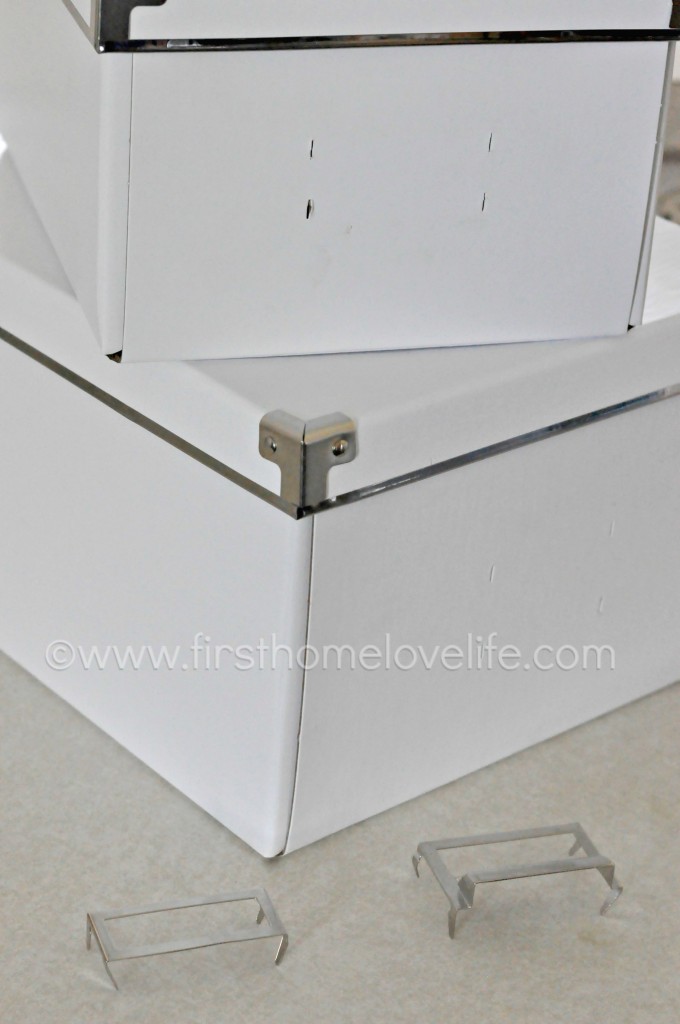
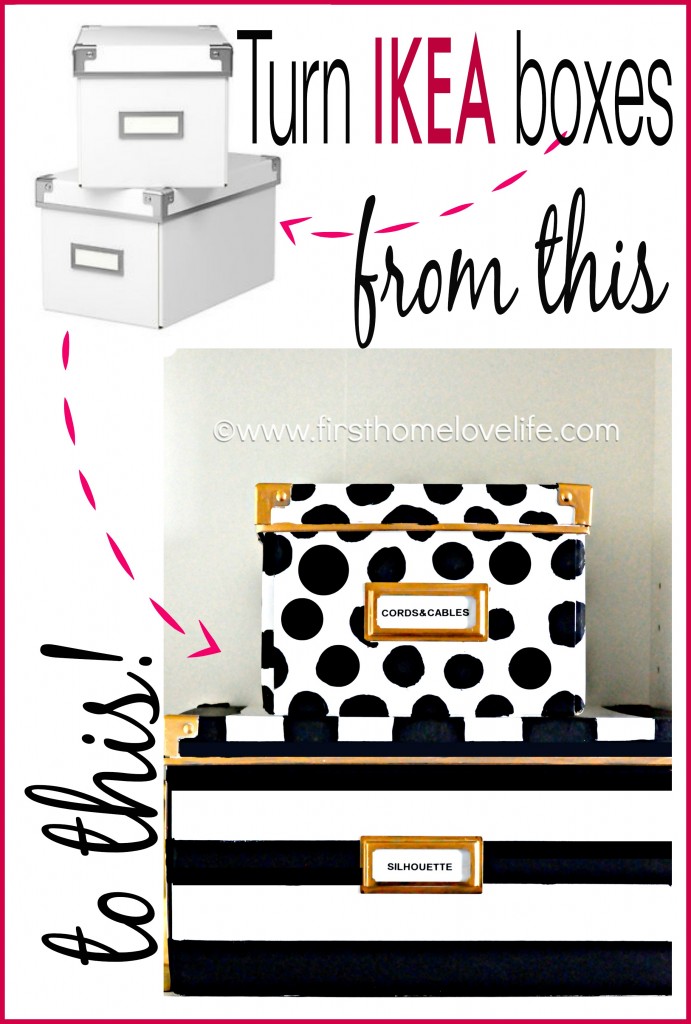
A few months ago I went to IKEA to pick up a few things including these cheap cardboard boxes to start organizing my office. I loved them as is and was planning to leave them just white, but once I put them together and stuck them on the bookshelves which are also white they just seemed blah.
But I left them there…I mean…They were serving a purpose to corral small, loose items so why fuss, ya know? I’ll tell you why…
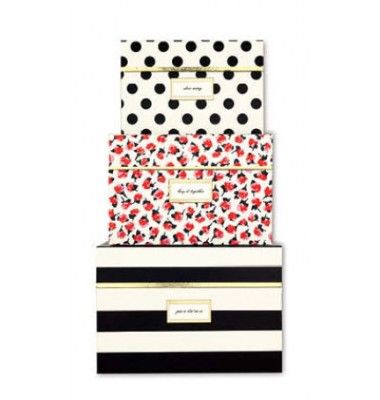
…because did you know there are storage boxes out there that look like this?!
Kate Spade Storage Boxes, Stripes
I LOVED THEM…I wanted them…but $54+ however much to ship for cardboard boxes…ummm nope, especially because I had already purchased the IKEA ones for well under $10.
So I just decided that using what I already had to create the look was the next best thing, but I will admit my mouse arrow did hover over that buy now button for a while…::sigh::
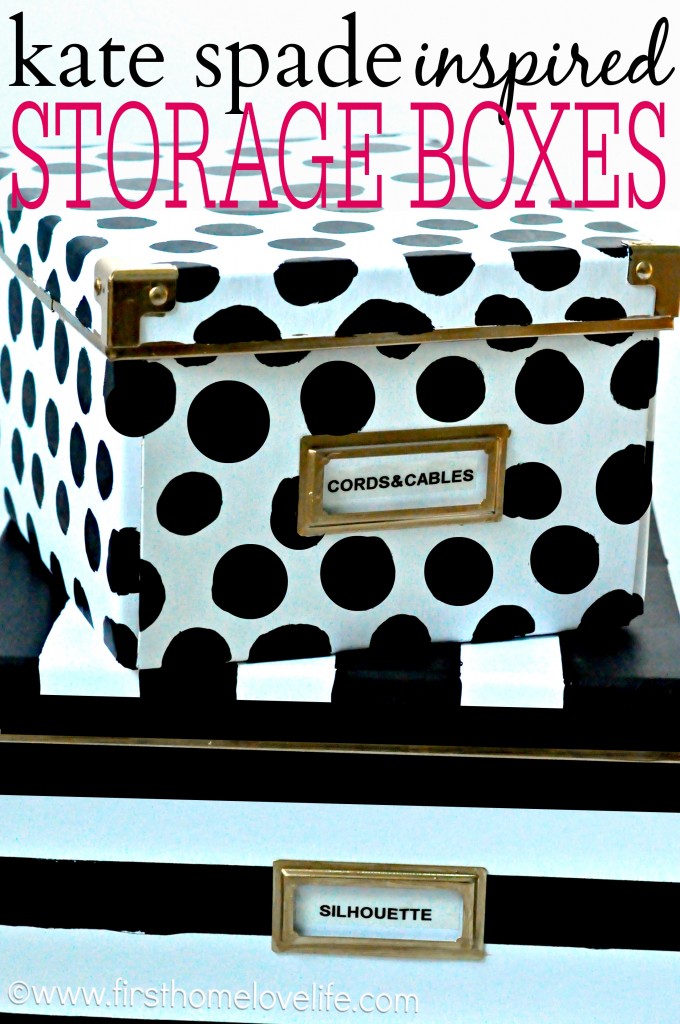
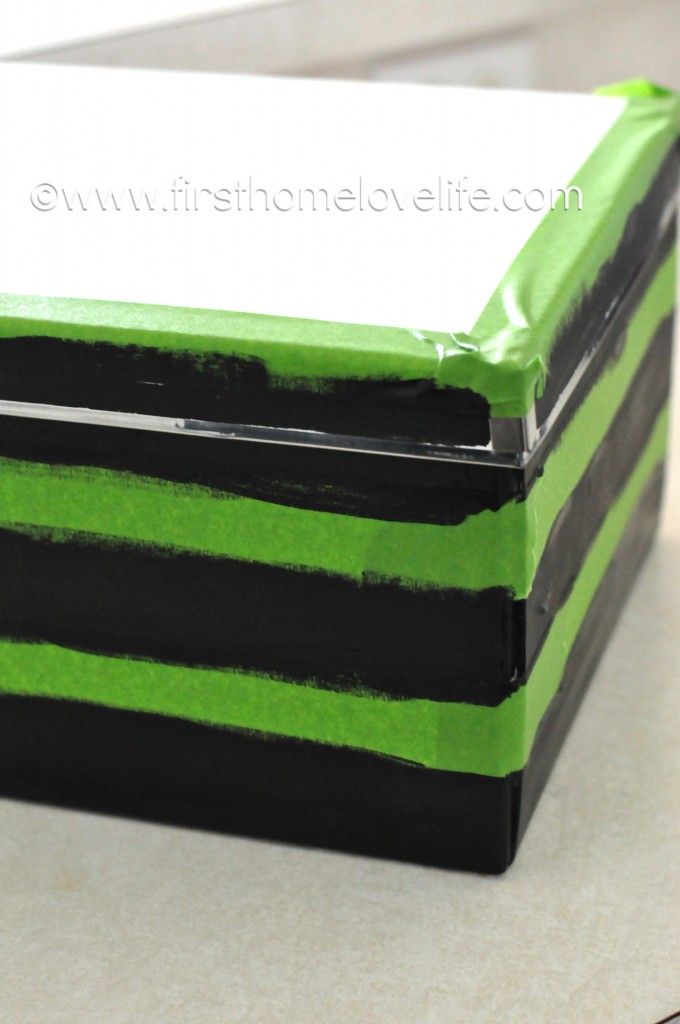
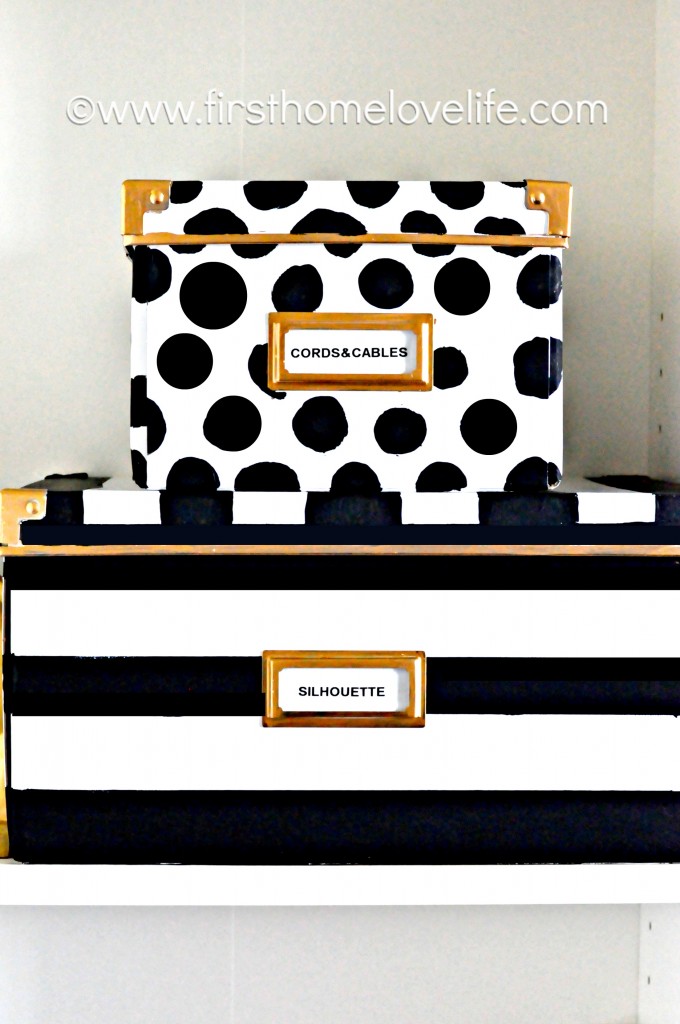
To create stripes on the larger box, I just taped it as evenly as possible and painted the box with black craft paint. When the paint was a little dry but not completely I carefully peeled away the tape. I was afraid that it would remove the white finish on the box, but it didn’t. I used FrogTape for this.
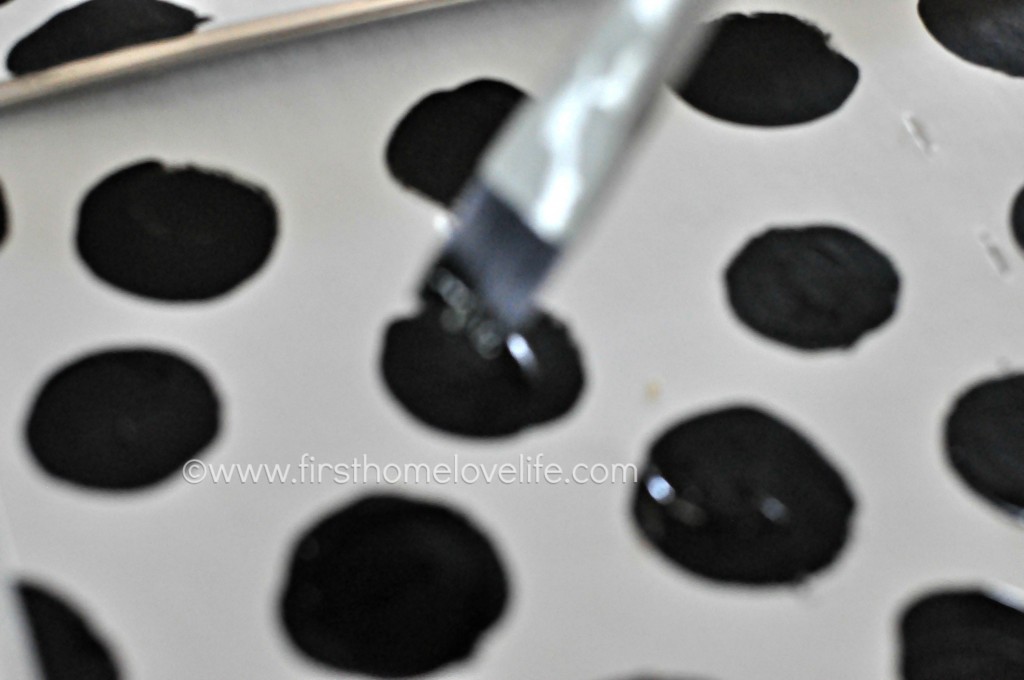
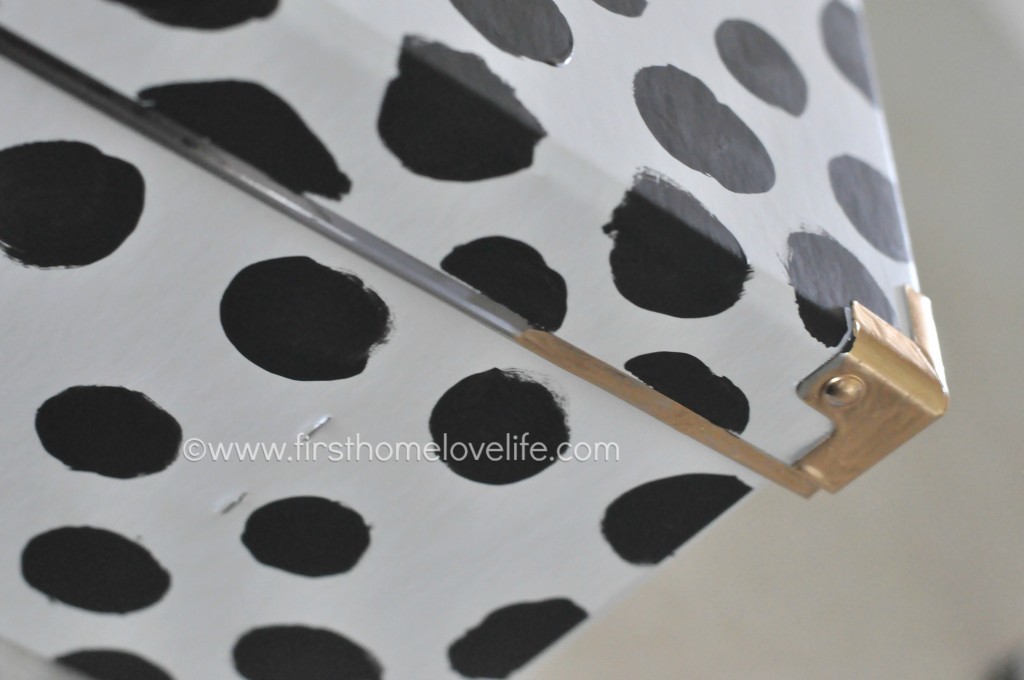
The polka dots were a bit harder to do. I started off cutting circles out of a sponge and trying to stamp it. It came out too sponged on looking, so I just decided to wing it and free hand it. Let’s just say it has character, okay? 😉 I think if I do this again, which I will because I have a few more boxes I will go with a hole punch and black glossy paper to make my circles…
When I was sure the paint dried I used my gold gilding to paint over the silver hardware that was already on the box. I just really loved the gold detail on the Kate Spade boxes, but you could leave it as is if gold is not your thing. Can you believe I still have half a pot of that stuff leftover from Christmas crafts?! It lasts forever, yo!
The IKEA boxes do come with metal plate labels, but I really love my Martha Stewart bookplates, so I decided to give them a quick coat of the gold gilding and stick them on instead. I seriously hoard those things when I find them at Staples because they’re always sold out!
Love, love, just love! They make me so happy when I look at them sitting on the shelf in my office now!
And…They’re a fantastic starting off point for what I want my office to look like. 🙂
Talk to you soon friends, take care!
XO




I found this post through a blog link and want to thank you for such a wonderful idea! I can’t wait to try this.
Sheryl recently posted…Five On Friday – Still Dancing
Hello!
Such a wonderful project! These boxes are adorable!!! Can’t wait to share with my followers! Thanks for the fun post!
Amy @ItsAMindfulLife recently posted…Itâs A Mindful Life: 22 Absolutely Scrumptious Ice Cream Recipes
Thanks so much Amy 🙂
what kind of paint did you use to do this? acrylic? did you use a sealant or anything after? these are so cute!
Yep, just acrylic paint. I didn’t seal it or anything, the boxes are like a cardboard material so I figured it would hold up fine, and I can always make more if they become too worn or damaged 🙂
LOVE! Redecorating my magazine files and storage boxes are on my list, this is great inspo. These look fabulous!!
Sarah
thesloppyperfectionist.blogspot.com
Sarah recently posted…Thrift Store Stool Makeover
I bought a ton of these boxes in the black a few years ago on clearance. I will be using white or pink paint instead of black. I can’t wait to get started, i’m going to try using spray paint. I’ll let you know how it turns out. Thanks for all the great tips you are amazing!!!
You’re so kind Carol! Thank you! XO
Your hand painted dots are (sorry) SPOT on! Way cooler than boring perfect polka dots, seriously! Thanks for the inspiration!
Hehehe 😀 Thanks for stopping by Jill! Have a Happy Thanksgiving! XO
I really love your creativity with these boxes. I think painting would be much more durable than Contact paper, especially on the edges. What do you think about putting a clear coat over it to keep the paint from scratching off? How has the paint held up since you posted these directions? Thank you for sharing your idea!
Hey…thanks so much! A clear coat might yellow the boxes so I’m not sure. I can tell you they look exactly the same as when I first painted them but they don’t get touched all that often. If you’re constantly moving them around, they probably will wear faster. Hope that helps!