Last week I couldn’t wait to show you the accent wall in the playroom/guest room. This is the wall that the built ins are going on so I really wanted to make it something special, and lets face it…I love LOVE love an accent wall especially something uber industrial like white brick. You can catch up and see how to get the look of brick in your home without having to sell your first born by clicking here. 😉
In all honesty, I loved it as is and would have left it, but I know the vision in my head wouldn’t look nearly as spectacular if I didn’t follow through with my plan to give it a white, chippy, distressed look. It was a little labor intensive, but oh so worth it…
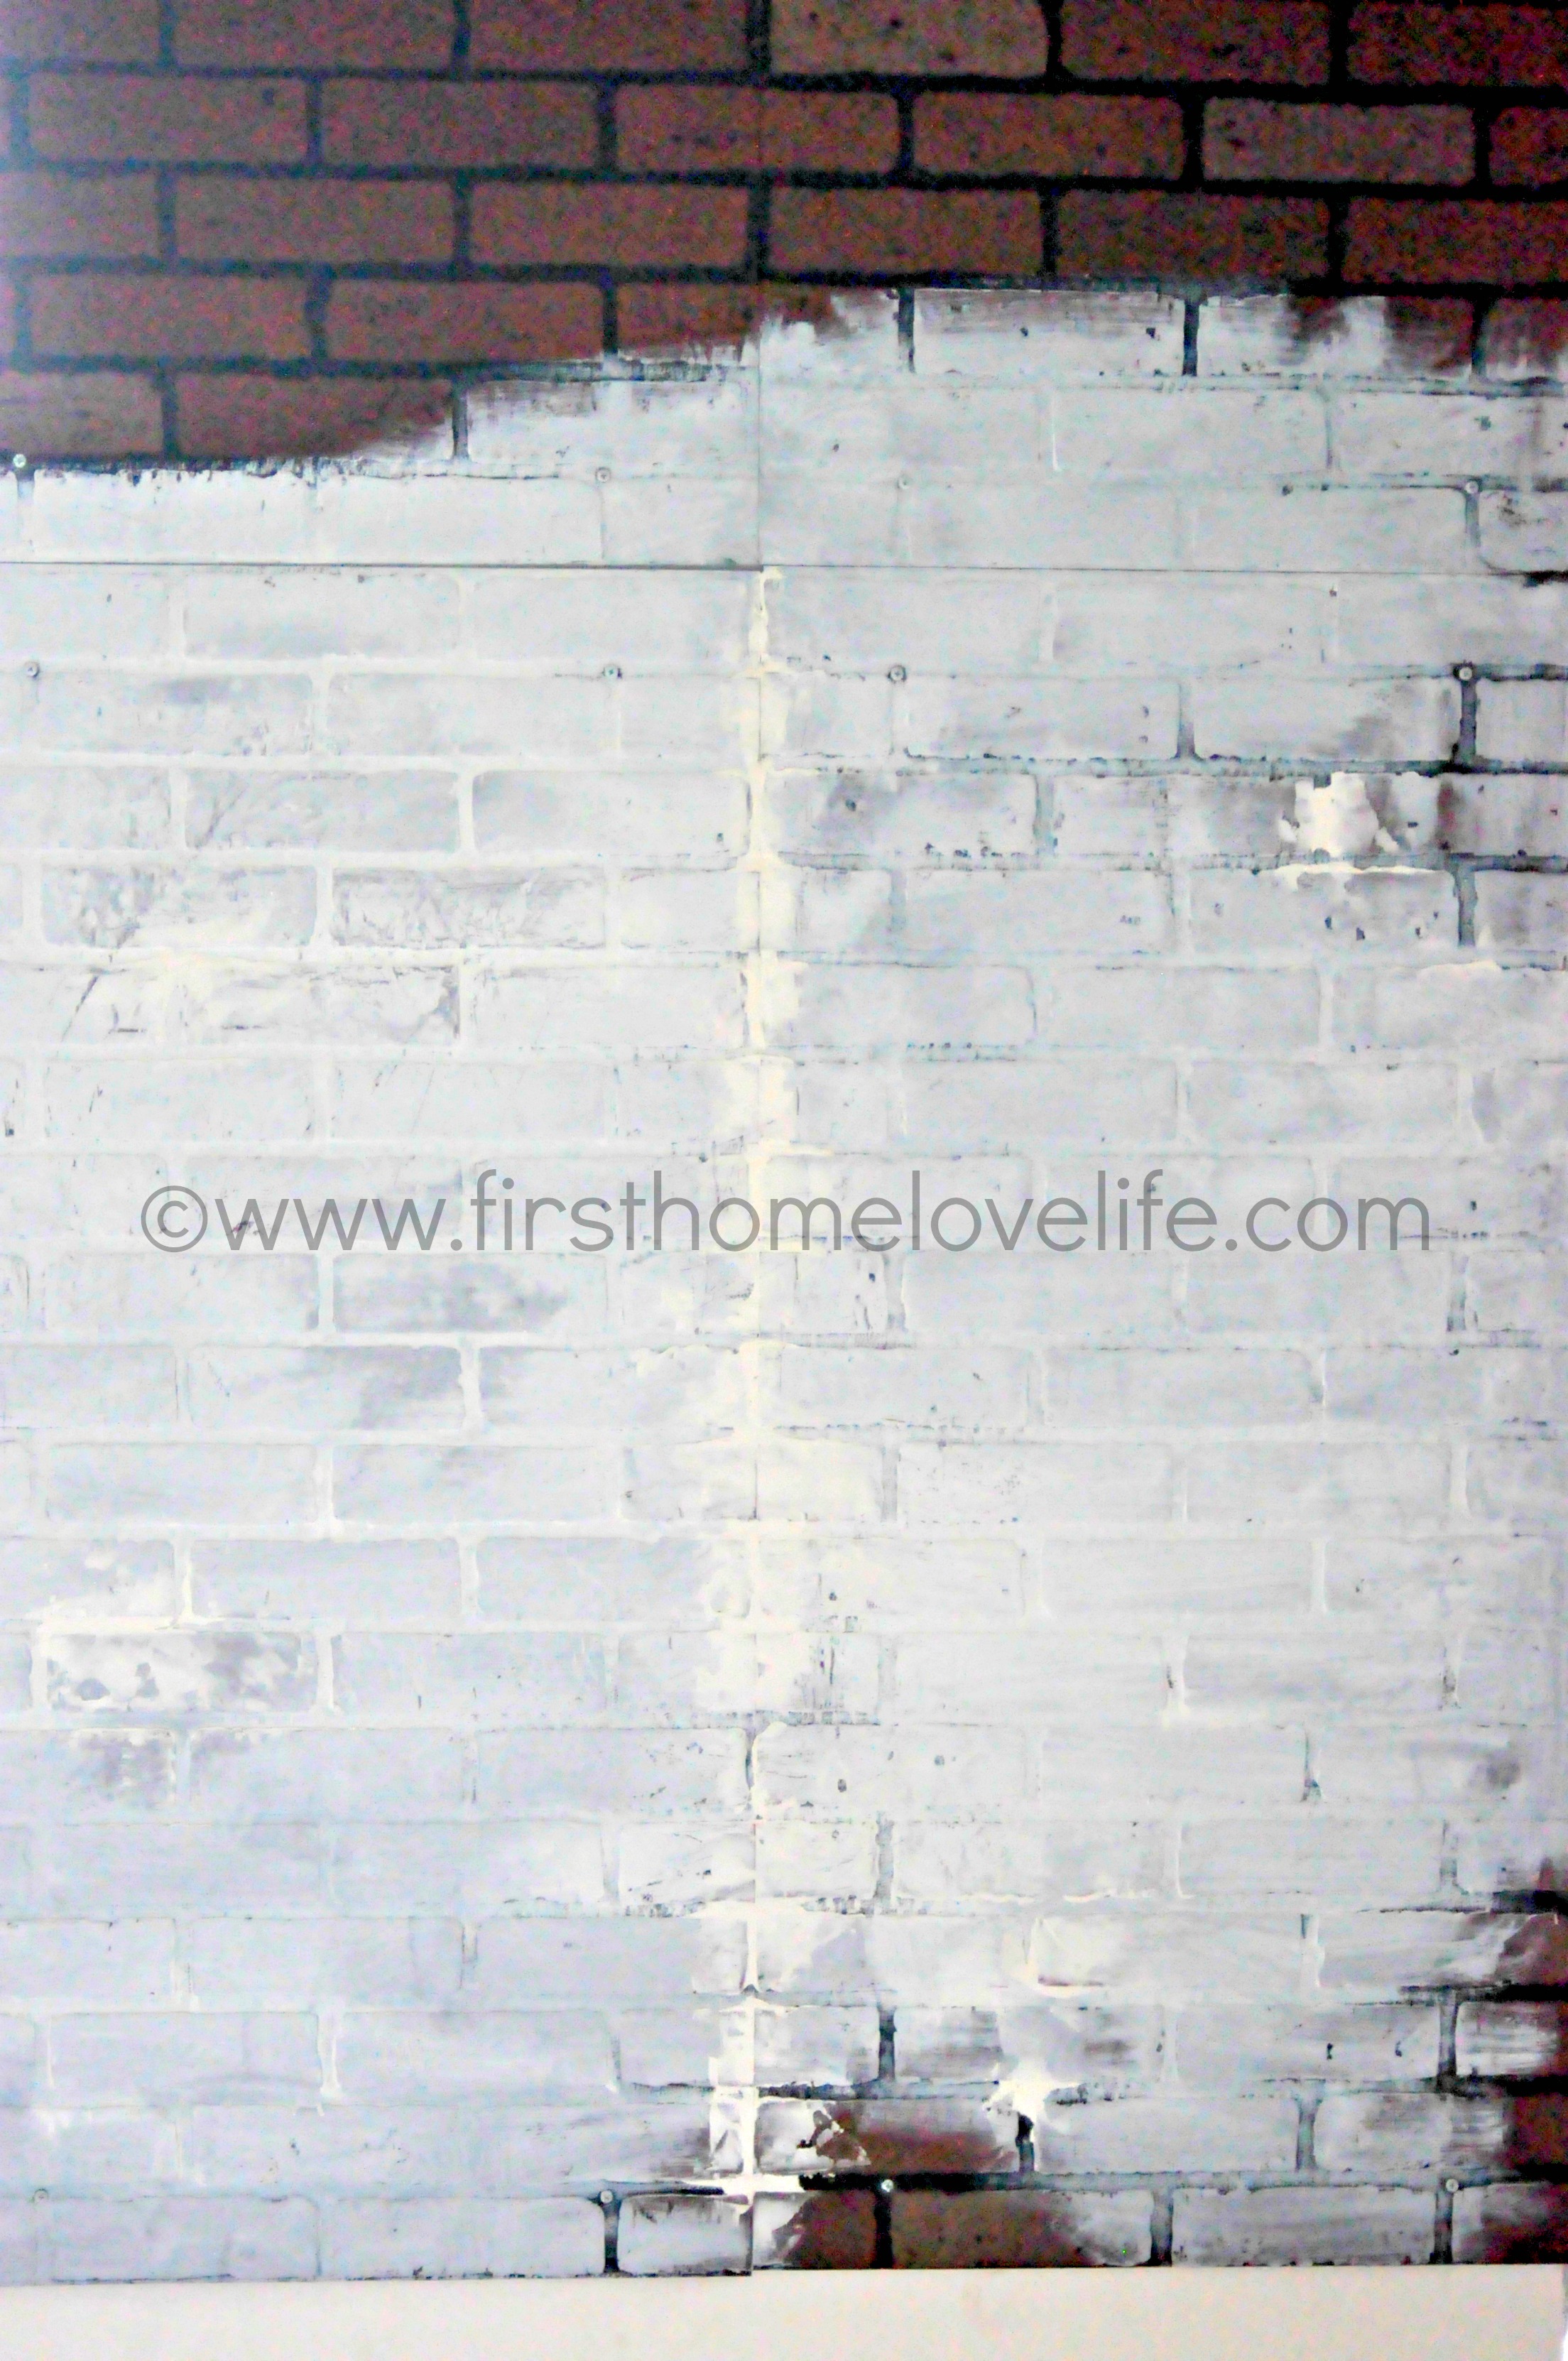
When I left you hanging, the faux brick wood panels looked like this. Luckily they do have texture and dimension even though its hard to tell in this photo. The major thing that made it look super fake was the gaps between the boards and screws we used to hang them. I was hoping by just painting over everything it would blend a little better, but that’s not exactly what happened.

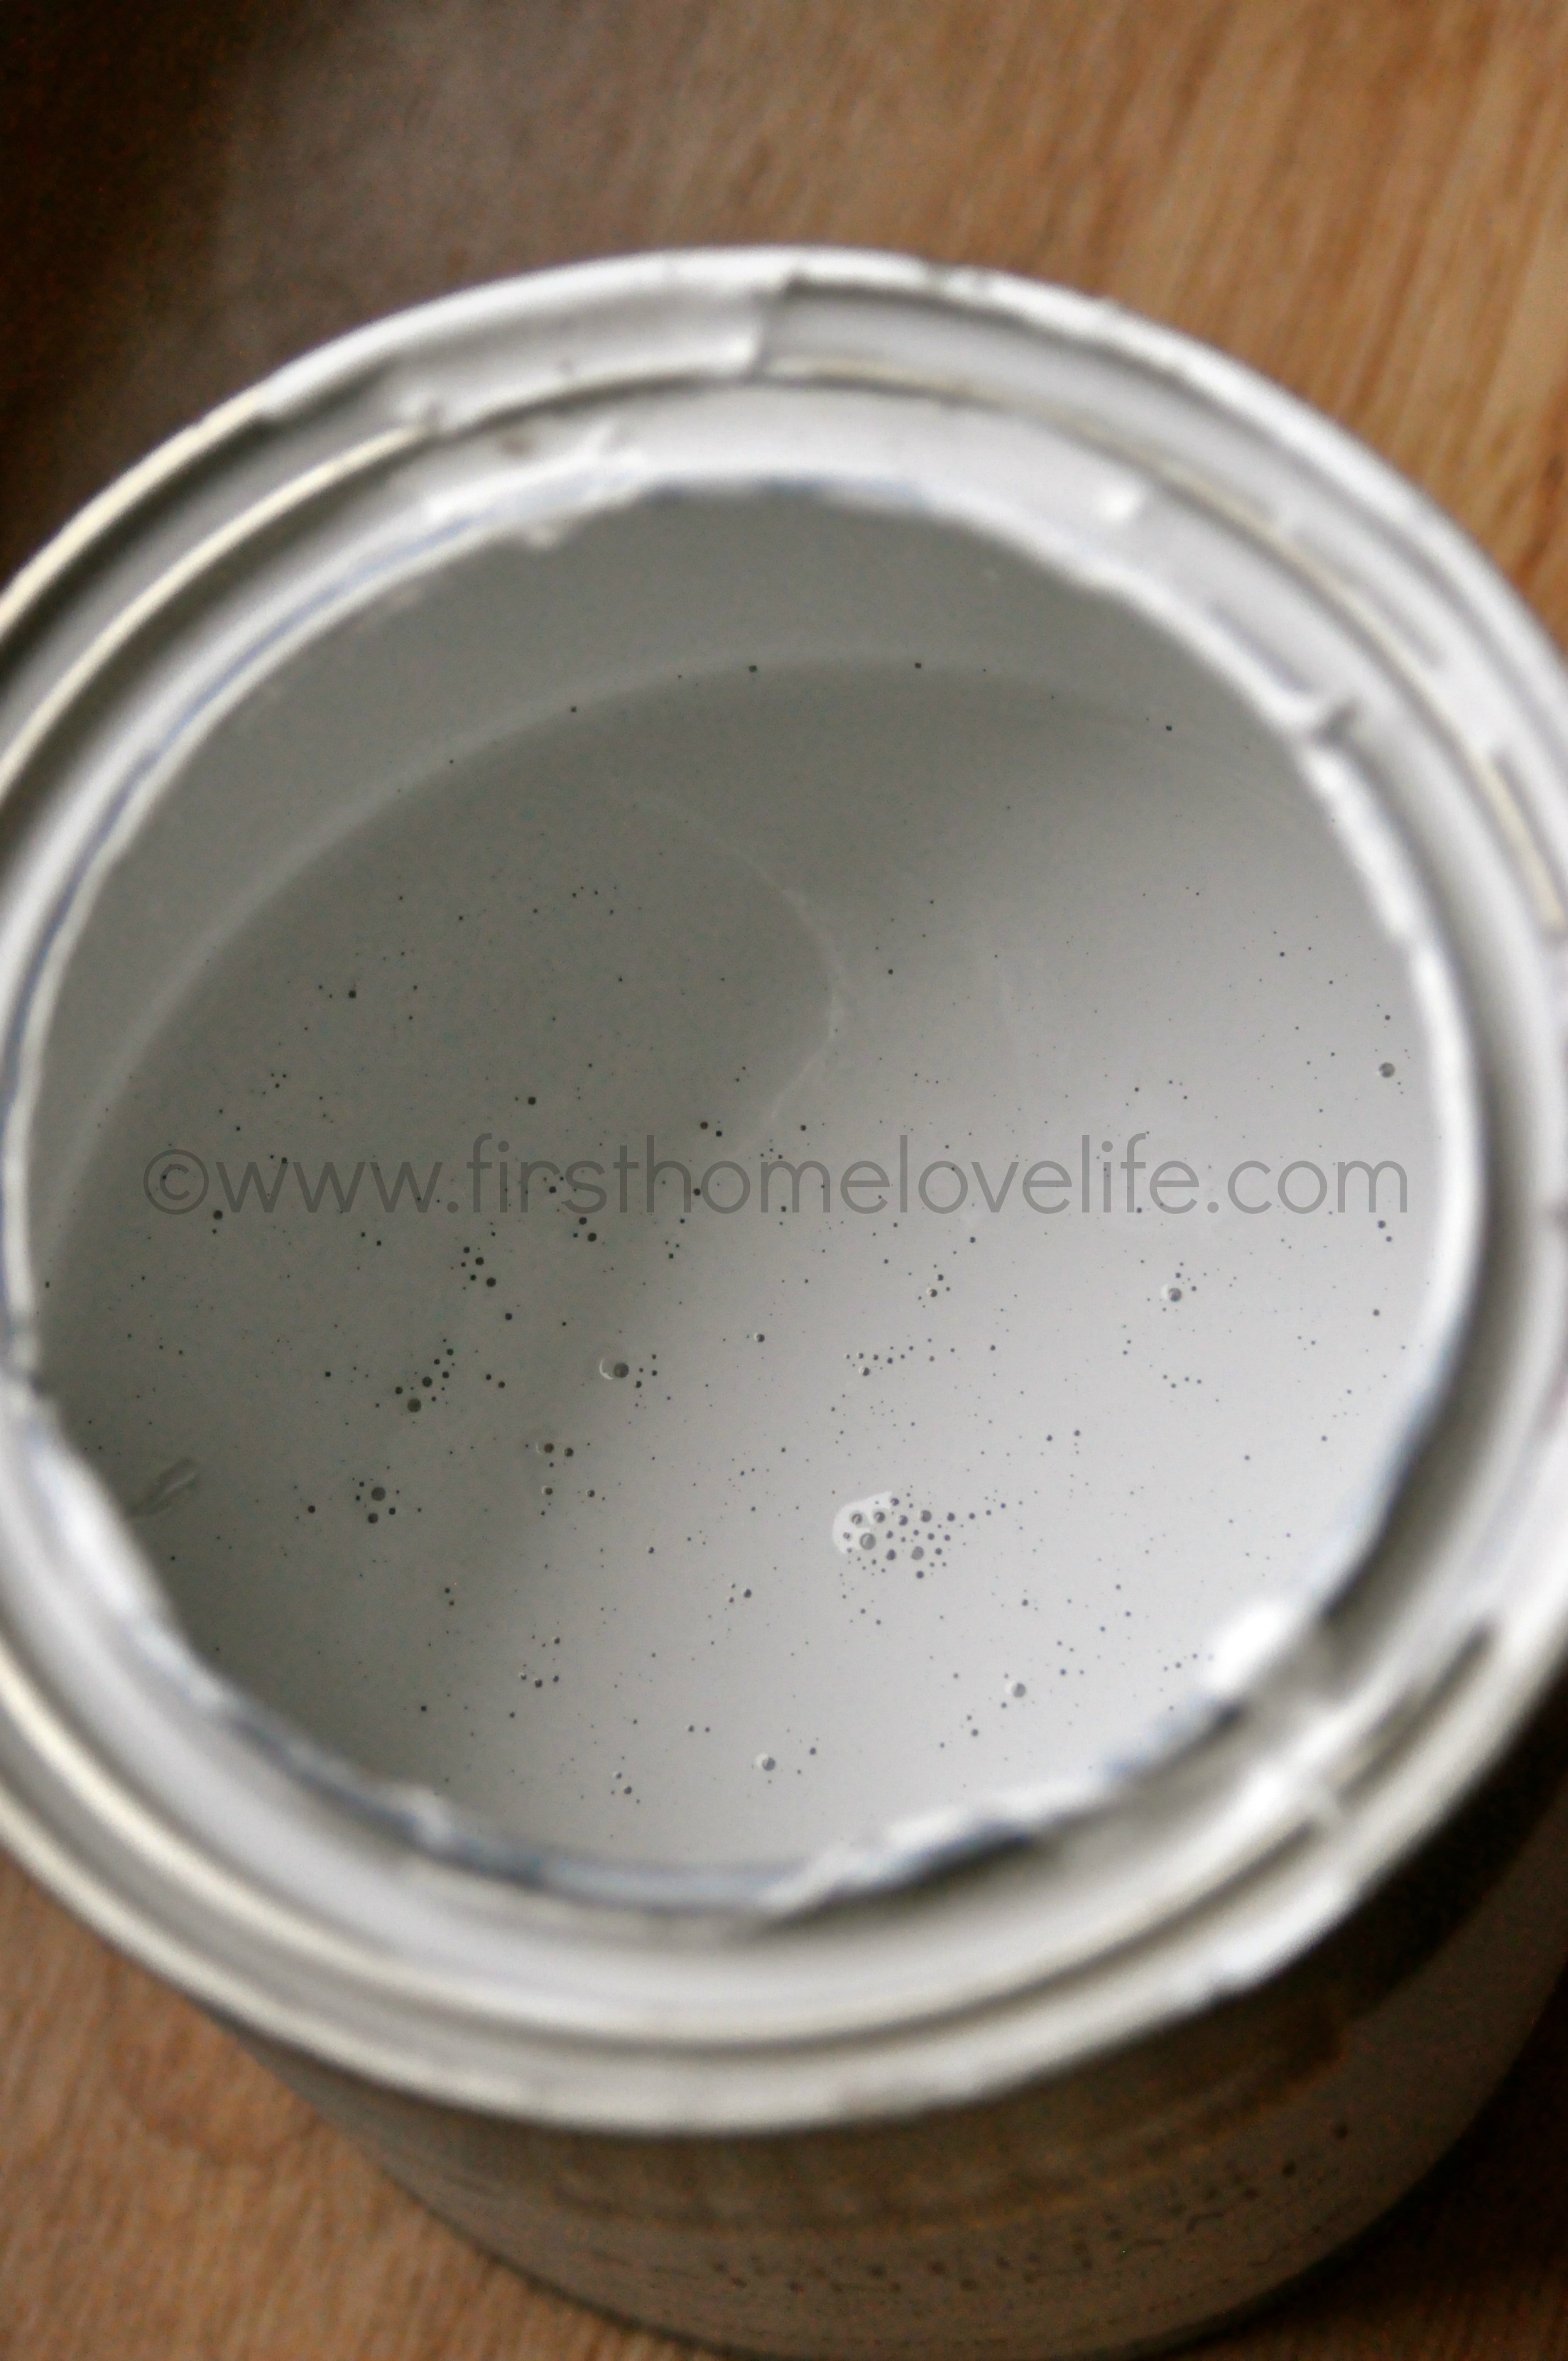
I had some leftover generic Behr white in a semigloss finish that I used for this. I only had about 1/5 of a quart, but filled the can up halfway with water and gave it a good stir. It was very wet and drippy, but that’s exactly what I wanted.
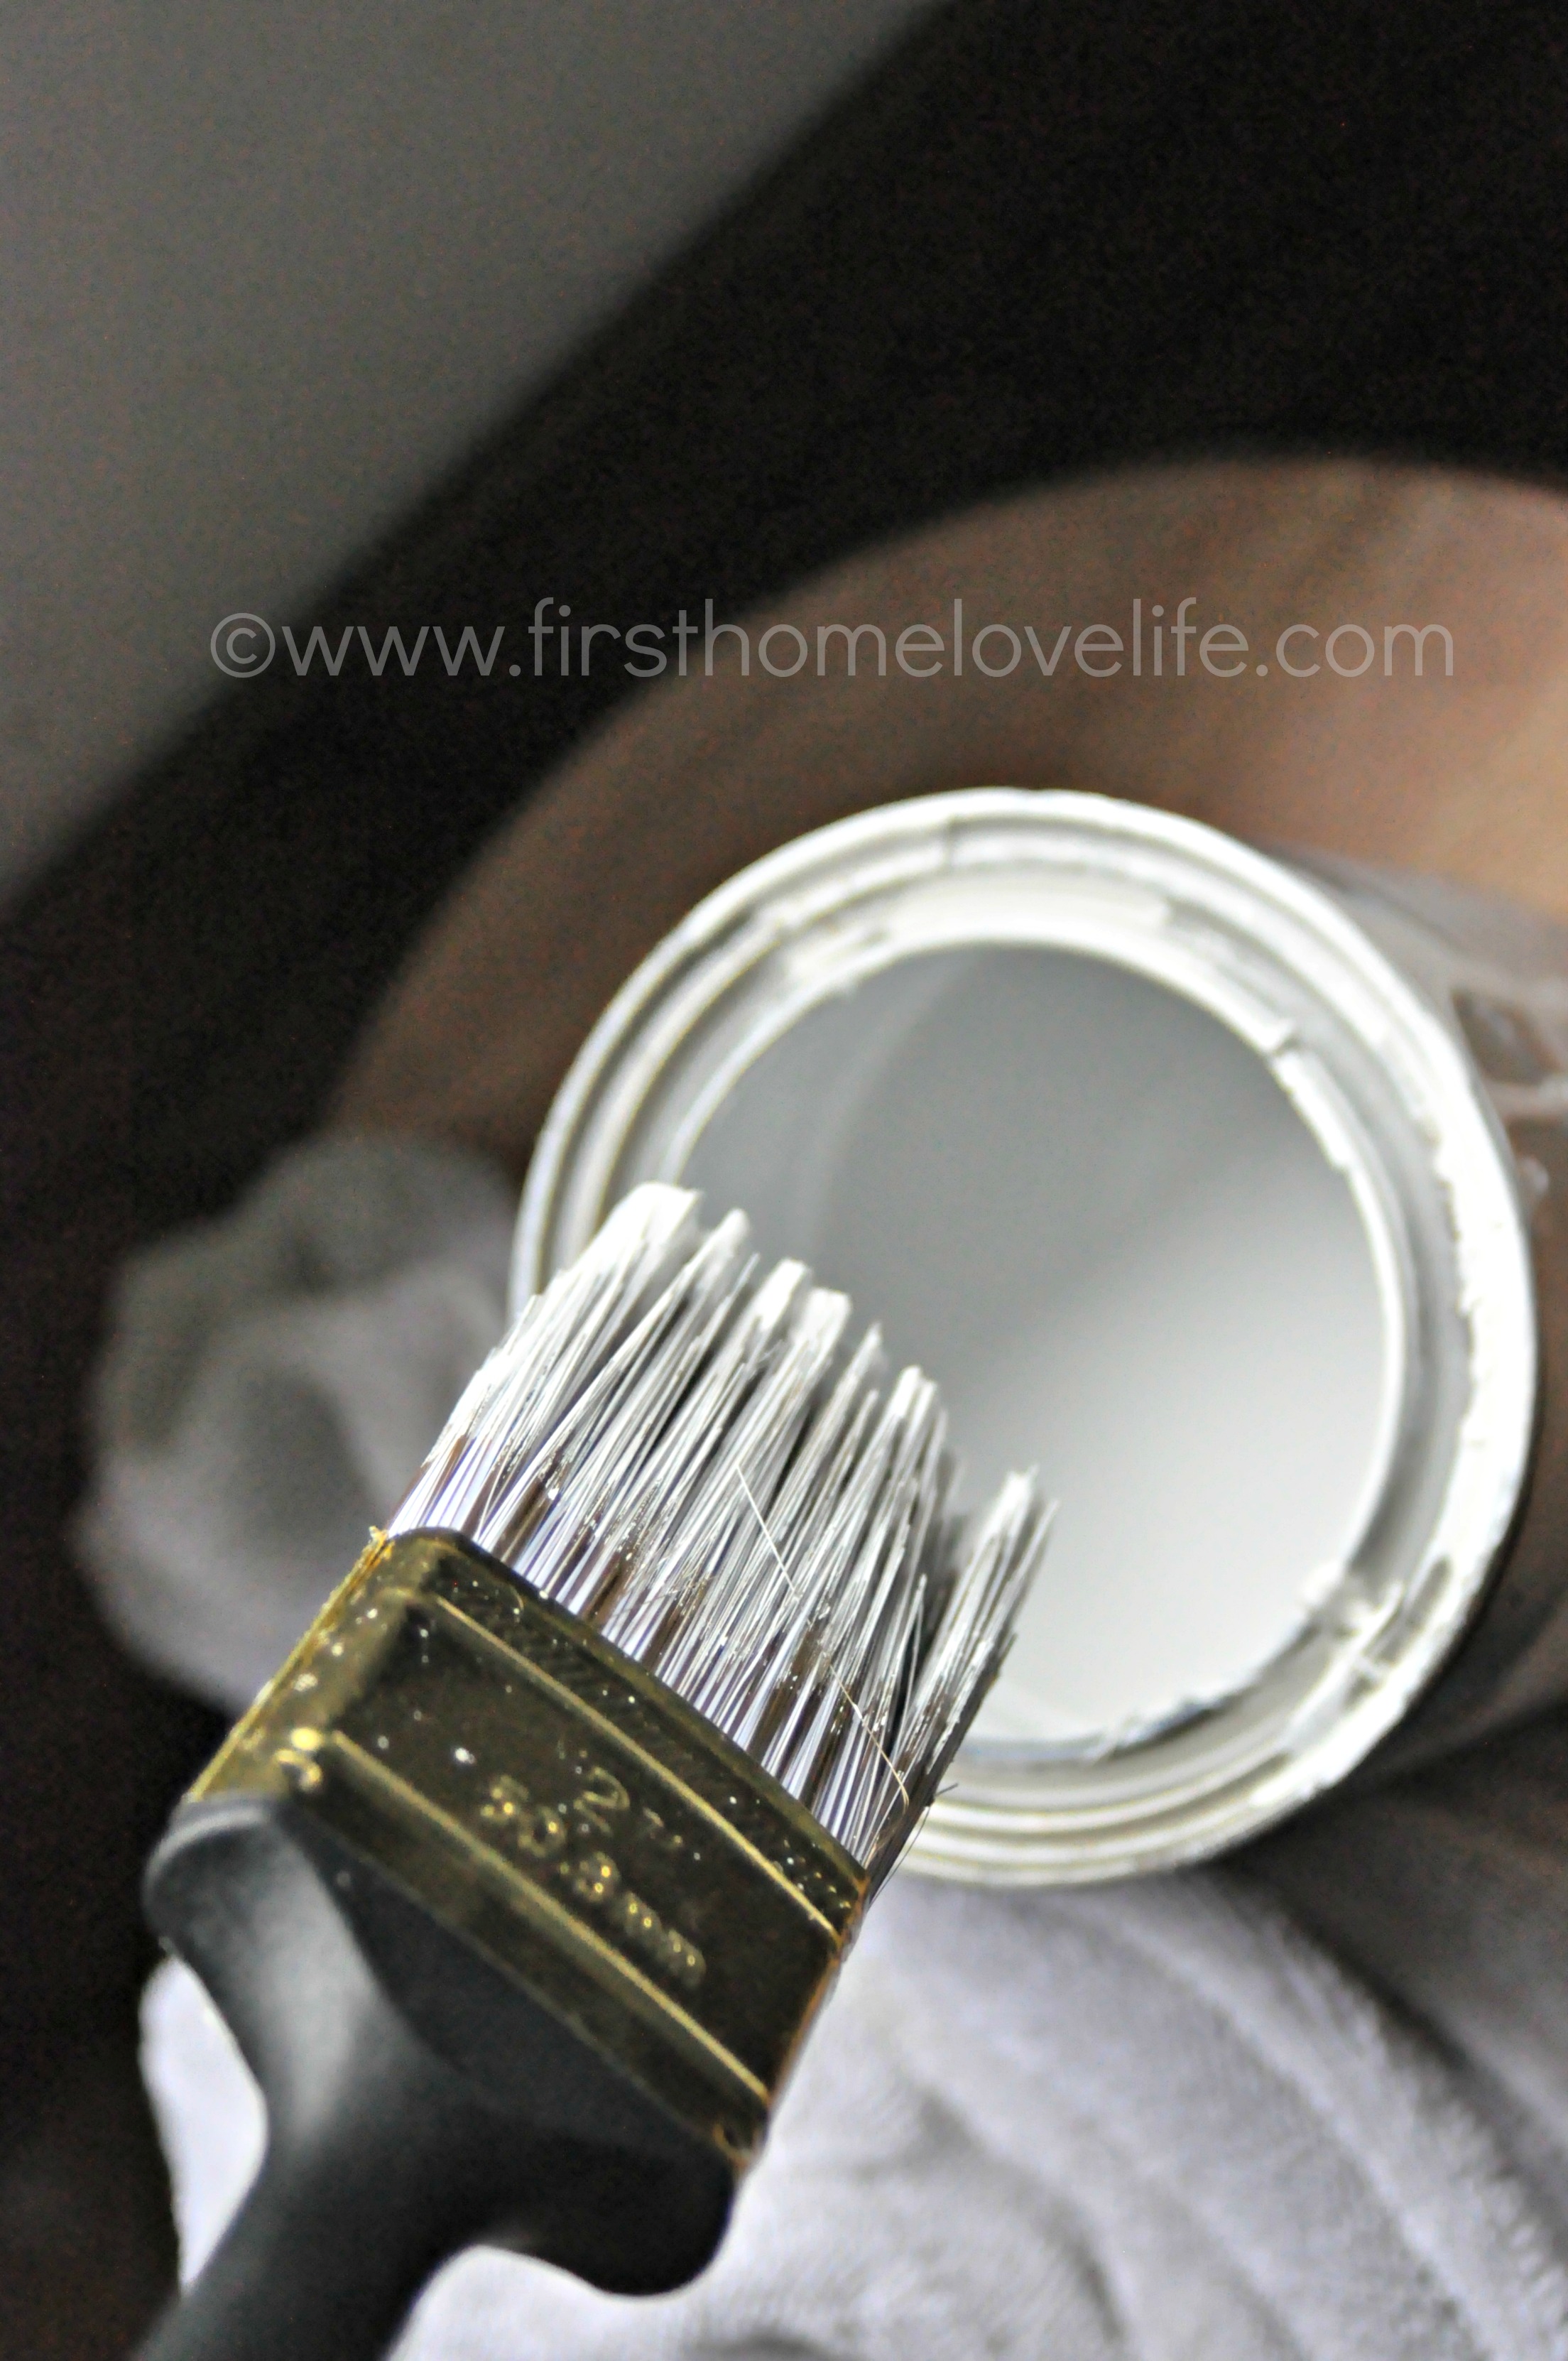
I used a cheap-o paint brush that came in a painting kit at Home Depot from a while ago for this. I always save those for random projects that I don’t want to use my good brushes on.
Then I just went for it! Started in sections, and brushed on the watered down white in the direction of the brick. Some areas I left heavy and other areas I brushed and feathered out to make it lighter. I wanted variation of white shades on the faux brick to make it look more interesting.
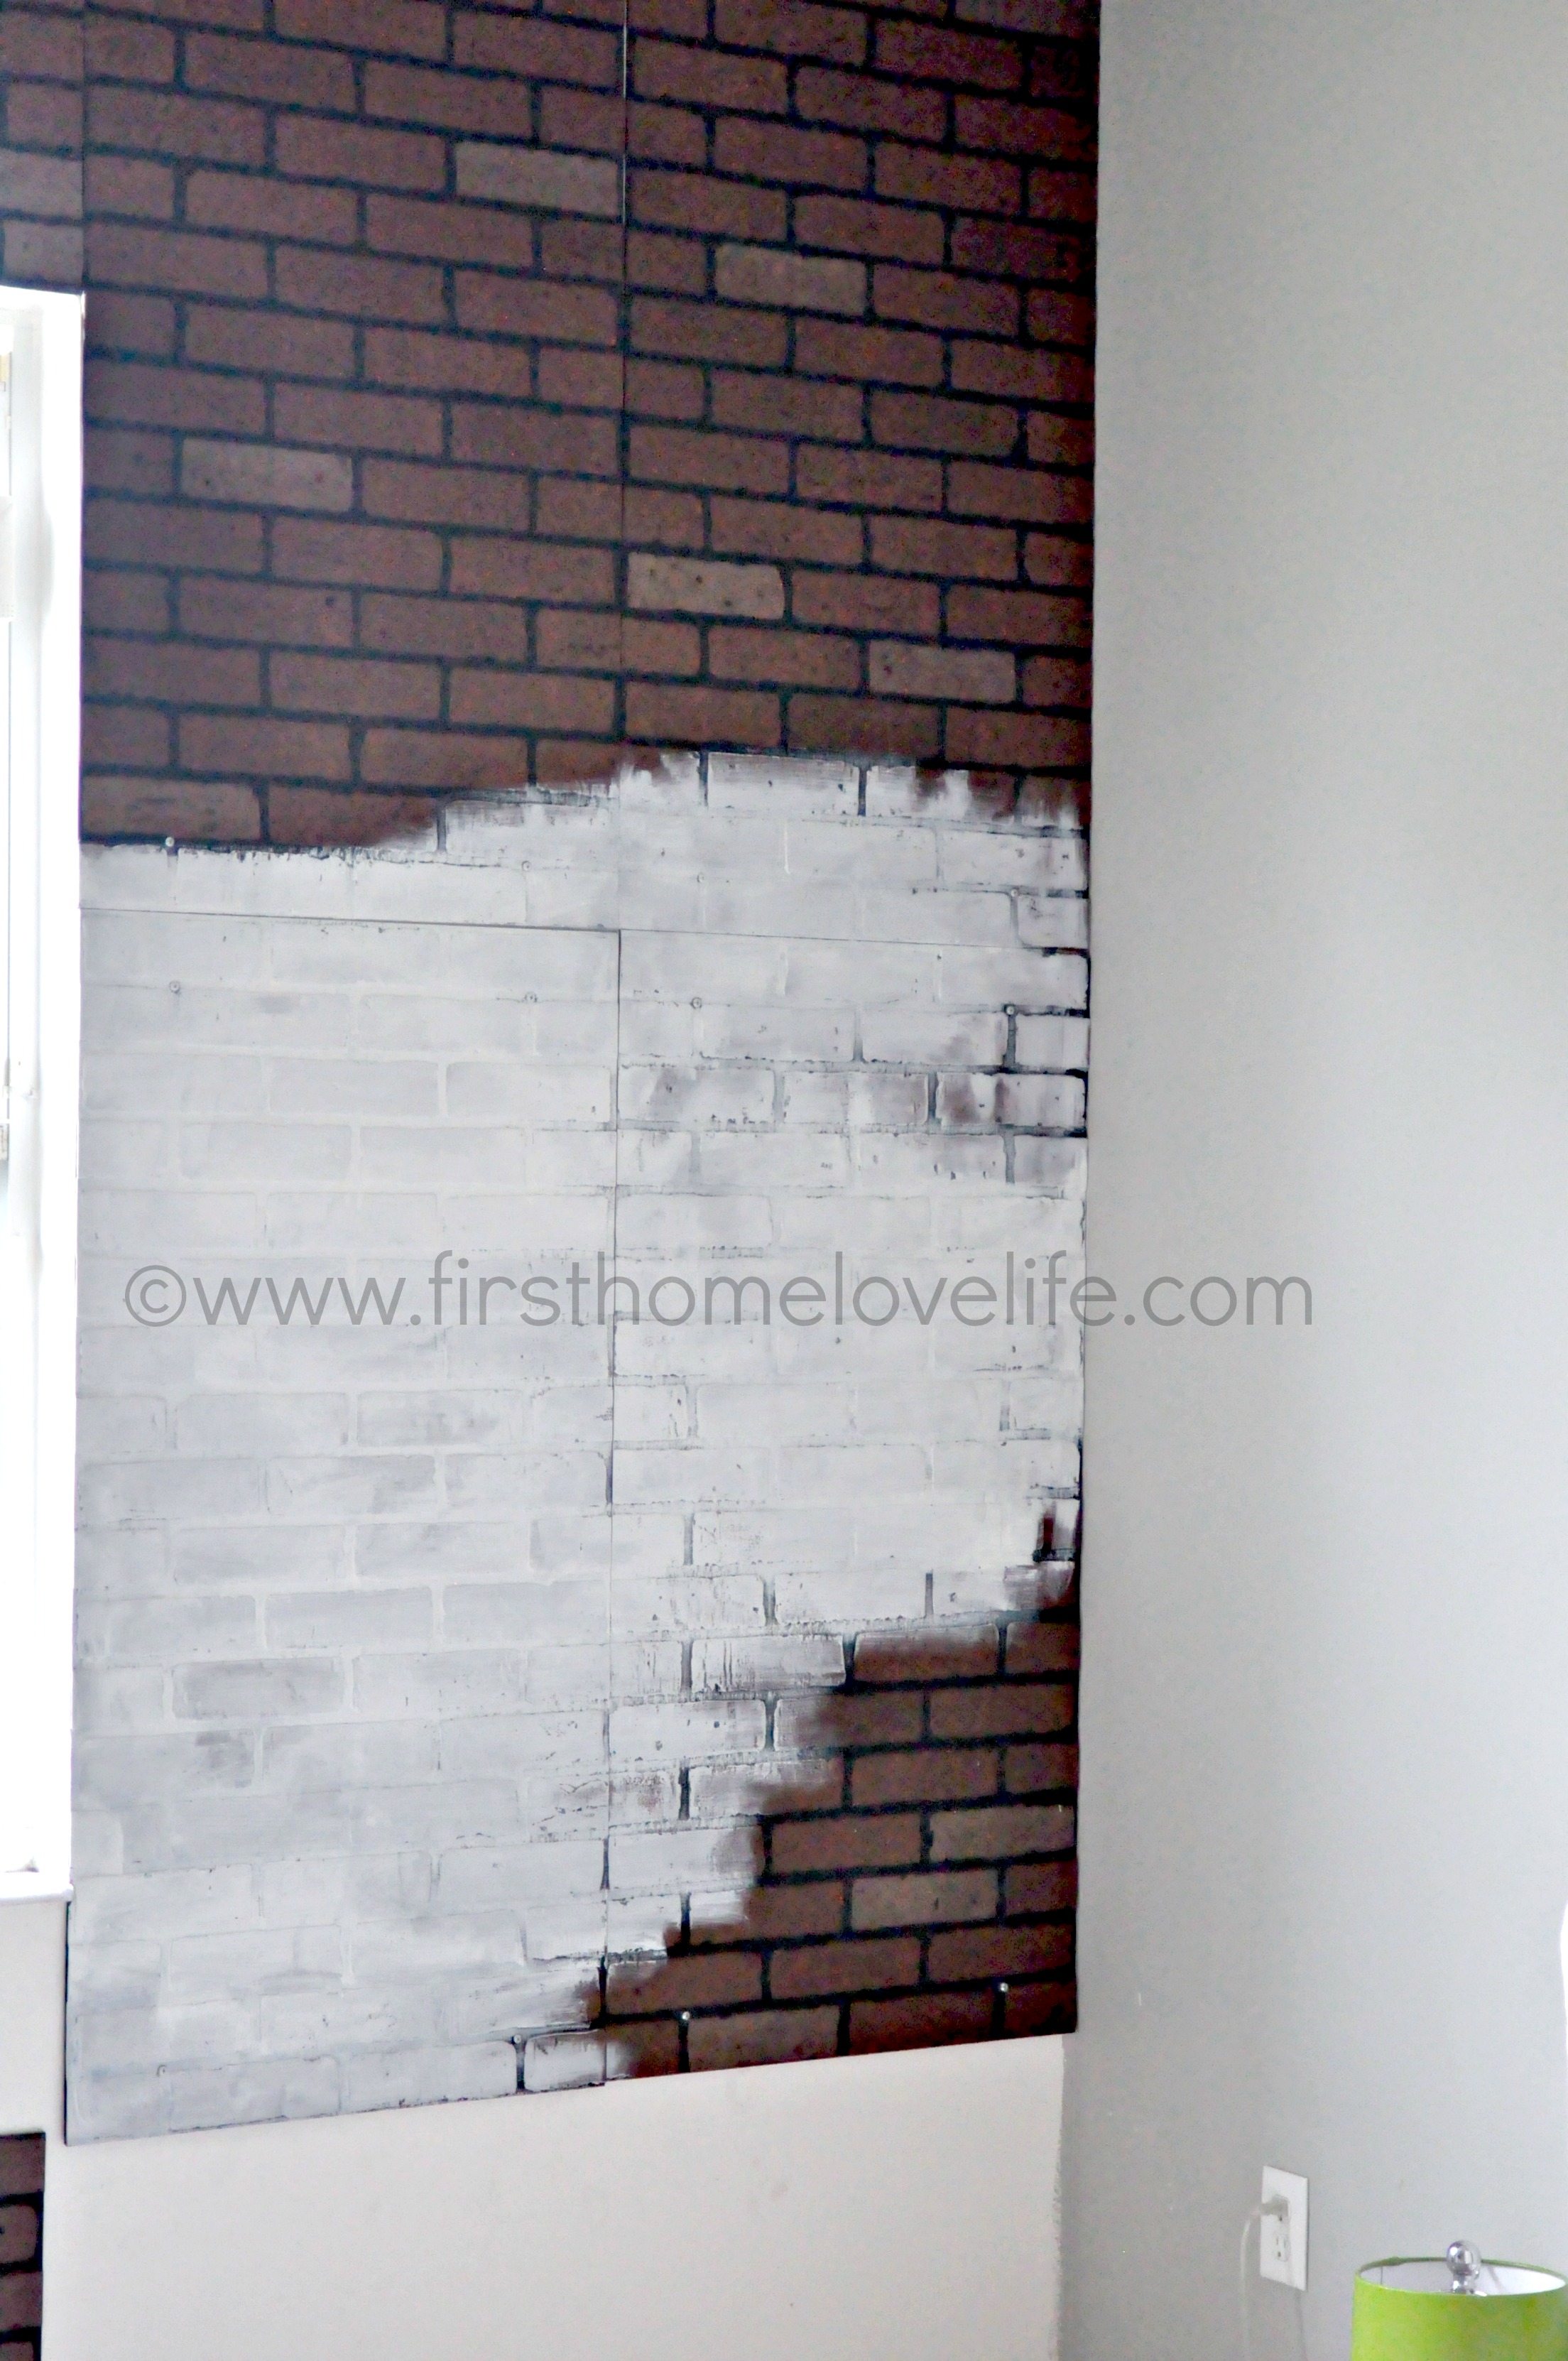
The beautiful thing about using very watered down paint is how easily it wiped away. If I put too much on somewhere I was able to lighten it up easily by using a damp towel and rubbing it a bit. As you can see though, the white was making the cracks show up way more than I thought it would.
So I thought using spackle might be fun. I would even put it on in random spots all over the brick to make it look like mortar patched spots. I didn’t HATE it but didn’t love it either… The spackle really accentuated the fact that there was a crack there.
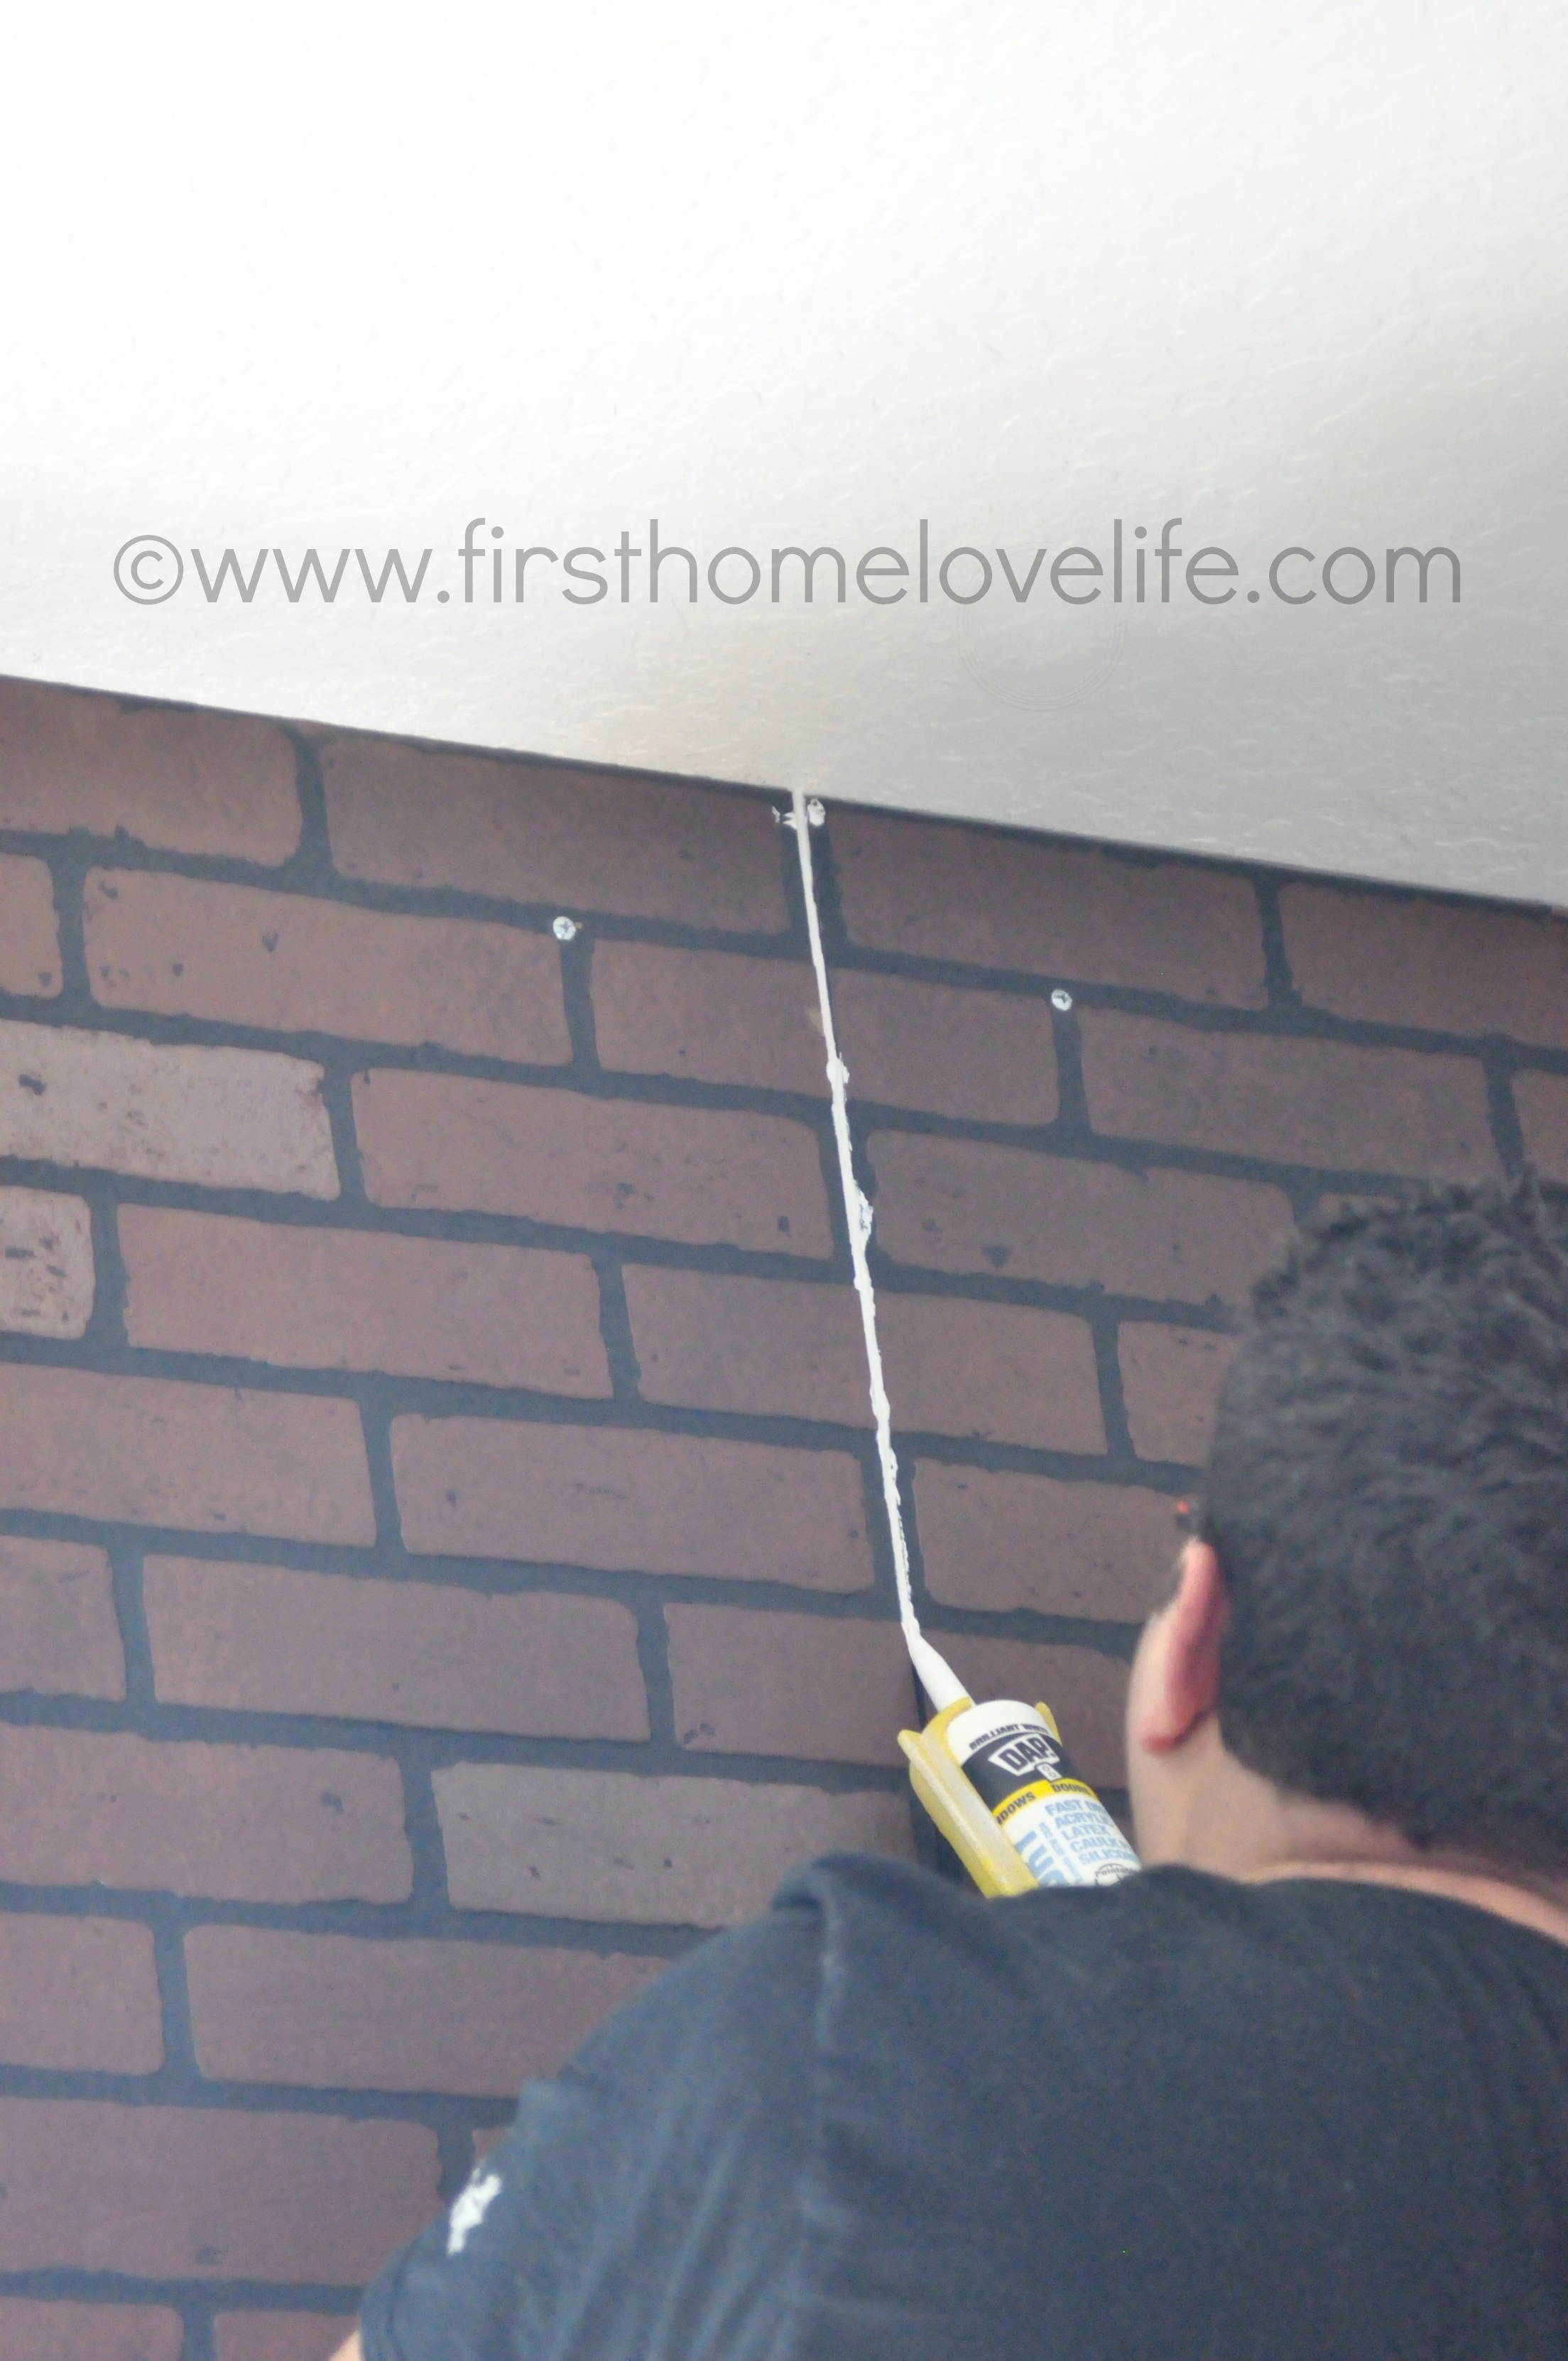
So I ended up sanding it the best I could and camouflaging it better with more paint. Luckily I hadn’t gone too crazy with the spackle and only did it in a couple of spots so it’s not too noticeable and will be hidden even better once shelves are over it. Hubs ended up using paintable caulk everywhere else, and it looks better, so if I had to do it all over again that’s what I would go with from the start.
In total, it took me about 6 hours really spread out over 2 days to get the look I was happy with. Who knew making something look imperfect would take so long?! 🙂 I did about 3 messy coats, wiping and sanding spots in between to give it the aged and really rough look, but I couldn’t be happier with the way it turned out!

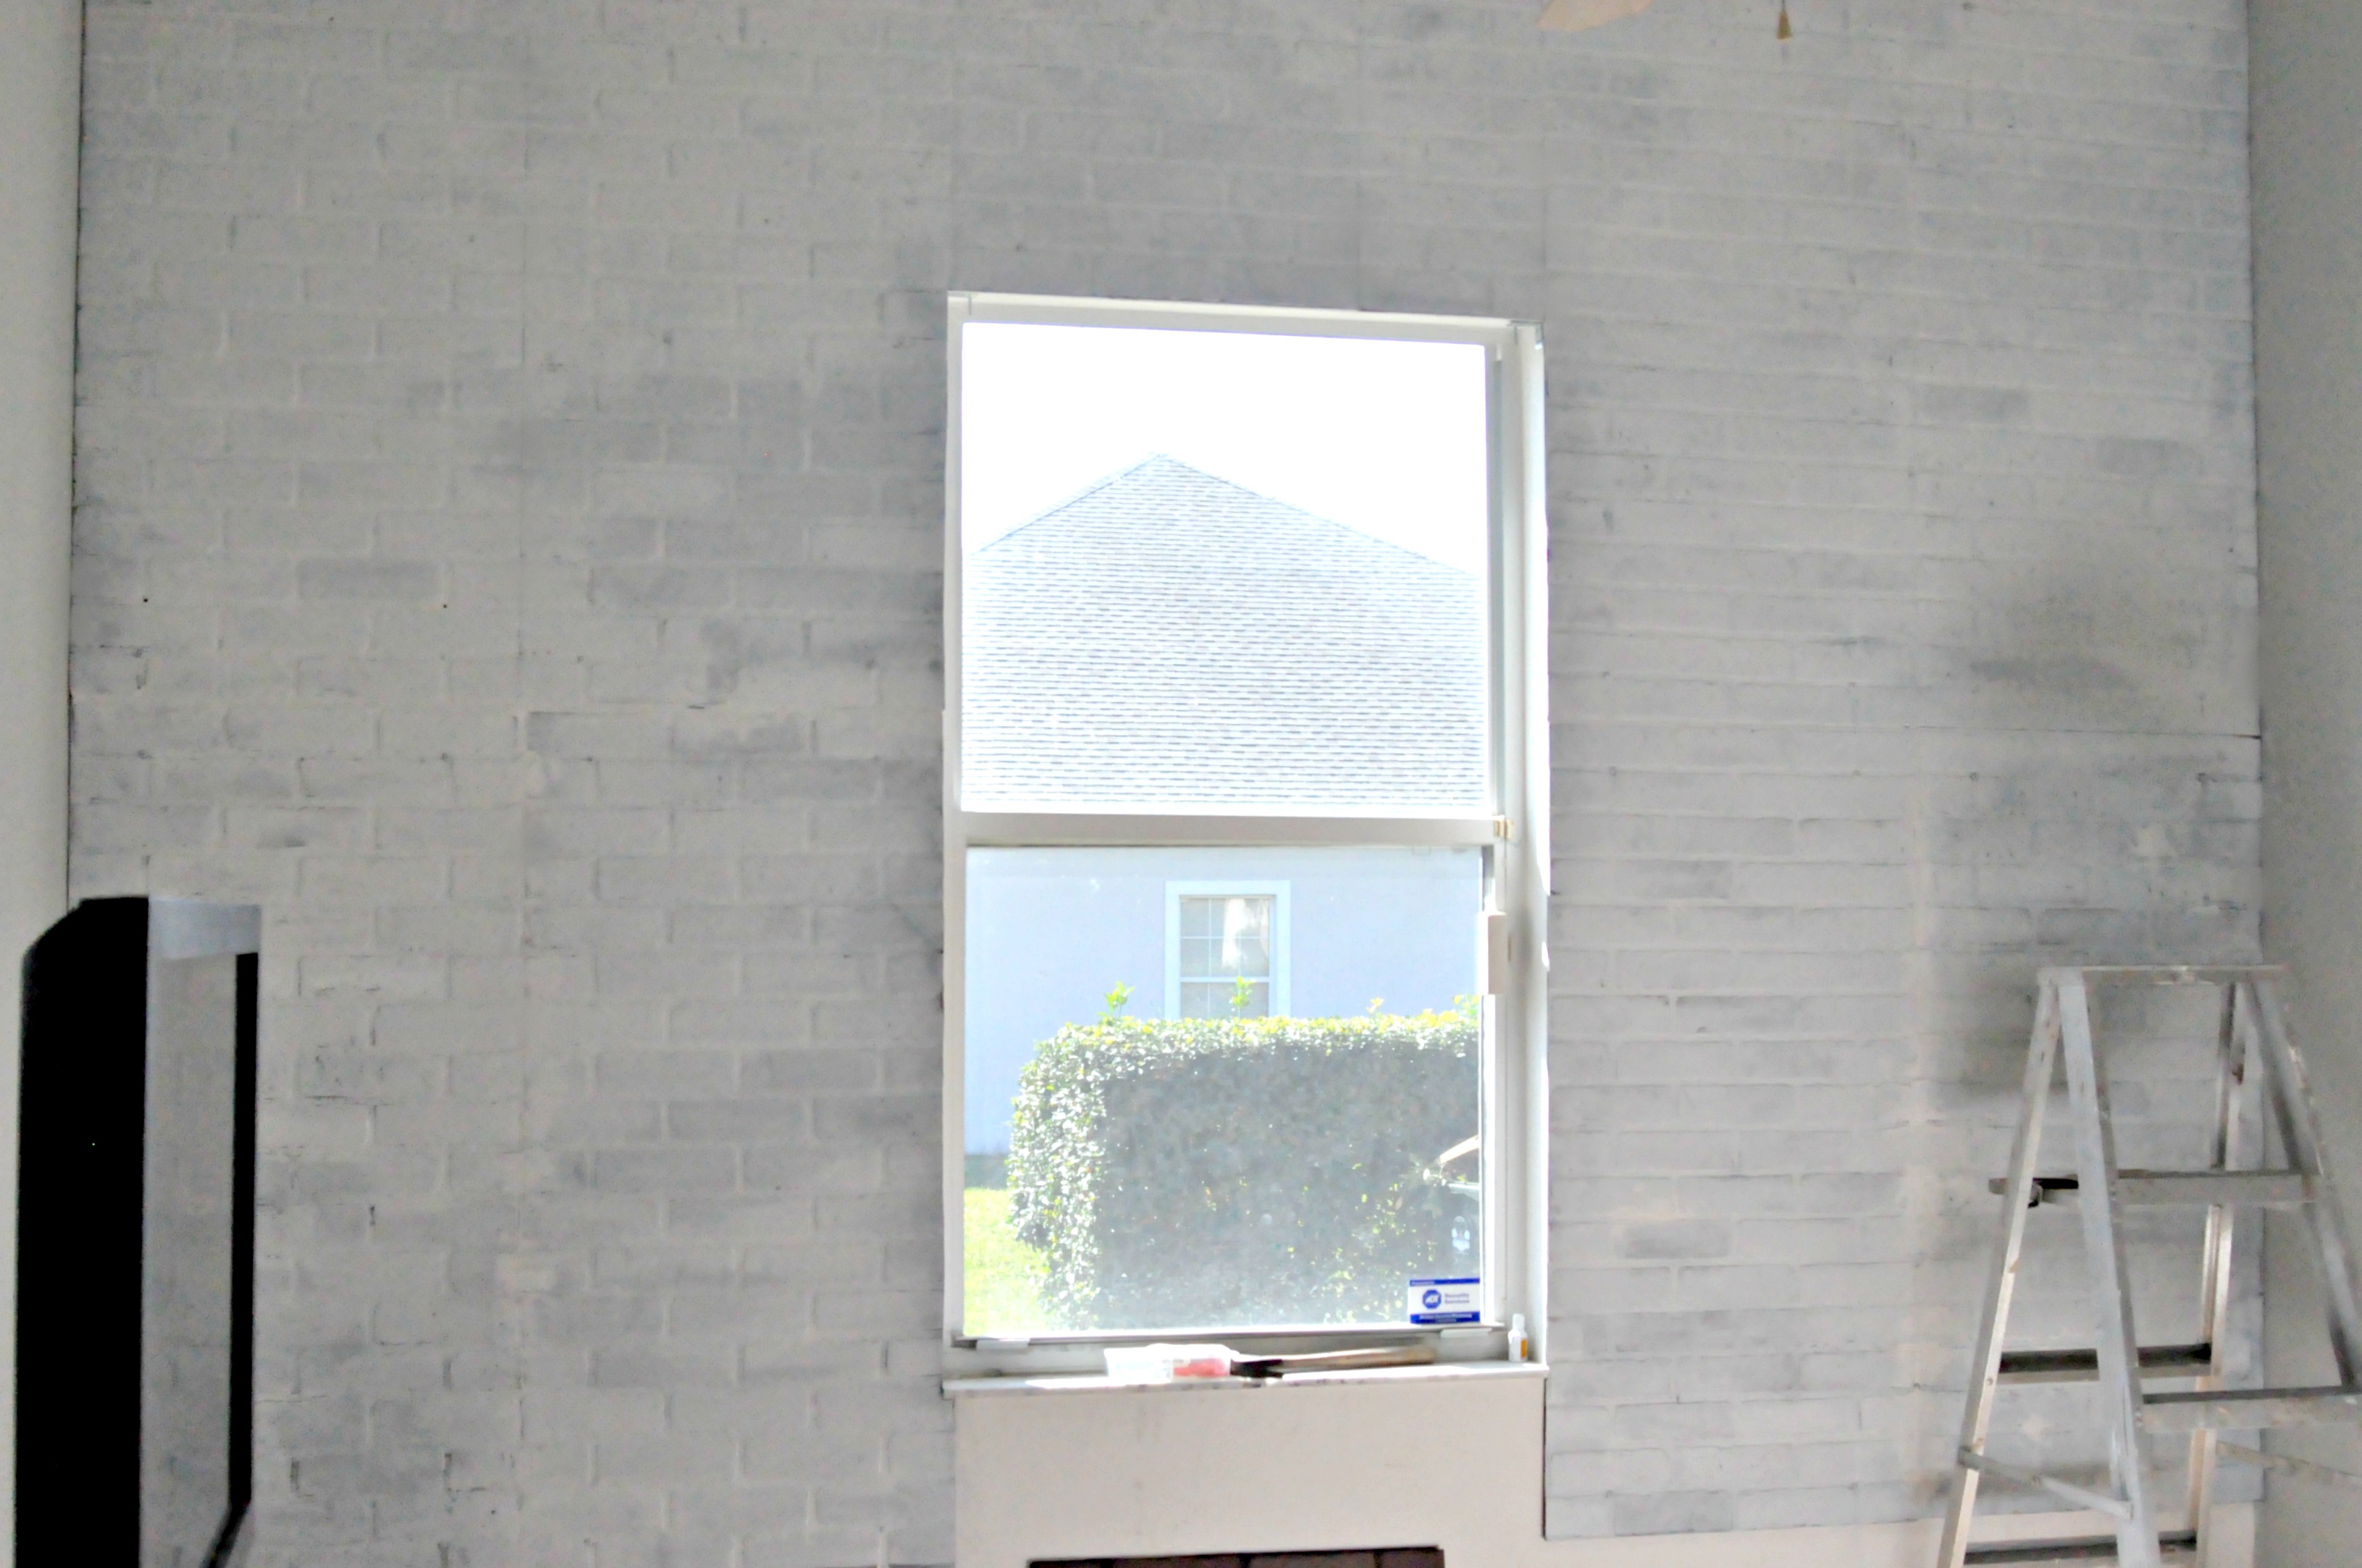
We’re waiting to bring the cabinets in before doing that little spot under the window. I know it’s hard to see the detail in these pictures but I’m completely smitten with the look of it! Hopefully once I start adding it more details you’ll get to see it in it’s glory even though it’s looking kind of rough right now!
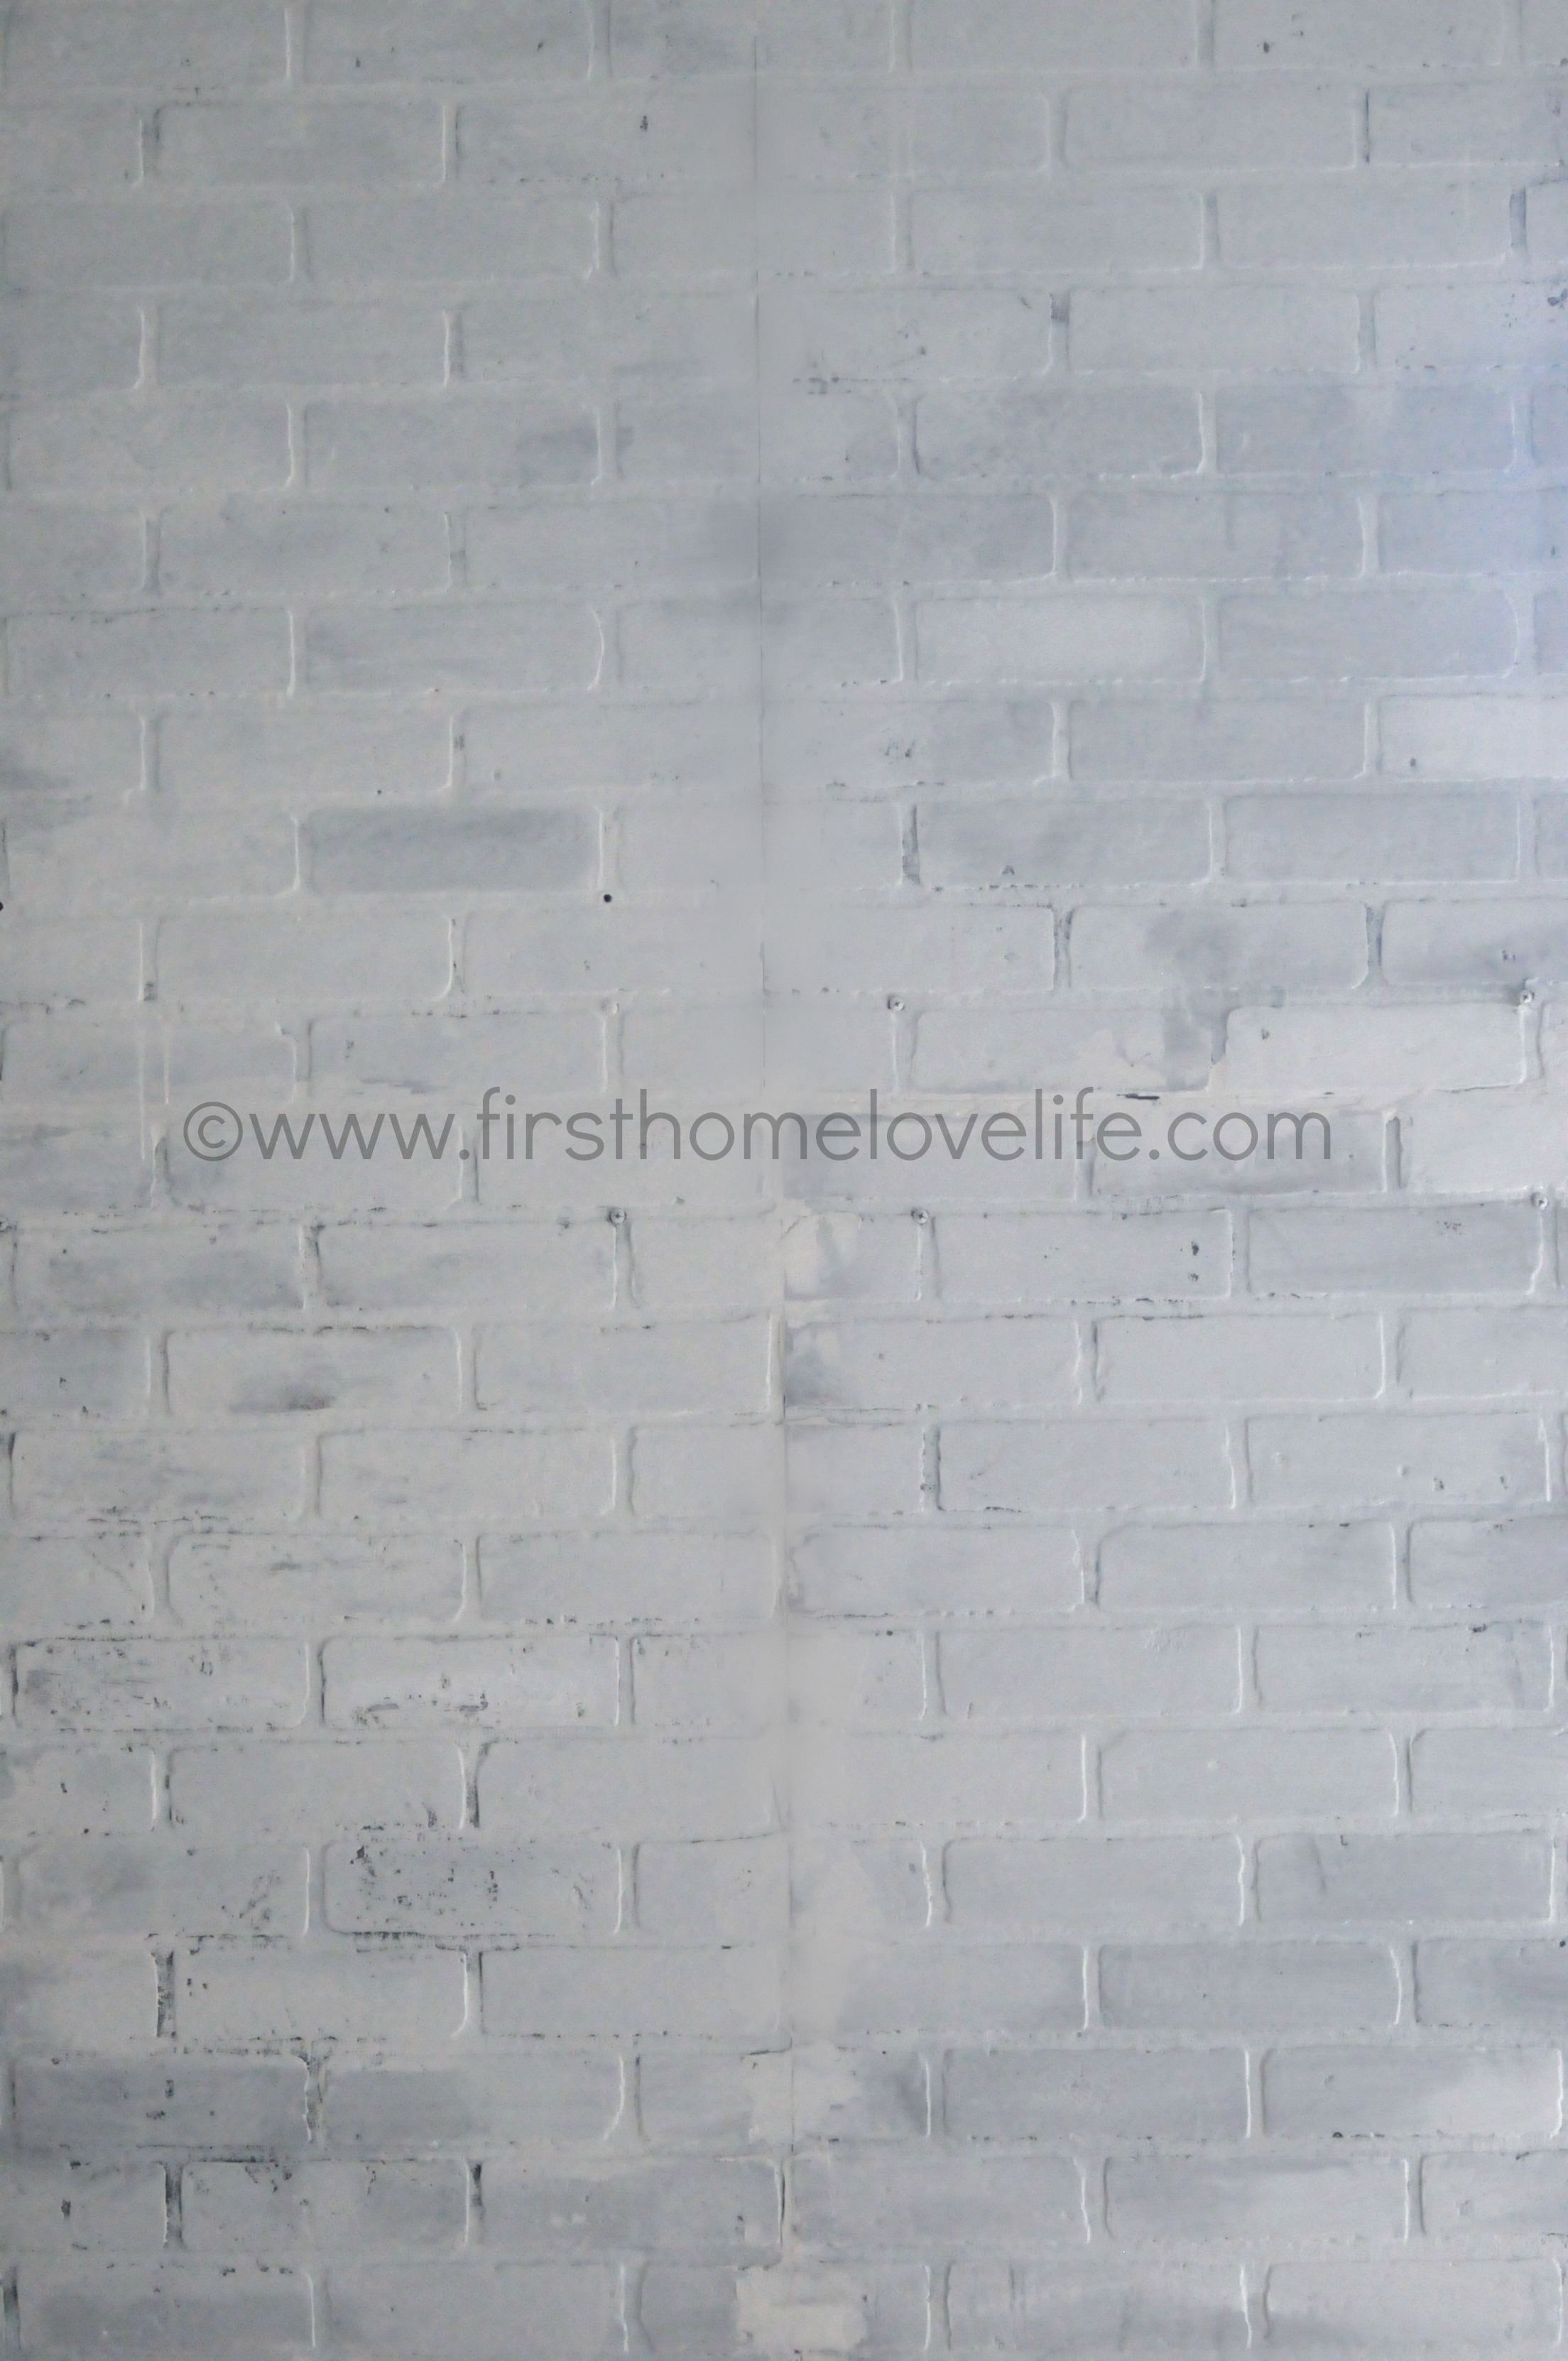
Here’s what it looks like if I darken the photo a bit so you can see the detail and the randomness of the paint pattern a bit better.
I’m dying to decorate guys! I feel like we’re so close, yet so far away, but it’s coming along exactly as I see it in my head so I’m trying so hard to be patient! Not one of my strong points 😉
So what do you think? Love it? Hate it? Not sure?? I’d love to know so leave me a comment here or on my Facebook page and let it all out! 🙂
Talk to you soon friends, take care!
XO


Looks great! I can’t wait to see it all finished. I love the texture it adds to your room!
Cheryl @ The Creative Me and My McG recently posted…Winter Mantel
LOVE this so much, it came out gorgeous! I think you should come visit me and help me do this in my house 🙂 Awesome job!
Love it! You’re a brave girl, we spent years getting rid of brick BUT, none looked as good as this. You’re distressing is the finishing touch!
Wendi @ H2OBungalow recently posted…DIY Beach Wall Art
Stonework add ons on your homes increases your house’s value.