So where did I leave off?
Ahhh yes…Cutting the walls…
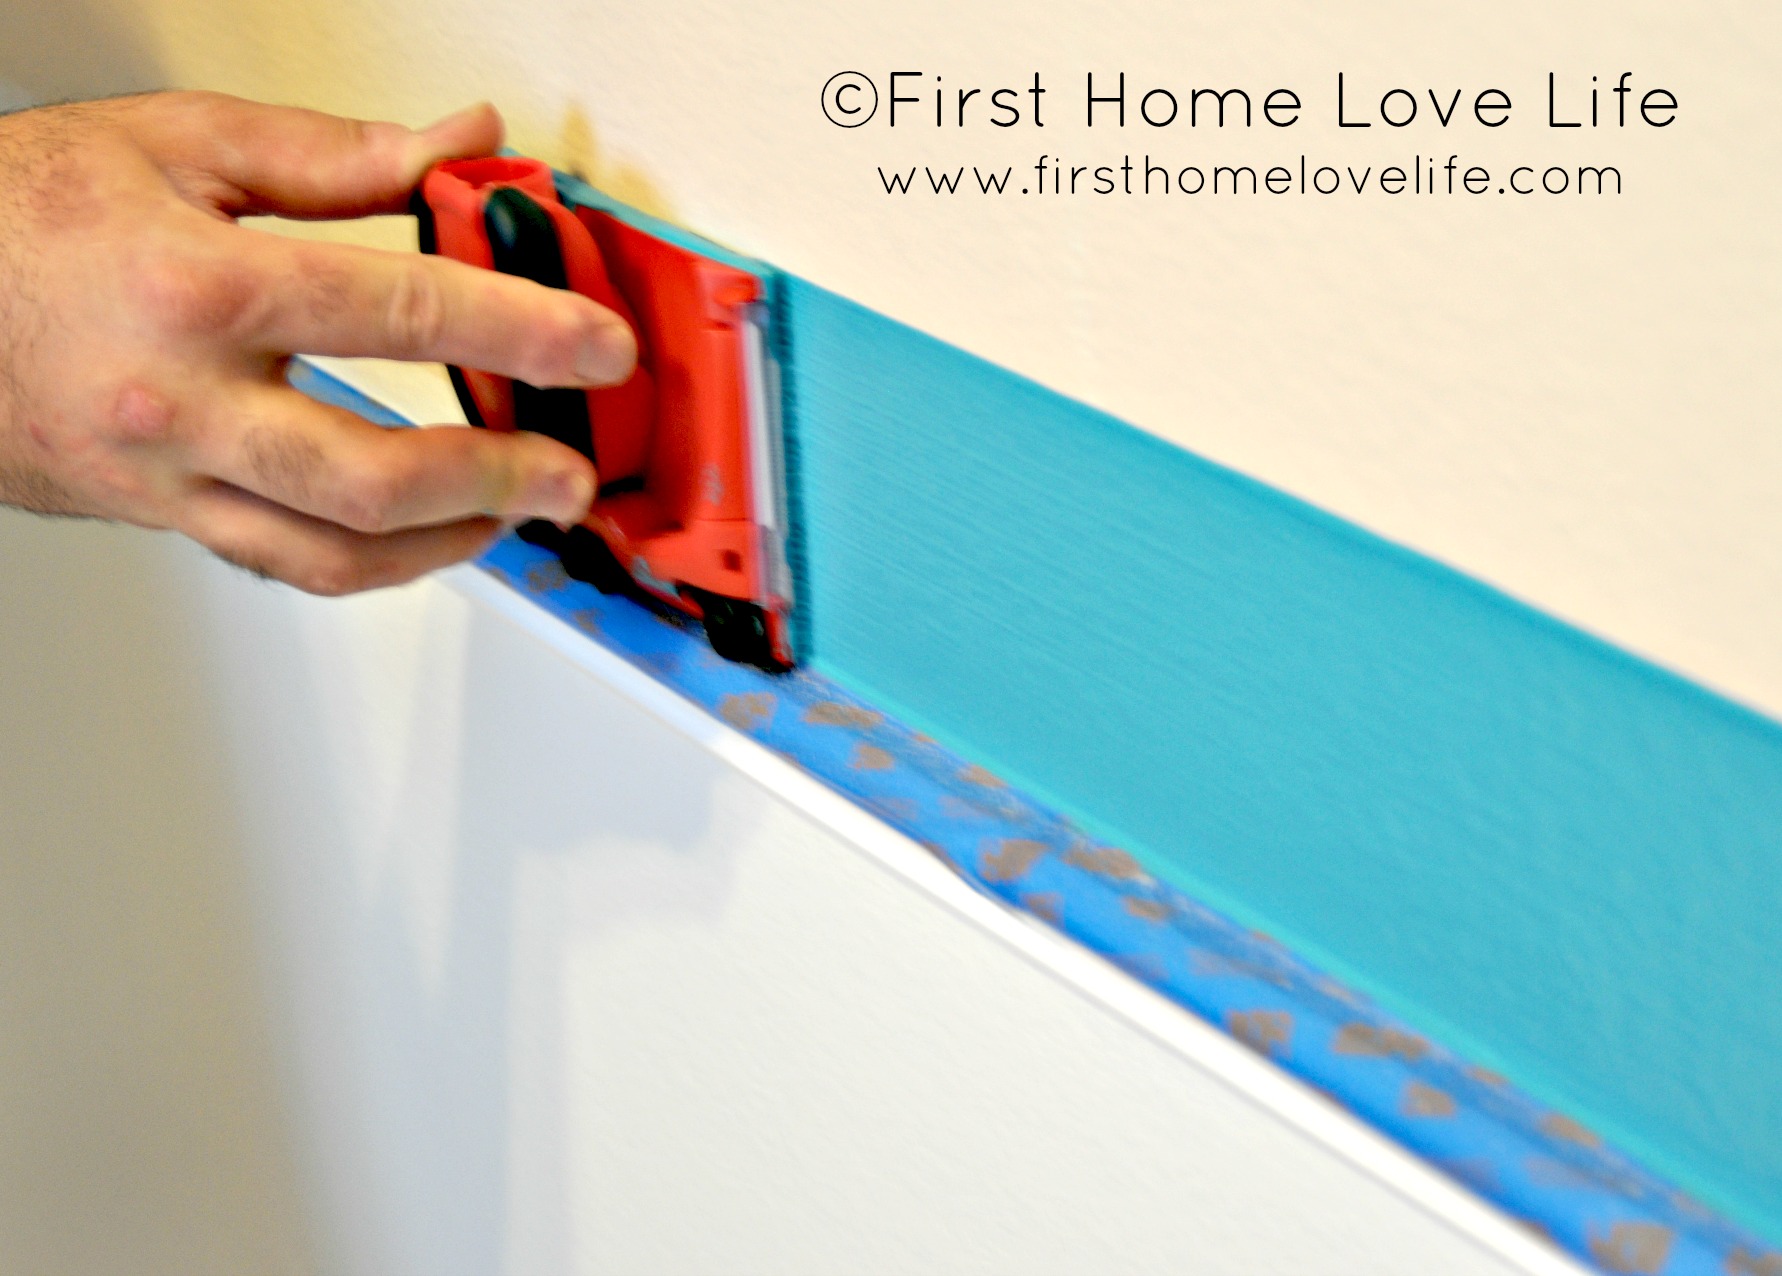
So like I said in part one of this painting series, I don’t have the steadiest of hands, and neither does my husband for that matter. That’s why we love this edger so much, and NO I’m not getting paid to push this product, I just seriously {heart} it.
So as my husband was cutting the edges of the walls I was right behind him with the roller. I’ve noticed that sometimes when we let the paint sit and dry before immediately rolling it out the texture of the paint is noticeably different because of the edgers pad. (That doesn’t really make sense unless you have seen and used this product, but trust me, you want to roll over it a little while the paint is wet so everything blends.) Even if you’re using an angled brush while edging around molding or corners, you still will want to use a roller to roll over where you’ve painted with the brush. ALWAYS keep a wet edge so there are no noticeable spots where the brush ended and roller began.
So since I was right behind hubs with my roller I didn’t get a chance to snap during photos, (bad blogger) I know. But, never fear because I spent hours 15 minutes drafting up this nifty drawing for you to show you the most efficient way to paint your walls.
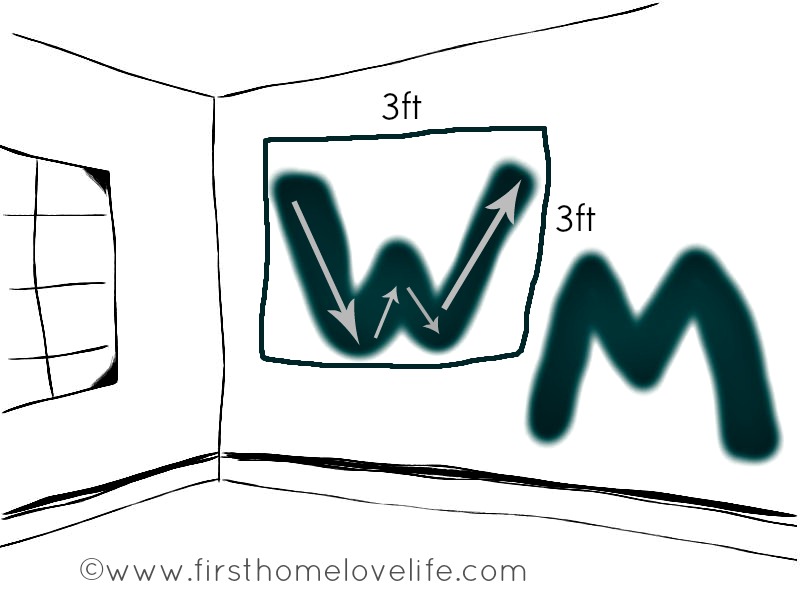
Let’s pretend for a moment you’re holding a paint roller in your hand. Now raise your roller up against the wall. Now you have two choices…ready?
I want you to either roll a big “M” or big “W” onto the wall.
Now roll up and down from where you ended your letter to where you started and once you’ve done that you should have approximately a 3×3 square shape on your wall…well…not really, unless you’re reading this as you’re actually painting.
Which in that case…KEEP GOING! Wet edges remember?!
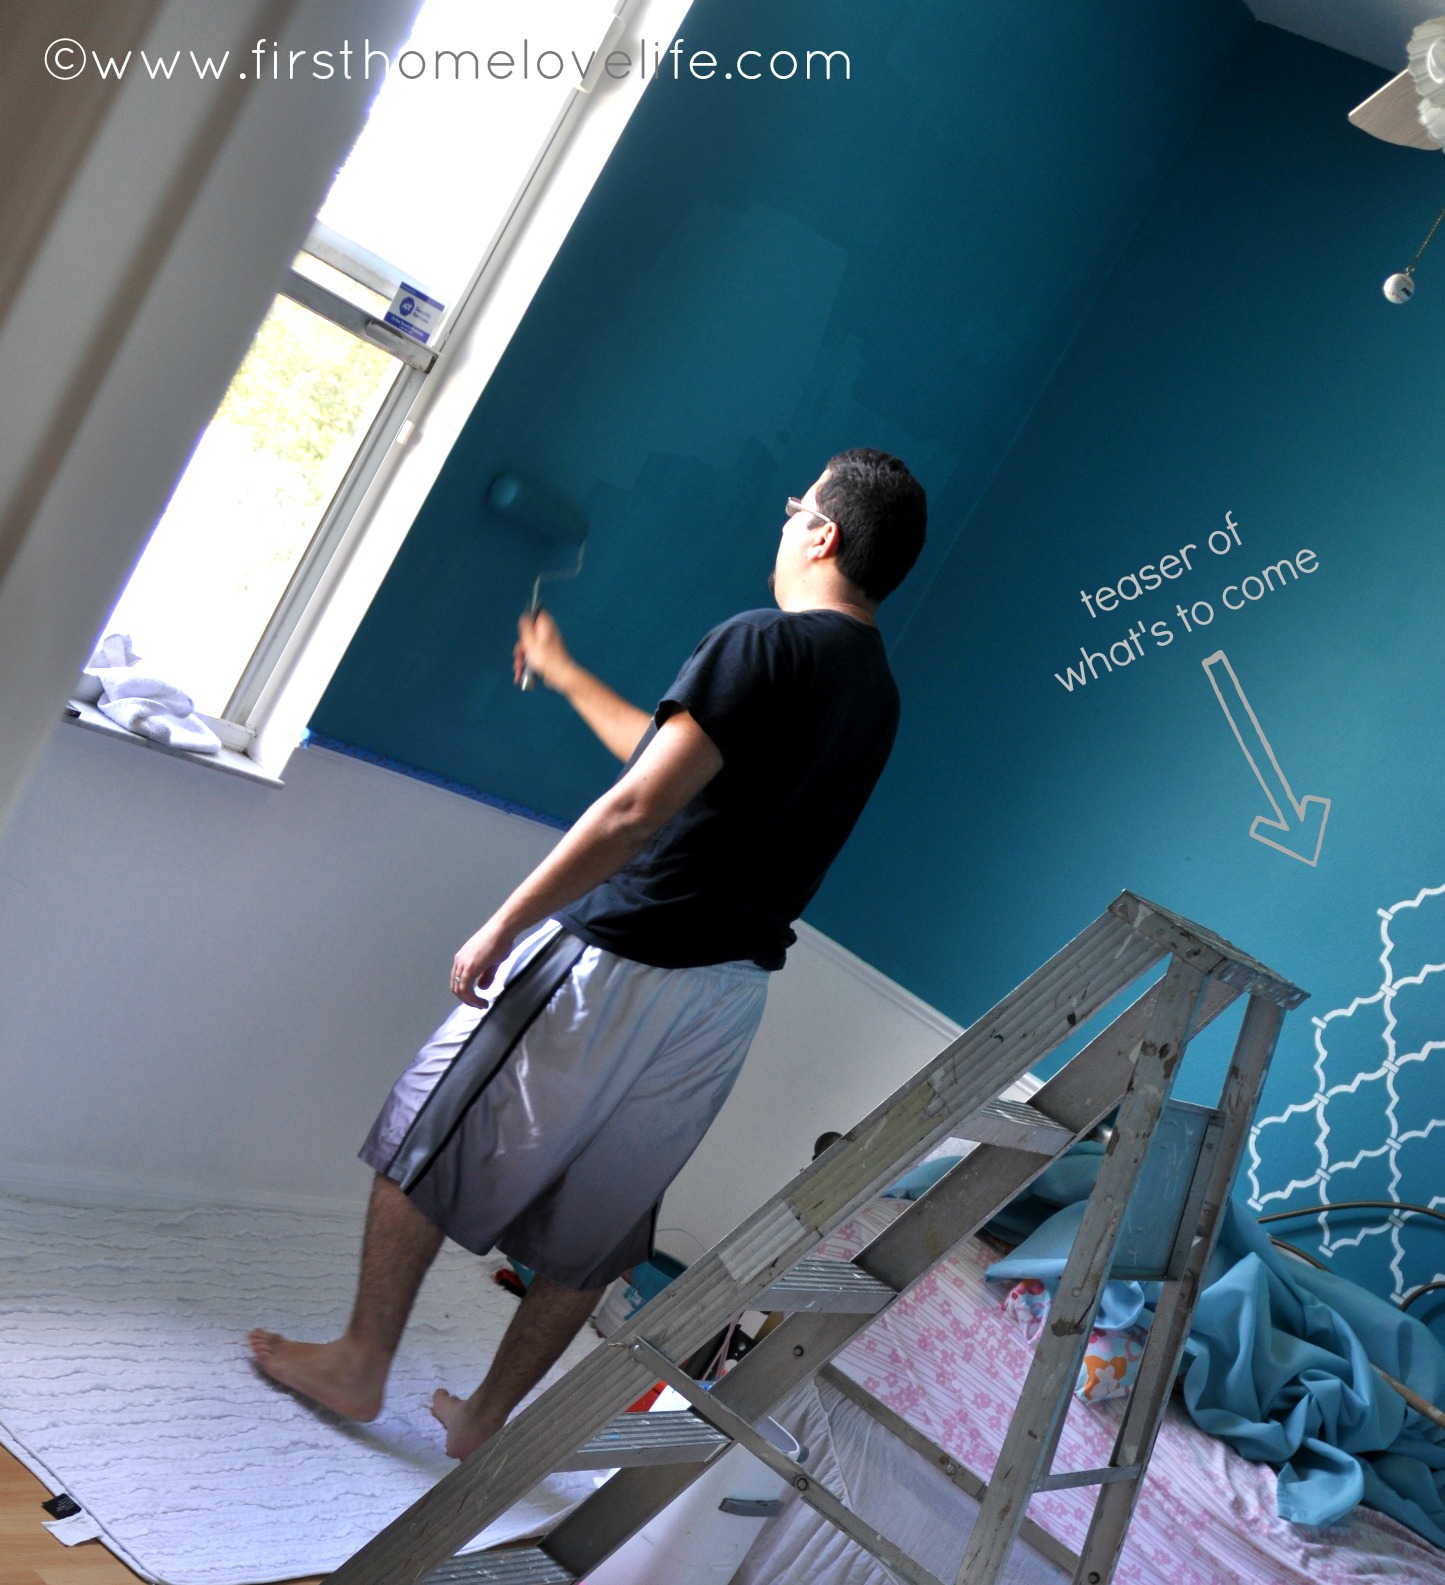
Just keep moving…Just keep moving…Don’t get caught up trying to perfect your first coat. It ain’t gunna happen-nope. Instead finish off your room, and then start putting on your second (or in our case third) coat. Darker color paint- three coats recommended or you won’t get the true pigment. You’ve been warned. 😉
Word of caution though- if you’re using a higher gloss finish…wait until your first coat is completely dry before starting your second coat. For some reason the higher sheen paints LOVE to clump when damp, and nobody wants a clumpy, bumpy wall!
A little tip- keep a damp cloth right with you. Mistakes happen, and this way you can fix it right away without panicking.
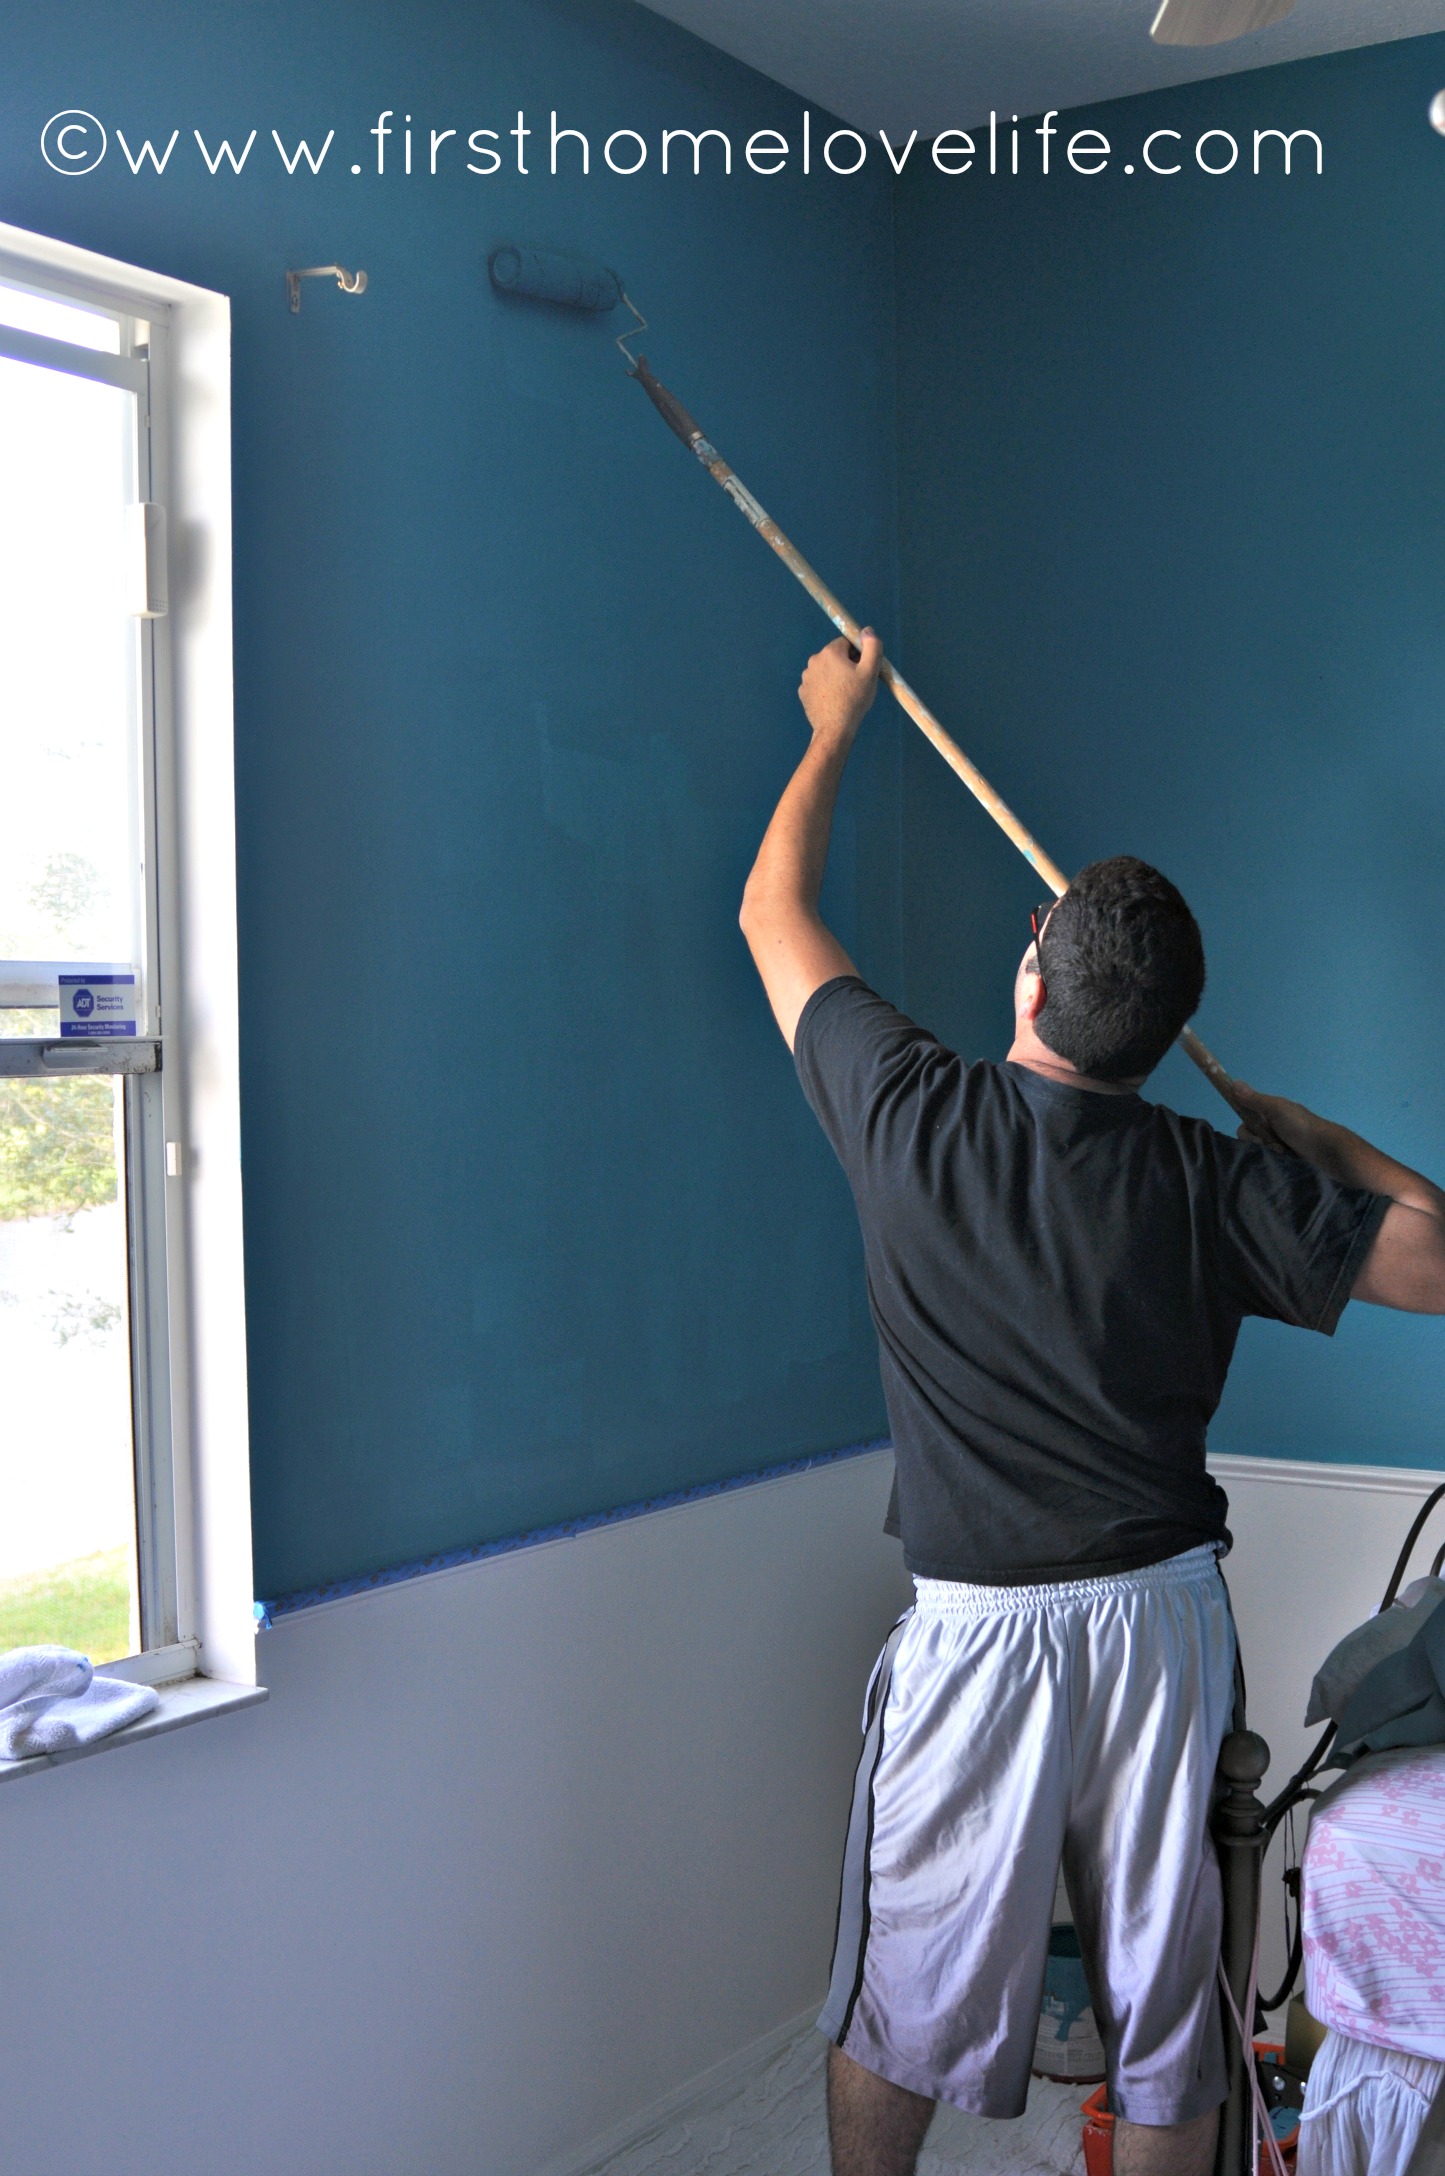
Even after your second (or third) coat of paint you still may need to touch up here and there. So stand back with your roller and lightly go over the areas that need a bit more work.
When your confident everything is done, it’s time to get rid of the tape! Yes…while the paint is still wet. Just like when your painting stripes on your wall, you want to get a crisp line on your edges.
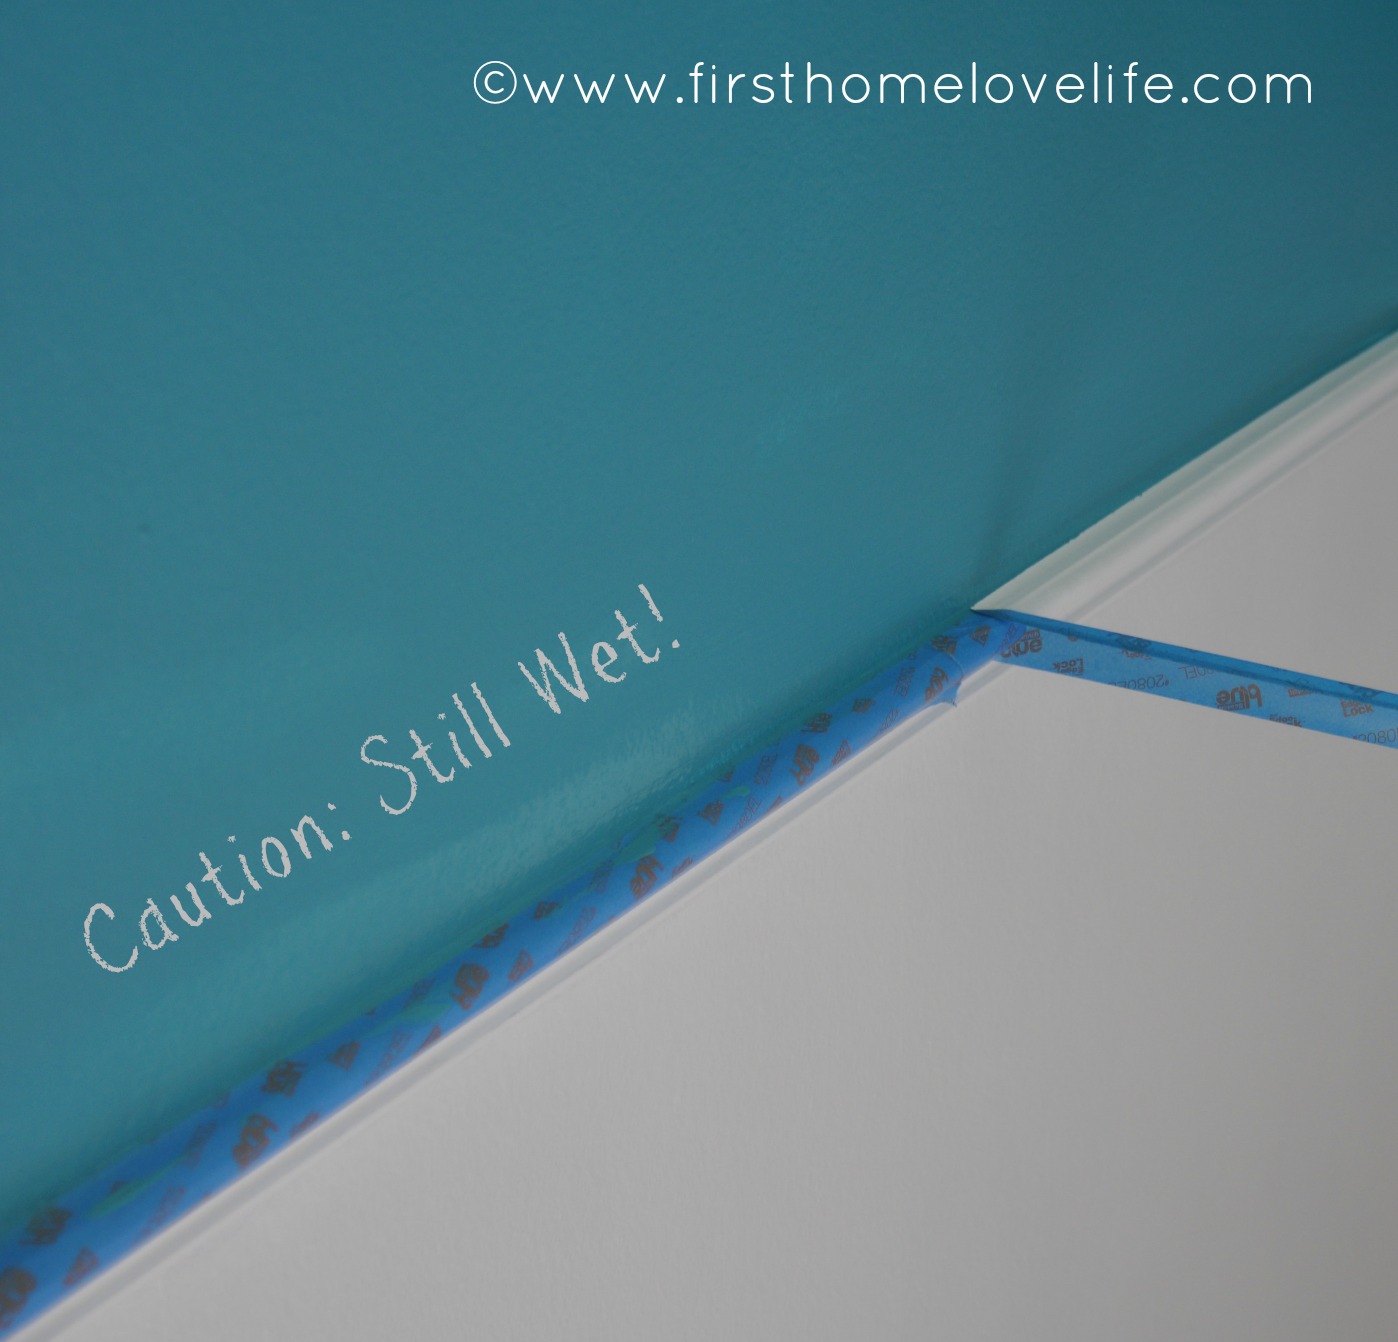
So stand back and pull slowly but purposely at a 45 degree angle, and you will have beautifully done edges and perfectly painted walls.
I hope you found this series helpful!
Don’t forget to check out part one and part two before you leave!
XO


Dear Christine and Hubbie,
My apologies to Hubbie for not knowing your name. Thank goodness for your blogging about painting, your directions are so clear and so very helpful to me. For some odd reason I did not know that when it comes to painting, less is more. I always thought I was a good painter until I began helping my husband at a job he’s doing. It was so frustrating to me because I didn’t known the proper way to paint. Thank you both so much for taking the time to put these great lessons together for others like myself. Hopefully it will become easier from here on in :). Good tools will go a long way in accomplishing a good job also, so thank you for sharing your knowledge there as well.
Thank you so, so much for your time and consideration.
Most Gratefully
Marie Keough