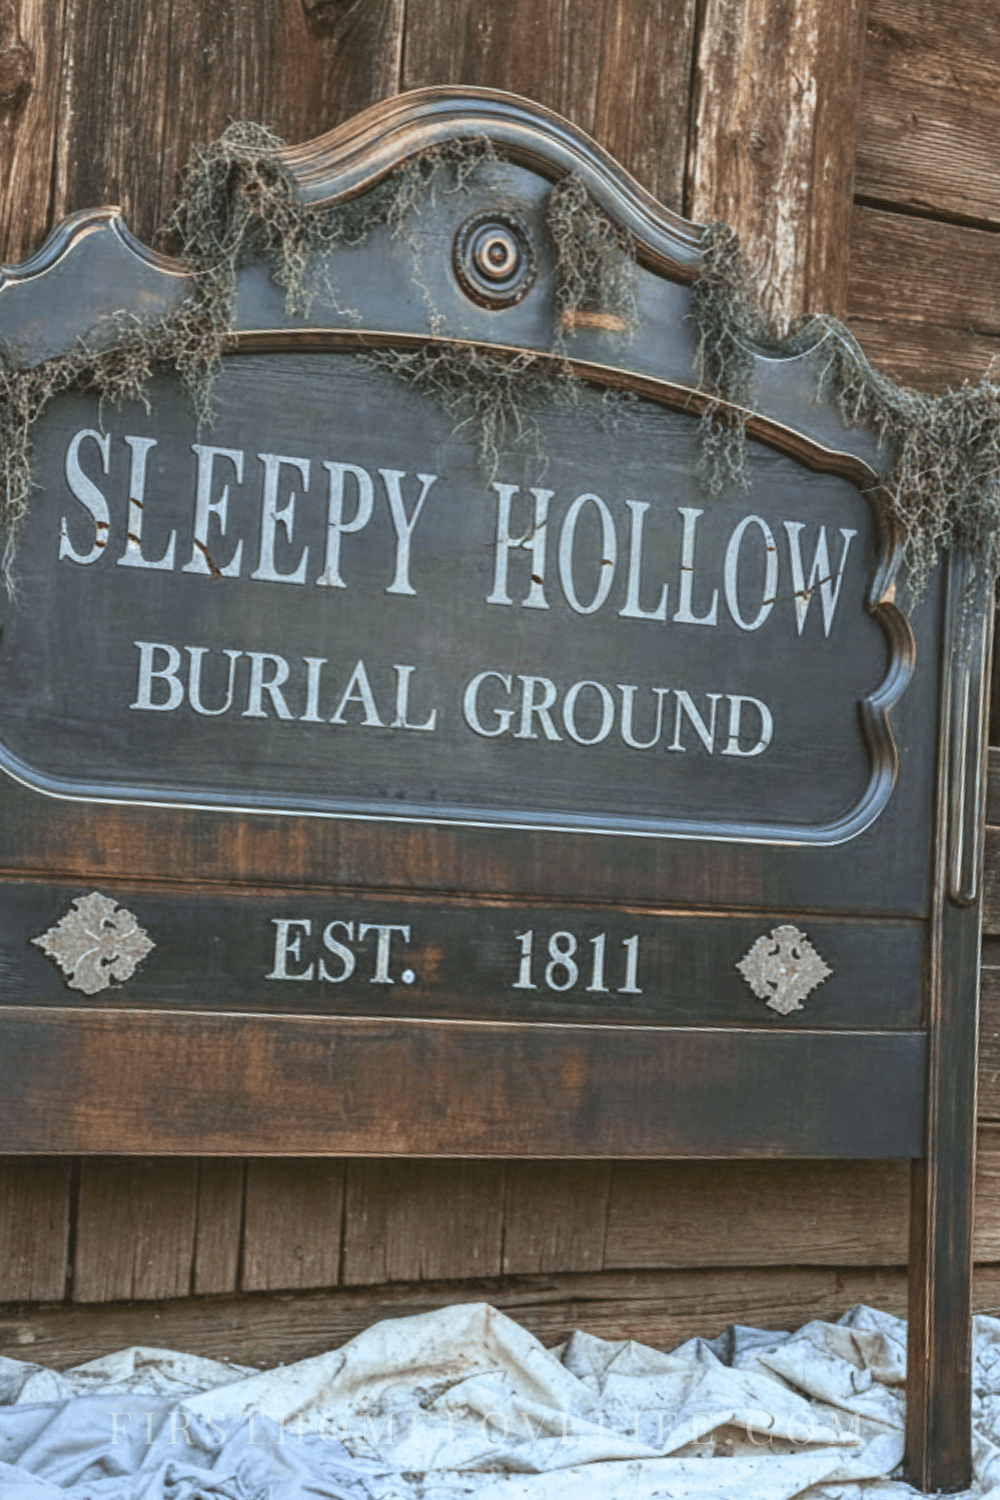
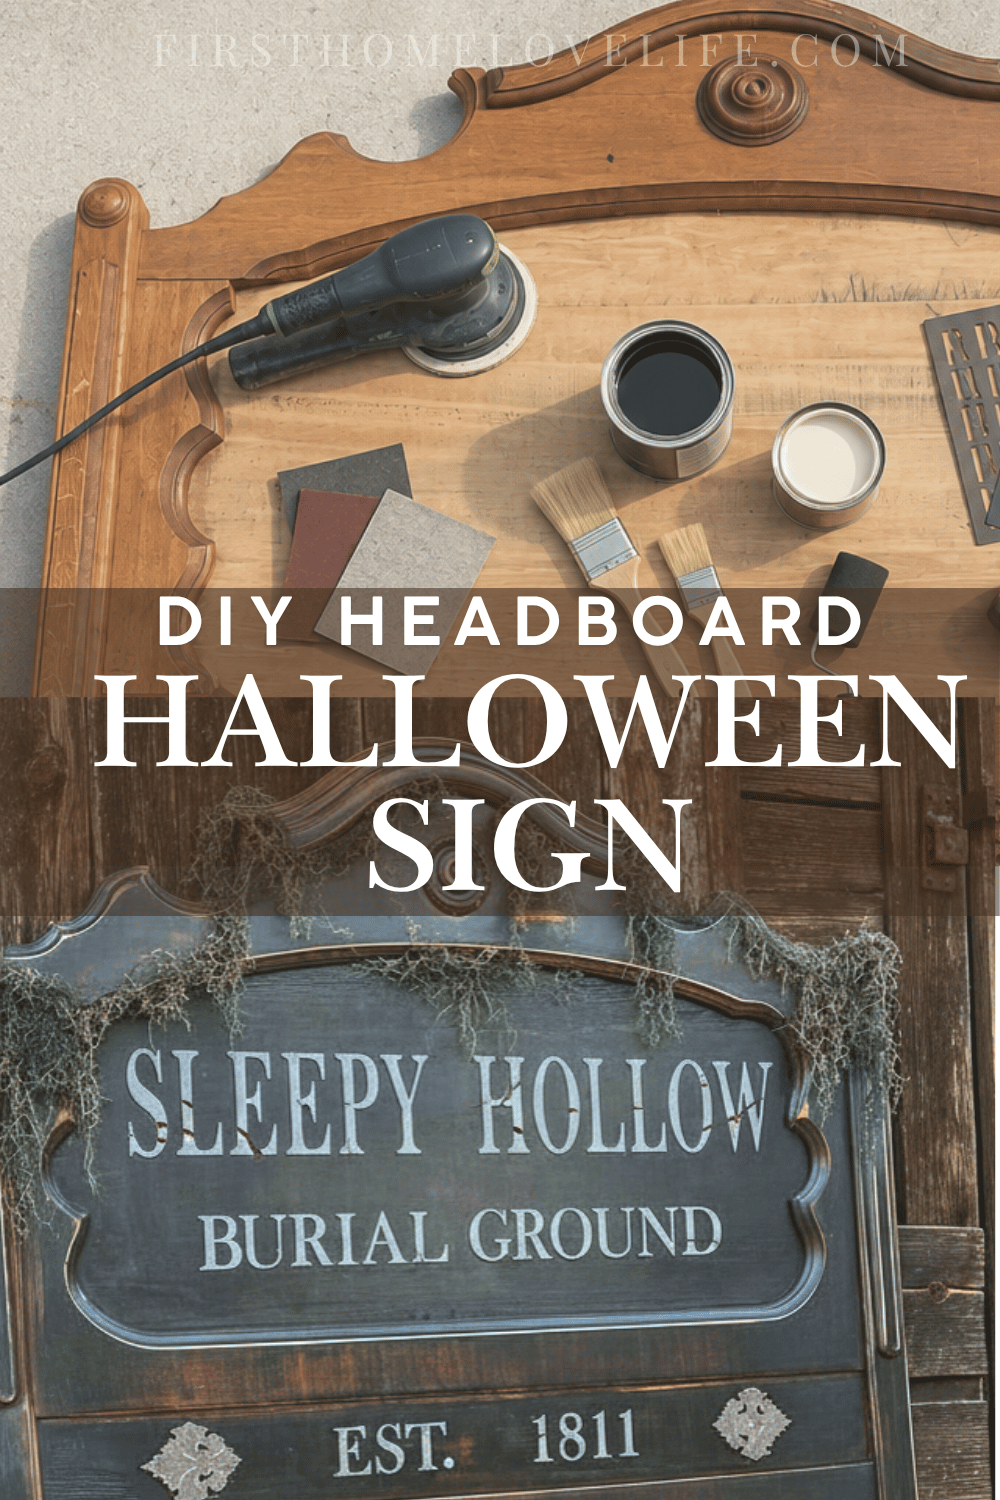
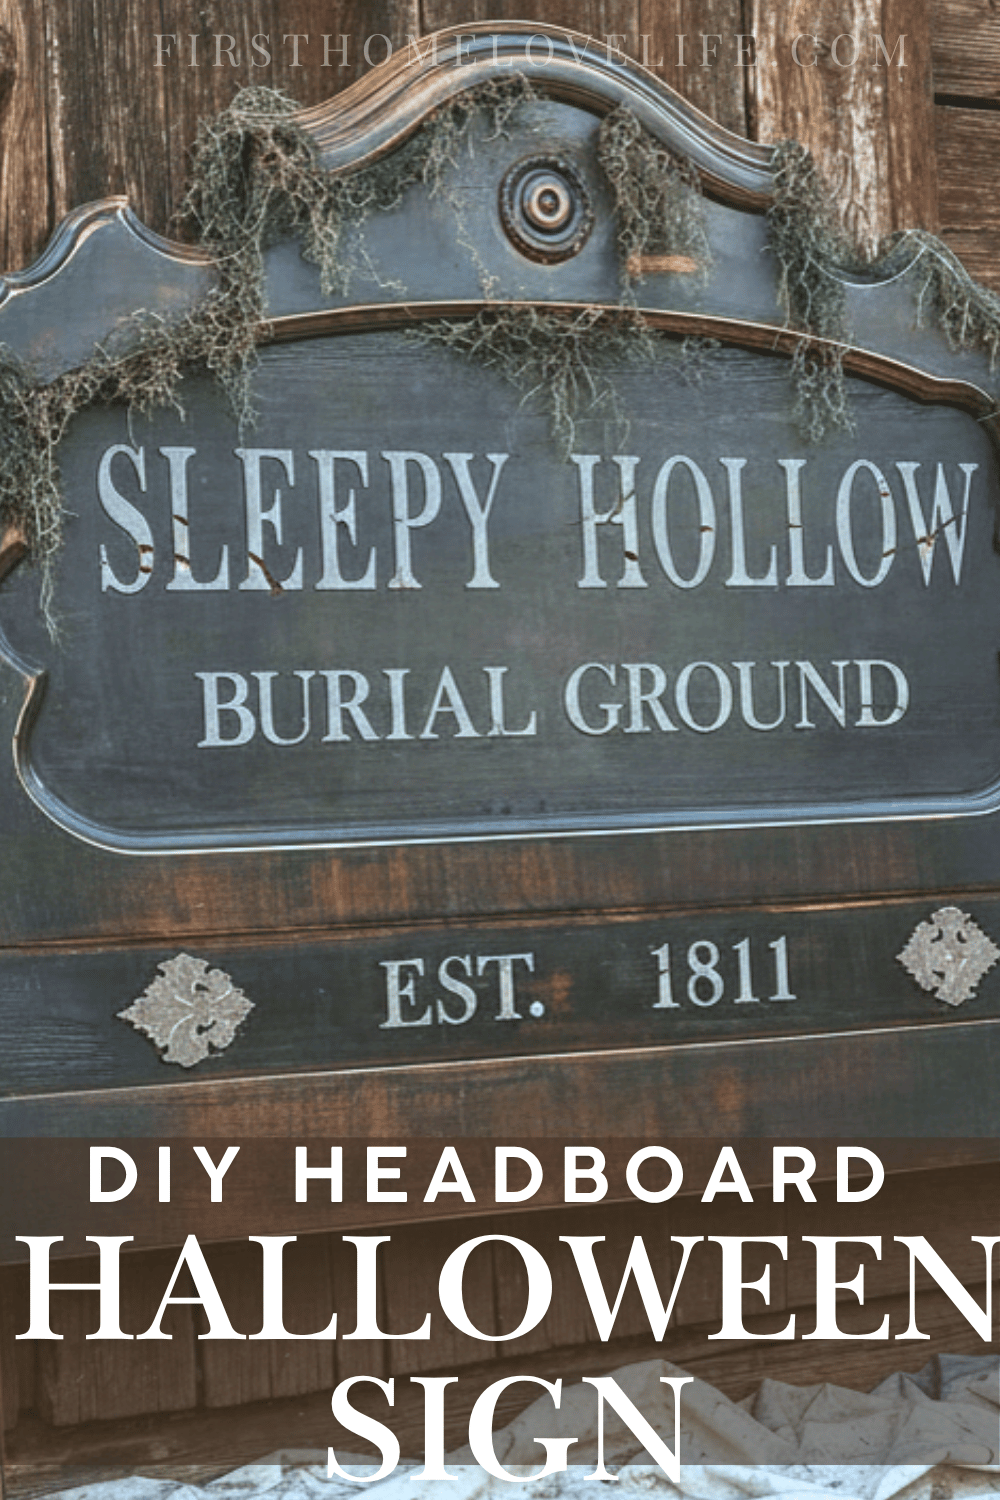
One of my favorite ways to decorate for Halloween is to transform something completely unexpected into spooky outdoor decor. With dark paint, distressed lettering, and plenty of Spanish moss, this discarded piece of furniture became a one-of-a-kind Sleepy Hollow Burial Ground sign for our Halloween display.
The curved woodwork and carved details already reminded me of an antique cemetery entrance, so I knew it would make the perfect oversized Halloween yard decoration. With dark paint, distressed lettering, and plenty of Spanish moss, this discarded piece of furniture became a one-of-a-kind sign for our Halloween display.
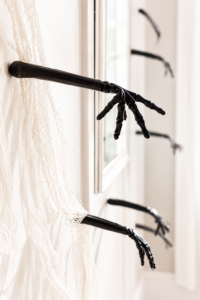
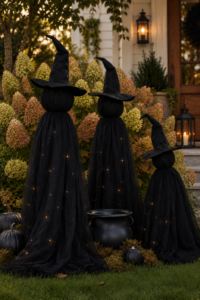
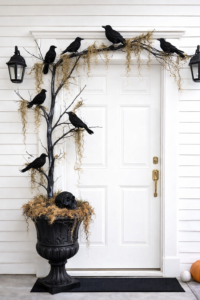
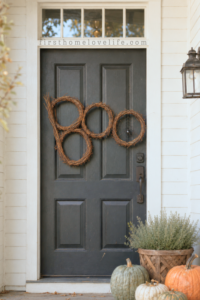
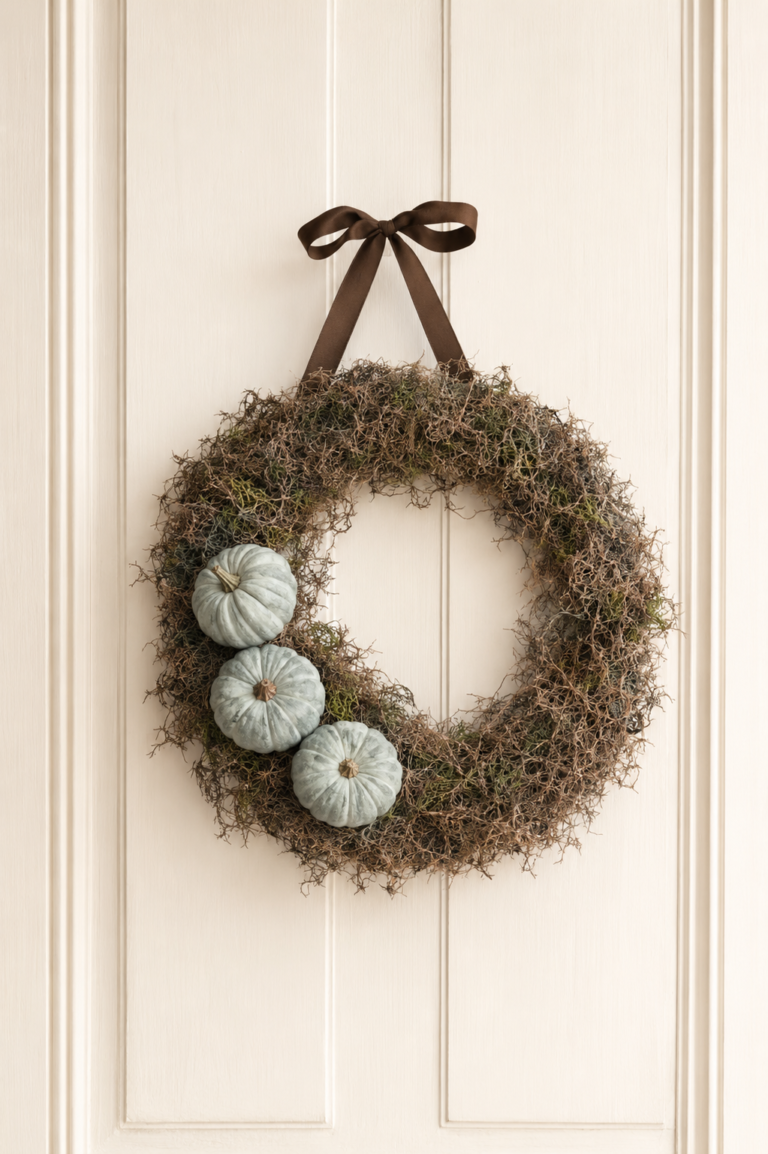
If you love creating inexpensive Halloween decorations from thrift store finds, you may also like my DIY Halloween Tree, Pottery Barn-Inspired Light-Up Witches, and Easy Skeleton Hand Wall Decor.
More Fun Halloween Ideas You’ll Love



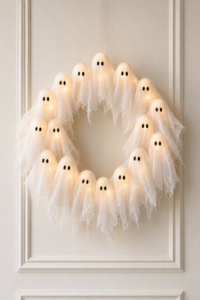
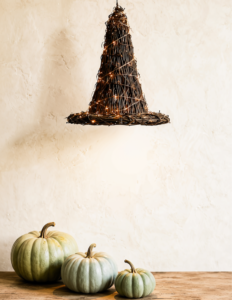

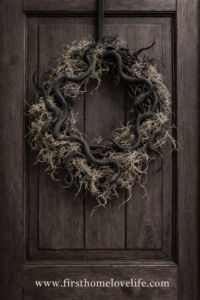
An Easy Upcycled Halloween Decoration
Old wooden headboards are easy to find at thrift stores, estate sales, yard sales, and even on the side of the road. Many of them have beautiful carved details and dramatic shapes, but they are often overlooked because the finish feels dated.
For this project, those old-fashioned details are exactly what we want.
Once painted and distressed, the headboard begins to look more like an antique cemetery sign than a piece of bedroom furniture. It is large enough to make an immediate impact in the yard, yet the project is surprisingly simple to complete.
Why You’ll Love This Halloween Sign
- It turns inexpensive thrifted furniture into unique Halloween decor.
- The oversized design makes a dramatic statement in the yard.
- It can be customized with any spooky wording you choose.
- Distressing makes the project forgiving and beginner-friendly.
- It can be stored and reused for Halloween each year.
- No advanced woodworking skills are needed.
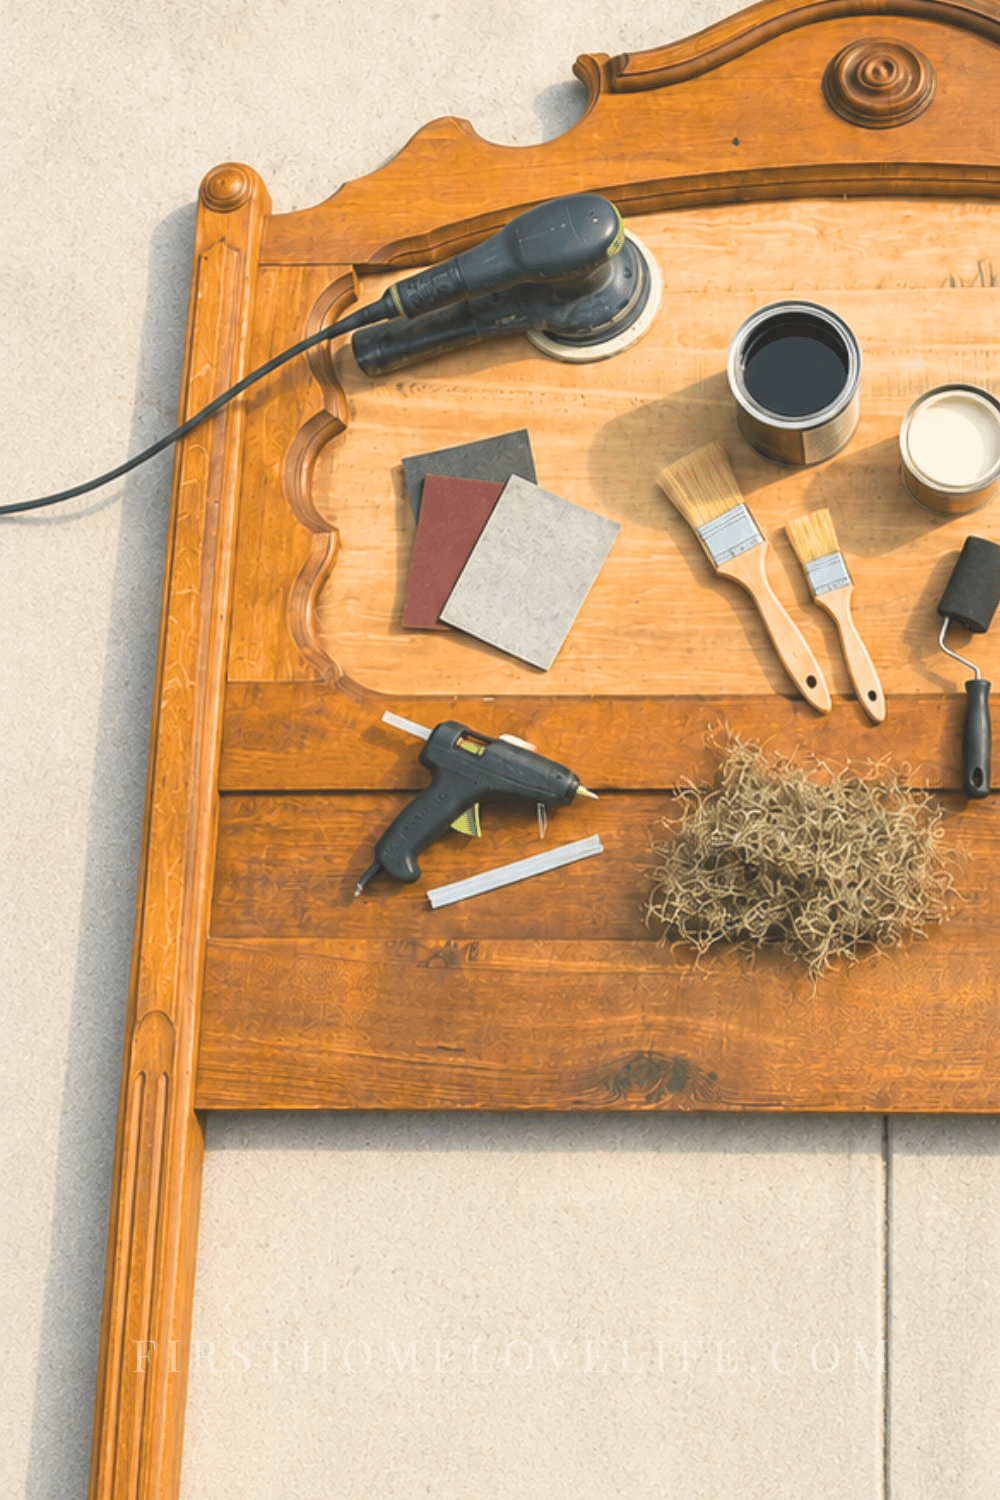
Supplies Needed
The exact supplies may vary depending on the condition and style of your headboard.
- Thrifted wooden headboard
- Orbital sander or sanding block
- Medium-grit sandpaper
- Fine-grit sandpaper
- Damp cleaning cloth
- Dark gray, charcoal, or black paint
- Brown paint or wood stain
- Light gray or aged white paint
- Paintbrushes
- Foam roller, optional
- Letter stencils
- Measuring tape
- Pencil or chalk
- Painter’s tape
- Stencil brush or makeup sponge
- Spanish moss
- Hot glue gun and glue sticks
- Decorative wood appliqués, optional
- Exterior matte clear sealer
- Drop cloth
- Protective eyewear and dust mask
Choosing the Right Headboard
Look for a solid wood headboard with an interesting silhouette. Curved tops, carved trim, raised panels, posts, and decorative details will give the finished sign an authentic antique appearance.
Do not worry if the wood is scratched, faded, or slightly damaged. Small imperfections will add to the weathered cemetery look.
Before bringing a thrifted headboard home, check that it is structurally sound. Avoid pieces with severe rot, active pests, or loose sections that cannot be safely repaired.
How to Make a Thrifted Headboard Halloween Sign
1. Clean the Headboard
Begin by removing dust, dirt, and grime from the entire headboard. Use a damp cloth and a mild cleaning solution if needed.
Allow the wood to dry completely before sanding.
2. Sand the Finish
Use an orbital sander or sanding block to remove the glossy finish and smooth any rough areas.
You do not need to sand the headboard down to completely bare wood. The goal is to create enough texture for the new paint to adhere properly.
Pay special attention to the large center panel where the lettering will be added. This area should be smooth enough for clean stencil lines.
Wear protective eyewear and a dust mask while sanding, especially when working with an older painted or finished piece. If you suspect the original finish may contain lead, use a lead test kit and follow appropriate safety precautions before disturbing it.
Wipe away all sanding dust before painting.
3. Apply the Base Color
Paint the headboard with dark gray, charcoal, or soft black paint. A deep charcoal creates an aged look without appearing completely flat.
Work the paint into the carved trim and decorative details. A brush is helpful for the curved areas, while a small foam roller can make quick work of the larger center panel.
Apply a second coat if needed and allow everything to dry.
4. Create an Aged Wood Finish
Layer brown, black, and gray paint to create the appearance of old, weathered wood.
Dry brushing works especially well for this step. Dip only the tips of your brush into the paint, remove most of it on a paper towel, and lightly drag the brush across the raised areas.
Concentrate the darker color inside grooves, corners, and recessed details. Add a small amount of brown over selected areas to warm the finish and mimic exposed aged wood.
There is no need for this step to look perfect. Uneven coloring, brush marks, and distressed spots will make the cemetery sign more convincing.
5. Plan the Lettering
Decide what you want the sign to say before positioning the stencils. I used:
SLEEPY HOLLOW
BURIAL GROUND
EST. 1811
Measure the width of the headboard and lightly mark the center. Arrange the letter stencils before adding paint so you can check the spacing.
Use painter’s tape to hold the stencils in place. A ruler, level, or straight piece of wood can help keep the letters even.
6. Stencil the Cemetery Sign
Apply light gray or aged white paint with a stencil brush or makeup sponge.
Use a small amount of paint and dab it over the stencil rather than brushing from side to side. Too much paint can bleed underneath the edges.
Remove each stencil carefully while the paint is still slightly damp.
Once the lettering has dried, lightly distress selected areas with fine-grit sandpaper. This softens the fresh paint and makes the words look faded and timeworn.
7. Add Decorative Details
Decorative wood appliqués can be added near the bottom of the sign to resemble antique carvings or architectural ornaments.
Paint the appliqués in the same aged gray as the lettering, then glue or attach them securely to the wood.
You could also use:
- Small wooden skulls
- Gothic corner appliqués
- Faux iron medallions
- Plastic skeleton pieces
- Aged metal numbers
- Vintage cabinet hardware
Keep the decorative details relatively simple so the original shape of the headboard remains the focus.
8. Add Spanish Moss
Use hot glue to attach Spanish moss around the carved edges, posts, lettering, and decorative details.
Place the moss in uneven clusters instead of covering the entire headboard. Let some pieces hang loosely to create the appearance of an old sign that has been overtaken by years of growth.
For an outdoor display, reinforce heavier clumps with floral wire or an exterior-rated adhesive. Standard hot glue may loosen after repeated exposure to rain, heat, or cold.
9. Seal the Finished Sign
If the sign will be displayed outside, apply a matte exterior clear sealer.
Spray or brush on several light coats, allowing each coat to dry according to the manufacturer’s directions. Make sure the paint is fully cured before sealing.
A matte finish will protect the sign without making it look glossy or new.
How to Display an Oversized Halloween Sign
The original headboard posts make this sign easy to incorporate into an outdoor Halloween display.
You can place it:
- At the entrance to a homemade graveyard
- Behind a collection of foam tombstones
- Beside the front porch
- At the beginning of a walkway
- Near a Halloween party entrance
- Behind skeletons or haunted figures
- Along a fence or garden bed
For nighttime impact, place a warm spotlight or flickering LED light in front of the sign. Positioning the light low to the ground will emphasize the lettering and carved details.
How to Secure the Sign Outdoors
A wooden headboard can be heavy, but its broad surface can still catch strong wind. Make sure it is securely anchored before displaying it outdoors.
Depending on your headboard and yard, you can:
- Attach the posts to metal fence stakes
- Secure it to a fence with heavy-duty outdoor ties
- Add wooden stakes behind the posts
- Use sandbags hidden behind the sign
- Attach a temporary support frame to the back
Never rely on the headboard simply leaning against a wall or tree in a windy area. Keep it away from walkways where it could fall onto visitors.
Make It Your Own
The best part about this upcycled Halloween project is that no two signs will look exactly alike.
Try one of these spooky sign ideas:
- Sleepy Hollow Cemetery
- Blackwood Burial Ground
- Haunted Hollow
- Ravenwood Cemetery
- Welcome to the Boneyard
- Witch’s Hollow
- Salem Cemetery
- Dead and Breakfast
- Haunted Manor
- Enter If You Dare
You can also change the finish to suit your decorating style. Use black and metallic gold for an elegant Gothic sign, gray and green for a moss-covered cemetery marker, or distressed white for a ghostly haunted farmhouse look.
Tips for Making the Sign Look Older
- Use several thin layers of paint rather than one solid color.
- Darken the recessed carvings to create natural shadows.
- Lightly sand the edges where age-related wear would normally occur.
- Avoid spacing the moss too evenly.
- Smudge diluted black or brown paint around the letters.
- Let a little of the original wood finish show through.
- Use an off-white or pale gray for the lettering instead of bright white.
- Choose a matte sealer rather than a glossy finish.
Frequently Asked Questions
Can I use a laminate or veneer headboard?
Yes, but lightly sand the surface and use a high-adhesion primer before painting. Avoid aggressive sanding on thin veneer because it can expose or damage the material underneath.
Does the headboard need to be solid wood?
No. Solid wood is durable and easy to distress, but painted veneer or manufactured wood can also work if it is in good condition.
Can this Halloween sign stay outside?
It can be displayed outdoors after it has been protected with an exterior sealer. However, storing it in a covered area during heavy rain will help preserve it longer.
What kind of paint works best?
Furniture paint, acrylic paint, exterior latex paint, or chalk-style paint can all work. If the sign will be exposed to the weather, choose an exterior-rated base paint and sealer.
Can I make this without letter stencils?
Yes. You can use a vinyl cutting machine, transfer paper, printed letters, or hand-paint the wording. Stencils are helpful because they create the look of an old professionally painted sign.
How do I keep stencil paint from bleeding?
Use very little paint, dab straight up and down, and apply several thin layers. Make sure the stencil lies flat against the wood before painting.
More Inexpensive Halloween Decorating Ideas
Once you begin looking at thrift store furniture as potential Halloween decor, the possibilities are endless. Old cabinet doors can become haunted signs, discarded shutters can frame a spooky porch, and vintage mirrors can be transformed into eerie portraits.
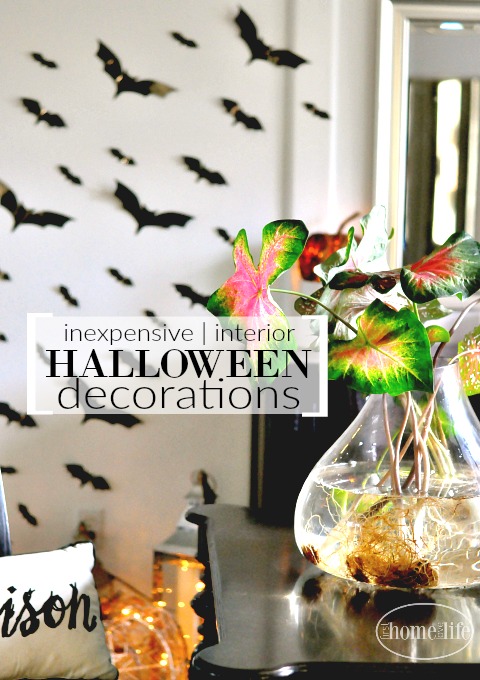
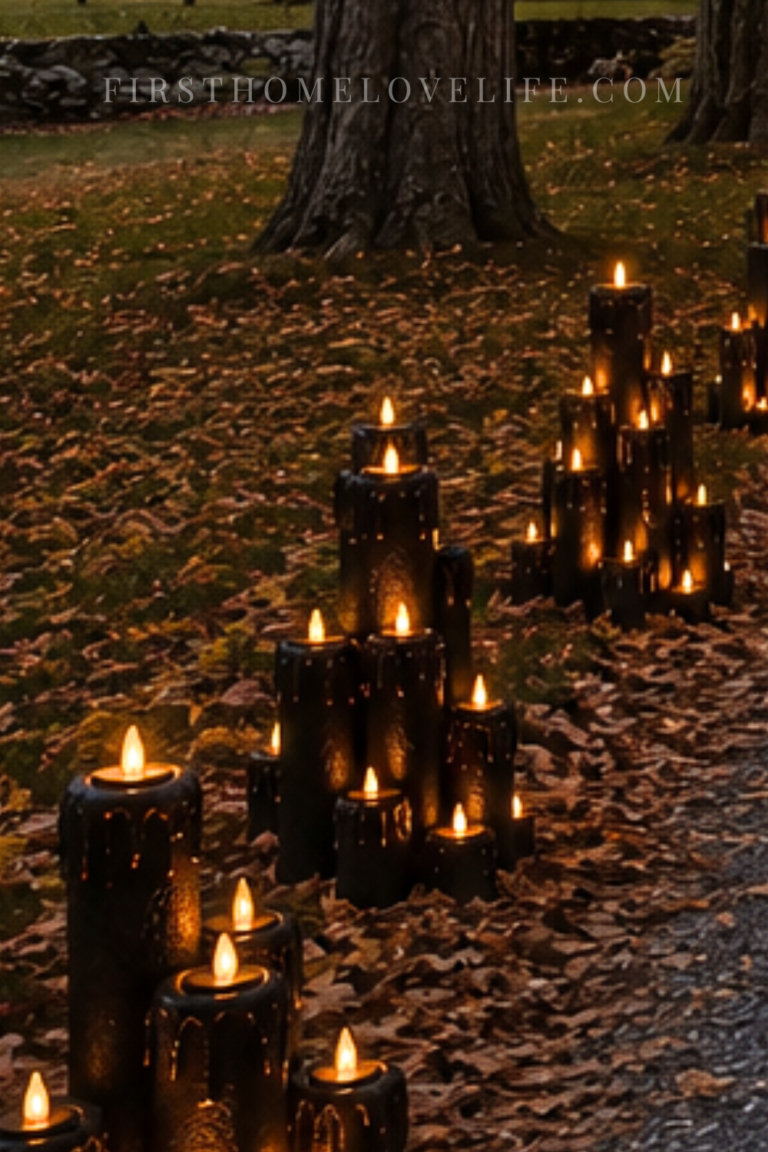
You can complete the display with Inexpensive Interior Halloween Decorations, a DIY Mad Scientist Halloween Mantel, or these delightfully creepy Bloody Candle Halloween Decorations.
Final Thoughts
This DIY thrifted headboard Halloween sign proves that some of the best seasonal decorations begin with items other people have discarded. The ornate shape of an old headboard lends itself perfectly to an oversized cemetery entrance sign, while layers of dark paint, distressed lettering, and trailing Spanish moss give it an authentic haunted look.
It is affordable, customizable, and large enough to become the focal point of an entire Halloween yard display. Keep an eye out the next time you visit a thrift store or yard sale—you may be looking at your next incredible Halloween decoration.