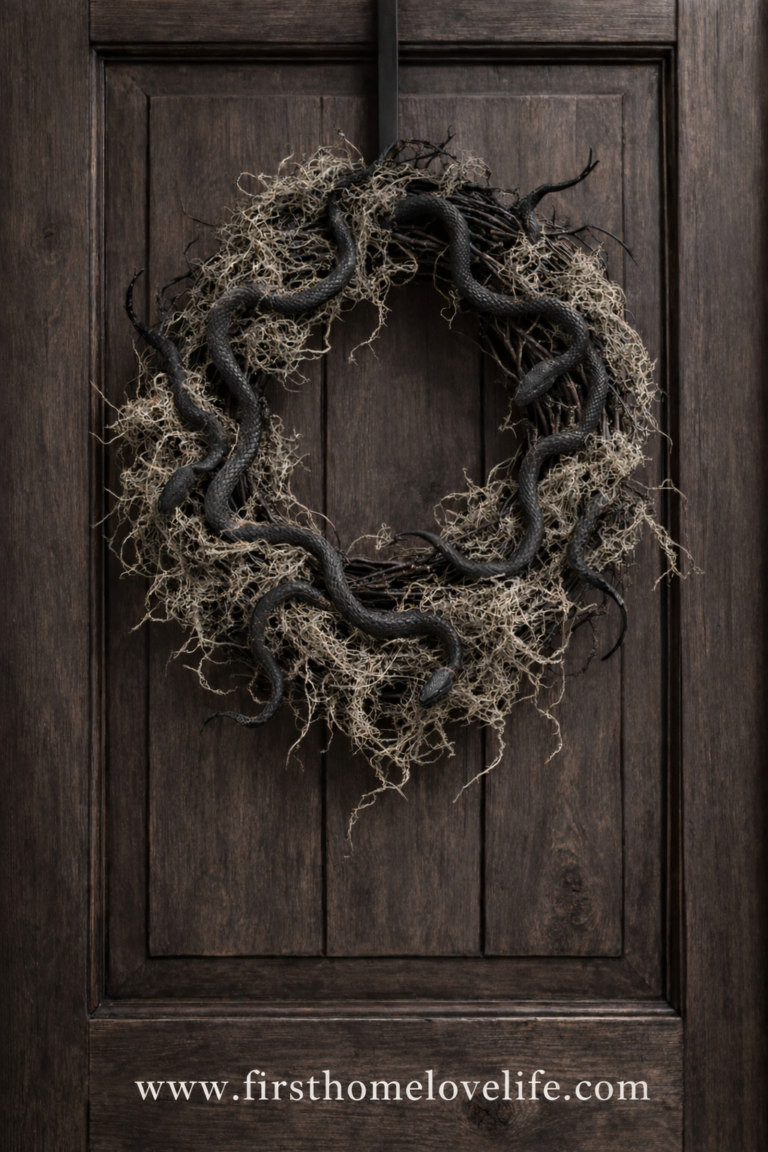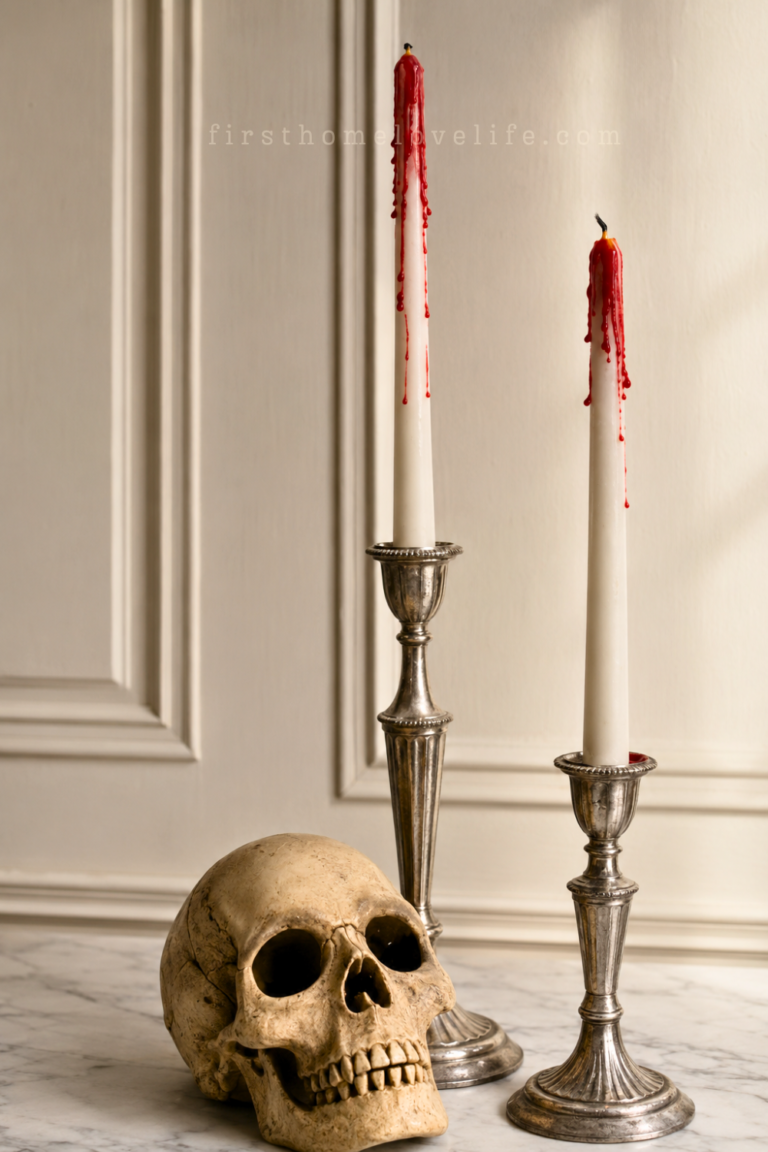
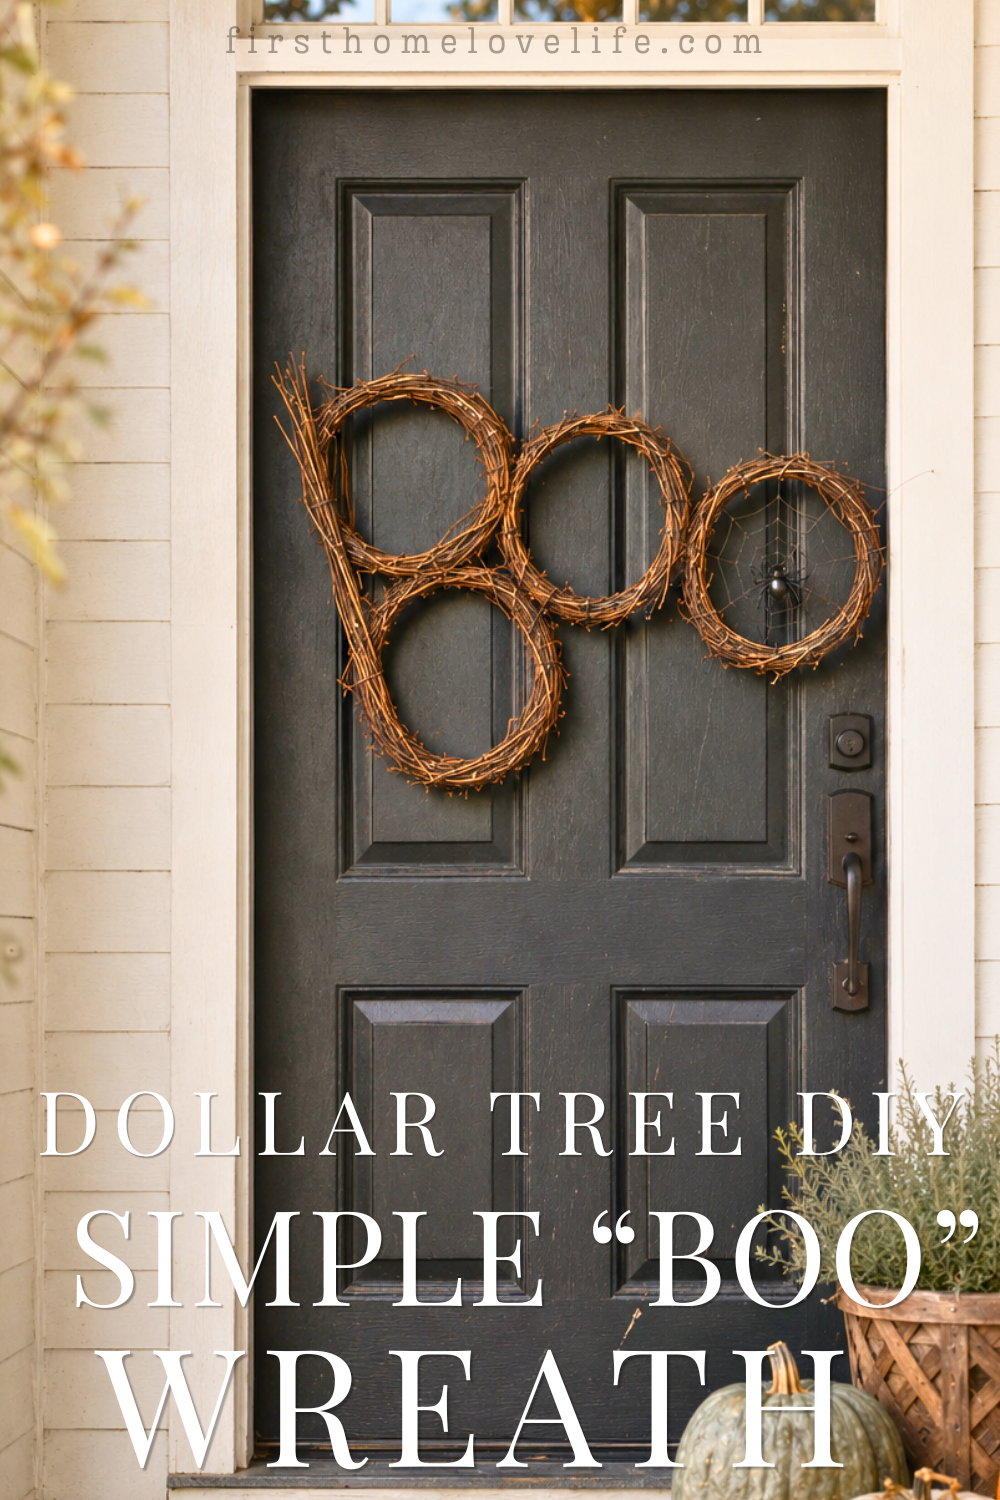
Decorating for Halloween doesn’t have to cost a fortune. This easy Dollar Tree BOO wreath transforms a few small grapevine wreaths into a fun Halloween decoration for your front door, porch, or entryway.
The idea for this wreath came to me while I was walking through Dollar Tree and spotted a stack of small grapevine wreaths near the entrance. Their round shape immediately reminded me of the two O’s in the word “BOO,” and I knew exactly what I wanted to make.
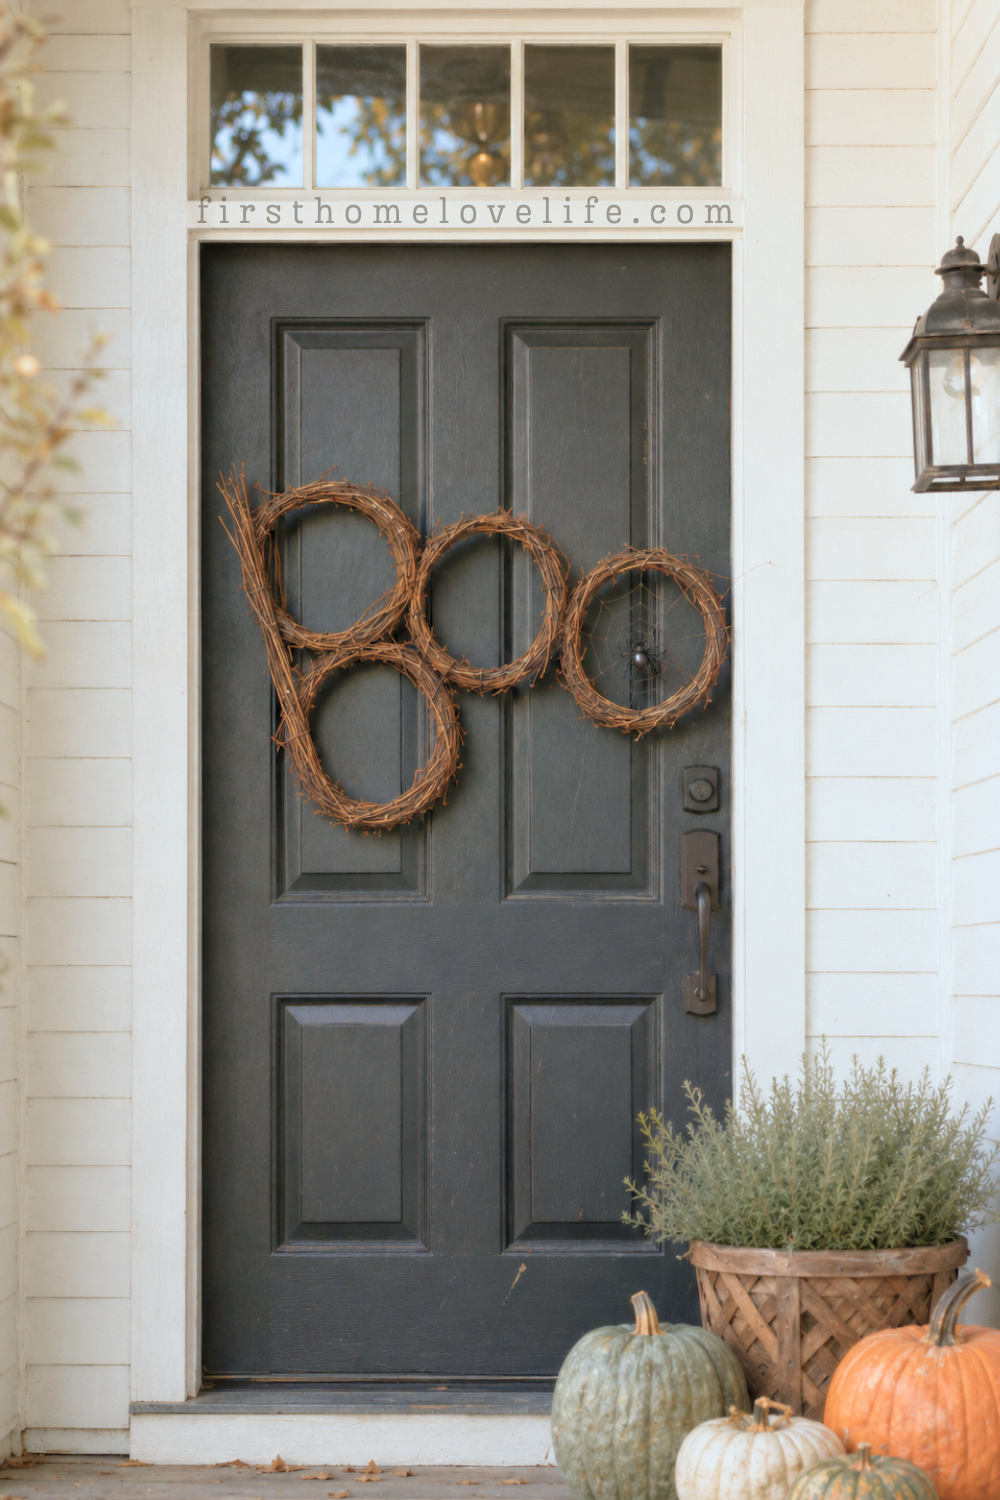
With four grapevine wreaths, a small branch, zip ties, ribbon, and a plastic spider, you can create an inexpensive Halloween wreath that looks charming, rustic, and just spooky enough for the season.
Dollar Tree prices and merchandise can vary by location, but this remains an affordable Halloween craft that can easily be adapted with supplies you already have.
More Halloween Wreath Ideas
Why You’ll Love This Dollar Tree Halloween Wreath
This DIY BOO wreath is one of those simple Halloween projects that delivers a lot of personality without requiring expensive supplies or complicated crafting skills.
You’ll love it because it is:
- Quick and easy to assemble
- Made with inexpensive supplies
- Easy to customize
- Lightweight enough to hang on a door
- Perfect for rustic or farmhouse Halloween décor
- Simple to store and reuse each year
You can also make the wreath as cute or spooky as you want by changing the ribbon, adding spiders, attaching small bats, or weaving in Halloween lights.
Supplies Needed
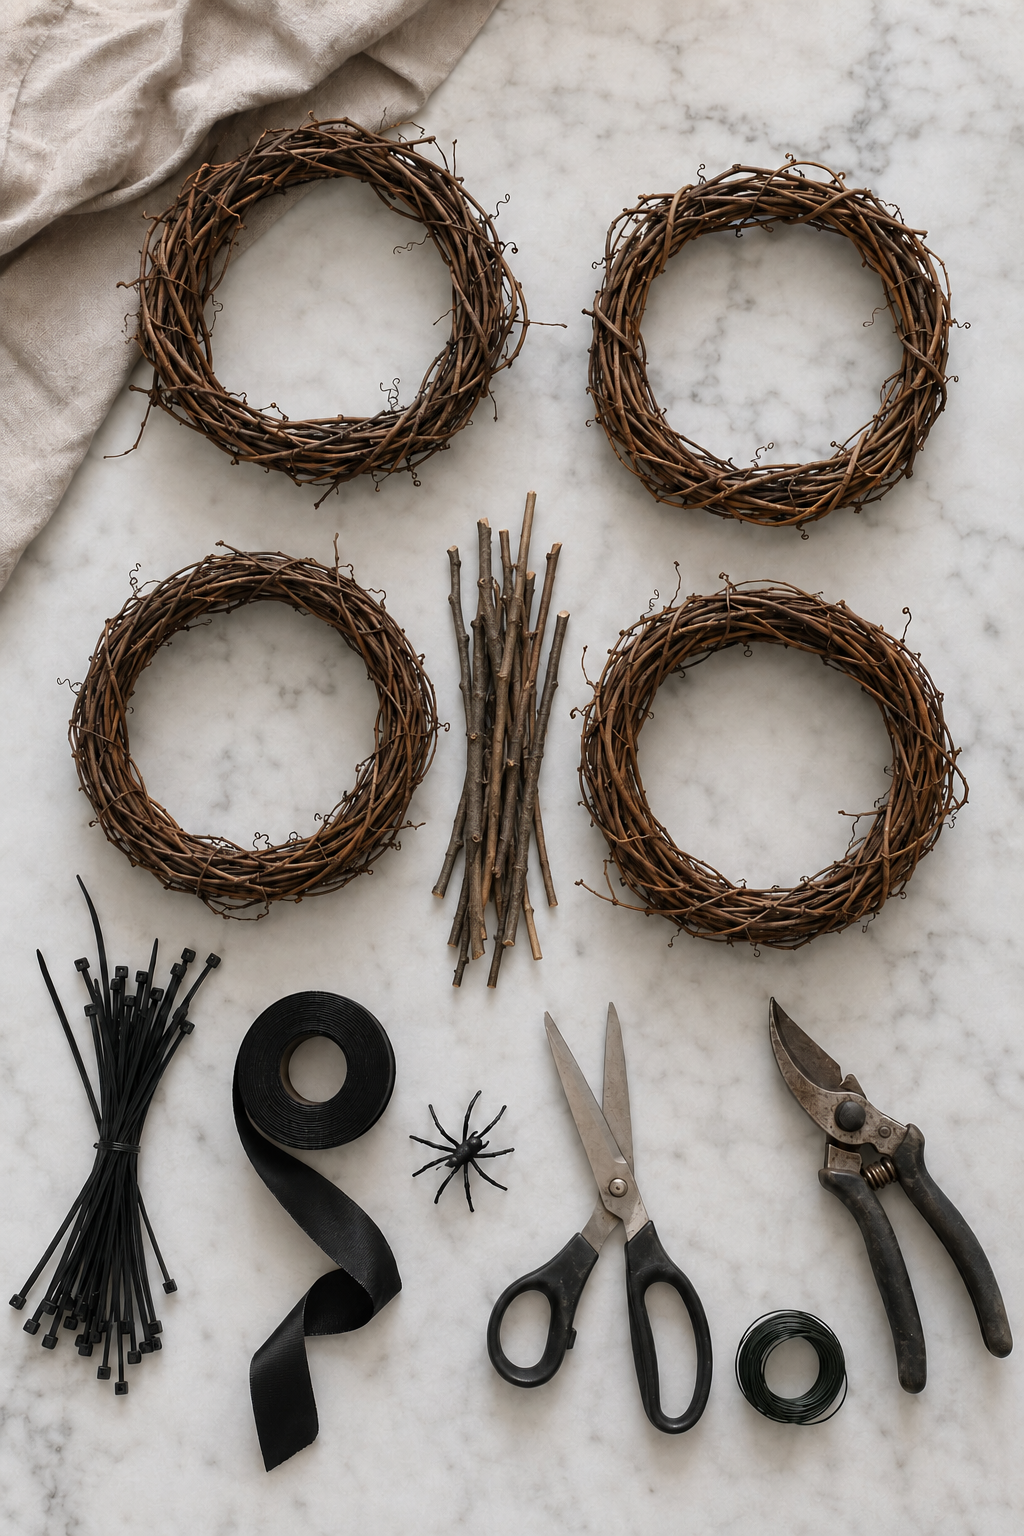
To make this Dollar Tree BOO wreath, you will need:
- 4 small grapevine wreaths
- 1 sturdy twig or small branch
- Black or brown zip ties
- Black ribbon
- 1 small plastic spider
- Scissors
- Garden pruners, if needed
- Floral wire, optional
- Door wreath hanger
Look for grapevine wreaths that are close to the same size. They do not need to match perfectly—the slight differences help give the finished wreath a more natural, handmade appearance.
How to Make a Dollar Tree BOO Wreath
Step 1: Arrange the Grapevine Wreaths
Lay the four grapevine wreaths on a large table or countertop.
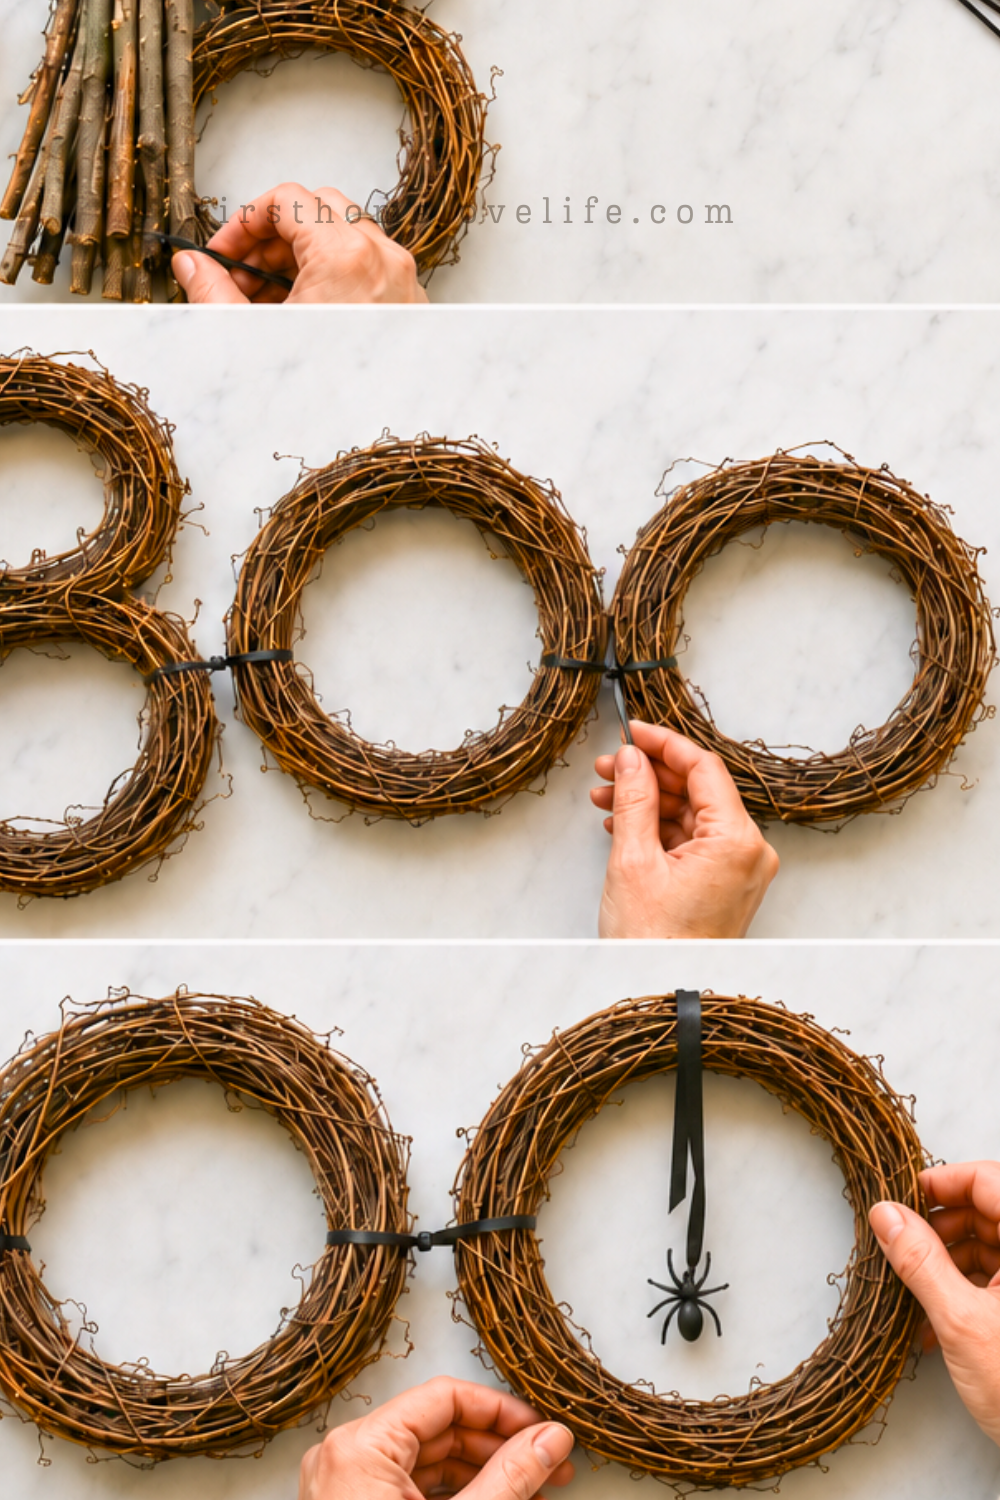
Use two wreaths to form the letter B by placing one directly above the other. Position the remaining two wreaths beside them to create the two O’s.
Move the wreaths around until the spacing looks balanced and the word “BOO” is easy to read.
Step 2: Create the Letter B
Cut a sturdy twig or narrow branch long enough to run vertically along the left side of the first two wreaths.
This branch creates the straight line needed to turn the stacked grapevine wreaths into the letter B.
Place the branch against the wreaths and secure it with zip ties. Use at least two or three ties so the branch stays firmly in place.
Step 3: Connect the Letters
Once the B is assembled, use additional zip ties to connect it to the first O. Attach the first O to the second O in the same way.
Pull each zip tie snugly, but avoid tightening it so much that it breaks or crushes the grapevine.
After everything is secure, trim away the excess ends of the zip ties. Whenever possible, rotate the fasteners toward the back of the wreath so they are less noticeable from the front.
Black, brown, or clear zip ties will blend in best with the grapevine.
Step 4: Attach the Spider
Tie a small plastic spider to the end of a piece of ribbon and let it hang from the O.
You can also secure the spider directly to the ribbon with floral wire or a small zip tie.
Adjust the length so the spider hangs near the center or bottom of the final O.
Step 5: Hang Your BOO Wreath
Carefully lift the wreath and make sure all four sections stay securely connected.
Hang it from a sturdy wreath hanger, hook, or length of ribbon. Because this wreath is wider than a traditional round wreath, take a moment to center it and adjust the letters after hanging.
Tips for Making the Wreath
Reinforce the Connections
If the wreath feels loose after you lift it, add more zip ties or floral wire between the letters. Securing the wreaths in two places at each connection will help prevent them from twisting.
Hide the Zip Ties
Turn the closures toward the back and trim the ends closely. You can also tuck the ties underneath loose pieces of grapevine.
Protect It From the Weather
Natural grapevine can handle some exposure, but the ribbon and decorative spider will last longer when displayed on a covered porch or protected entryway.
Check the Size Before Hanging
This BOO wreath is wider than most door wreaths. Measure your door or wall before assembling it so you can adjust the spacing if necessary.


Easy Ways to Customize Your BOO Wreath
One of the best things about this simple Halloween wreath is how easily you can make it your own.
Try adding:
- Black-and-white striped ribbon
- Orange velvet ribbon
- Small faux bats
- Miniature skeletons
- Battery-operated Halloween lights
- Faux black roses
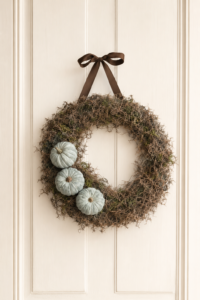
- Spanish moss
- Small decorative pumpkins
- A larger fuzzy spider
- A dusting of black spray paint
For a more traditional look, keep the grapevine natural and use a simple black ribbon. If you prefer spookier Halloween decorations, add cobwebs, several spiders, and a strand of purple or orange lights.
Frequently Asked Questions
Can I use larger grapevine wreaths?
Yes. Larger wreaths will make a more dramatic decoration, but they will also make the finished BOO wreath wider and heavier. Make sure you have enough room to hang it and reinforce each connection.
What can I use instead of zip ties?
Floral wire works well and may be easier to hide among the grapevine. You can also use a combination of floral wire and zip ties for extra support.
Can I make this wreath without a real branch?
Yes. Use a wooden dowel, thick floral stem, paint stirrer, or narrow piece of wood to create the straight side of the letter B. Paint it brown or black before attaching it.
Where can I hang a BOO wreath?
Hang it on a front door, covered porch, garden gate, entryway wall, fireplace mantel, or above a Halloween treat table. Because of its wide shape, it also works beautifully as wall décor.
Final Thoughts
This easy Dollar Tree BOO wreath proves that memorable Halloween decorations do not have to be expensive or complicated. A few small grapevine wreaths and simple craft supplies are all you need to create a playful decoration you can bring out year after year.
It is rustic, inexpensive, and easy to personalize to fit your Halloween decorating style. Best of all, the entire project can be assembled in an afternoon and displayed as soon as you finish.
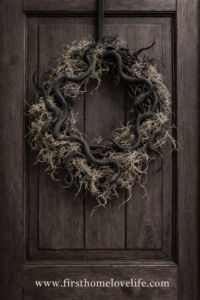
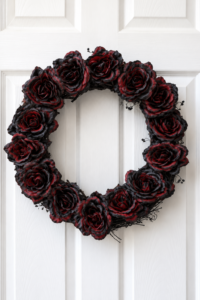
If you love affordable Halloween decorating ideas, be sure to check out my other Halloween crafts, including my Dead Rose Wreath, Snake Nest Wreath, and DIY Skeleton Hand Wall.