These spooky pool noodle candles are one of the easiest ways to create a dramatic Halloween display without spending a fortune. With inexpensive pool noodles, hot glue, paint, and battery-operated tea lights, you can make realistic dripping candles that look like something from an old haunted mansion.
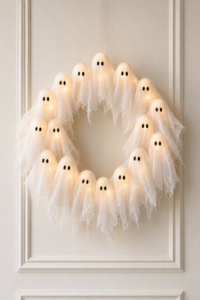
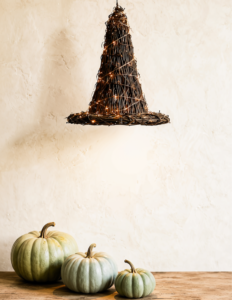
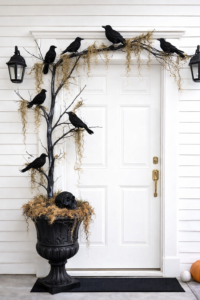
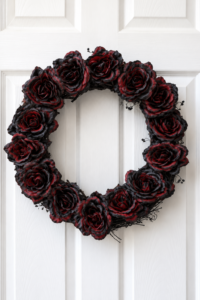
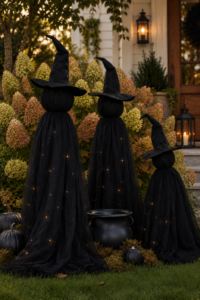
Group them together on a fireplace mantel, Halloween dining table, entryway, or covered porch. They would also look incredible displayed with my DIY Halloween Tombstones, Pottery Barn-Inspired Light-Up Witches, or DIY Lighted Ghost Wreath for a complete spooky Halloween display.
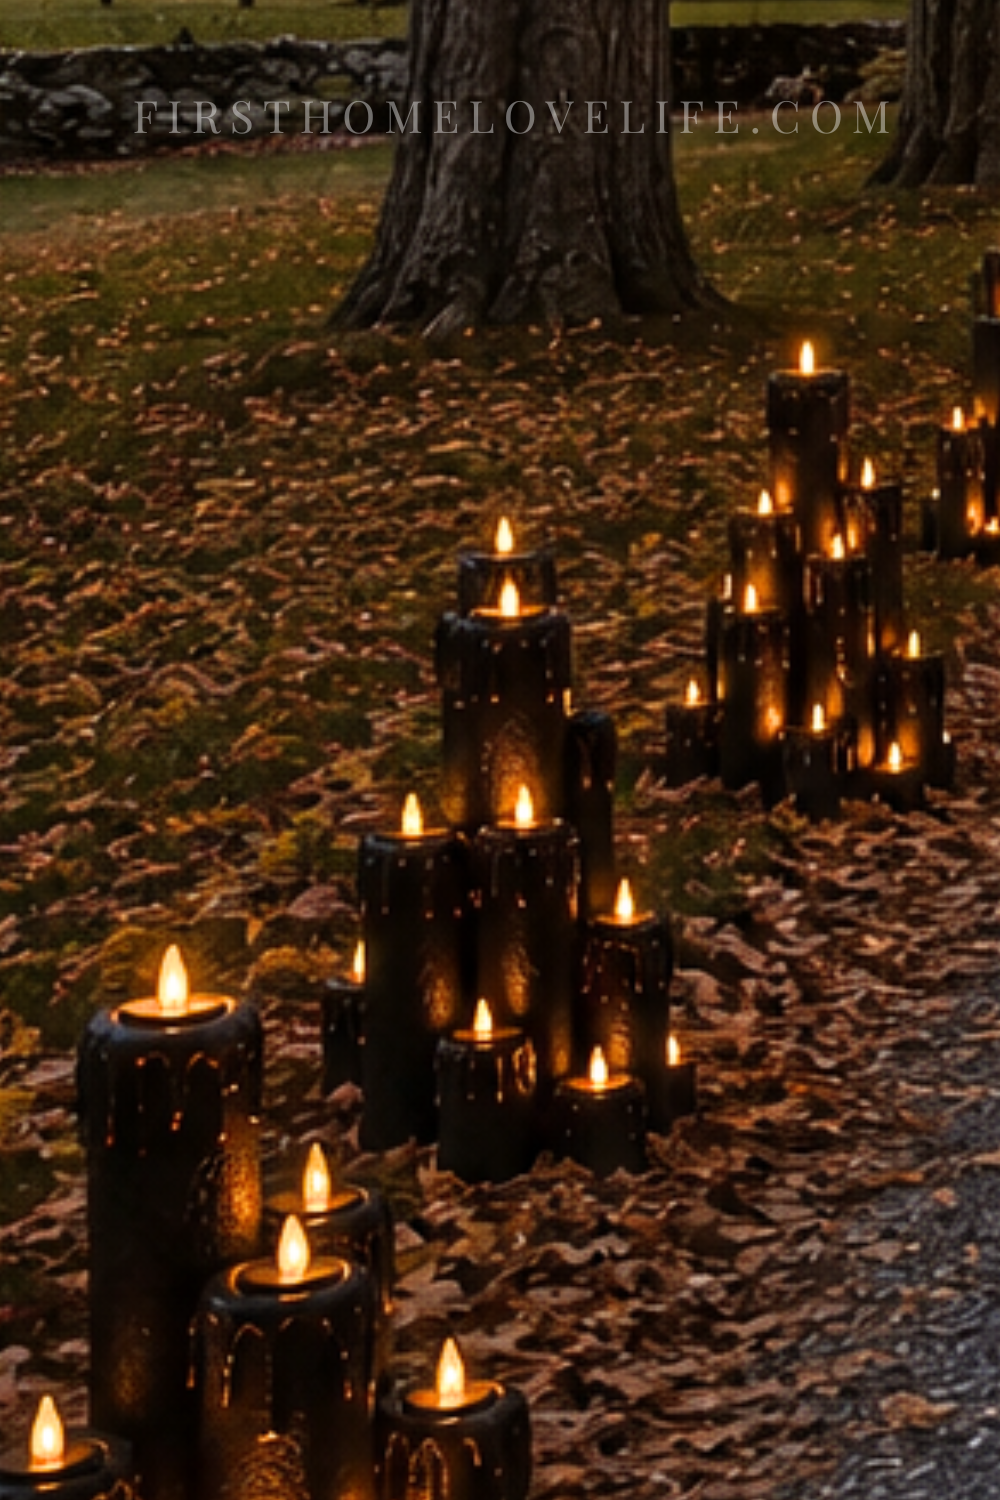
The best part is that these DIY Halloween candles can be completely customized. Paint them black for an elegant gothic look, antique white for a haunted Victorian display, or deep red for creepy vampire-inspired decorations.
More Halloween Decor to Make
Why You’ll Love These Pool Noodle Candles
- Inexpensive to make with dollar store supplies
- Easy enough for beginners
- Lightweight and simple to arrange
- Completely flameless when used with LED tea lights
- Customizable to match your Halloween decorations
- Easy to store and reuse every year
- Looks much more expensive than it is
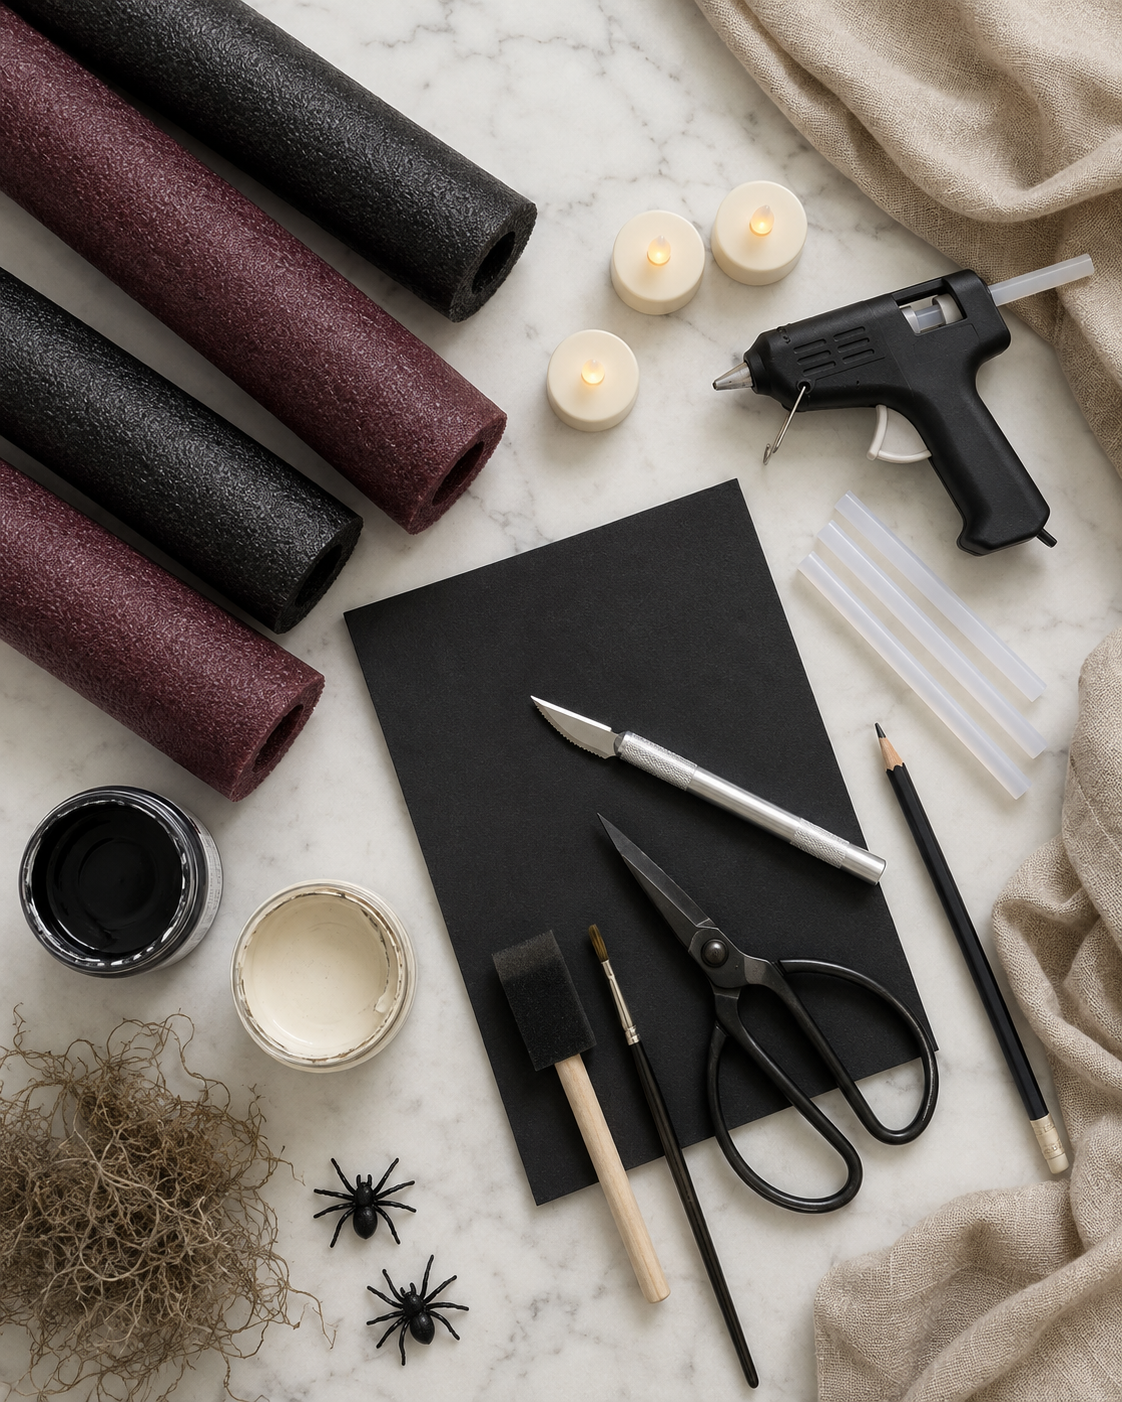
Supplies Needed
- Pool noodles
- Battery-operated LED tea lights
- Low-temperature hot glue gun
- Hot glue sticks
- Serrated kitchen knife or craft knife
- Pen or marker
- Black, ivory, burgundy, or dark gray acrylic paint
- Foam brush or paintbrush
- Cardboard or a scrap piece of wood for the base
- Strong craft glue
- Scissors or utility knife
- Black spray paint for the base, optional
- Rub ’n Buff or metallic craft paint, optional
- Plastic spiders, moss, skulls, or faux cobwebs, optional
A Quick Safety Note
Pool noodles are made from foam and should never be used with real candles or an open flame. Only use cool, battery-operated LED tea lights inside these decorative candles.
A low-temperature glue gun is the safest choice because very hot glue can melt or distort the foam. Adults should also handle the cutting portion of this project.
How to Make Spooky Pool Noodle Candles
Step 1: Cut the Pool Noodles
Begin by cutting the pool noodles into several different lengths. Creating candles of varying heights will make the finished arrangement look more realistic and collected.
Try cutting them approximately:
- 5 inches tall
- 7 inches tall
- 9 inches tall
- 11 inches tall
- 13 inches tall
The cuts do not have to be perfectly straight. A slightly uneven top can make the candles look old, melted, and wonderfully spooky.
Step 2: Trace the LED Tea Lights
Place one battery-operated tea light on top of each pool noodle section. Trace around the base of the light with a pen or marker.
Carefully cut inside the traced circle to create a shallow opening. The LED light should sit securely inside the top of the noodle without falling through it.
Do not push the light too deeply into the foam. You will need to be able to remove it when it is time to replace the battery or turn the candle on and off.
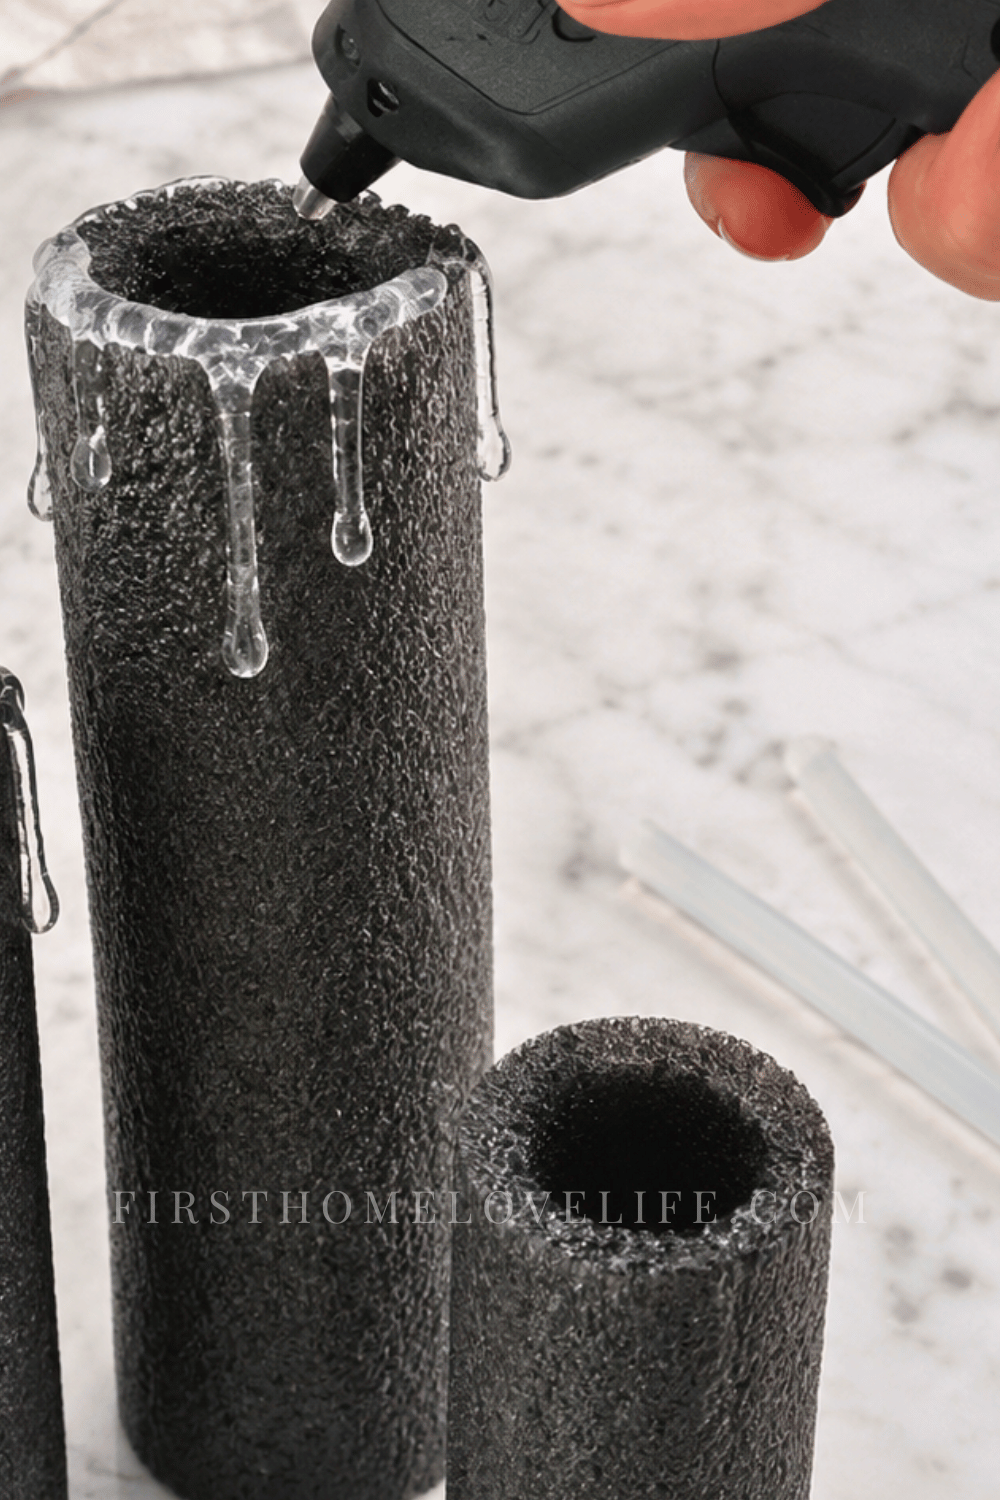
Step 3: Create the Melted Wax
Heat a low-temperature glue gun and begin applying glue around the top edge of each pool noodle.
Allow some of the glue to run down the sides to resemble melted candle wax. Vary the length and thickness of the drips so they do not look too uniform.
Build up several layers of glue around the top for a thick, heavily melted appearance. You can also add a few individual drips farther down the sides of the candles.
The less perfect the drips look, the more realistic the finished candles will be.
Step 4: Paint the Candles
Once the glue has cooled completely, paint the entire surface of each pool noodle candle using acrylic or chalk-style craft paint.
A foam brush makes it easy to cover the large areas, while a smaller paintbrush helps work the color around the wax drips.
Depending on the original color of the pool noodle, you may need two or three coats of paint. Let each coat dry before adding the next.
Avoid applying solvent-based spray paint directly to the pool noodles because some spray paints can damage or dissolve exposed foam.
Step 5: Add an Aged Finish
This step is optional, but it makes inexpensive pool noodles look much more like old wax candles.
For black candles, lightly dry-brush the raised wax drips with dark gray, bronze, or antique gold paint.
For ivory candles, brush a diluted mixture of brown and black acrylic paint into the creases. Wipe away most of the color before it dries so only a little remains around the drips.
If you want bloody Halloween candles, paint the candles ivory and add dark red hot glue drips around the tops.
Step 6: Make the Candle Base
Arrange the finished candles on a piece of cardboard, foam board, or thin scrap wood. Move them around until you are happy with the placement.
Group the candles closely together and mix the different heights. Odd-numbered groupings usually create the most natural-looking arrangement.
Trace around the outside of the display and cut the base slightly smaller so it will not be visible beneath the candles.
Paint the base black and let it dry completely.
Step 7: Attach the Candles
Use strong craft glue or low-temperature hot glue to attach the pool noodle candles to the prepared base.
Hold each candle in place until it feels secure. Allow the entire arrangement to dry before moving or decorating it.
If you want to use the candles separately, you can skip the base and arrange them individually in candleholders or among your existing Halloween decorations.
Step 8: Add the LED Tea Lights
Place one battery-operated tea light inside the opening at the top of each candle.
Warm white flickering lights create the most realistic candle glow. LED tea lights with remote controls or automatic timers are especially convenient when the candles are displayed on a high mantel.
Turn off the room lights and make any final adjustments to the candles so all the flickering flames are visible.
How to Make the Candles Look More Realistic
The secret to realistic DIY pool noodle candles is creating variation.
- Cut the candles into several different heights.
- Make some glue drips long and others short.
- Build up more melted “wax” on a few candles.
- Use flickering warm-white LED lights.
- Avoid making the candles perfectly straight.
- Dry-brush the surface with a second paint color.
- Cluster the candles closely together.
- Let a few spiders or cobwebs trail across the display.
You can also bend a pool noodle slightly before attaching it to the base to create an old, warped candle.
Spooky Candle Color Ideas
Gothic Black Candles
Paint the pool noodles matte black and lightly highlight the wax drips with dark gray or antique gold. These look elegant paired with brass candlesticks, vintage books, ravens, and dark greenery.
Haunted Ivory Candles
Use warm ivory paint with a subtle brown or black wash. This creates the appearance of old candles that have been burning inside a forgotten haunted house.
Bloody Halloween Candles
Paint the candles ivory and add deep red glue drips around the top. Pair them with skeleton hands, skulls, or vintage medical decorations for a creepy Halloween mantel.
Witchy Green Candles
Paint the candles dark olive or moss green and distress them with black paint. Add Spanish moss, small bottles, and old books for a witch’s apothecary display.
Metallic Candles
Paint the candles black and lightly brush the wax drips with aged copper or antique gold. This gives them a sophisticated Halloween look that works beautifully with classic fall decorations.
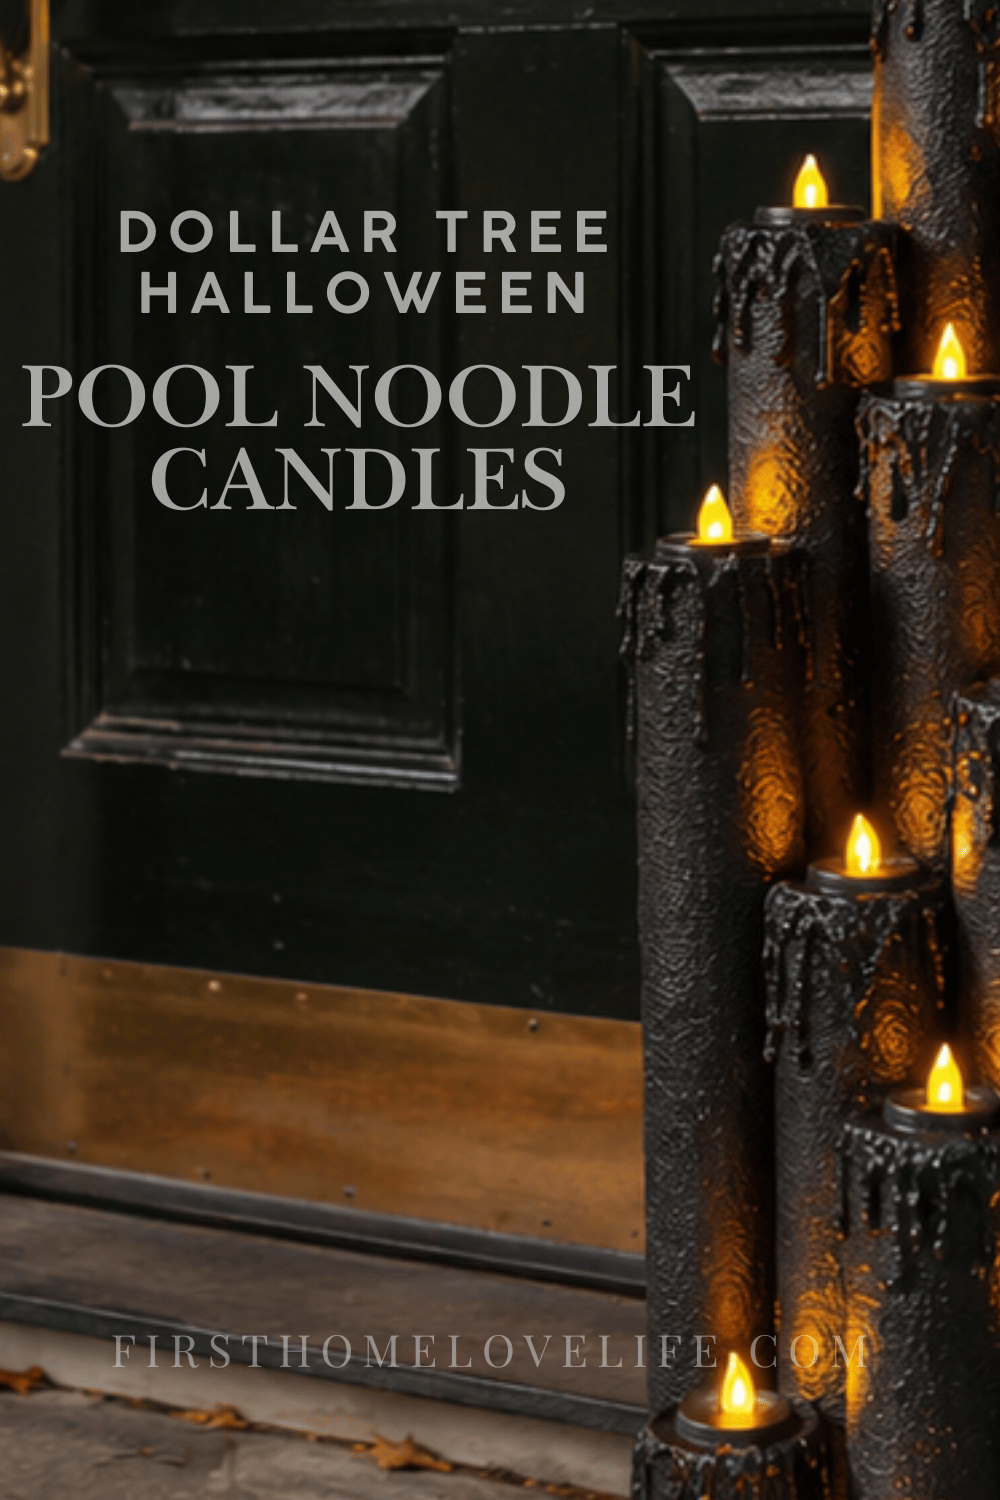
Ways to Style DIY Halloween Candles
These spooky flameless candles can be used throughout your home.
- Arrange them across a fireplace mantel.
- Create a Halloween dining table centerpiece.
- Display them inside an empty fireplace.
- Group them on an entryway console.
- Place them around a large decorative skull.
- Add them to a haunted house party table.
- Surround them with moss, ravens, and antique books.
- Pair them with pumpkins and dried branches.
- Use them in a covered outdoor Halloween display.
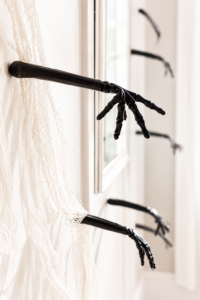
For a dramatic mantel, arrange the candle cluster at one end and balance it with my Easy Skeleton Hand Wall Decor or a few pieces from this DIY Mad Scientist Halloween Mantel.
Frequently Asked Questions
Can you put real candles in pool noodles?
No. Pool noodles are foam and must be kept away from real flames and high heat. Only use battery-operated LED tea lights.
What paint works on pool noodles?
Water-based acrylic paint and chalk-style craft paint are the best choices. Multiple thin coats will provide better coverage than one heavy coat.
Can I spray-paint pool noodles?
Some solvent-based spray paints can damage exposed foam. If you want to use spray paint, test it on a leftover piece first or apply a foam-safe primer and confirm that the products are compatible.
What glue should I use on pool noodles?
A low-temperature hot glue gun works well for creating the wax drips and assembling the candles. Strong foam-safe craft glue can also be used to secure them to the base.
Can pool noodle candles be used outside?
They can be used temporarily in a covered, dry location. Wind, rain, and prolonged sunlight can damage the foam, paint, base, and LED lights. Bring them indoors after use.
How do you store pool noodle candles?
Place the candles upright in a plastic storage bin and keep them in a cool, dry location. Avoid placing heavy decorations on top because the foam can become dented.
Final Thoughts
These spooky pool noodle candles prove that dramatic Halloween decorations do not have to be expensive. A few dollar store supplies can be transformed into an entire collection of realistic flickering candles for a fraction of the price of store-bought Halloween décor.
Make a few for a simple mantel display or create dozens to fill an entire fireplace. Whether you choose gothic black, aged ivory, or dripping blood-red wax, these DIY Halloween candles will add the perfect haunted glow to your home.