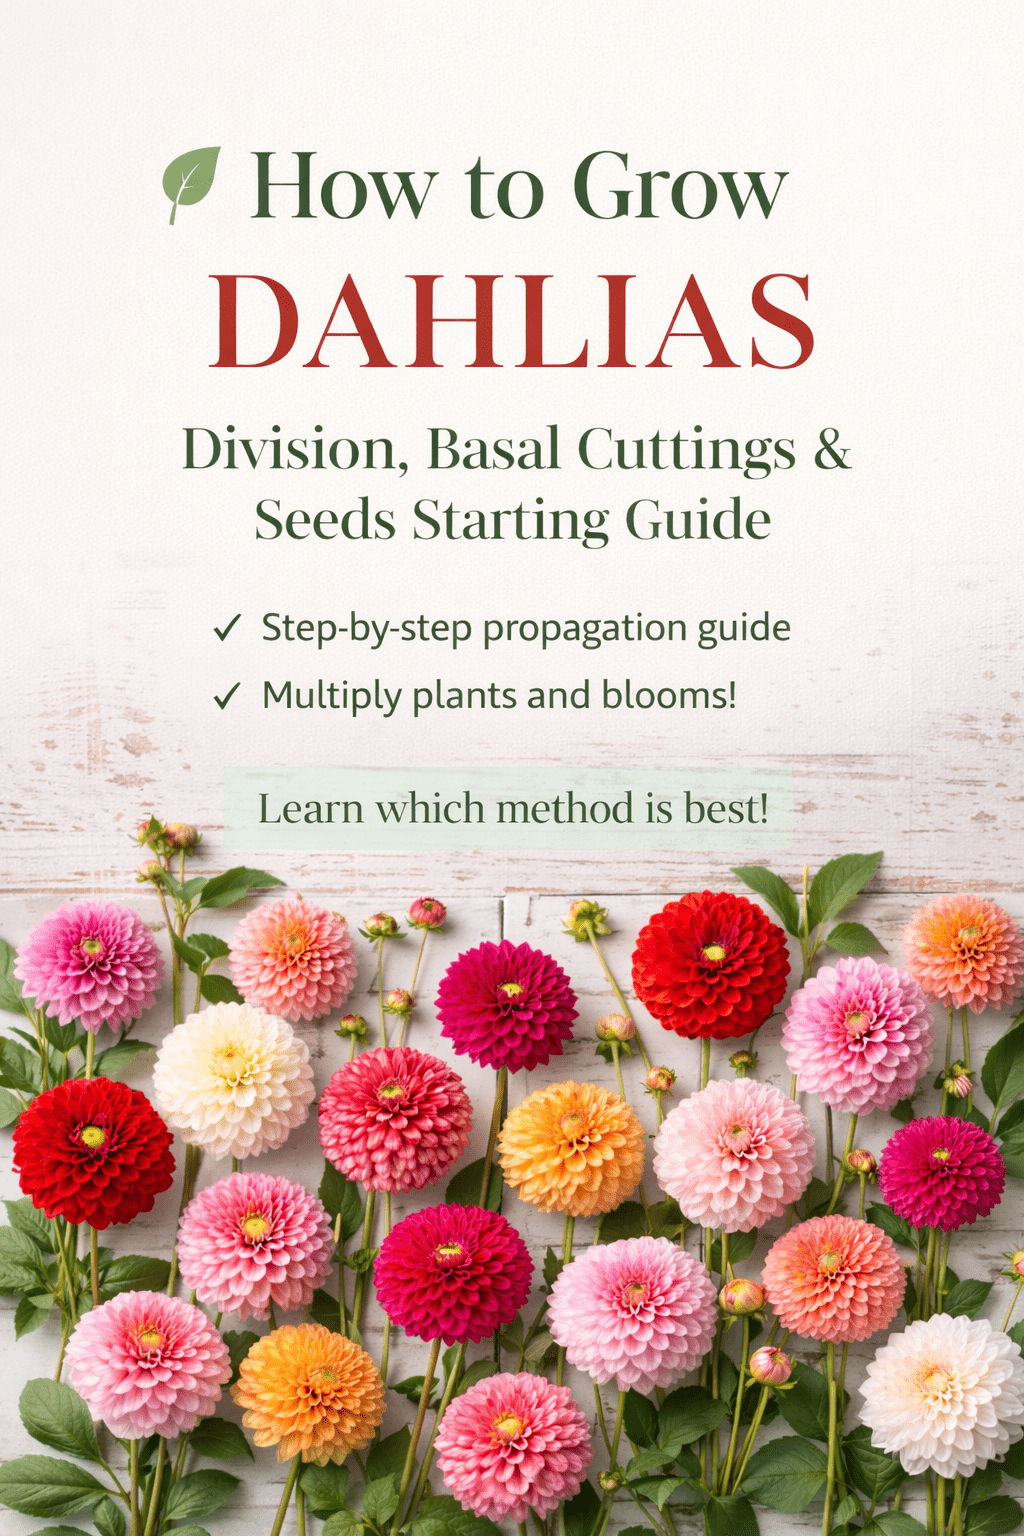
If you love bold, show-stopping flowers in late summer and fall, dahlias deserve a spot in your garden. With thousands of varieties ranging from petite pompons to dinner-plate giants, dahlias are one of the most rewarding flowers you can grow.
Whether you’re expanding your flower beds, planning a cutting garden, or simply want more blooms for free, this guide walks you through three reliable ways to propagate dahlias: division, seed starting, and basal stem cuttings.
Why Grow Dahlias?
- 🌸 Bloom from mid-summer until frost
- 🌿 Incredible variety of colors and forms
- ✂️ Excellent for cut flower gardens
- 🌼 Easy to multiply year after year
In colder climates (like mine in Upstate New York, Zone 5), dahlias are frost-sensitive and must be lifted and stored over winter — but that also makes them easy to divide and propagate.
1. Dividing Dahlia Tubers (The Easiest Method)
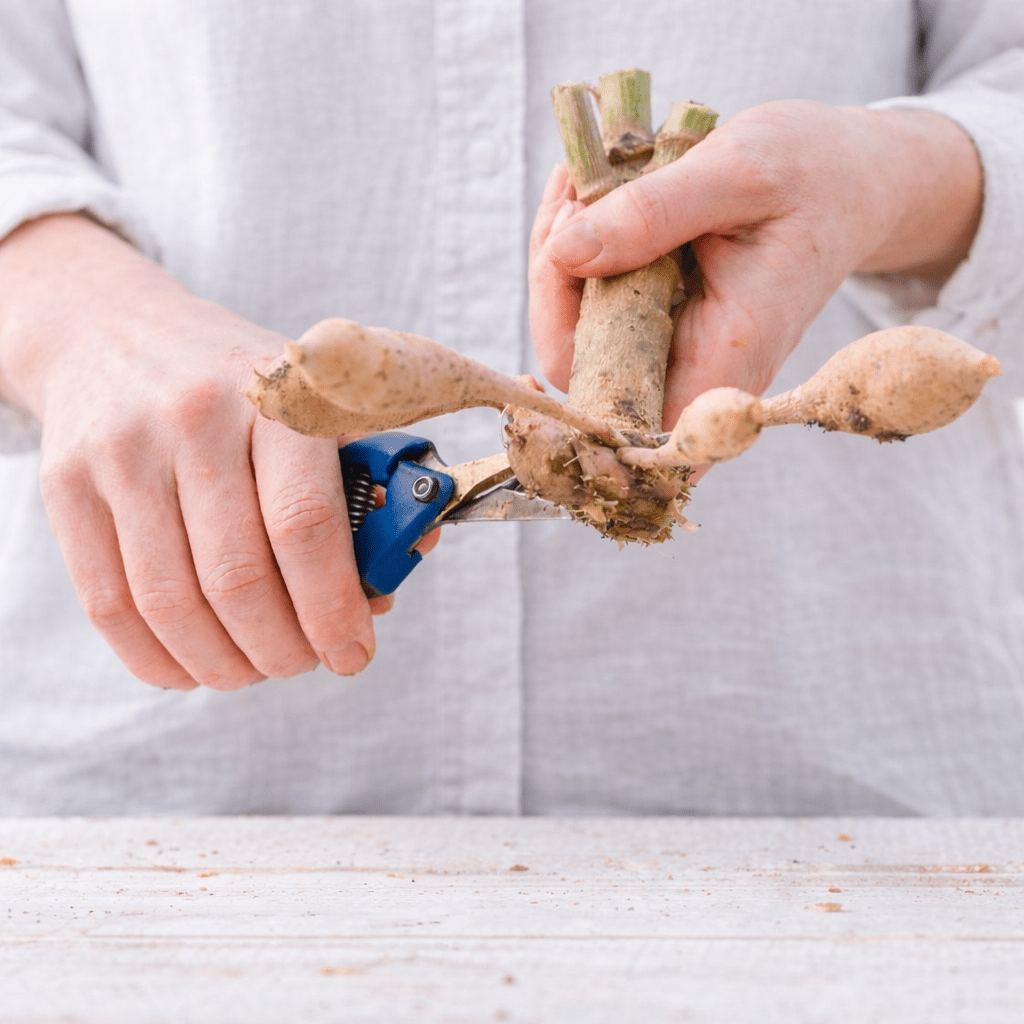
Division is the most common way to multiply dahlias and ensures you get an exact clone of the parent plant.
When to Divide
- Early spring before planting
OR - After lifting and storing tubers over winter
How to Divide Dahlias
- Carefully dig up a clump of tubers.
- Shake off excess soil.
- Using a clean, sharp knife, divide the clump into sections.
- Each division must have:
- At least one healthy tuber
- One visible “eye” (growth bud)
Tip: The “eye” is where the new stem will grow — usually found at the top of the tuber near the crown.
- Dust cut surfaces with fungicide (optional but helpful).
- Plant divisions 4–6 inches deep in well-draining soil.
Dividing not only multiplies your plants — it keeps them vigorous and prevents overcrowding.
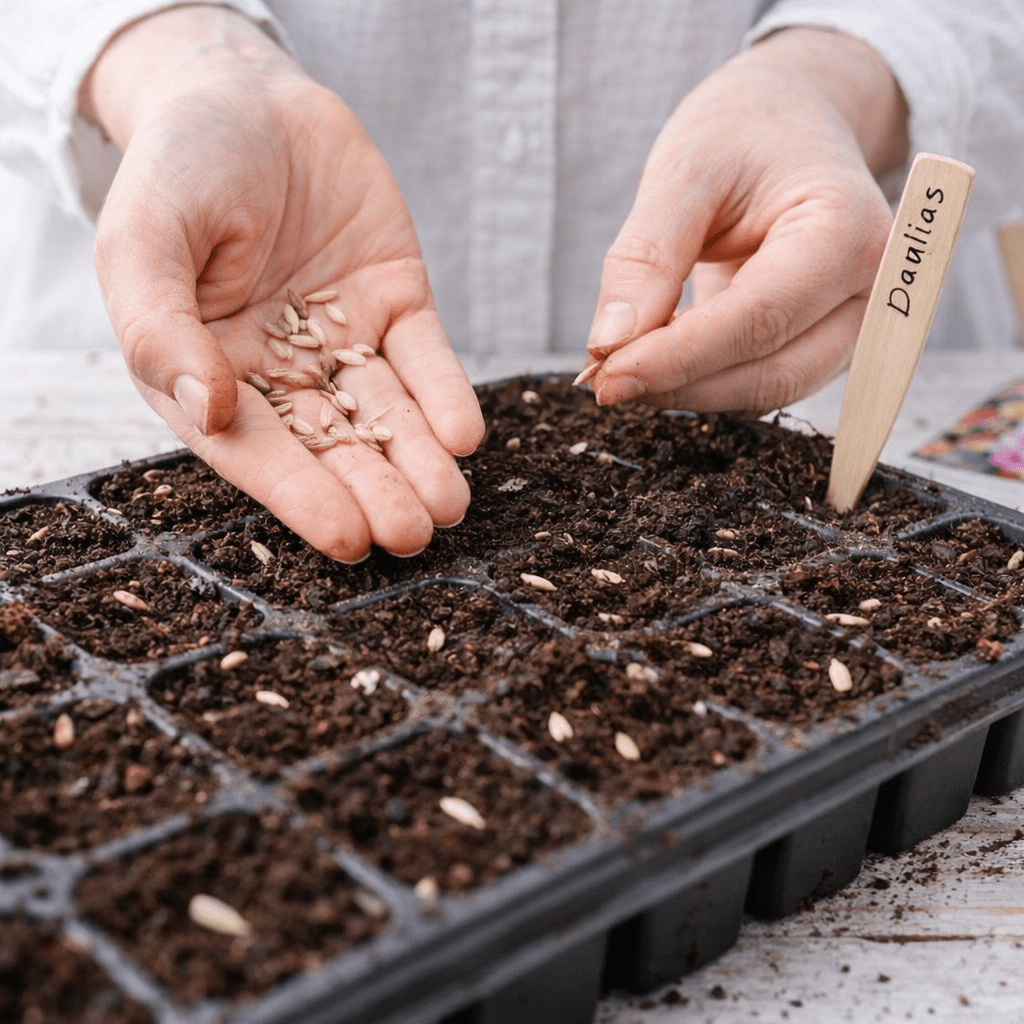
2. Growing Dahlias from Seed
Starting from seed is ideal if you want variety or are experimenting with hybrid forms. Personally, I love doing it this way. It works well winter sowing too.
When to Start Seeds
- Late winter to early spring indoors
How to Grow from Seed
- Sow seeds in trays or small pots.
- Keep at a minimum of 61°F (16°C) for germination.
- Maintain consistent moisture.
- Transplant seedlings into individual pots.
- Move outdoors once nighttime temperatures remain above 54°F (12°C).
⚠️ Keep in mind: Seed-grown dahlias vary widely. They may not look like the parent plant — which is part of the fun!
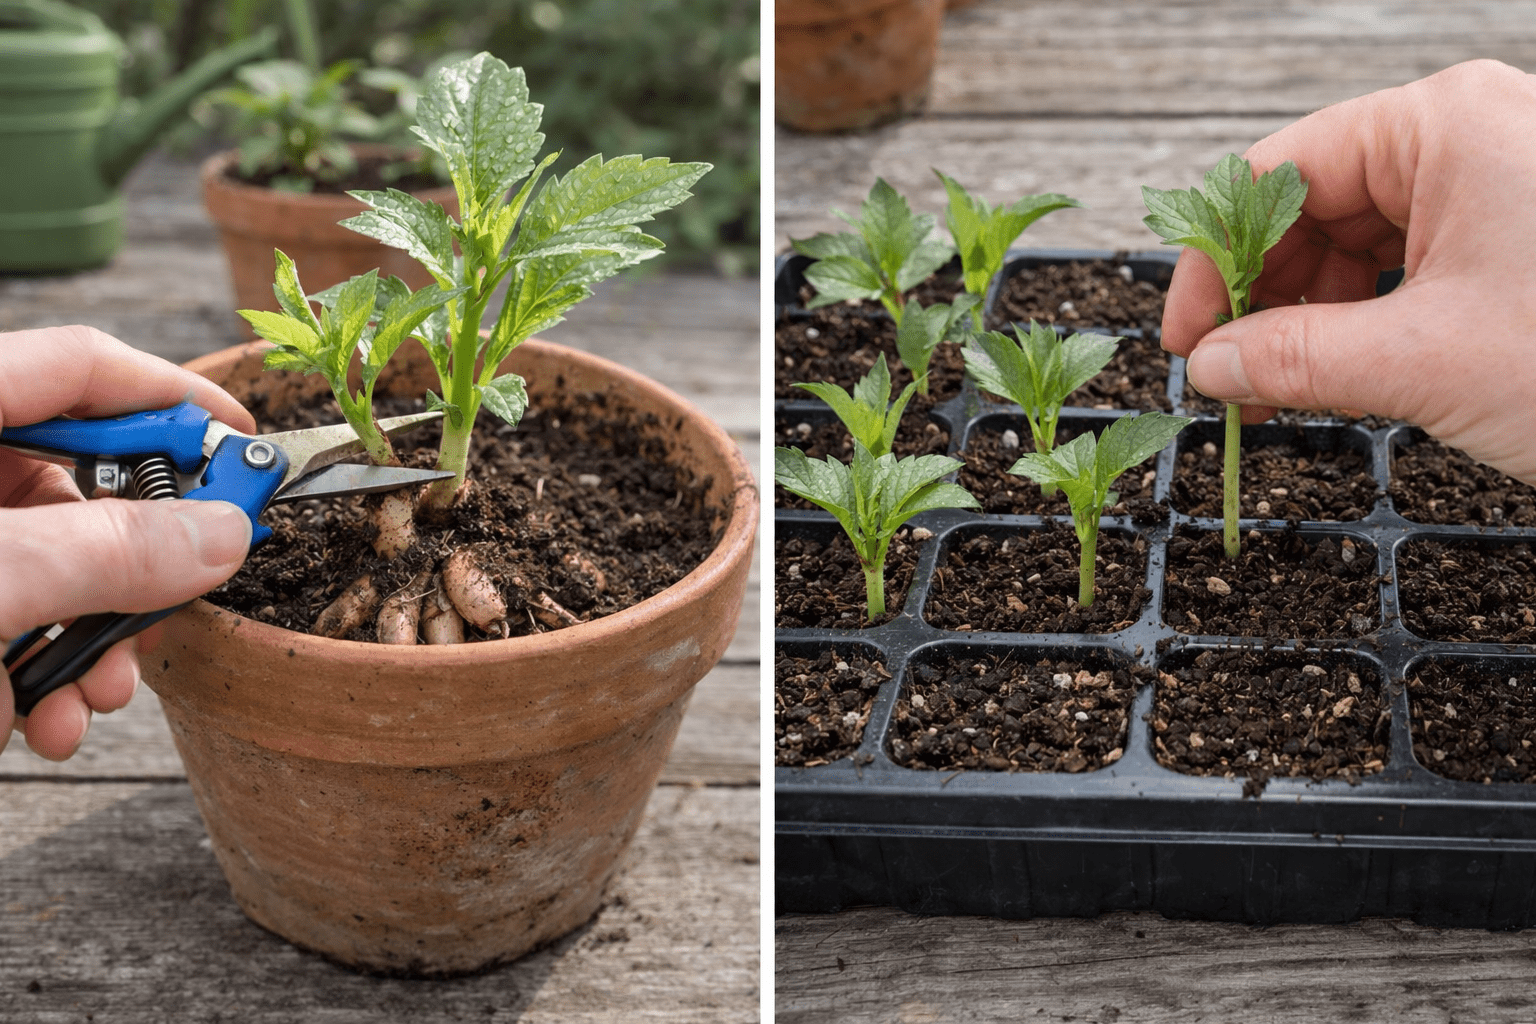
3. Taking Basal Stem Cuttings (Multiply Fast!)
If you want to dramatically increase your dahlia stock, basal stem cuttings are incredibly effective.
This method can produce 5–6 plants from a single tuber.
Step-by-Step: Basal Stem Cuttings
Step 1: Wake the Tubers
In late winter:
- Place tubers in shallow boxes with moist soil.
- Leave the tops exposed.
- Keep in light shade.
- Maintain a temperature of at least 54°F (12°C).
New shoots will begin to emerge.
Step 2: Take the Cuttings
When shoots are about 3–4 inches tall:
- Use a sharp knife to cut the shoot at the base.
- Include a small piece of tuber tissue.
- Trim leaves from the lower portion.
- Remove all but the top two leaves.
- Cut just below a node (where leaves meet stem).
Step 3: Pot the Cuttings
- Insert into free-draining mix (sand + peat works well).
- Plant up to the leaf line.
- Firm gently.
- Water lightly.
- Label clearly.
Keep at 61°F (16°C) or warmer at night.
Roots typically develop in 2–3 weeks.
Step 4: After Rooting
- Gradually reduce humidity.
- Pot into individual 3½-inch pots.
- Harden off before planting outside.
Alternative Method: Using the Tuber as a Stock Plant
Instead of discarding the tuber after cuttings, you can:
- Pot it up in autumn after lifting.
- Keep frost-free during winter.
- Move it to 50°F (10°C) in early spring.
- Encourage dormant buds to shoot again.
You can harvest multiple rounds of cuttings this way.
Overwintering Dahlias (Cold Climate Guide)
In frost-prone areas:
- Lift tubers after first frost.
- Allow to dry.
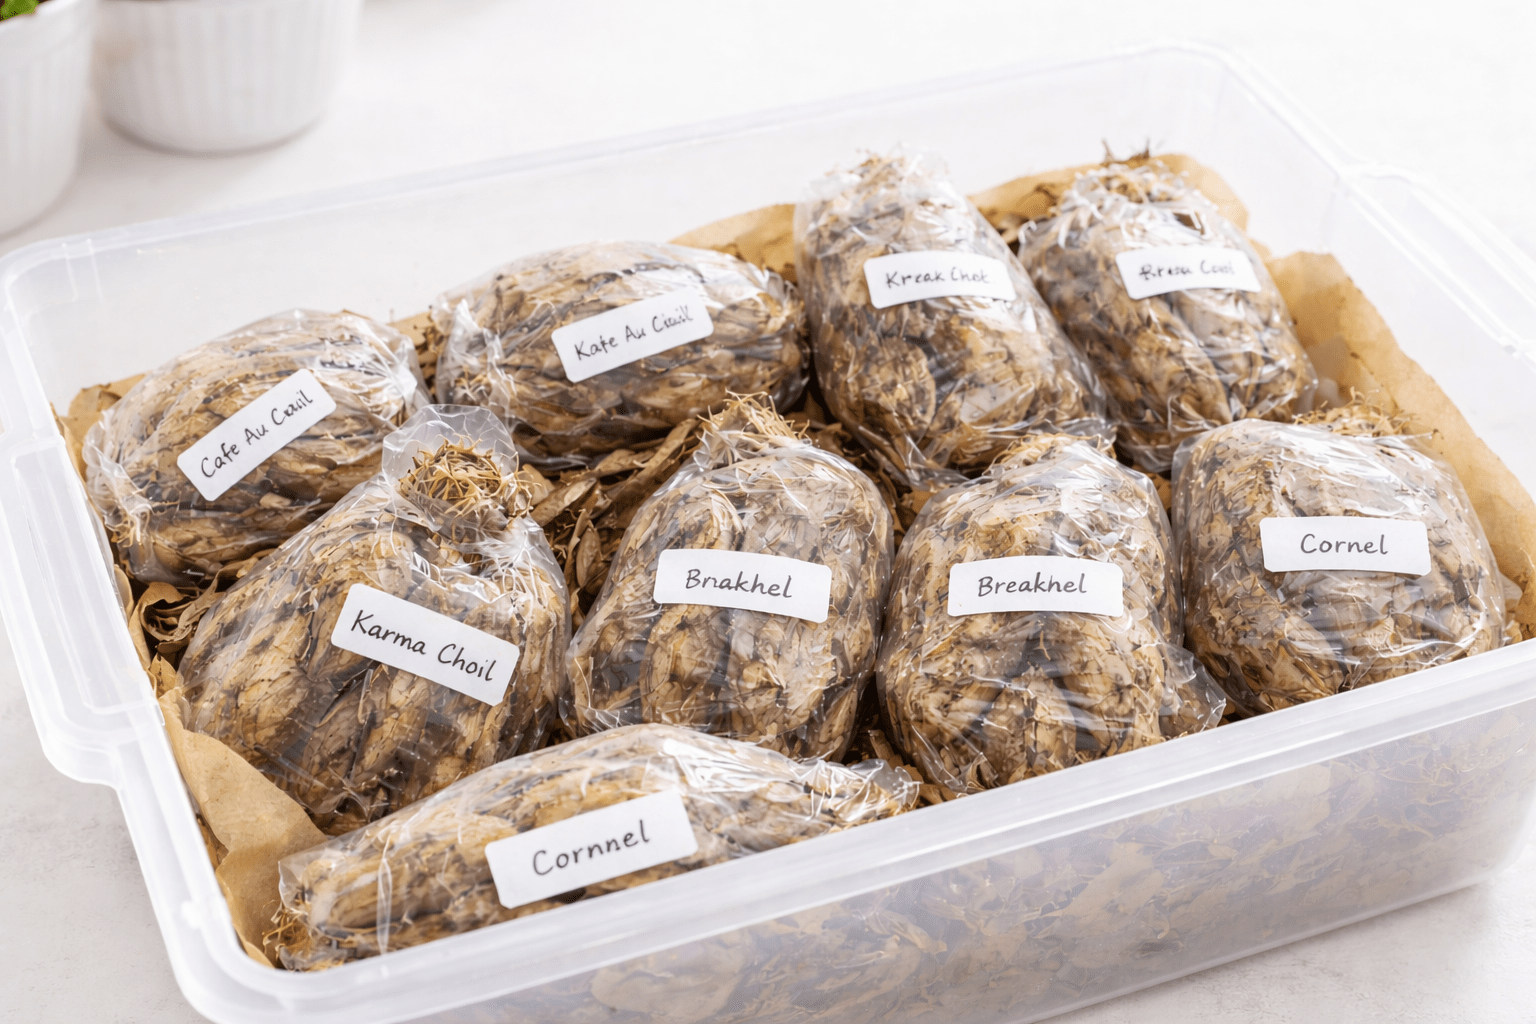
- Store at 37–45°F in barely moist conditions.
- Keep them clean and free from soil to prevent rot.
- I find wrapping in clear plastic wrap is the best method for me.
Proper storage prevents fungal issues and ensures strong spring growth.
Final Thoughts
Dahlias may look dramatic, but they’re surprisingly easy to propagate. Whether you divide tubers, grow from seed, or take basal cuttings, you can multiply your garden year after year — for free.
If you’re building a cutting garden or planning a 50×50 flower space, dahlias are a powerhouse addition. With just a little effort in late winter and spring, you’ll be rewarded with armloads of blooms by midsummer.