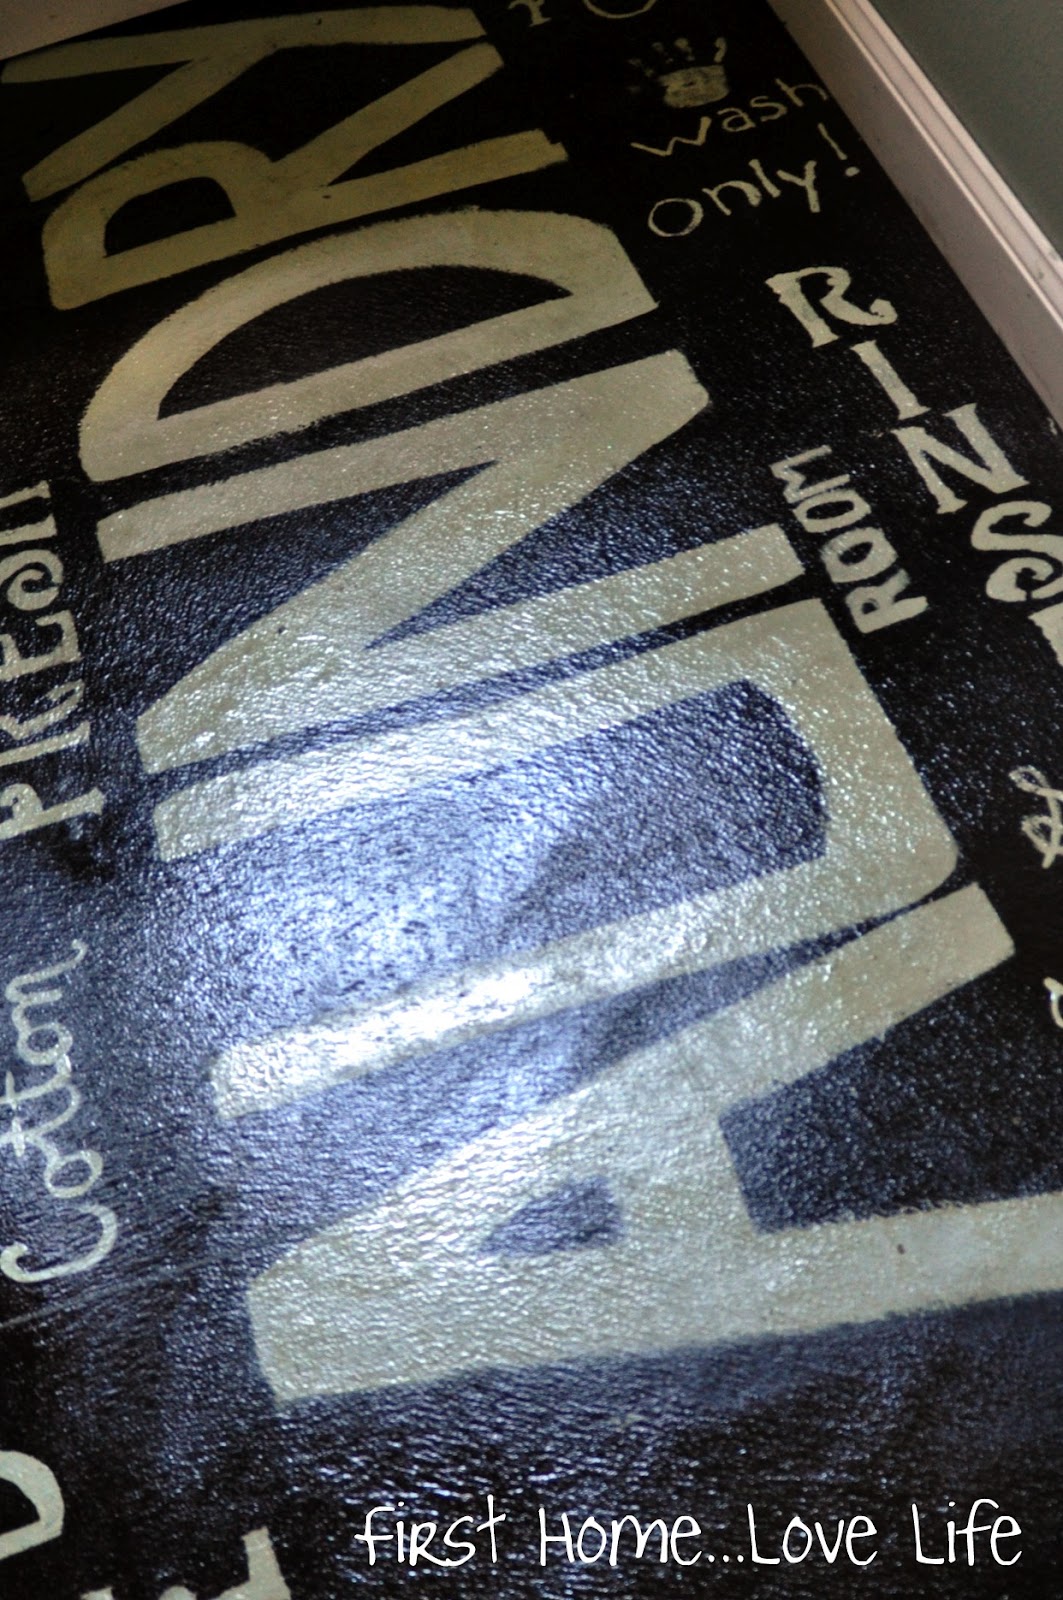
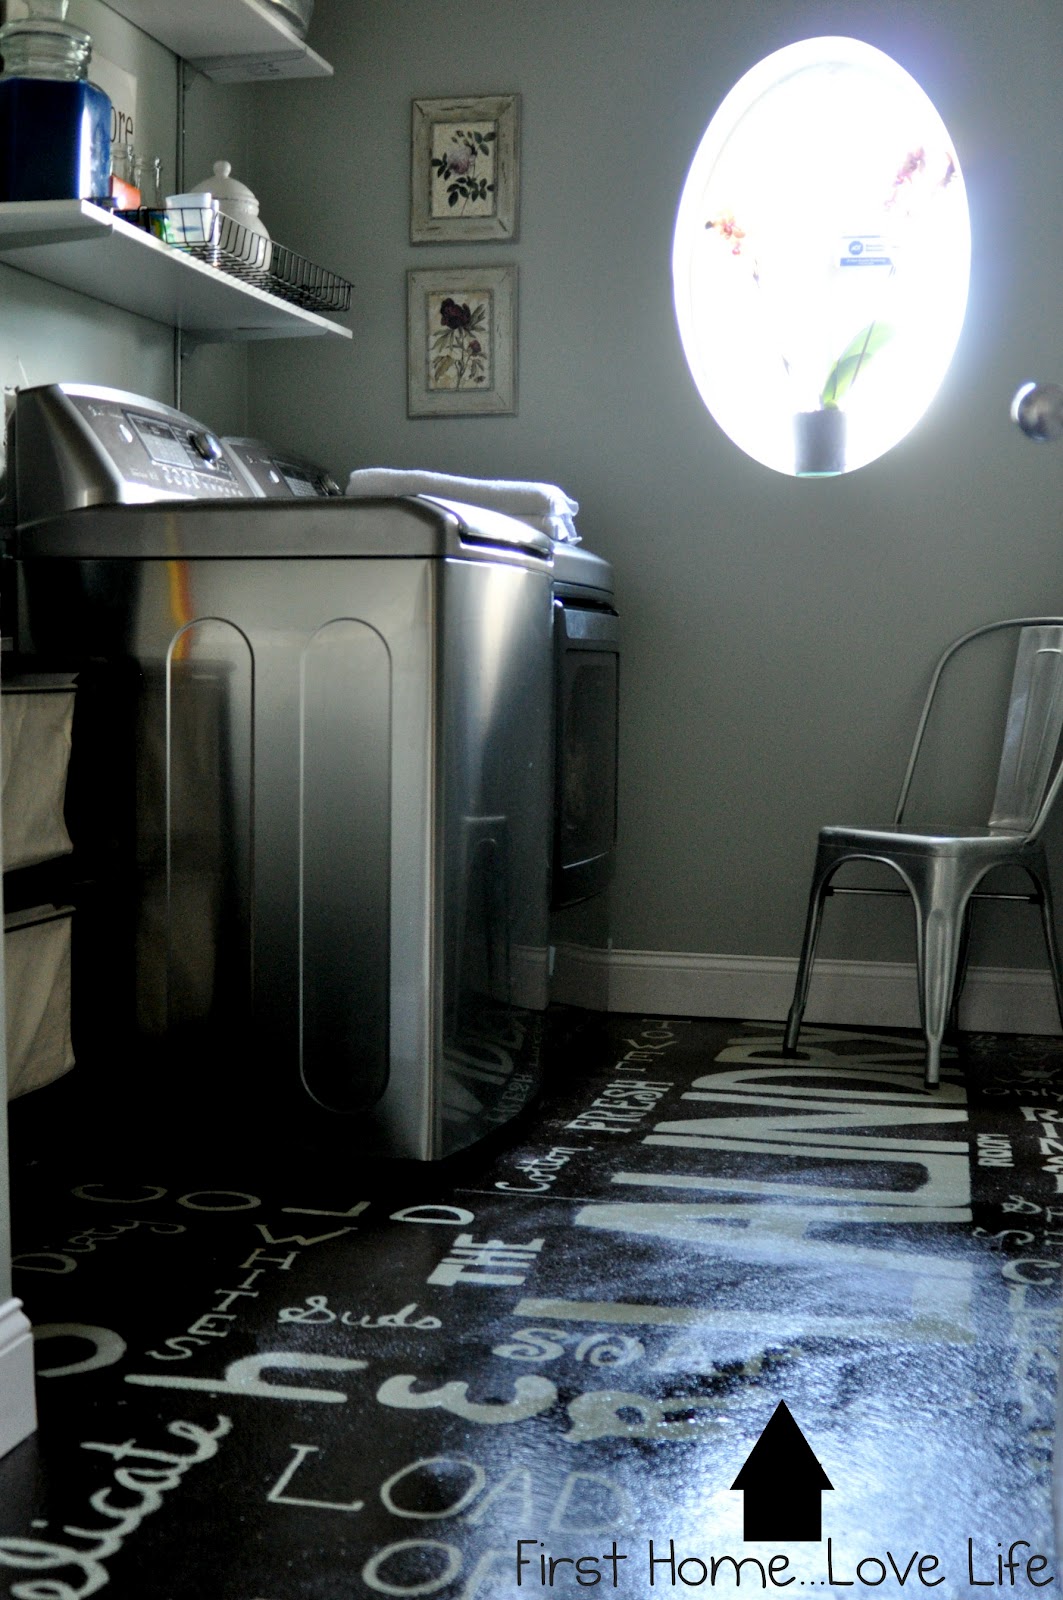
A few of you have asked me to show you how I did the subway art graphic on my floor, so here’s what I did.
I first drew on a piece of paper the rough design, along with the words in certain spaces and fonts.
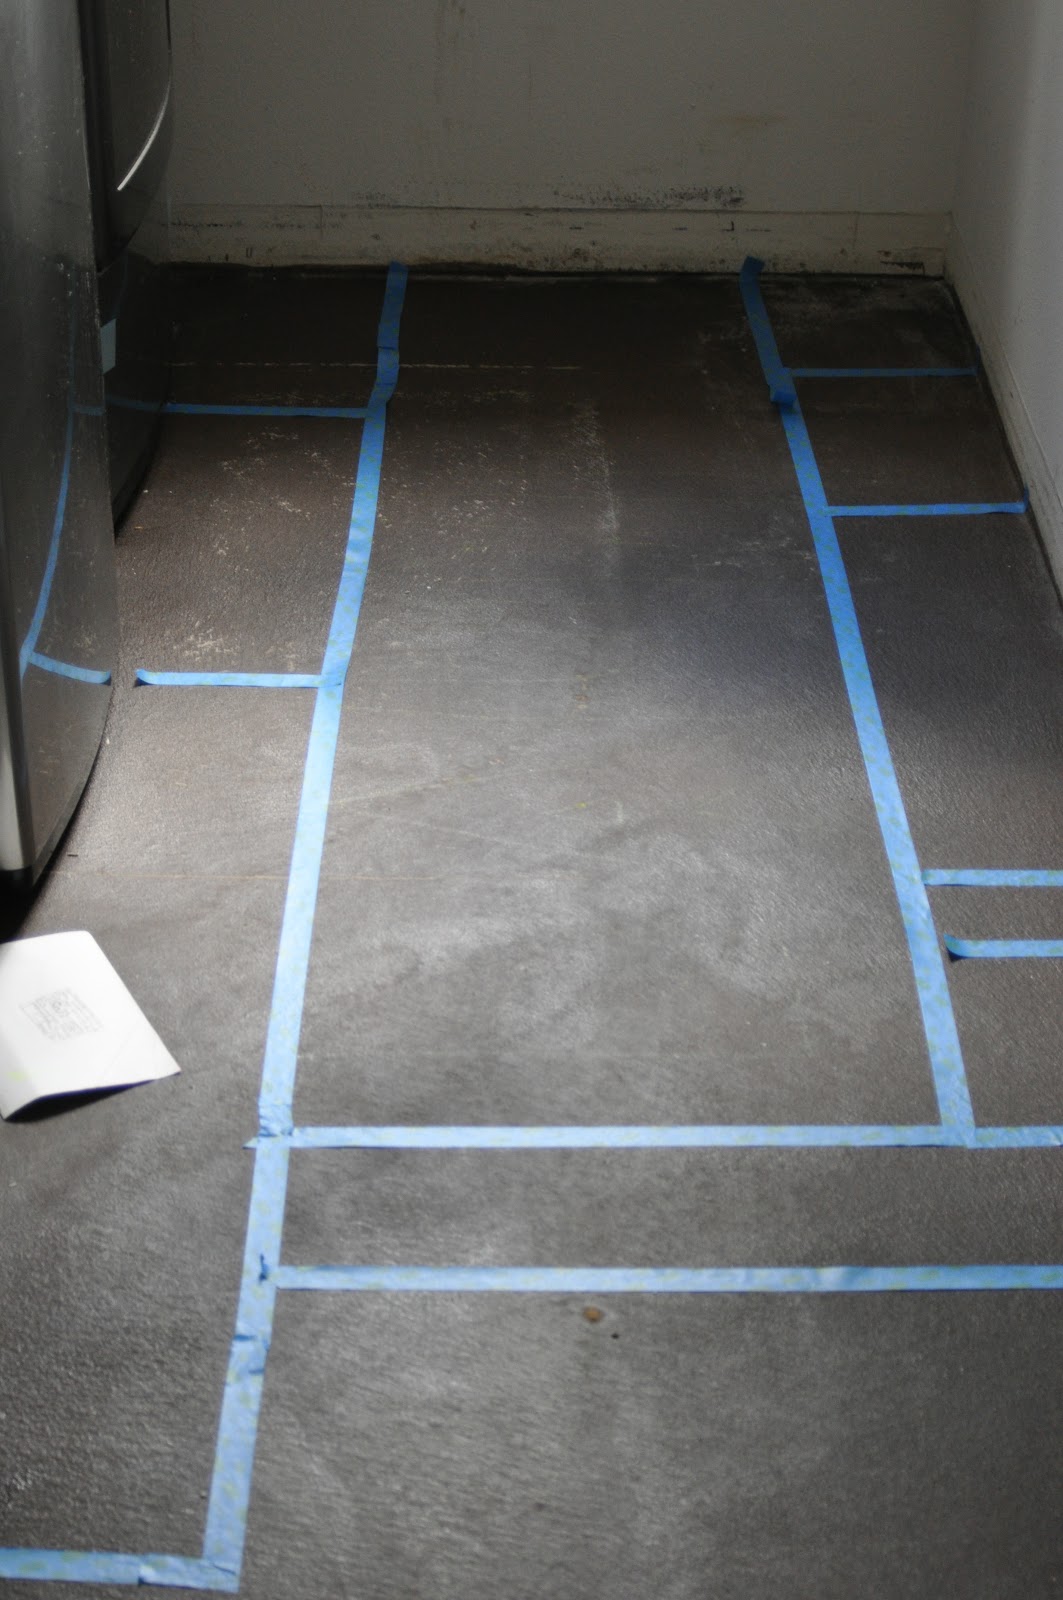
I then measured out, and marked off sections onto my floor with painters tape.
This is where it got kind of weird…
I started painting the main word “LAUNDRY” backwards. Why? Well, because just in case my measurements were wrong it would be much easier to move the tape than the wall. ;o)
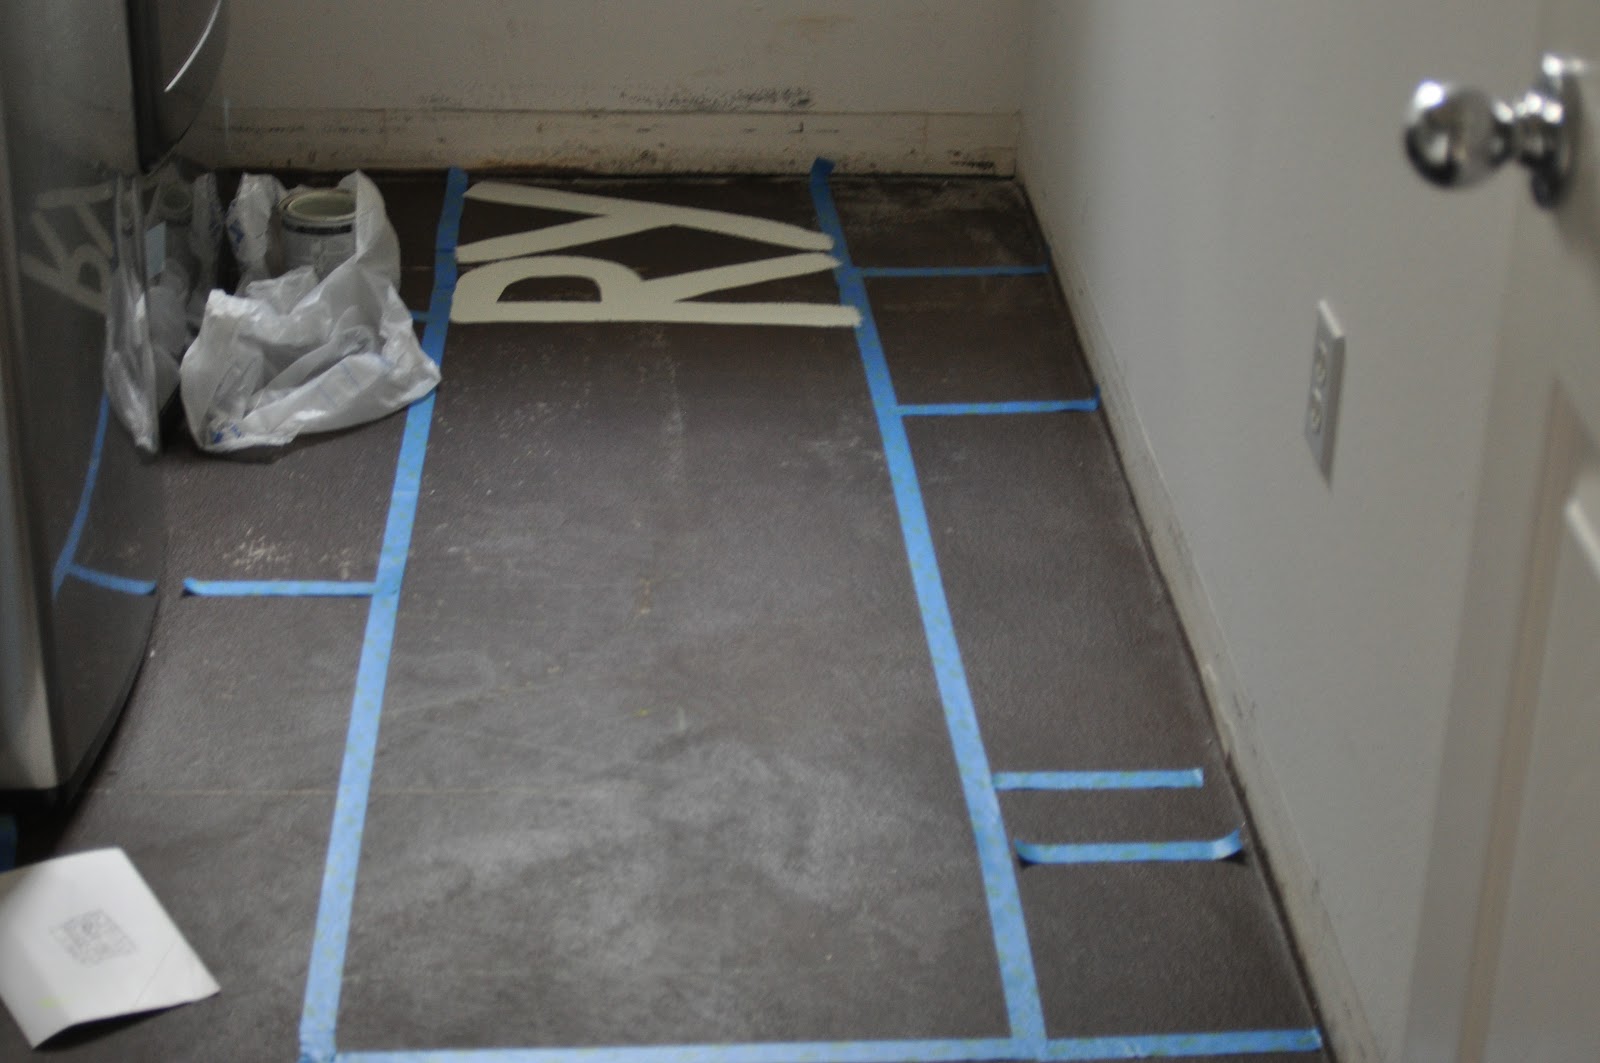
Sure enough, I did end up moving the tape.
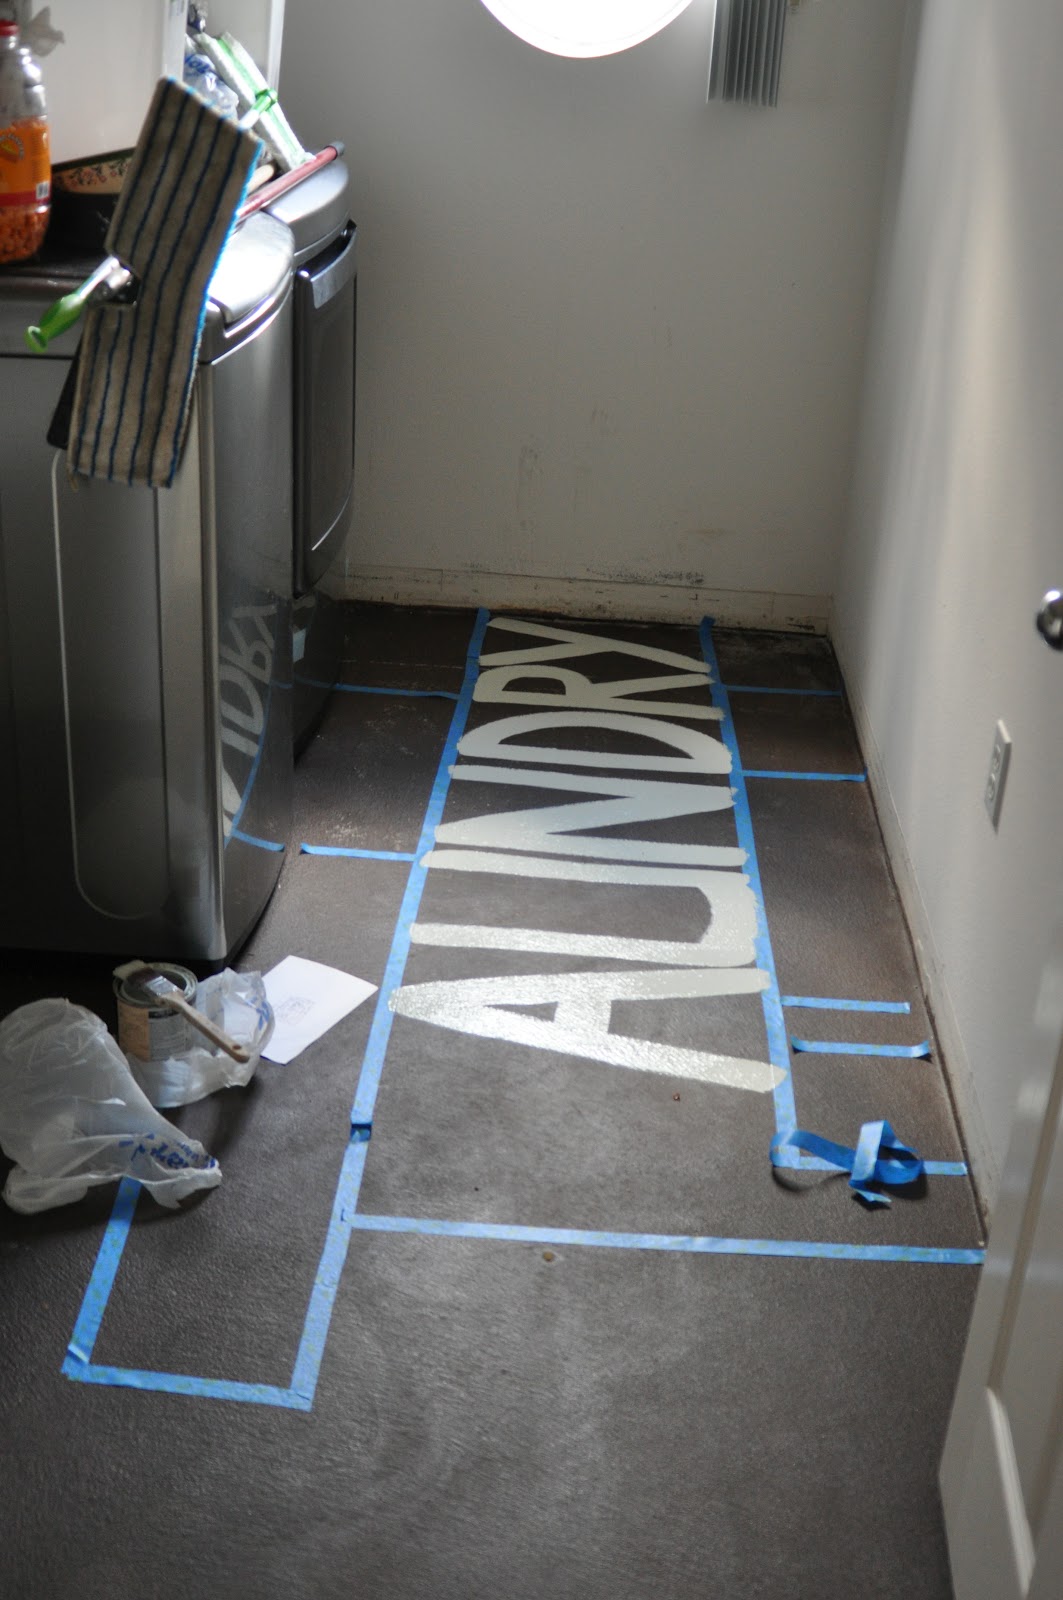
I let this word dry for a good 3-4 hours before I began working around it.

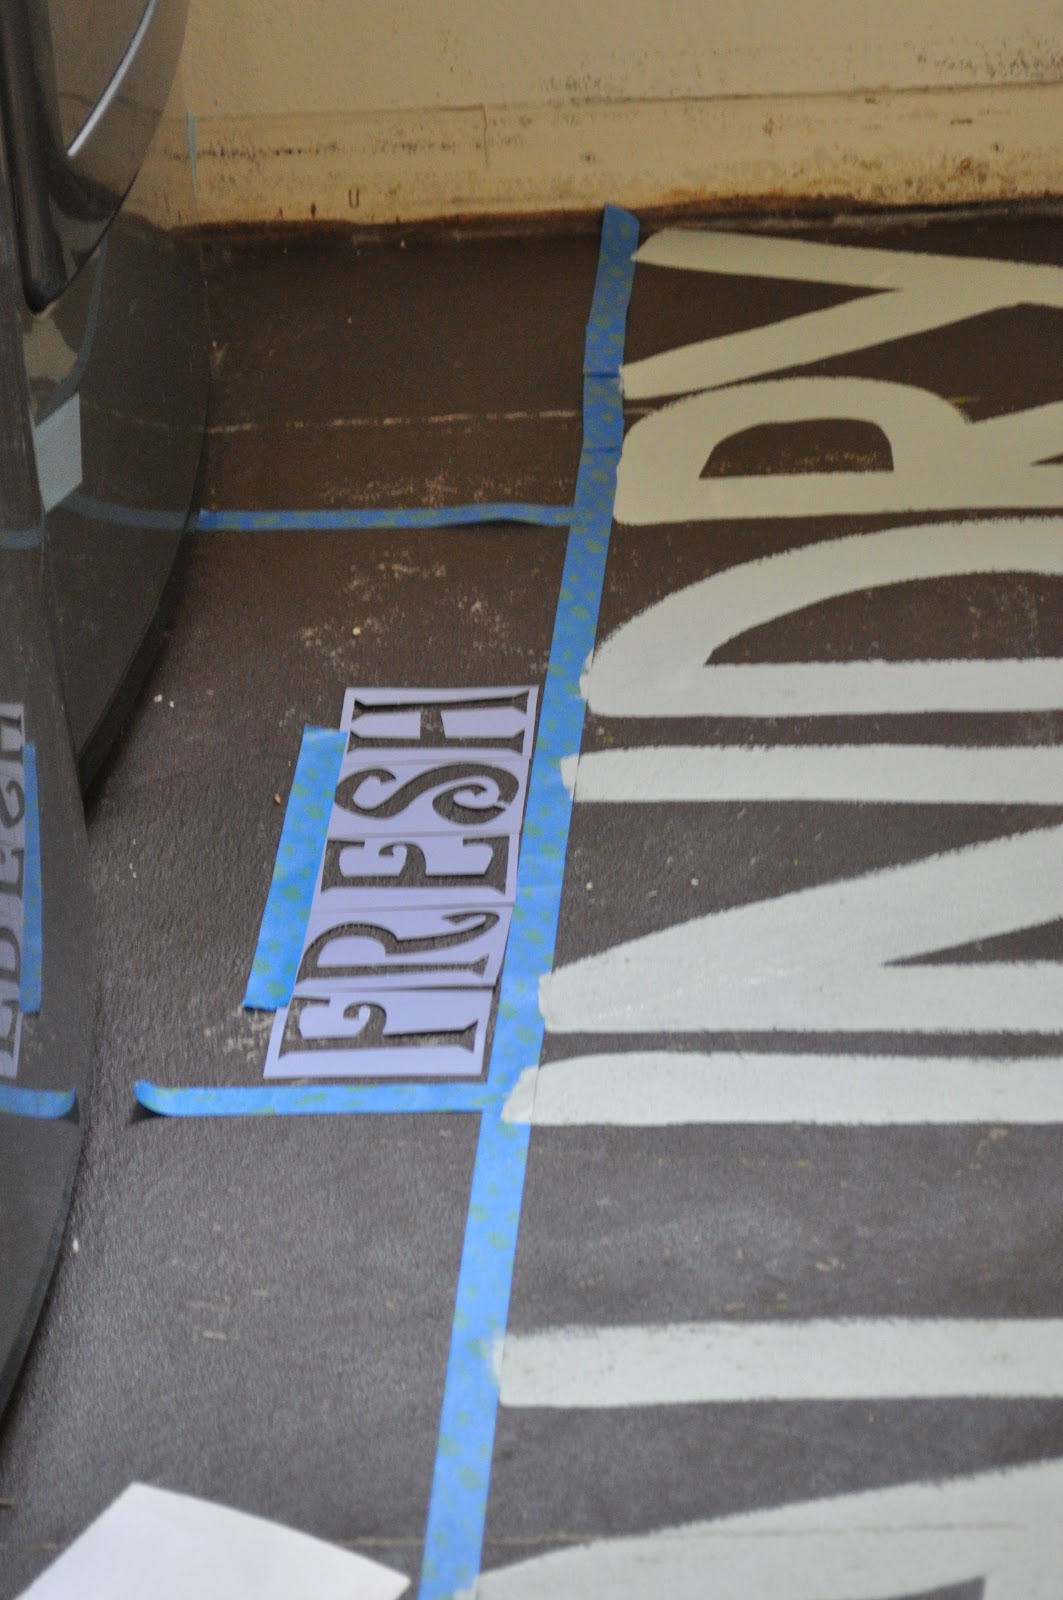
I found some pre-cut paper stencils at Walmart, and used them in the beginning. Taping down the stencils, and using a stencil brush to “tap” paint onto the floor.
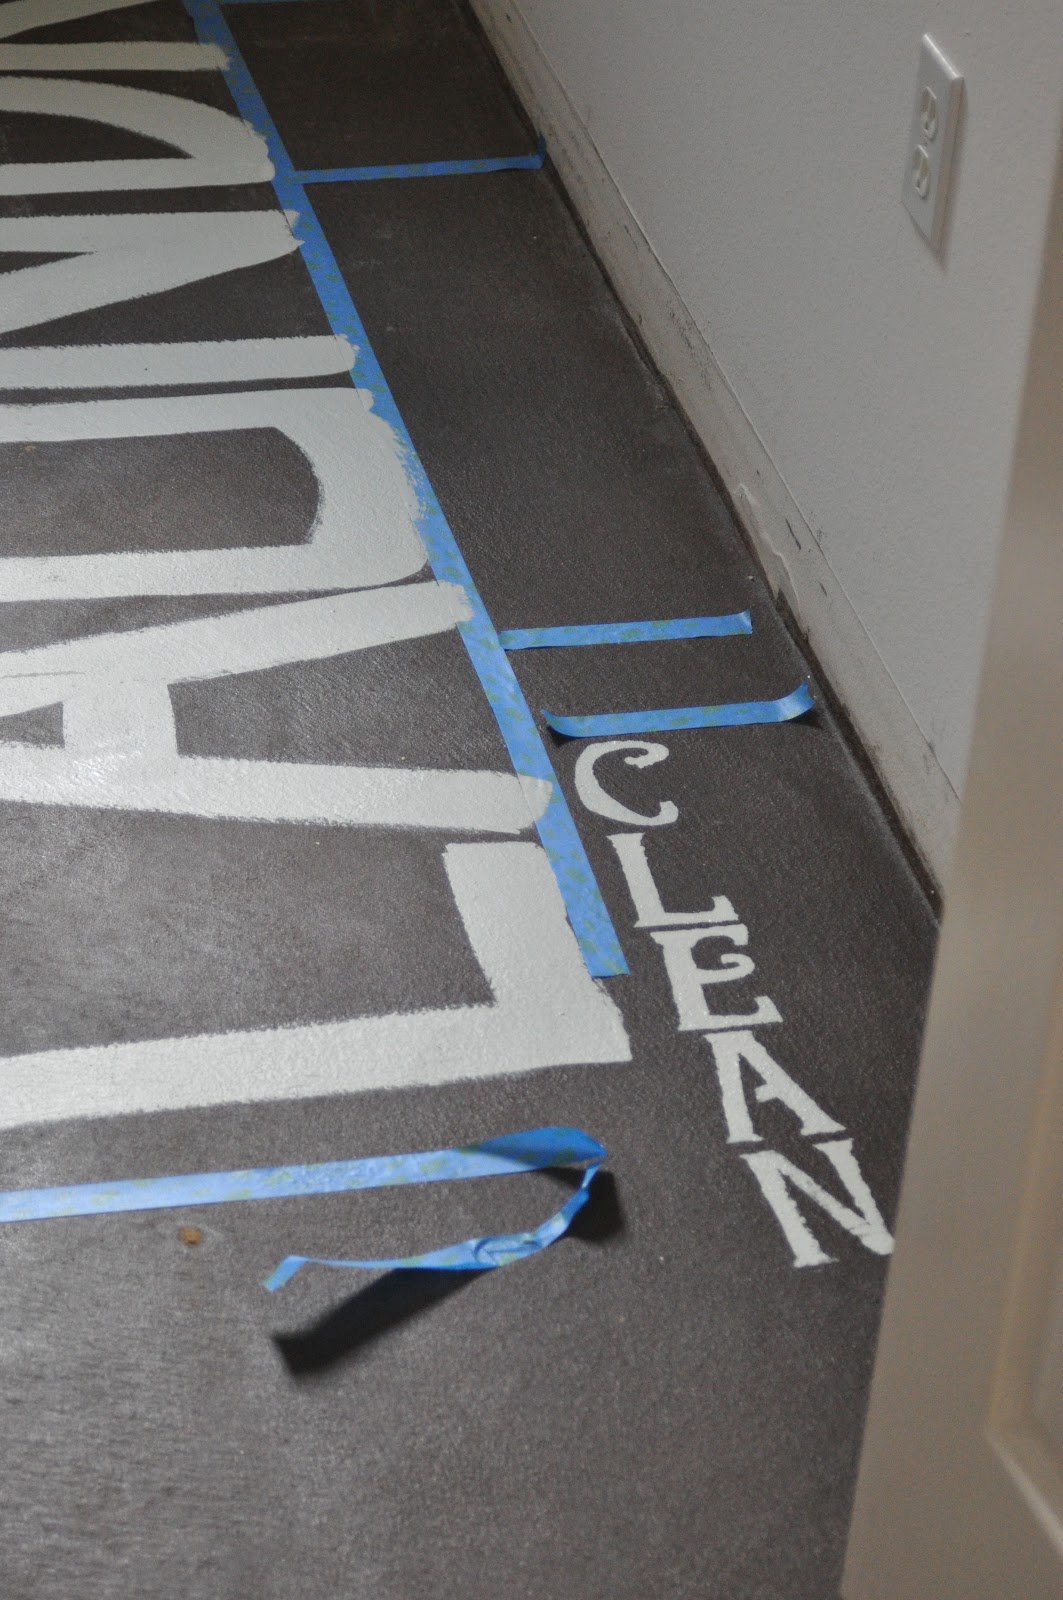
I did this a few times, and got annoyed pretty quickly with using the stencil, so I ended up free-handing it most of the time.
What about making mistakes?
Trust me, I made a ton! I would paint a word, and not like the placement, or it was crooked, or too small or too big…ugggh I’m so glad this project is over!
This stuff (also from Walmart) is amazing at cleaning up paint!
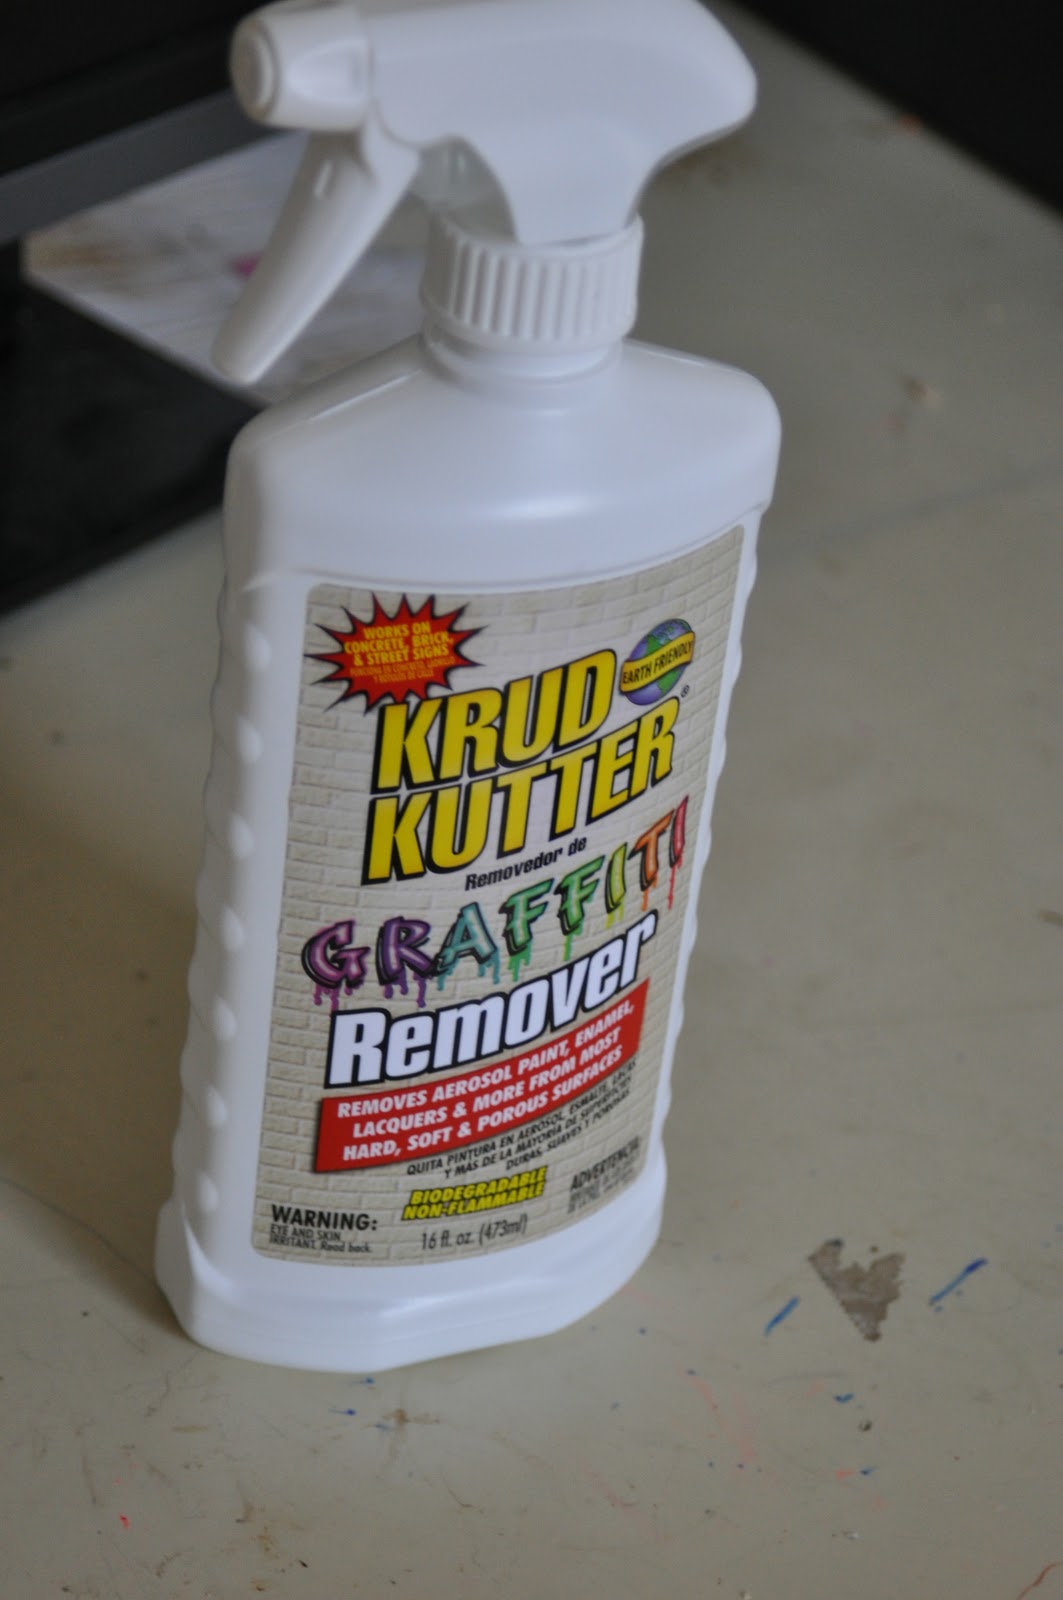
If When I made a mess mistake, I sprayed this stuff on it, and used a wire scrub brush to brush the word, and a damp towel to wipe it up. Easy peasy!
When I finally had all the words down and in place, I let everything dry for 24 hours. (In case you’re wondering, we didn’t do laundry for a week…door stayed closed at all times!)
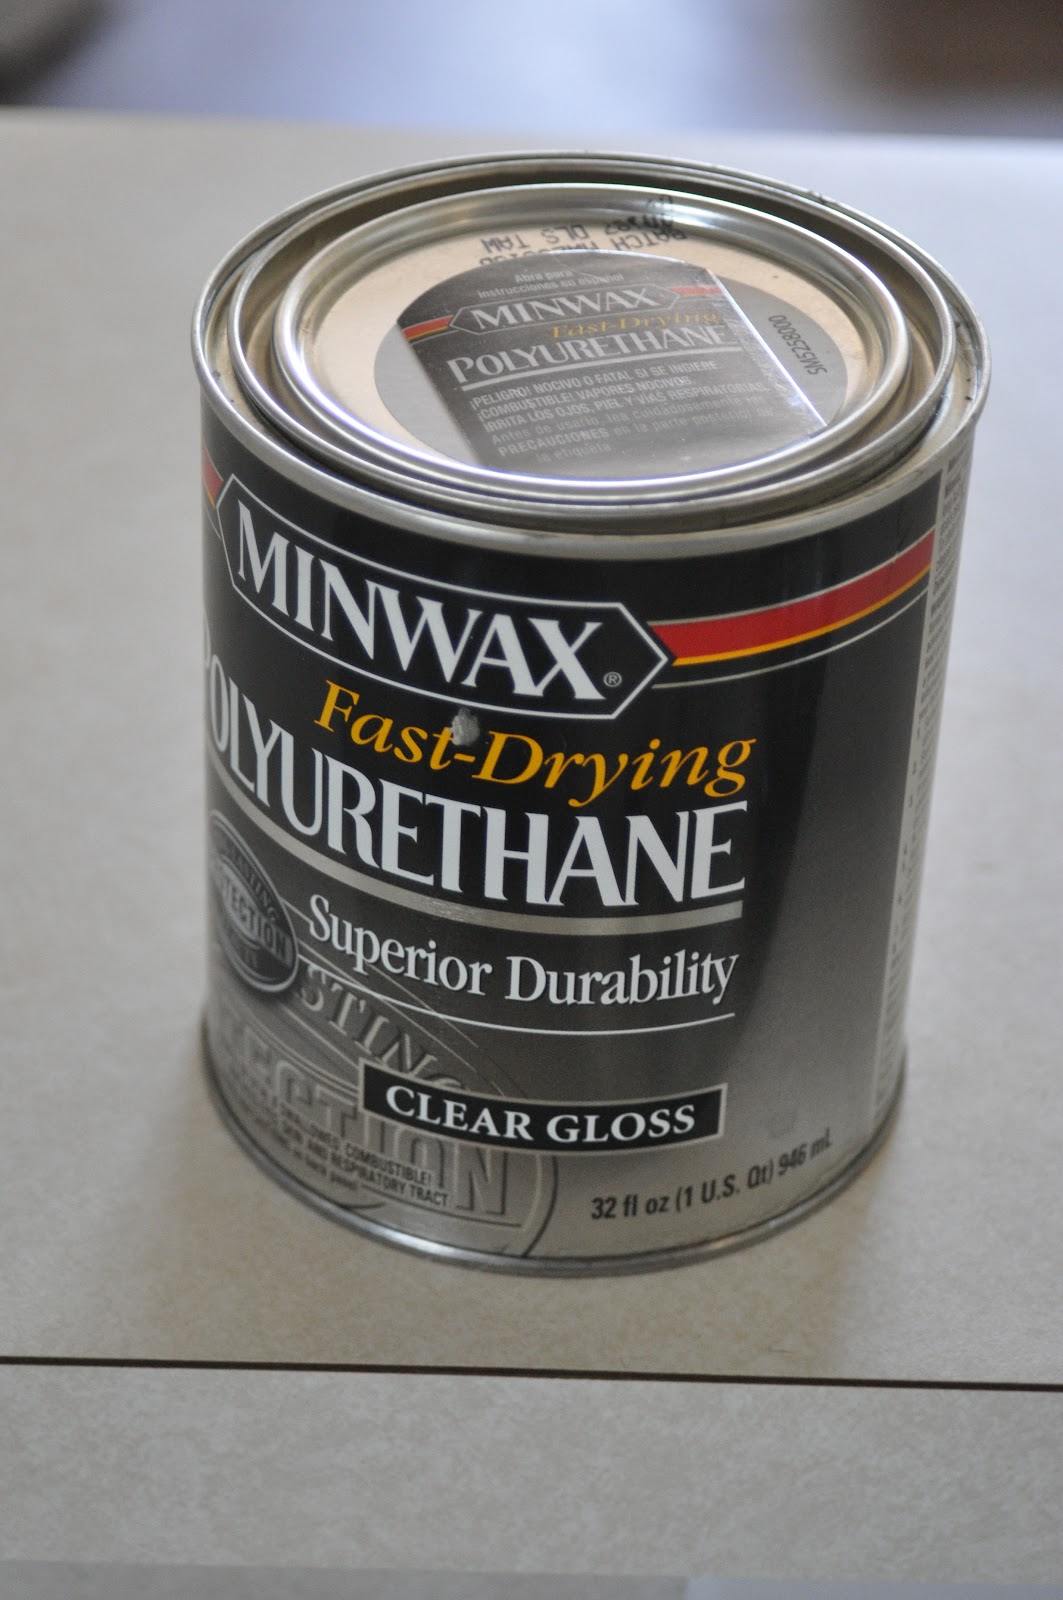
24 hours later I painted 2 coats of fast drying polyurethane down to protect the floor, leaving 3-4 hours in between coats for drying.
When everything was dry, this is what it turned out like.
Total cost for the floor $70, and worth every penny!
Talk to you soon 🙂

I’m partying at…