Alternate title: How I stopped my dogs from eating the cat poop!
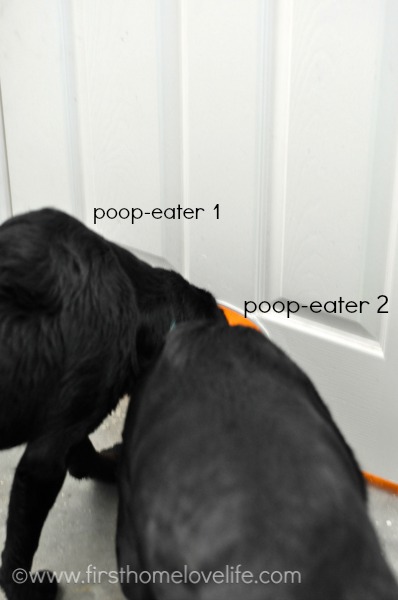
Gross, right? I wish I was kidding, but unfortunately it’s all too real, and absolutely disgusting!
We have two cats, and two litter boxes, but the ‘problem box’ was the one in our master bathroom’s toilet closet. The reason this one was a problem is because we had to always leave that door open for the cats so they could get to and from the litter box and that open door policy was just the invitation the dogs’ needed to turn it into their own personal snack center…{{shudders}}
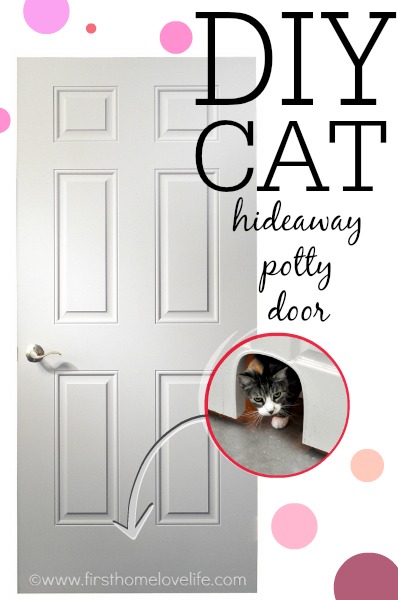
Being completely grossed out and concerned for our dogs’ health, I asked my husband if he could cut a “mouse hole” at the bottom of the door that was big enough for the cats to get in and out of the toilet closet but would prevent the dogs from getting to the box and eating their poo. Surprisingly…The idea came out better than expected, was super cheap to make, and was an easy solution to an annoying problem!
Here’s how we did it…
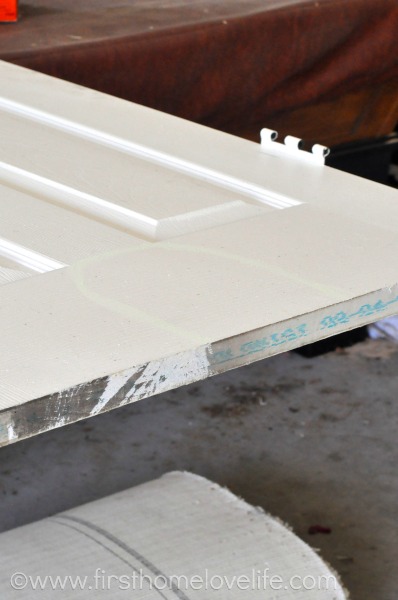
We first removed the door to the toilet closet off of the hinges and brought it out into the garage where I measured and drew out my ‘mouse hole.’ I drew it out in green chalk so it’s super hard to see in the picture!
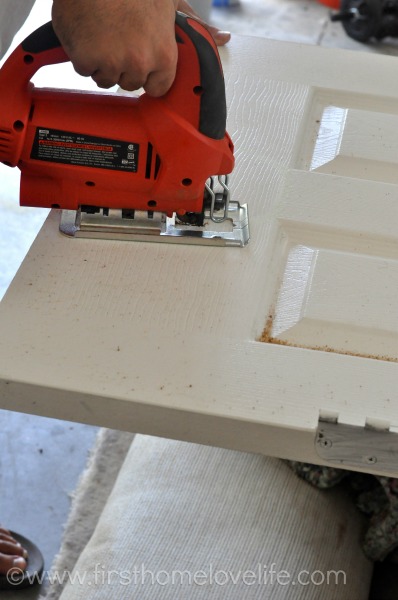
Once I had the shape and size I liked, my husband used the jigsaw to cut it out.
Hello hollow door…
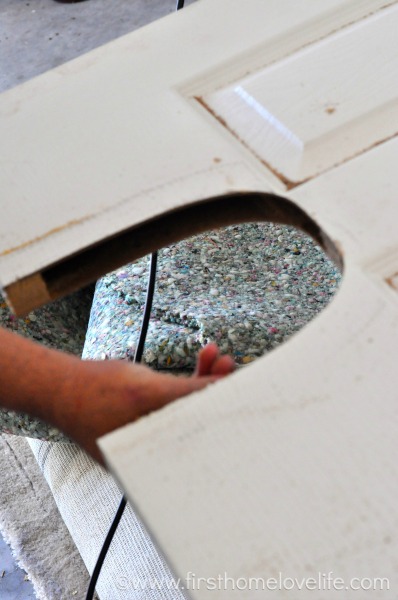
Because the door was hollow, we had to now try and trim that hole up. Luckily, we had some scrap lattice that was almost the right width. All we had to do was trim off about 1/4 of an inch. If you need to buy lattice, it’s less than $5 for about a 6 ft piece.
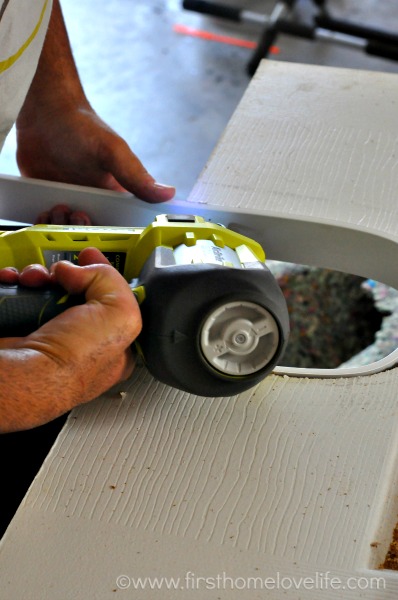
We used our Ryobi Airstrike brad nailer to nail the lattice piece in place to the frame inside of the hollow door.
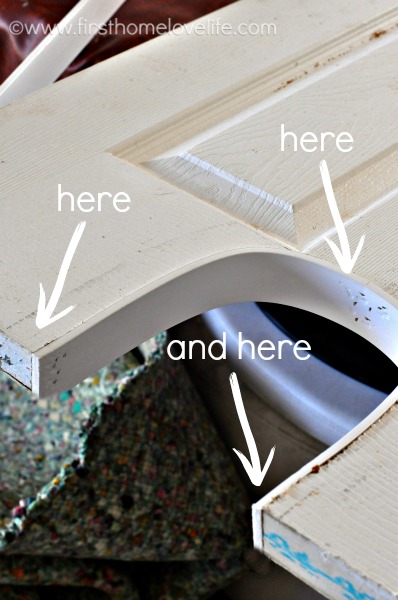
A little hole filler, sanding and caulking around the edges and you almost couldn’t tell we boot-legged this contraption 😉
But the proof is in the pudding, friends…
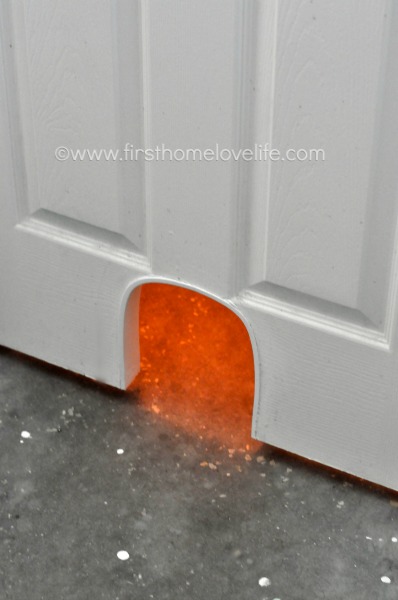
Now the door can stay closed to keep these buggers out…
But still allow the cats’ access to get to and from their potty.

I’m so excited about this small but HUGE change in our master bathroom! Now that’s all that is left do is install new flooring (yes…that’s concrete subfloor in case you were wondering…) install new baseboards and finish painting the trim/doors and our master bath will be done for now, of course 😉
I hoped you loved this easy DIY! I know it’s making life a whole lot easier for us now that we don’t have to worry about the dogs getting to the litter box before us anymore!
Talk to you soon friends, take care!
XO