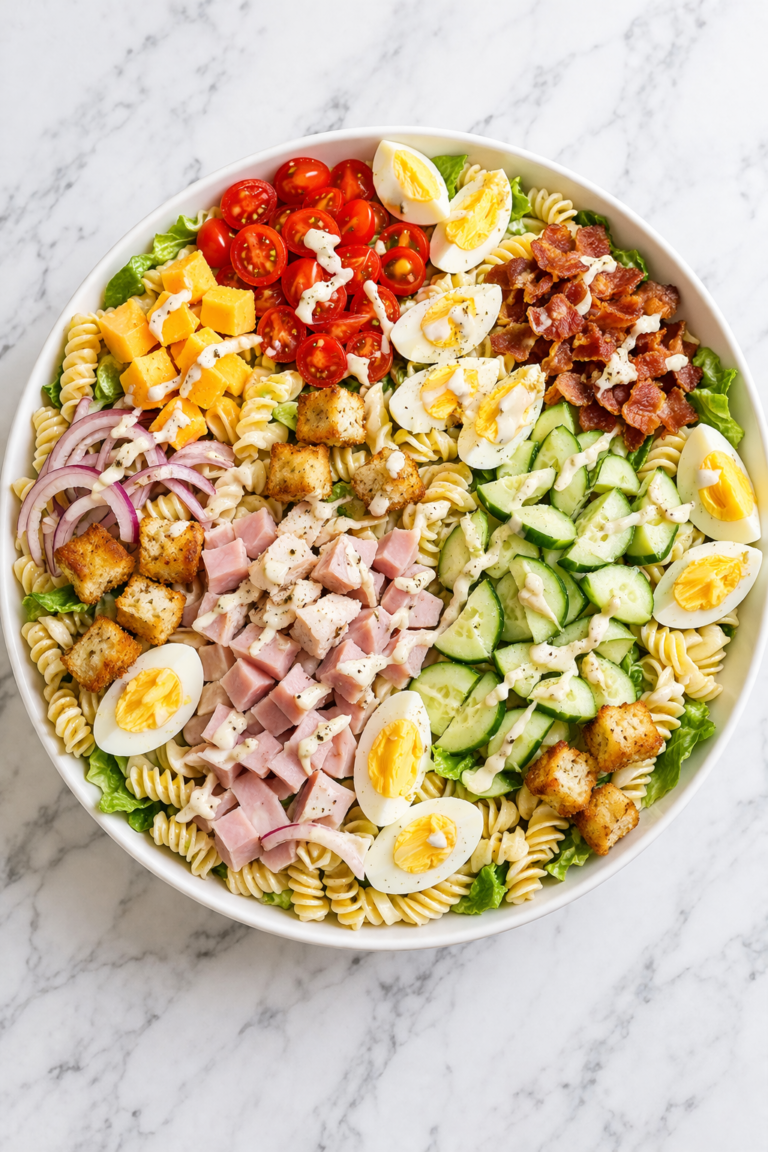
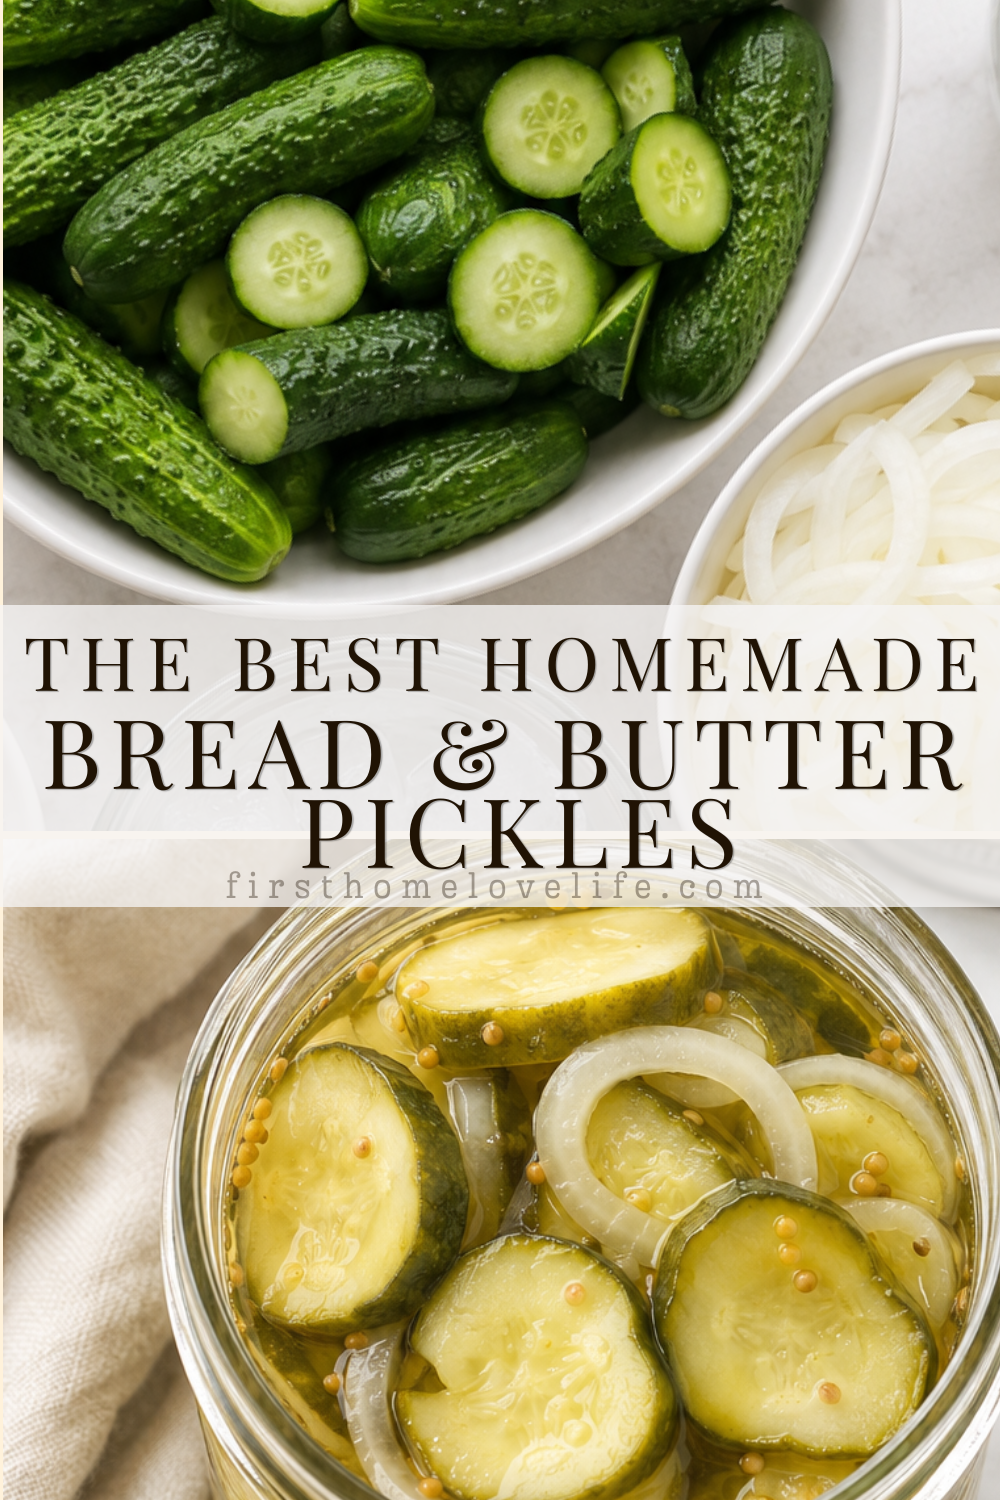
If your garden is overflowing with fresh cucumbers, this homemade bread and butter pickle recipe is one of the best ways to preserve them. These classic pickles are crisp, sweet, tangy, and filled with plenty of old-fashioned pickling flavor.
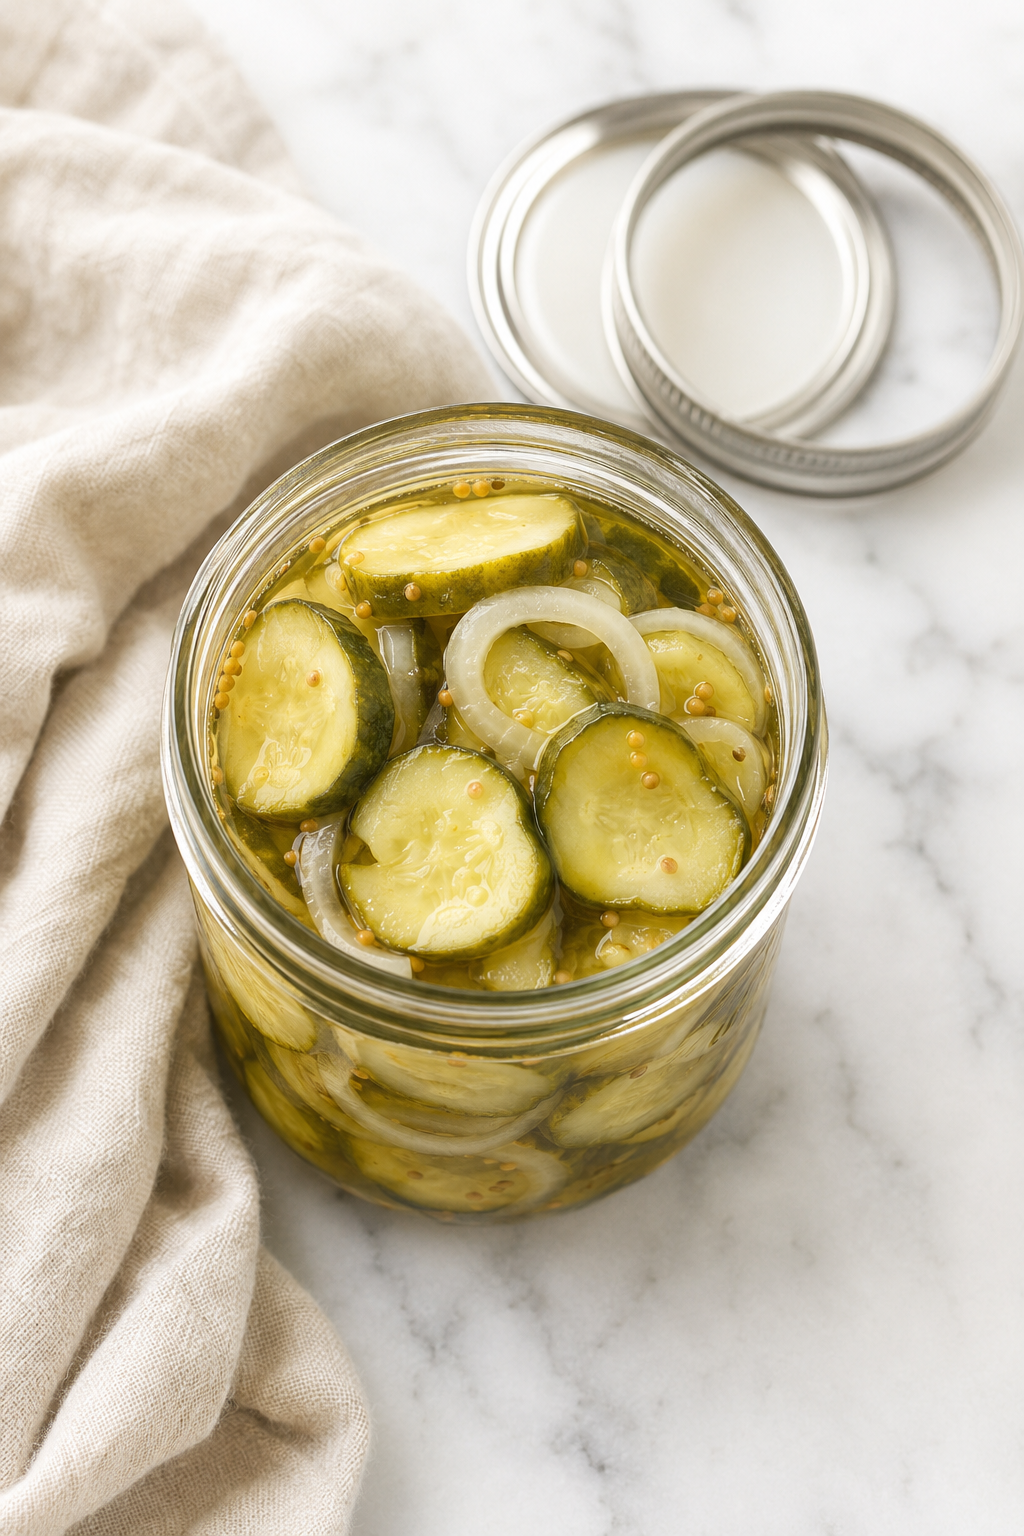
Thinly sliced cucumbers and onions are soaked in salt and ice before being simmered in a sweet vinegar brine seasoned with mustard seed, celery seed, and turmeric. The pickles are then processed in a water bath canner so you can enjoy that fresh summer cucumber flavor throughout the year.
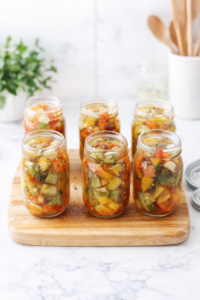
This bread and butter pickle canning recipe makes about eight pint jars. Keep a few jars in your pantry for burgers and sandwiches, or dress them up with a pretty label for an easy homemade gift.
More Cucumber Recipes To Try
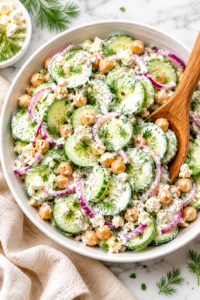
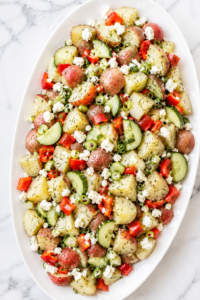
Why You’ll Love This Bread and Butter Pickle Recipe
- Uses fresh, simple ingredients
- Sweet, tangy, and lightly spiced
- Includes tested water bath canning instructions
- Makes approximately eight pint jars
- Perfect for preserving garden cucumbers
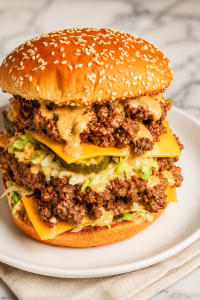
- Delicious on burgers, sandwiches, and snack boards
- No pressure canner required
What Are Bread and Butter Pickles?
Bread and butter pickles are sweet pickles made with thinly sliced cucumbers, onions, vinegar, sugar, and pickling spices. Unlike dill pickles, they have a noticeably sweeter flavor balanced by a sharp vinegar brine.
Mustard seed, celery seed, and turmeric give the pickles their traditional flavor and warm golden color. They are especially good on hamburgers, pulled pork sandwiches, fried chicken sandwiches, and cold-cut sandwiches.
No one knows for certain how bread and butter pickles received their name. One popular explanation is that families served the inexpensive pickles with bread and butter during the Great Depression. Regardless of where the name came from, they remain one of the most popular homemade pickle recipes.
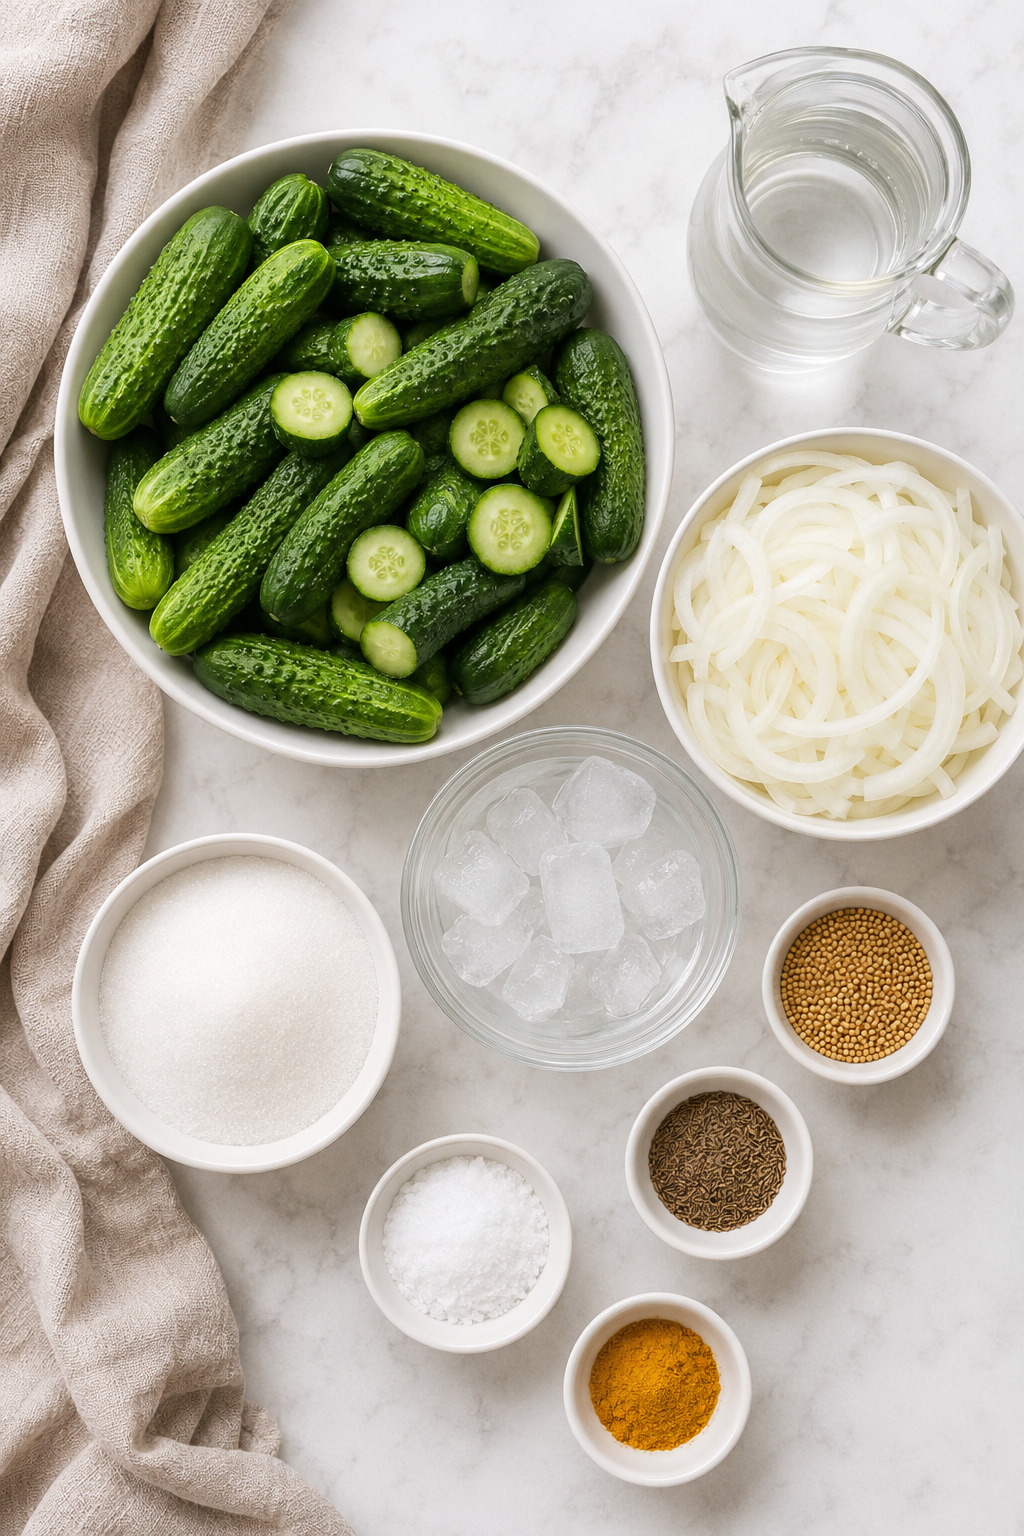
Ingredients for Homemade Bread and Butter Pickles
For safe home canning, use the exact ingredient amounts listed in this tested recipe. Do not decrease the vinegar or increase the amount of vegetables.
Pickling cucumbers
Use six pounds of small, firm pickling cucumbers measuring approximately four to five inches long. Pickling cucumbers have fewer seeds and firmer flesh than standard slicing cucumbers.
Onions
Thinly sliced onions add texture and savory flavor that balances the sweet brine. Yellow, white, or sweet onions can be used.
Pickling salt
Use canning or pickling salt, not regular table salt. Pickling salt dissolves cleanly and does not contain additives that may make the brine cloudy.
Vinegar
Use commercially prepared white vinegar or apple cider vinegar labeled as having 5% acidity. White vinegar produces a brighter, cleaner-looking brine, while apple cider vinegar adds a slightly deeper flavor and color.
Do not use homemade vinegar or vinegar with an unknown acidity level.
Granulated sugar
Bread and butter pickles are supposed to be sweet. Sugar balances the acidity of the vinegar and creates the traditional sweet-and-sour flavor.
Mustard seed
Whole mustard seeds add a mild, savory bite without making the pickles overly spicy.
Celery seed
Celery seed provides the familiar old-fashioned flavor found in many classic pickle recipes.
Ground turmeric
Turmeric gives the brine its beautiful golden-yellow color and adds a warm, earthy undertone.
Equipment Needed for Canning Pickles
- Boiling water bath canner or large canning pot with a rack
- Eight pint-size canning jars
- New canning lids
- Canning rings
- Large nonreactive stainless steel or enamel pot
- Large mixing bowl
- Jar lifter
- Canning funnel
- Bubble-removing tool or plastic utensil
- Clean kitchen towels
- Sharp knife or mandoline slicer
- Ladle
- Measuring cups and spoons
Avoid preparing the vinegar brine in aluminum, copper, cast iron, or other reactive cookware.
How to Make Bread and Butter Pickles
1. Prepare the cucumbers
Wash the cucumbers thoroughly under cool running water. Do not soak them in the sink.
Cut approximately 1/16 inch from the blossom end of each cucumber and discard it. The blossom end contains enzymes that may contribute to soft pickles.
Slice the cucumbers into uniform rounds approximately 3/16 inch thick. A mandoline slicer makes this step quick and helps keep the slices even.
2. Salt the cucumbers and onions
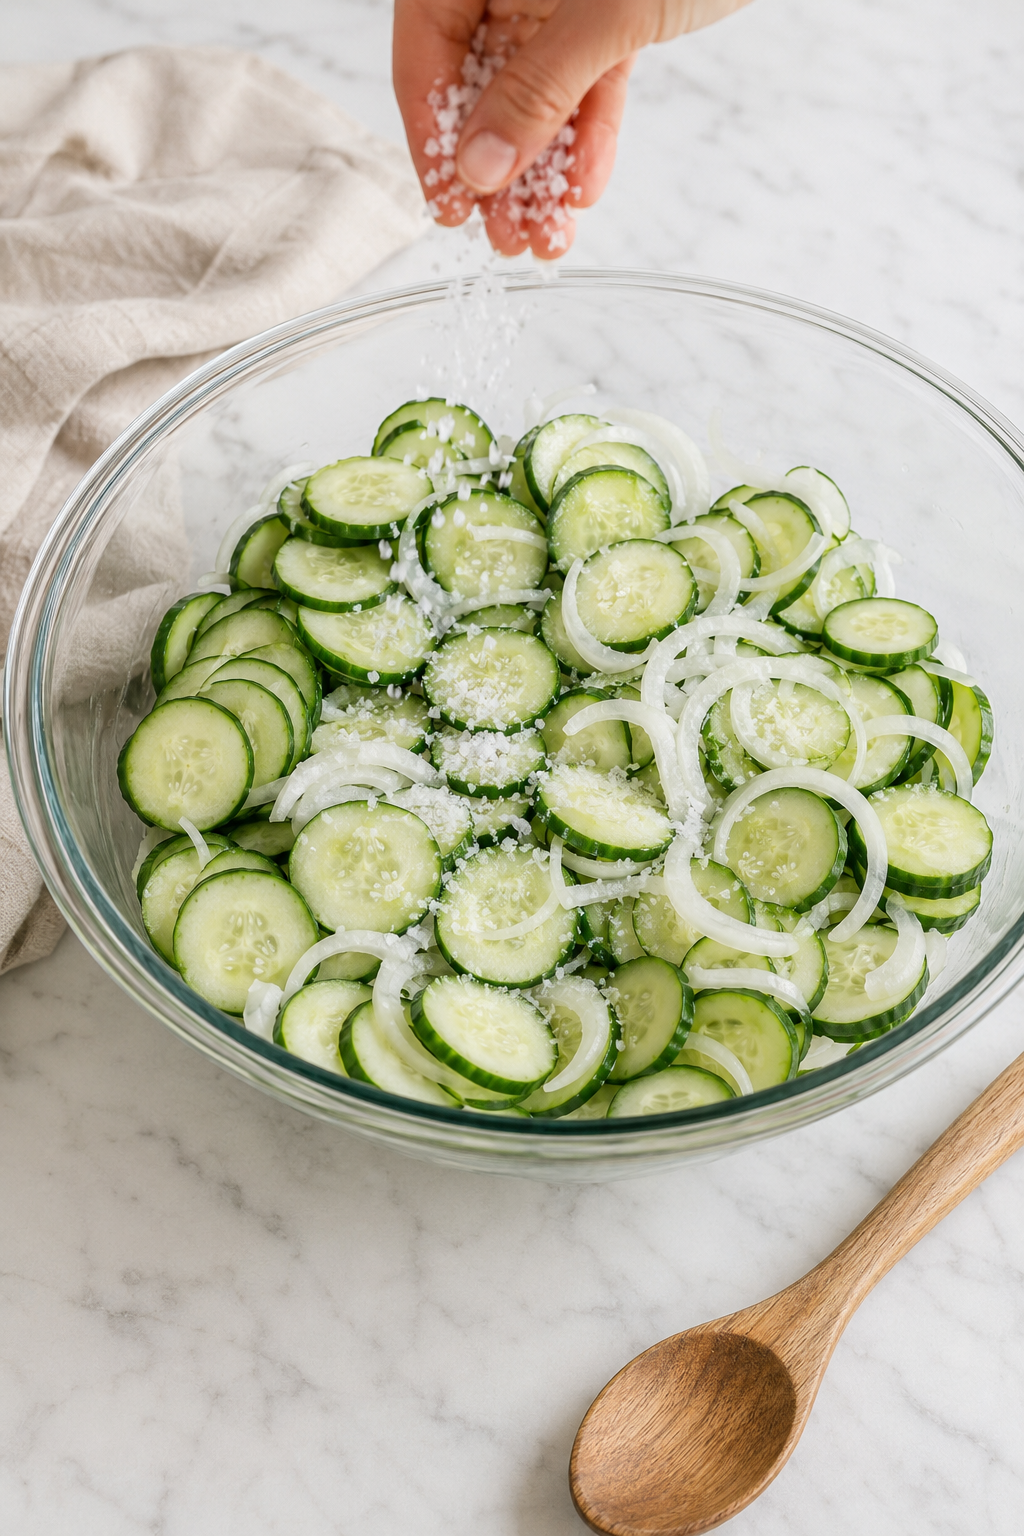
Place the sliced cucumbers and onions in a large bowl. Sprinkle the pickling salt evenly over the vegetables and gently toss everything together.
Cover the vegetables with approximately two inches of crushed or cubed ice. Refrigerate for three to four hours, adding more ice if needed.
This cold salt soak helps draw excess moisture from the vegetables and gives the finished pickles a firmer texture.
3. Prepare the canner and jars
While the cucumbers are soaking, wash the canning jars, lids, rings, and equipment in hot, soapy water. Rinse everything thoroughly.
Place the jars upright on the rack in your water bath canner. Fill the canner and jars with water, then begin heating the water. Keep the jars hot until you are ready to fill them.
Follow the lid manufacturer’s directions for preparing your canning lids. Modern lids generally should be washed and kept at room temperature rather than boiled.
4. Drain the vegetables
After three to four hours, drain the cucumber and onion mixture thoroughly. Do not rinse away the salt unless the tested recipe you are following specifically directs you to do so.
Allow as much excess water as possible to drain from the vegetables. Extra water can dilute the pickling brine.
5. Make the pickling brine
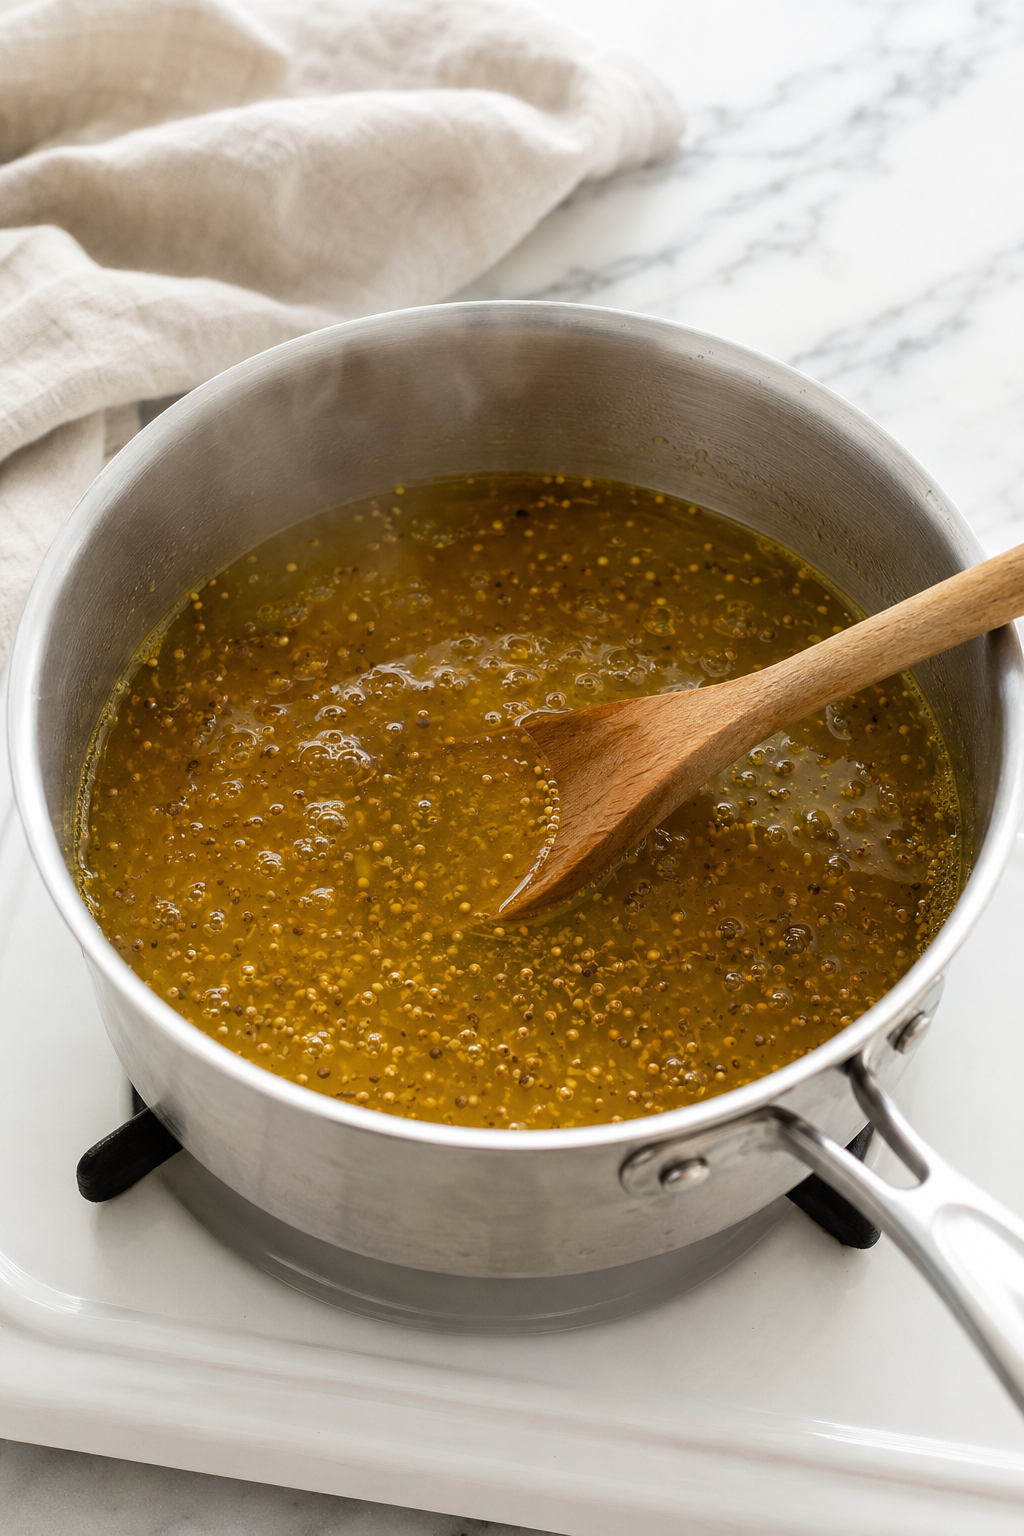
In a large nonreactive pot, combine:
- 4 cups 5% acidity vinegar
- 4½ cups granulated sugar
- 2 tablespoons mustard seed
- 1½ tablespoons celery seed
- 1 tablespoon ground turmeric
Bring the mixture to a boil over medium-high heat, stirring occasionally to dissolve the sugar. Boil the brine for 10 minutes.
6. Heat the cucumbers and onions
Add the drained cucumbers and onions to the hot brine.
Slowly heat the mixture until it returns to a boil, stirring gently so the cucumbers heat evenly. Avoid overcooking them, which can make the finished pickles soft.
7. Fill the jars
Working with one hot jar at a time, use a canning funnel and slotted spoon to pack the cucumbers and onions into the jar.
Ladle the hot pickling brine over the vegetables, leaving ½ inch of headspace at the top of each jar. The vegetables should remain covered with brine.
Run a plastic bubble-removing tool around the inside of the jar to release trapped air. Recheck the headspace and add more hot brine if necessary.
Wipe the jar rim with a clean, damp cloth. Center a new lid on the jar and screw on the ring until fingertip-tight. Do not overtighten.
8. Process in a water bath canner
Place the filled jars on the canning rack. The jars should remain upright and should not touch one another.
Make sure the water covers the tops of the jars by at least one inch. Cover the canner and bring the water to a full rolling boil.
Begin timing only after the water reaches a steady boil.
Process pint or quart jars according to your elevation:
| Elevation | Processing time |
|---|---|
| 0–1,000 feet | 10 minutes |
| 1,001–6,000 feet | 15 minutes |
| Above 6,000 feet | 20 minutes |
Maintain a full boil throughout the entire processing time. If the water stops boiling, bring it back to a full boil and restart the processing time.
These processing times and ingredient proportions follow the tested National Center for Home Food Preservation bread-and-butter pickle recipe.
9. Cool the jars
When the processing time is complete, turn off the heat and remove the canner lid. Allow the jars to rest in the canner for five minutes.
Use a jar lifter to transfer the jars to a towel-lined counter. Keep the jars upright and leave at least one inch of space between them.
Do not tighten the rings, press the lids, or tip the jars. Let them cool undisturbed for 12 to 24 hours.
10. Check the seals
After the jars have cooled completely, remove the rings and check each seal. The center of the lid should be slightly concave and should not flex when pressed.
Refrigerate any jar that did not seal and use it first. Do not store an unsealed jar at room temperature.
Wash and dry the sealed jars, label them with the recipe name and date, and store them without the rings in a cool, dark location.
For the best flavor, wait four to five weeks before opening the pickles.
Tips for Crisp Bread and Butter Pickles
Start with fresh cucumbers
Use firm, freshly picked cucumbers whenever possible. Cucumbers that have become soft or wrinkled will not regain their crisp texture during canning.
Choose pickling cucumbers
Small pickling cucumbers produce the best results. Large slicing cucumbers tend to have more water, thicker skin, and larger seeds.
Remove the blossom ends
Always trim a thin slice from the blossom end of each cucumber. Enzymes in the blossom end can cause pickles to soften.
Slice the cucumbers evenly
Uniform slices absorb the brine and heat at the same rate. Aim for slices approximately 3/16 inch thick.
Do not skip the ice soak
The salted ice soak draws moisture from the cucumbers and helps improve their texture.
Avoid overcooking
Heat the cucumber mixture only until it returns to a boil. Prolonged boiling can make the cucumber slices soft.
Use the correct salt
Canning or pickling salt is best. Table salt may contain iodine and anti-caking ingredients that can darken the pickles or make the brine cloudy.
Measure the headspace
Leave exactly ½ inch of headspace. Too much or too little headspace can interfere with sealing.
Other Preservation Posts You’ll Love
Safe Recipe Variations
When canning, avoid changing the proportions of vegetables, vinegar, and other ingredients in a tested recipe. You can safely create a slightly different flavor by choosing white vinegar or 5% acidity apple cider vinegar.
The National Center for Home Food Preservation also allows slender zucchini or yellow summer squash to replace the cucumbers in this particular tested recipe. Do not use the pickling lime variation when making the recipe with summer squash.
For a spicy or reduced-sugar version, use a separately tested canning recipe instead of changing this one.
How Long Do Home-Canned Pickles Last?
Properly processed and sealed bread and butter pickles should be stored in a cool, dry, dark location. For the best quality, use them within one year.
Once opened, keep the jar refrigerated and make sure the remaining pickles stay covered with brine.
Discard a jar without tasting it if you notice:
- A loose or bulging lid
- Leaking liquid
- Mold
- Foaming or bubbling
- An unusual odor
- Spurting liquid when opened
- Significant discoloration or spoilage
When in doubt, throw it out.
Ways to Serve Bread and Butter Pickles
These sweet and tangy pickles can add flavor and crunch to so many meals. Try serving them:


The Best Bread and Butter Pickle Recipe for Canning
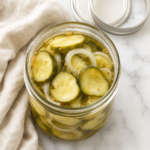
This classic bread and butter pickle recipe combines crisp cucumber slices and onions with a sweet, tangy brine seasoned with mustard seed, celery seed, and turmeric. Follow the tested water bath canning instructions to preserve approximately eight pints of homemade pickles.
- Prep Time: 30 MINUTES
- Cook Time: 25 MINUTES
- Total Time: 55 minutes
- Yield: 8 PINT JARS 1x
- Category: CANNING, CONDIMENT
- Method: CANNING
- Cuisine: American
- Diet: Gluten-Free, Vegan, Vegetarian
Ingredients
Equipment
- Boiling water bath canner with rack
- 8 pint-size canning jars
- New canning lids and rings
- Large nonreactive pot
- Large mixing bowl
- Mandoline slicer or sharp knife
- Canning funnel
- Jar lifter
- Bubble-removing tool
- Ladle
- Clean kitchen towels
Ingredients
- 6 pounds 4- to 5-inch pickling cucumbers
- 8 cups thinly sliced onions, about 3 pounds
- ½ cup canning or pickling salt
- Crushed or cubed ice, enough to cover the vegetables by 2 inches
- 4 cups commercially prepared vinegar with 5% acidity
- 4½ cups granulated sugar
- 2 tablespoons whole mustard seed
- 1½ tablespoons celery seed
- 1 tablespoon ground turmeric
Instructions
- Prepare the cucumbers: Wash the cucumbers thoroughly under cool running water. Cut approximately 1/16 inch from each blossom end and discard. Slice the cucumbers into uniform rounds approximately 3/16 inch thick.
- Salt the vegetables: Place the sliced cucumbers and onions in a large bowl. Sprinkle the pickling salt over the vegetables and gently toss to combine.
- Add the ice: Cover the cucumber and onion mixture with approximately 2 inches of crushed or cubed ice. Refrigerate for 3 to 4 hours, adding more ice if necessary.
- Prepare the canner: Wash the jars, lids, and rings in hot, soapy water and rinse thoroughly. Place the jars in the water bath canner, cover them with water, and keep them hot until ready to fill. Prepare the lids according to the manufacturer’s instructions.
- Drain the vegetables: Drain the cucumber and onion mixture thoroughly. Do not rinse. Allow as much excess liquid as possible to drain away so it does not dilute the brine.
- Make the pickling brine: Add the vinegar, sugar, mustard seed, celery seed, and turmeric to a large nonreactive pot. Bring the mixture to a boil over medium-high heat, stirring occasionally until the sugar dissolves. Boil for 10 minutes.
- Heat the cucumbers and onions: Add the drained cucumber and onion mixture to the hot brine. Slowly reheat the mixture until it returns to a boil, stirring gently to heat the vegetables evenly.
- Fill the jars: Remove one hot jar at a time from the canner. Pack the hot cucumbers and onions into the jar, then ladle in enough hot brine to cover the vegetables. Leave ½ inch of headspace.
- Remove air bubbles: Run a bubble-removing tool or plastic utensil around the inside of each jar. Adjust the contents and add more brine if needed to maintain ½ inch of headspace.
- Apply the lids: Wipe each jar rim with a clean, damp cloth. Center a new lid over the jar and apply the ring until fingertip-tight. Do not overtighten.
- Load the canner: Place the filled jars upright on the canning rack. The water must cover the tops of the jars by at least 1 inch. Cover the canner and bring the water to a full rolling boil.
- Process the pickles: Process pint jars for 10 minutes at elevations from 0 to 1,000 feet, 15 minutes at 1,001 to 6,000 feet, or 20 minutes above 6,000 feet. Begin timing only after the water reaches a full boil.
- Rest the jars: When the processing time is complete, turn off the heat and remove the canner lid. Allow the jars to rest in the canner for 5 minutes.
- Cool completely: Use a jar lifter to transfer the jars upright to a towel-lined counter. Leave at least 1 inch between the jars and allow them to cool undisturbed for 12 to 24 hours.
- Check the seals: Remove the rings and press the center of each lid. A properly sealed lid should be concave and should not flex. Refrigerate and promptly use any jar that did not seal.
- Store the pickles: Wash, dry, label, and date the sealed jars. Store them without the rings in a cool, dry, dark location. Wait 4 to 5 weeks before opening for the best flavor.
Notes
- This shelf-stable recipe follows the tested ingredient proportions and processing guidance from the National Center for Home Food Preservation.
- Use only commercially prepared vinegar labeled as having 5% acidity.
- White vinegar creates a brighter brine. Apple cider vinegar with 5% acidity may be used for a deeper flavor and darker color.
- Do not reduce the vinegar or increase the amount of cucumbers or onions.
- Use canning or pickling salt rather than regular table salt.
- Always remove the cucumber blossom ends because they contain enzymes that may contribute to soft pickles.
- The salted ice soak helps draw excess moisture from the vegetables and improves the finished texture.
- If the water stops boiling during processing, return it to a full boil and restart the processing time.
- Store properly sealed jars for up to one year for the best quality.
- Refrigerate the pickles after opening.
Frequently Asked Questions
Can I reduce the sugar in bread and butter pickles?
Do not reduce or replace ingredients in a shelf-stable canning recipe unless the change is specifically allowed by a tested source. Use a tested reduced-sugar pickle recipe if you prefer pickles that are less sweet.
Can I use regular cucumbers?
You can use firm garden cucumbers, but small pickling cucumbers provide the best flavor and texture. If using larger cucumbers, remove any tough skin and large seeds. Do not increase the amount of prepared vegetables.
Can I use apple cider vinegar?
Yes, commercially prepared apple cider vinegar labeled as 5% acidity may be used. It will give the pickles a deeper color and slightly different flavor.
Can I use homemade vinegar?
No. Homemade vinegar may not have a consistent or sufficiently high acidity level for safe canning.
Why are my homemade pickles soft?
Soft pickles can result from using overripe cucumbers, leaving the blossom ends attached, skipping the ice soak, cutting the slices too thin, or overcooking the cucumbers.
Why is my pickle brine cloudy?
Cloudiness may be caused by table salt, minerals in hard water, ground spices, or spoilage. If the jars are properly sealed and there are no other signs of spoilage, additives in table salt are often the cause. Always use pickling salt for the clearest brine.
Do I need to sterilize the jars first?
Jars processed for at least 10 minutes in a boiling water canner do not have to be pre-sterilized, but they must be clean and kept hot before filling.
How long should bread and butter pickles sit before eating?
Wait four to five weeks for the best flavor. This gives the cucumbers and onions time to absorb the sweet, seasoned brine.
Final Thoughts
Learning how to can bread and butter pickles is a great place to begin if you are new to home food preservation. The ingredients are simple, the water bath canning process is straightforward, and the finished jars capture the best flavors of the summer garden.
These homemade bread and butter pickles have everything you want in a classic sweet pickle: plenty of crunch, a tangy vinegar bite, just the right amount of sweetness, and warm old-fashioned spices. Make a batch while cucumbers are plentiful, and you will have delicious homemade pickles ready for burgers, sandwiches, barbecues, and easy snacks all year long.