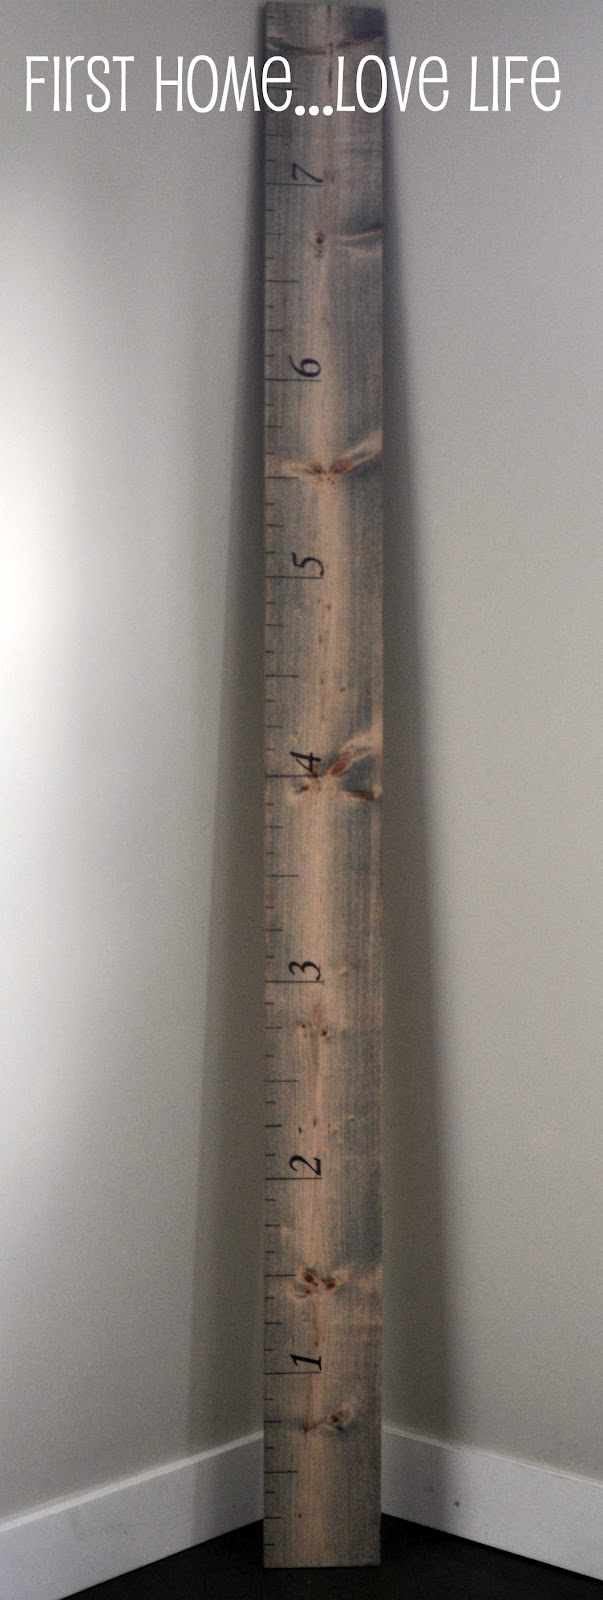
I found an image on Pinterest a few months ago of an oversized ruler that was originally from PB, but was knocked off by Dear Lillie. When I saw it, I knew I had to make it! It is such a whimsical piece to have in your home, a definite conversation starter, and it’s so inexpensive to do! Here’s my version and tutorial!
Supplies:
-8ft unfinished plank of wood
-wood stain (your choice)
-paint brush
-black sharpie
-numeric stencil
-ruler or yardstick
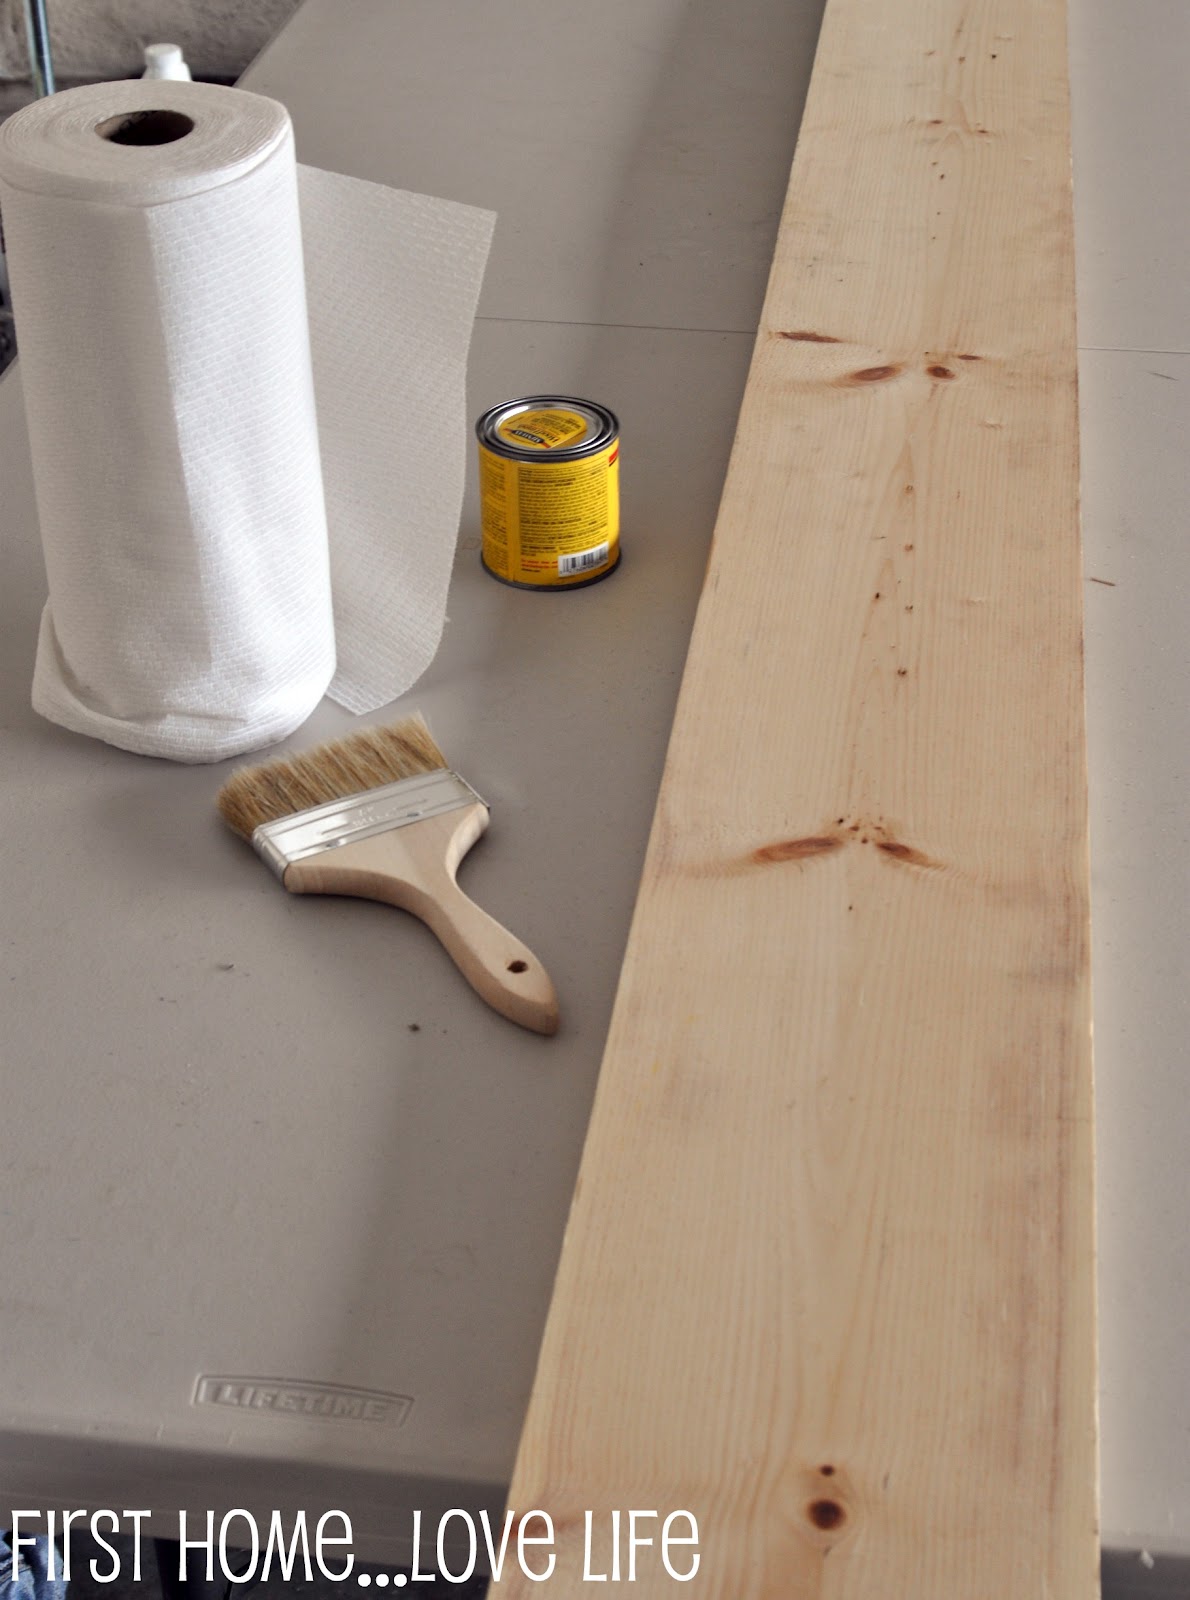
I started by giving my plank of wood a good heavy coat of stain. I stained, and wiped off about 3-4 times before I got the color I liked.
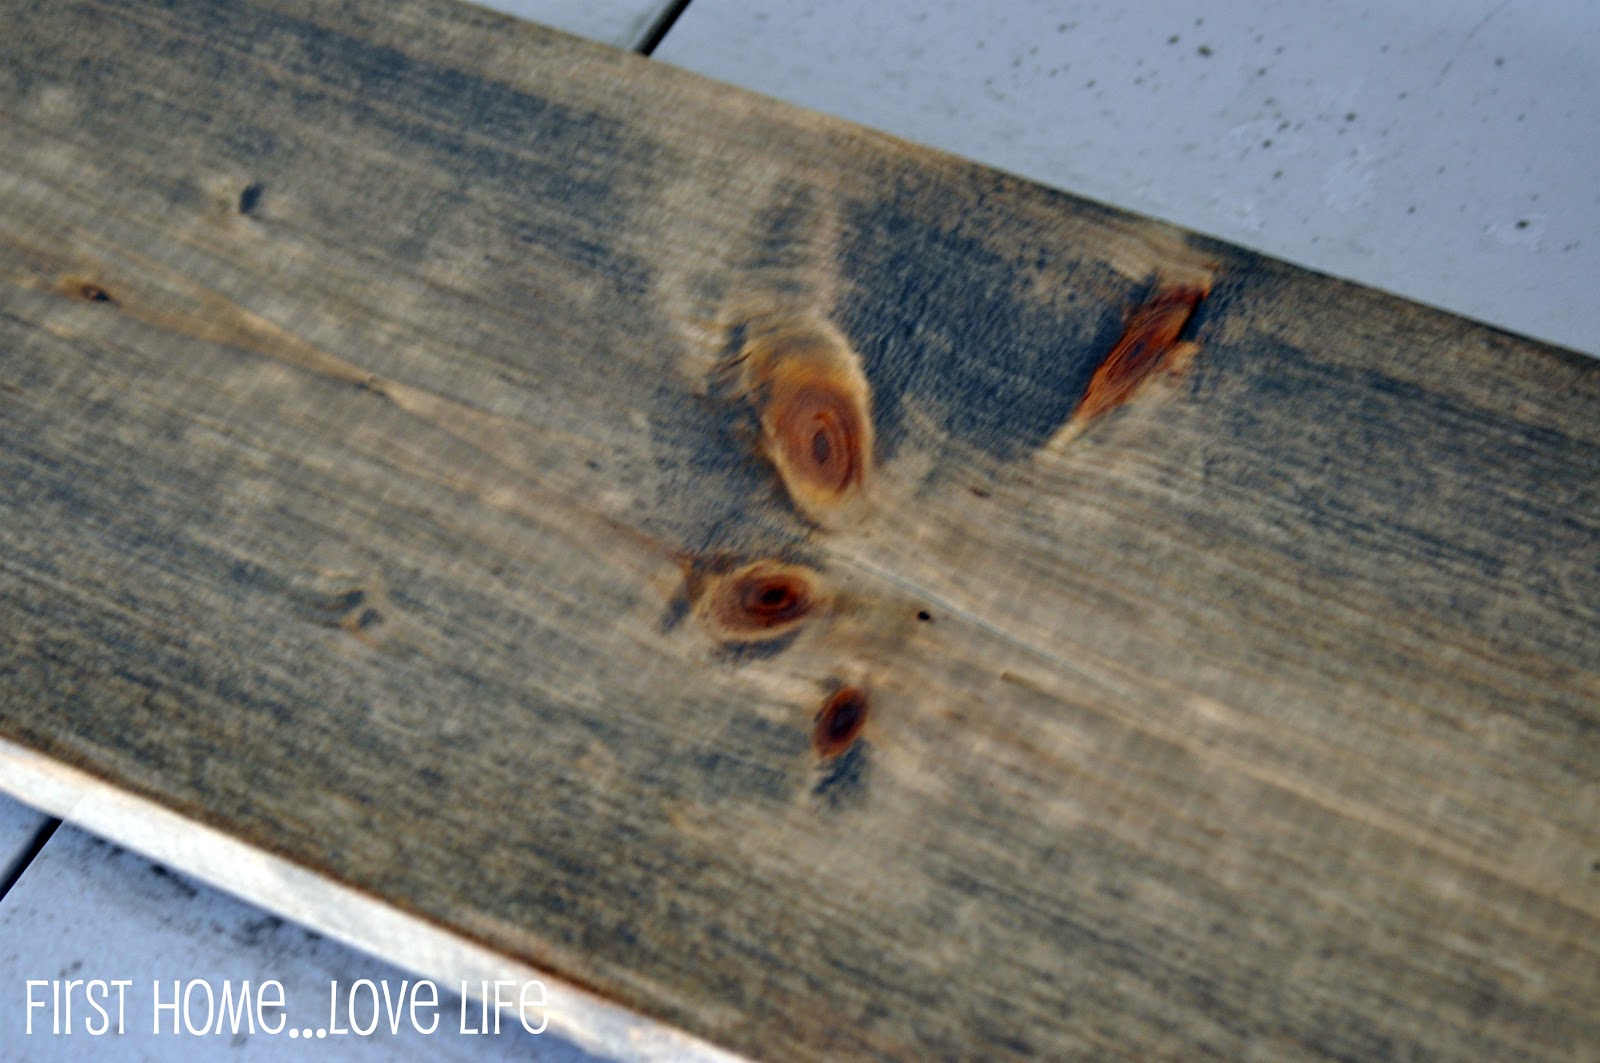
The color stain I chose is called “weathered oak” it’s a grayish color wood stain that gives the wood an aged almost burnt look. I like it, but like I said this step is personal preference, so choose whatever will go with your home decor.
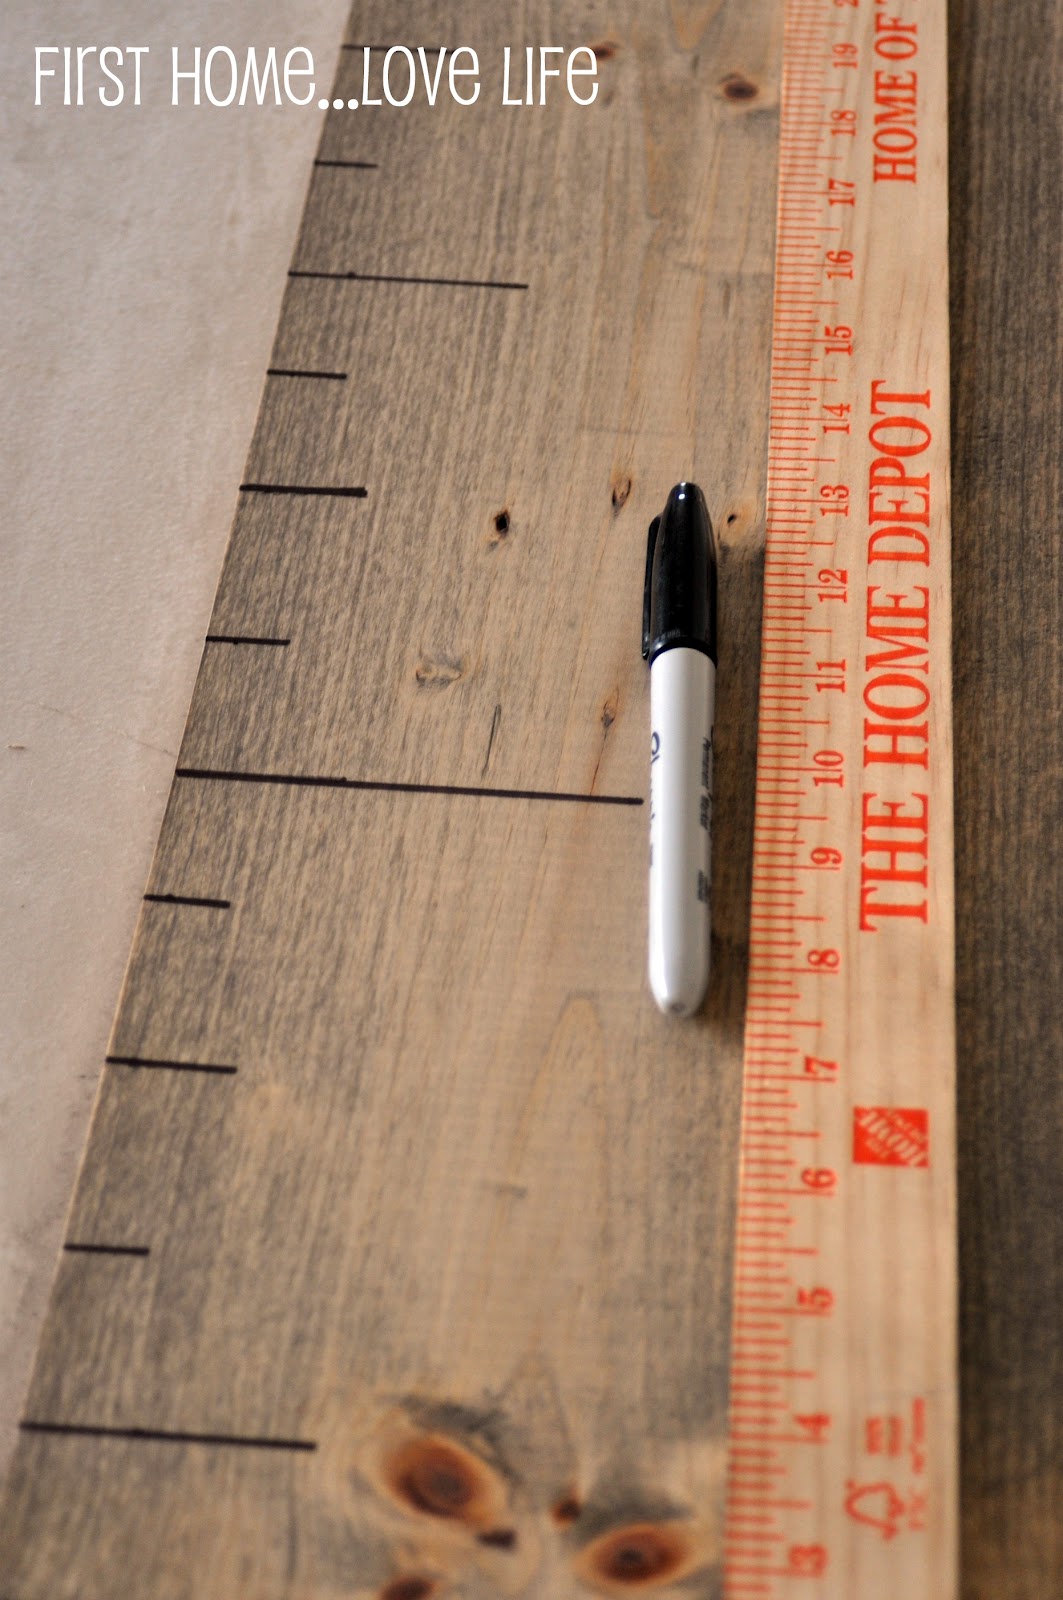
The next thing I did was mark my lines with a plain old black Sharpie. I tried to mimic the yard stick I was using. I made my inch line the longest, and my centimeter lines the shortest. Here’s how I measured. Stay with me..it’s kind of confusing…
I started by marking my “inch” lines- 12 inches apart (3 inches long)
Then I went back and measured every 6 inches from the “inch” line, marking the “1/2 inch line” (2 inches long)
Then I marked my 2 small “centimeter” lines at the 1 1/2 and 4 1/2 ( 1/2 inch long) and the middle “centimeter” at 3 inches (1 inch long)
Are you cross eyed now?
Sorry! Told you it was kind of confusing.
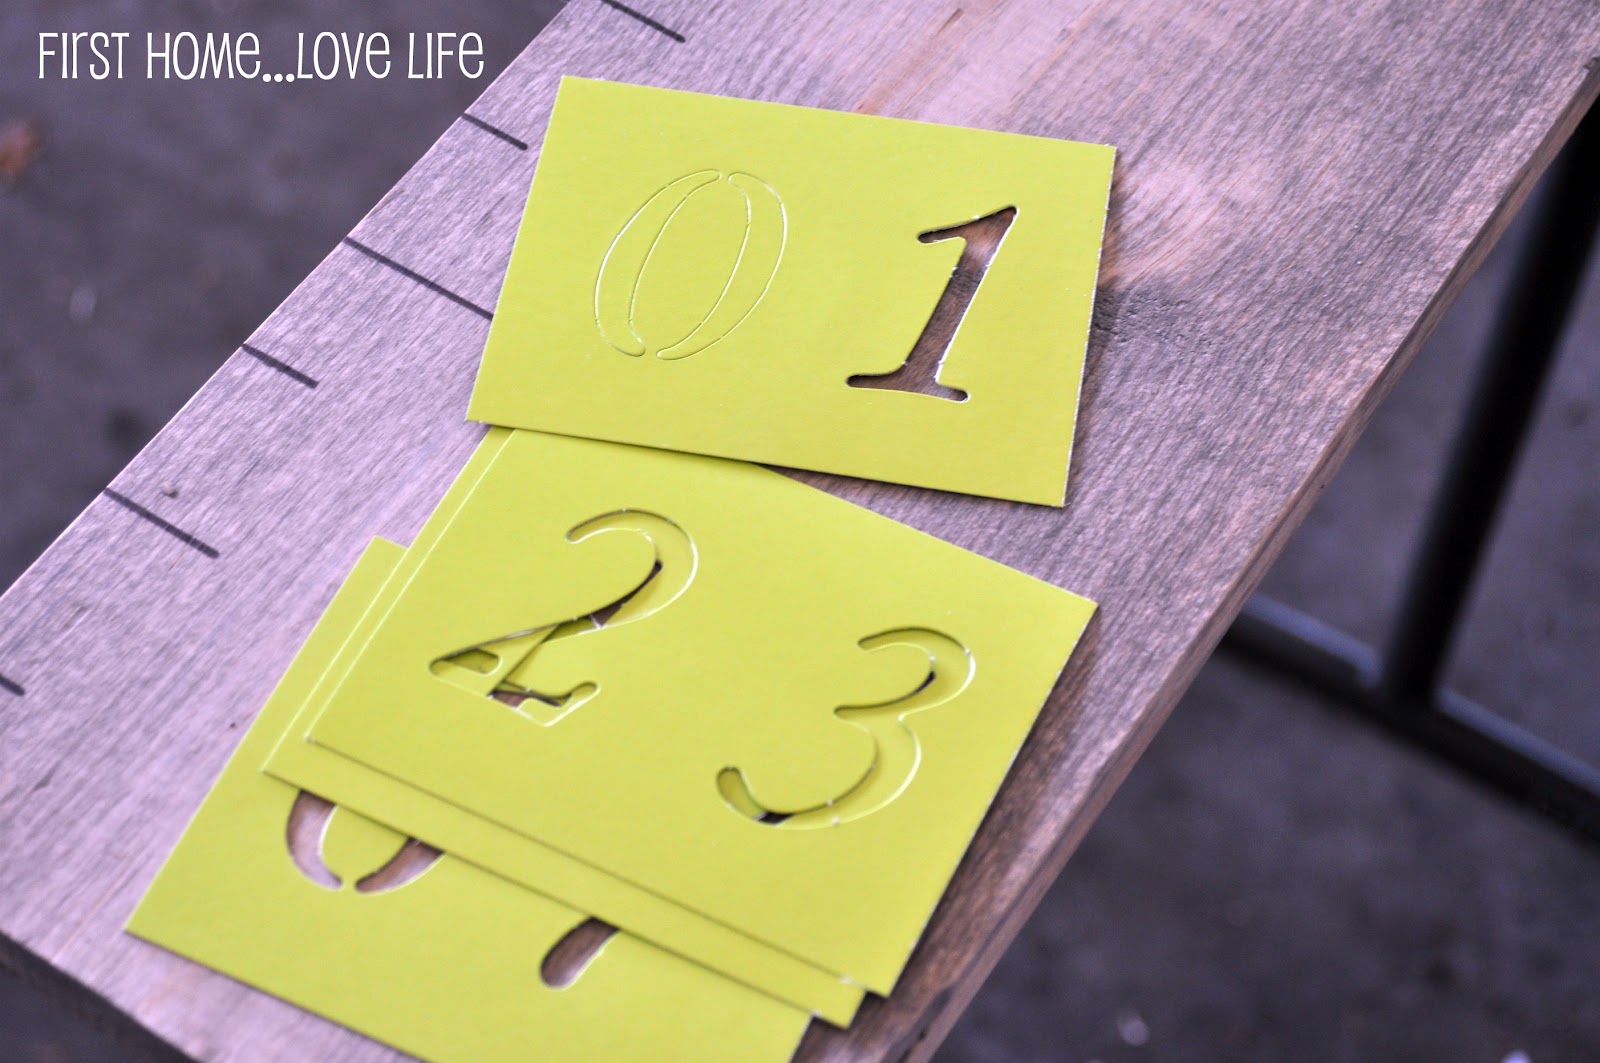
Once all my lines were in place, I used my stencils and Sharpie to make the numbers.
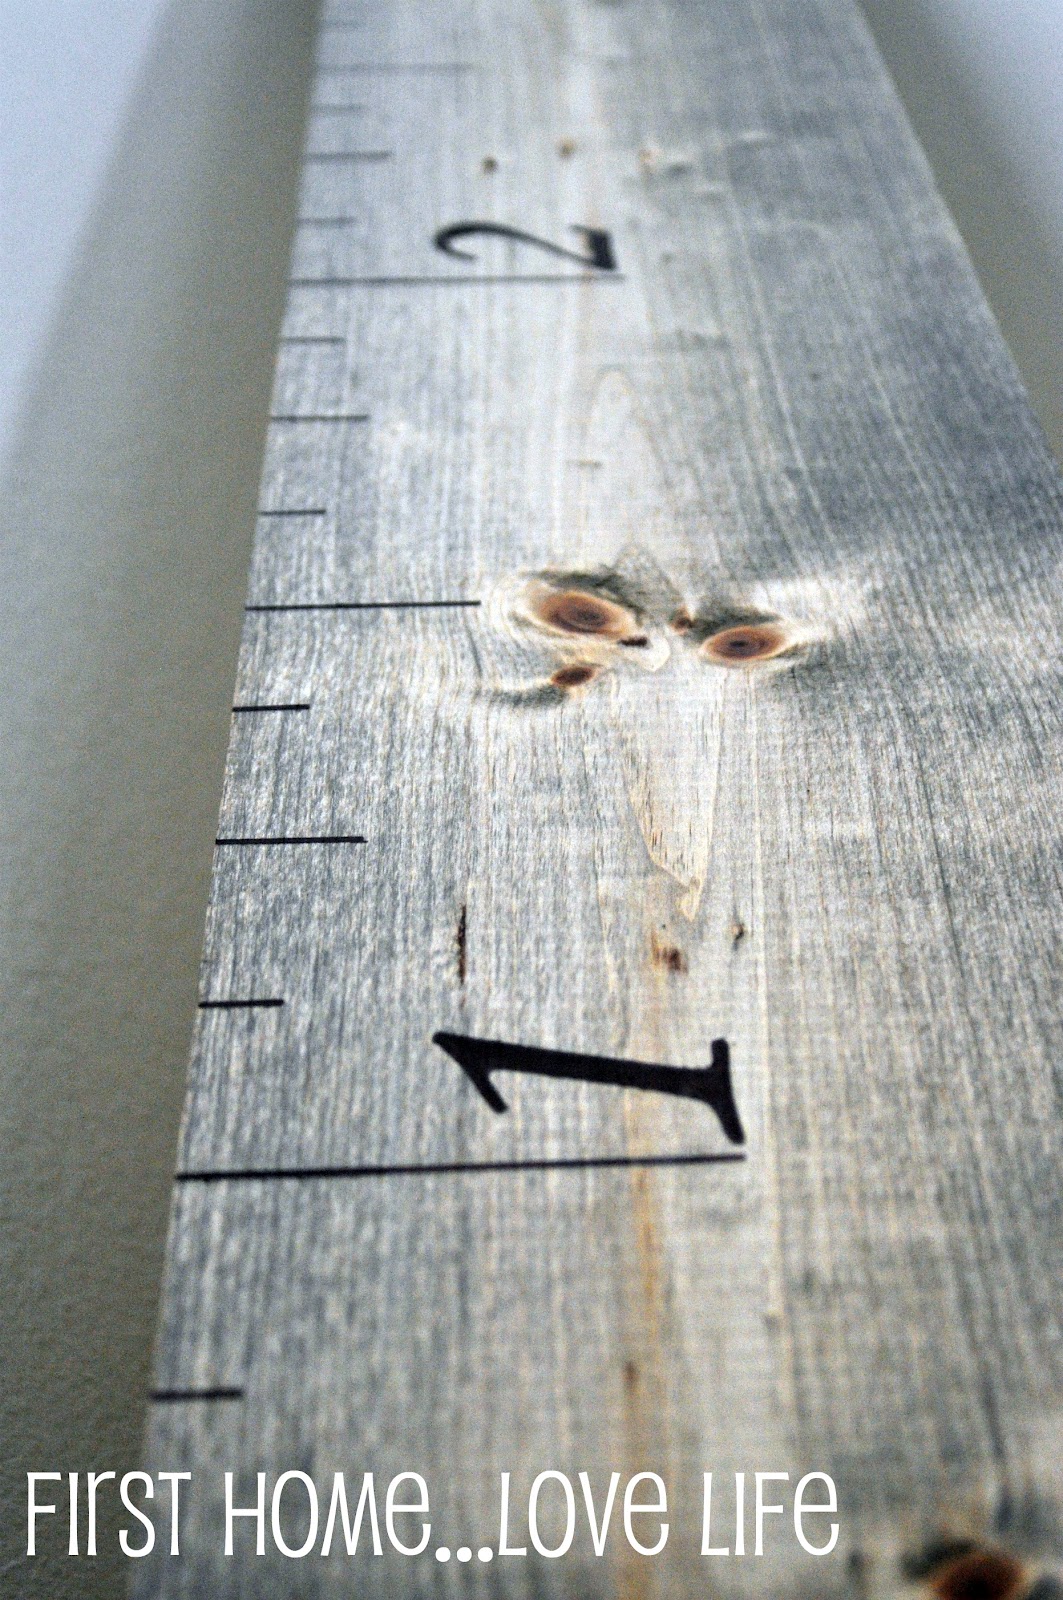
That’s it!
I’m going to leave it leaning against the wall in our family room for now, although I have seen it on other blogs hung up. I may do that eventually, but I just love how random it is. A ruler! Who knew it could be art as well?!
Talk to you soon!
xo-Christine