Transform fresh herbs from your garden (or grocery store) into a stunning, fragrant herb wreath perfect for your kitchen wall or as a thoughtful handmade gift. This easy DIY project brings vibrant greenery indoors and lets your herbs dry naturally on the wreath form — giving you seasonal decor that also smells amazing.

Why Make a Fresh Herb Wreath?
A fresh herb wreath isn’t just decorative — it’s functional and fragrant. As the herbs dry, they continue to release aroma into your space while remaining usable for cooking later on. These wreaths make great gifts for home cooks, gardeners, and craft lovers alike.
What You’ll Need (Herb Wreath Supplies)
To make your own fresh herb wreath, gather:
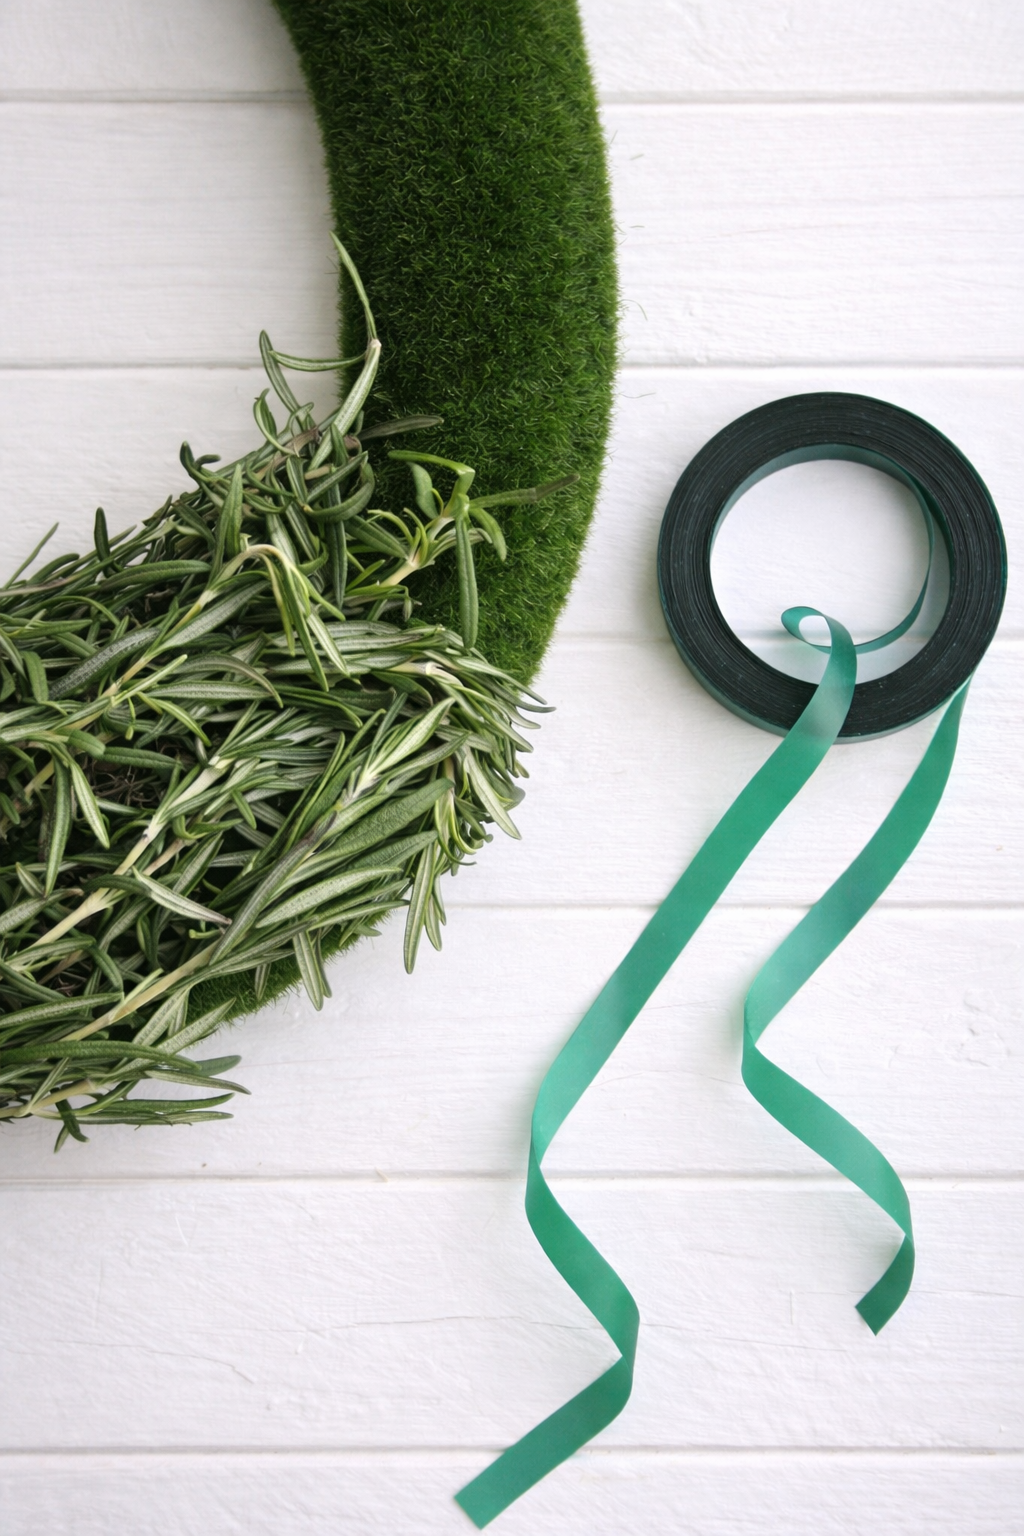
Faux moss wreath form or metal frame (size of your choice)
Floral wire or landscape tape to secure herb stems
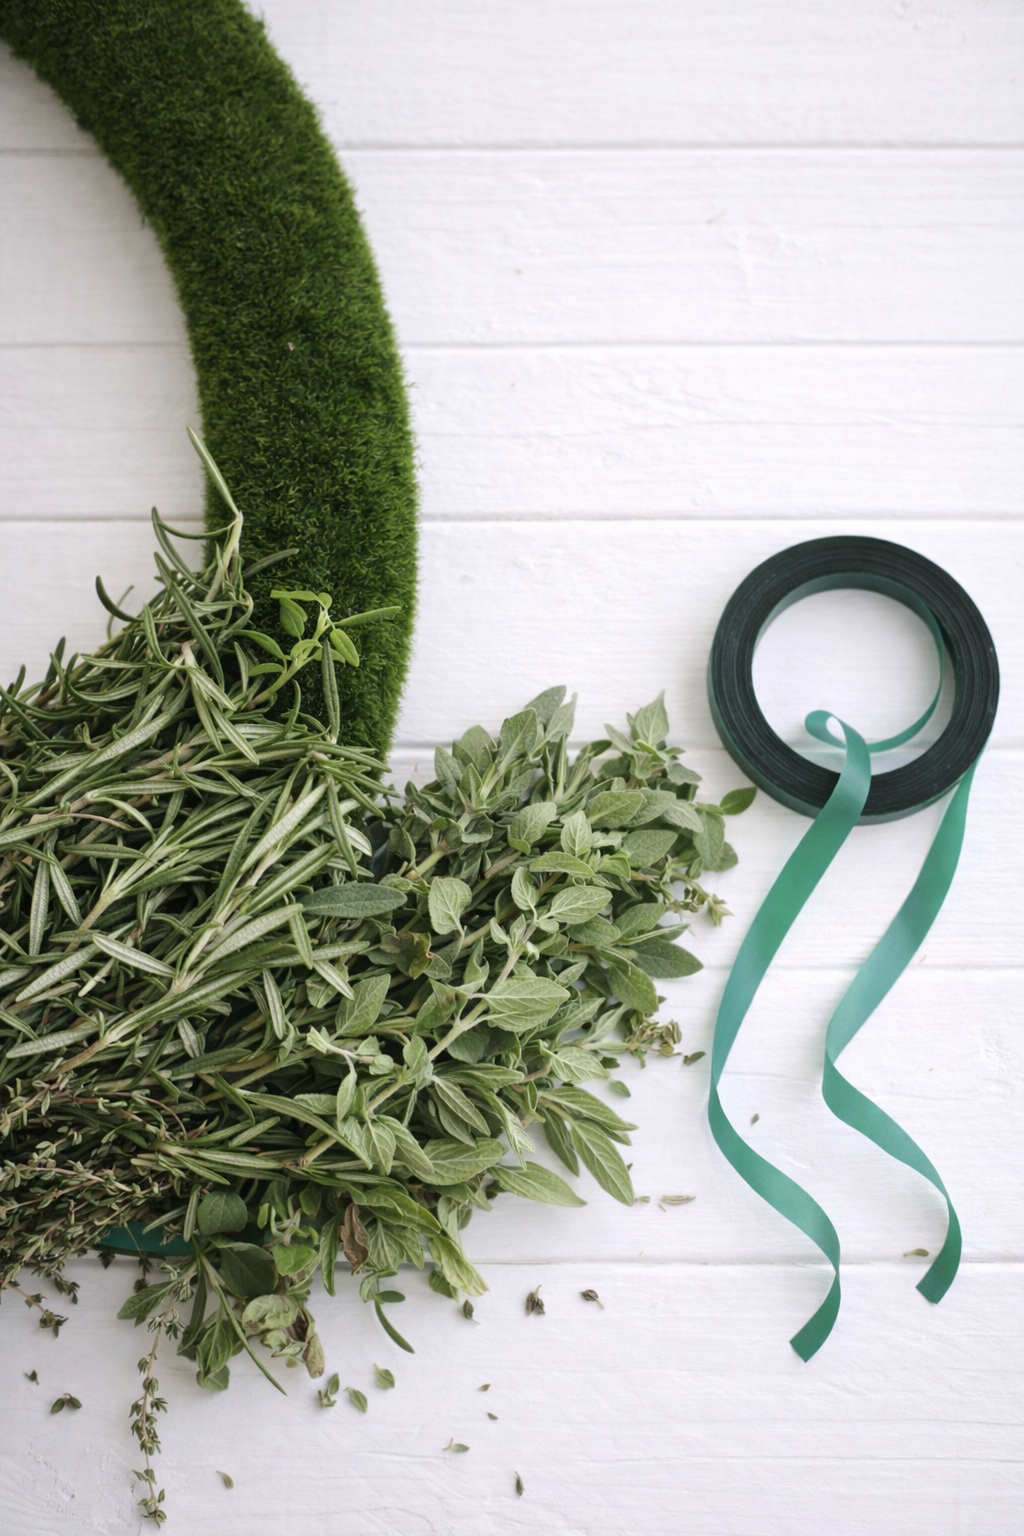
Fresh herbs, such as rosemary, sage, thyme, oregano, basil, or lavender
Ribbon for hanging or decoration
Tip: Woody-stemmed herbs like rosemary and sage dry best and hold their shape well.
How to Make a Fresh Herb Wreath (Beginner Friendly)
Follow this simple method to build your wreath from scratch:
Prep your wreath base. Start with a moss-covered or wire wreath form at your workspace.
Layer fresh herbs. Begin at the bottom, laying your herb stems across the wreath frame. Use tape or floral wire to hold them in place.
Work in half overlaps. Place each new bunch of herbs so it overlaps the previous one — this hides the tape or wire and creates a full, textured wreath look.
Secure the final section. When you reach the top of the wreath, tie off the wire or tape tightly, then trim any excess stems.
Add finishing touches. Use a ribbon to cover the knot and add a decorative touch.
Herb Selection Tips
Choosing the right herbs helps your wreath look great and last longer:
Best herbs for drying: rosemary, sage, thyme, oregano, bay leaf, and lavender — these herbs dry beautifully and hold their form.
Use heavier, woody stems as your base and fill in with leafy sprigs.
Avoid herbs with high moisture (like mint or basil) if you want a wreath that dries without wilting too quickly.
Drying and Display
Once finished, your wreath will stay fresh for several days and gradually dry over time. Hang it in your kitchen or near your cooking area so the fragrance fills the room. Dried wreaths can last for several months if kept out of direct sunlight and away from moisture.
Decorating Ideas & Uses
Kitchen herb wreath: Hang near your stove and snip sprigs for cooking as needed.
Gift idea: Present a handmade herb wreath to friends and family during holidays or housewarmings.
Seasonal decor: Change herbs seasonally for fresh looks year-round.