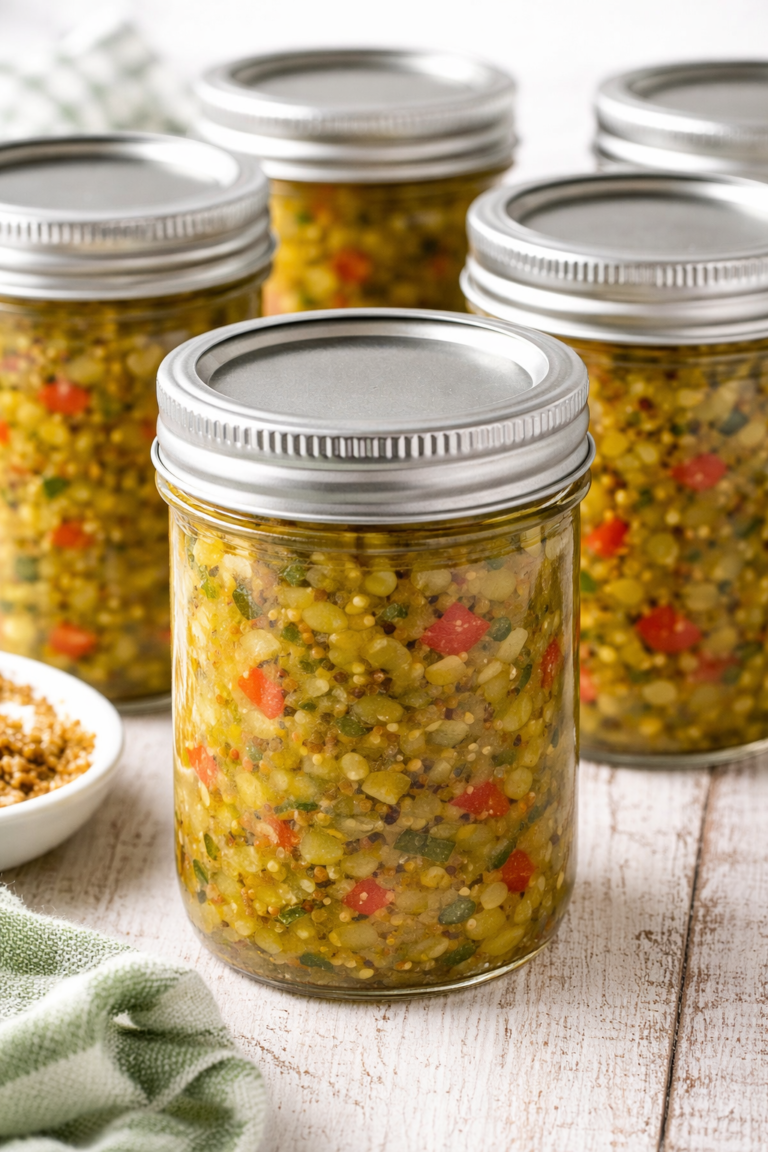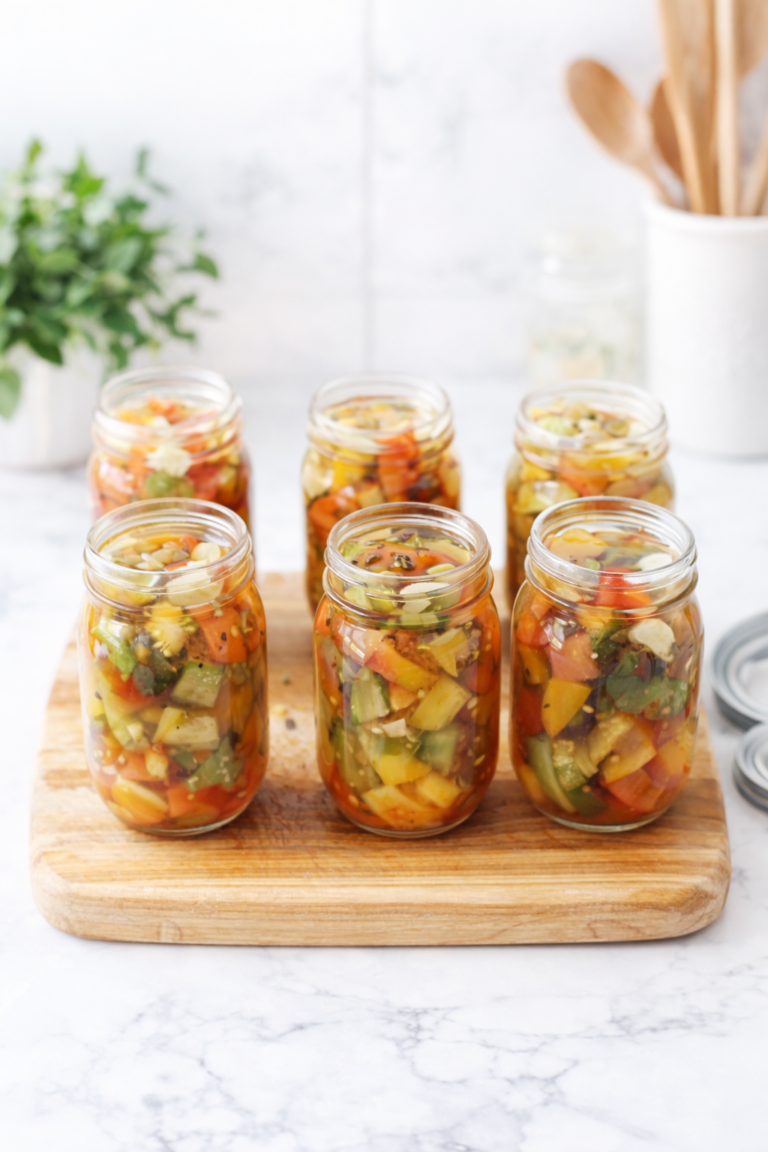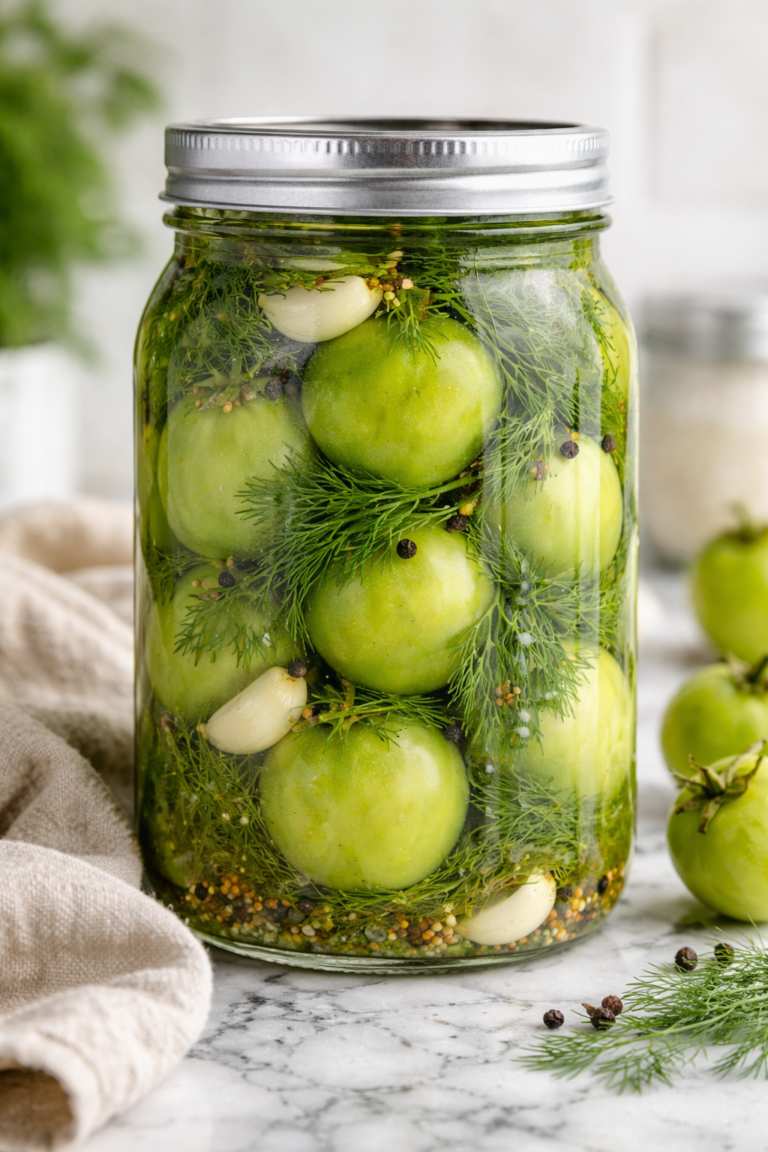
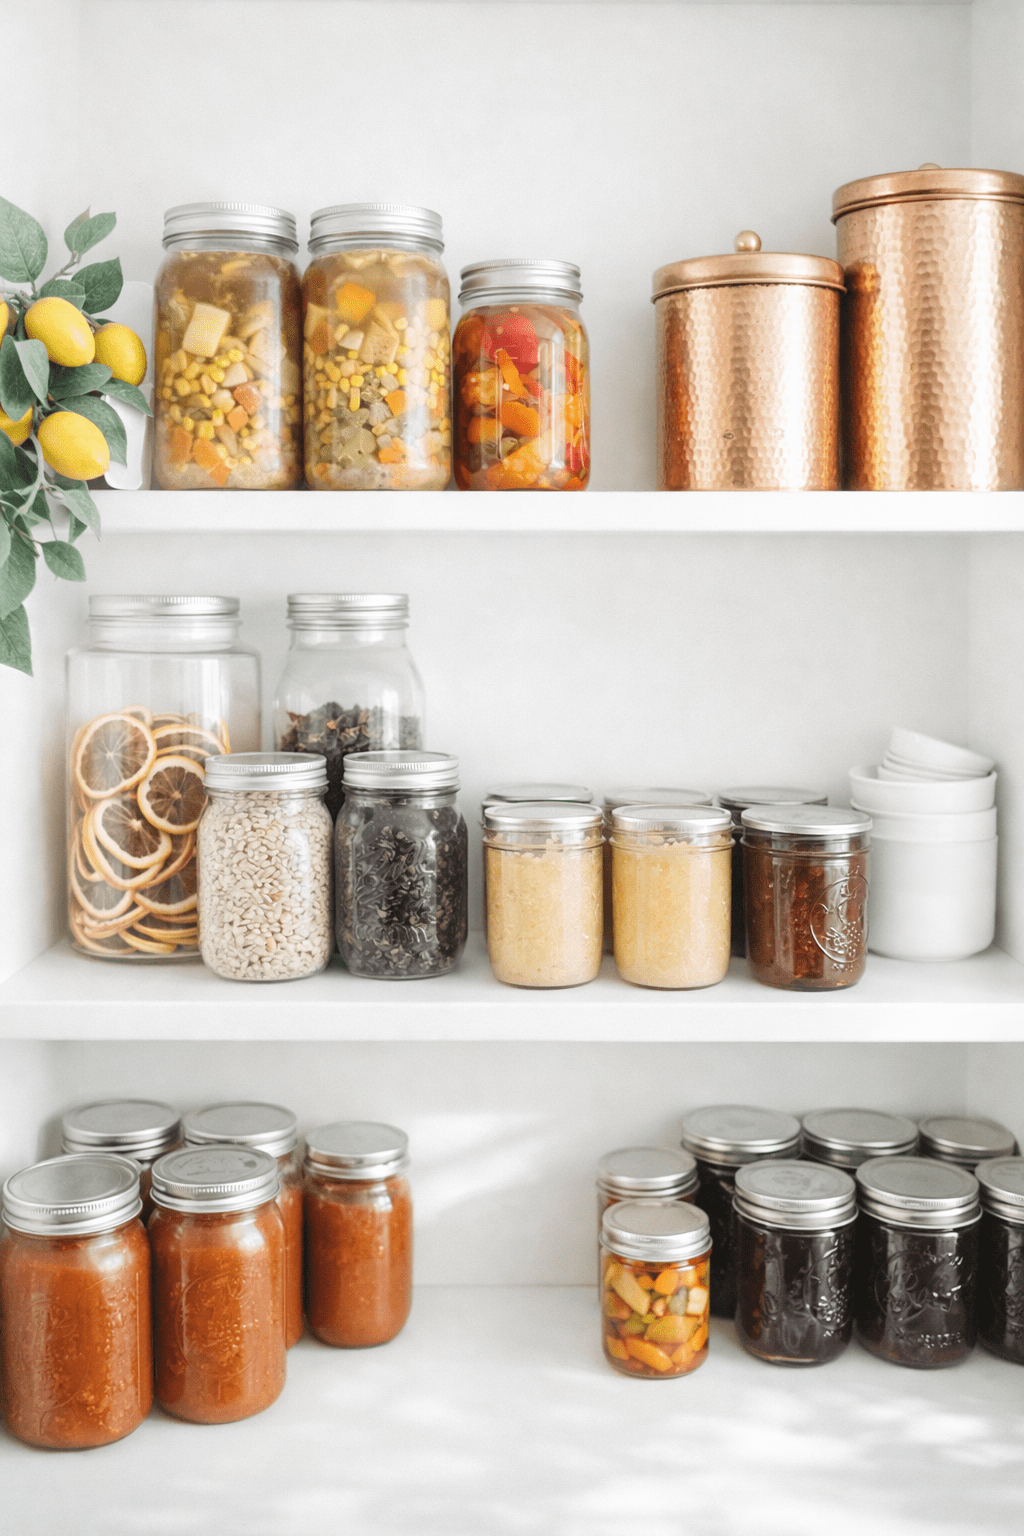
If you’ve ever looked at rows of beautiful mason jars filled with garden vegetables and thought, “I want to learn how to do that” — this guide is for you.
Canning for beginners can feel overwhelming at first, but it’s actually a simple and rewarding skill once you understand the basics. Whether you grow your own vegetables, or buy produce in bulk, home canning helps you preserve food safely and naturally.
Let’s break it down step by step.
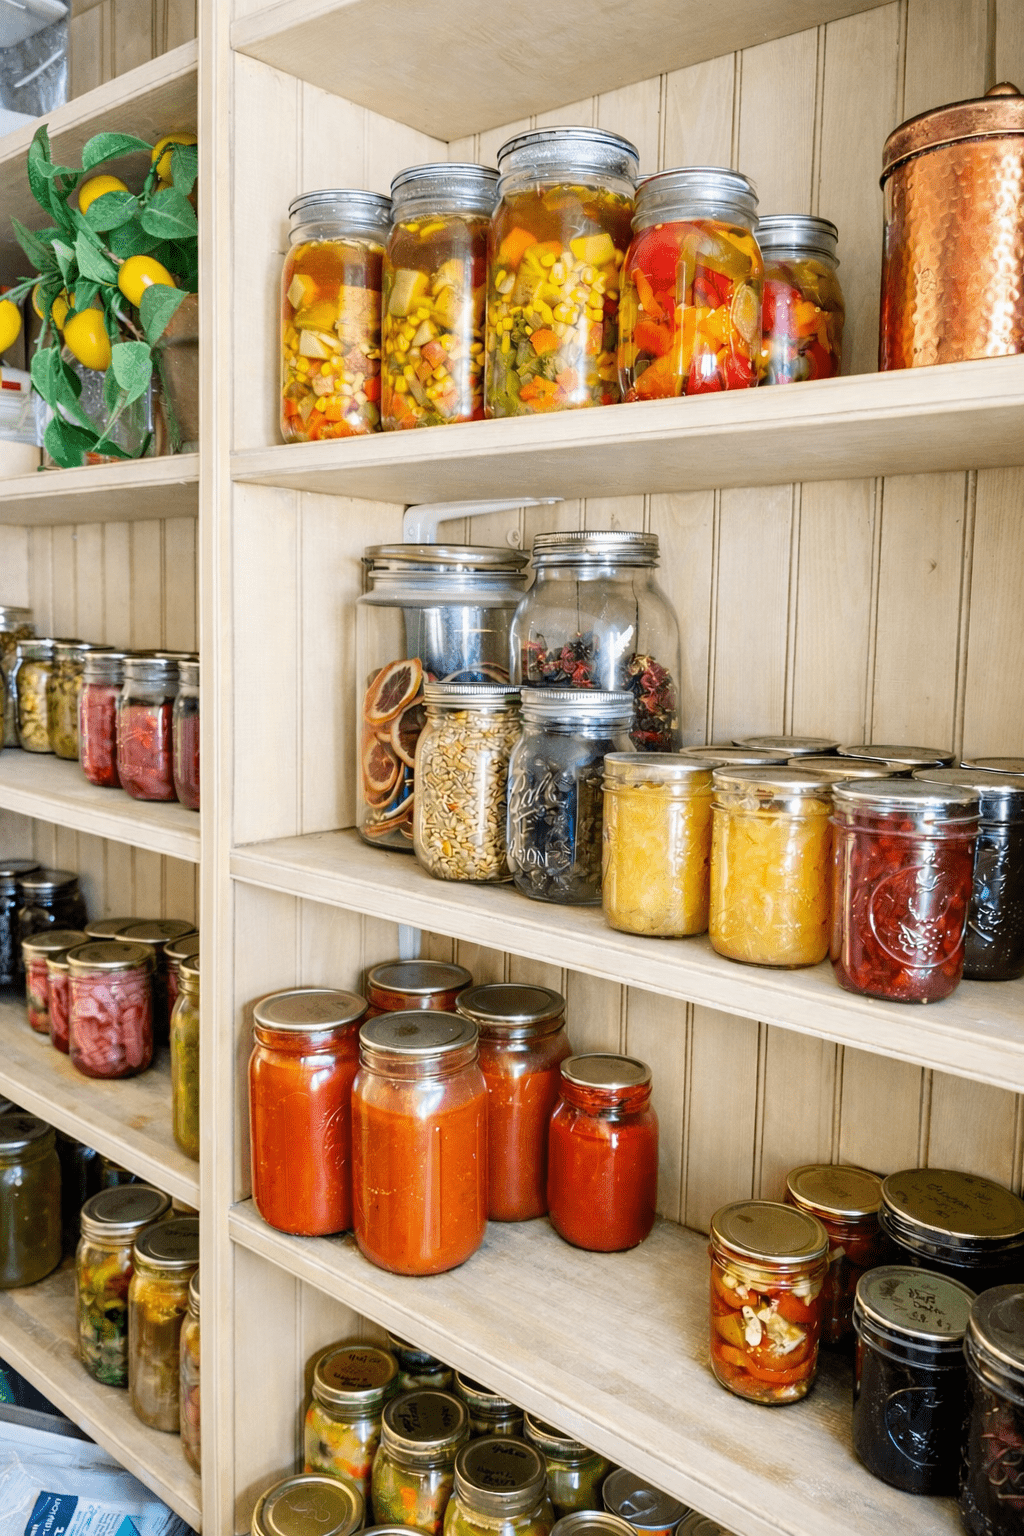
What Is Canning?
Canning is a method of preserving food in jars by heating them to destroy bacteria and sealing them airtight. Once sealed properly, jars can be stored for months — even years.
There are two main types:
- Water Bath Canning (for high-acid foods)
- Pressure Canning (for low-acid foods)
Most beginners start with water bath canning.
Water Bath vs. Pressure Canning (Beginner Breakdown)
Water Bath Canning
Used for:
- Tomatoes
- Jams & jellies
- Pickles
- Fruit
- Applesauce
This method uses boiling water to safely seal jars.
Pressure Canning
Used for:
- Green beans
- Corn
- Meat
- Soups
- Low-acid vegetables
Pressure canning reaches higher temperatures required for safety.
If you’re just starting, begin with water bath recipes like tomato sauce or jam.
Canning Supplies You Need
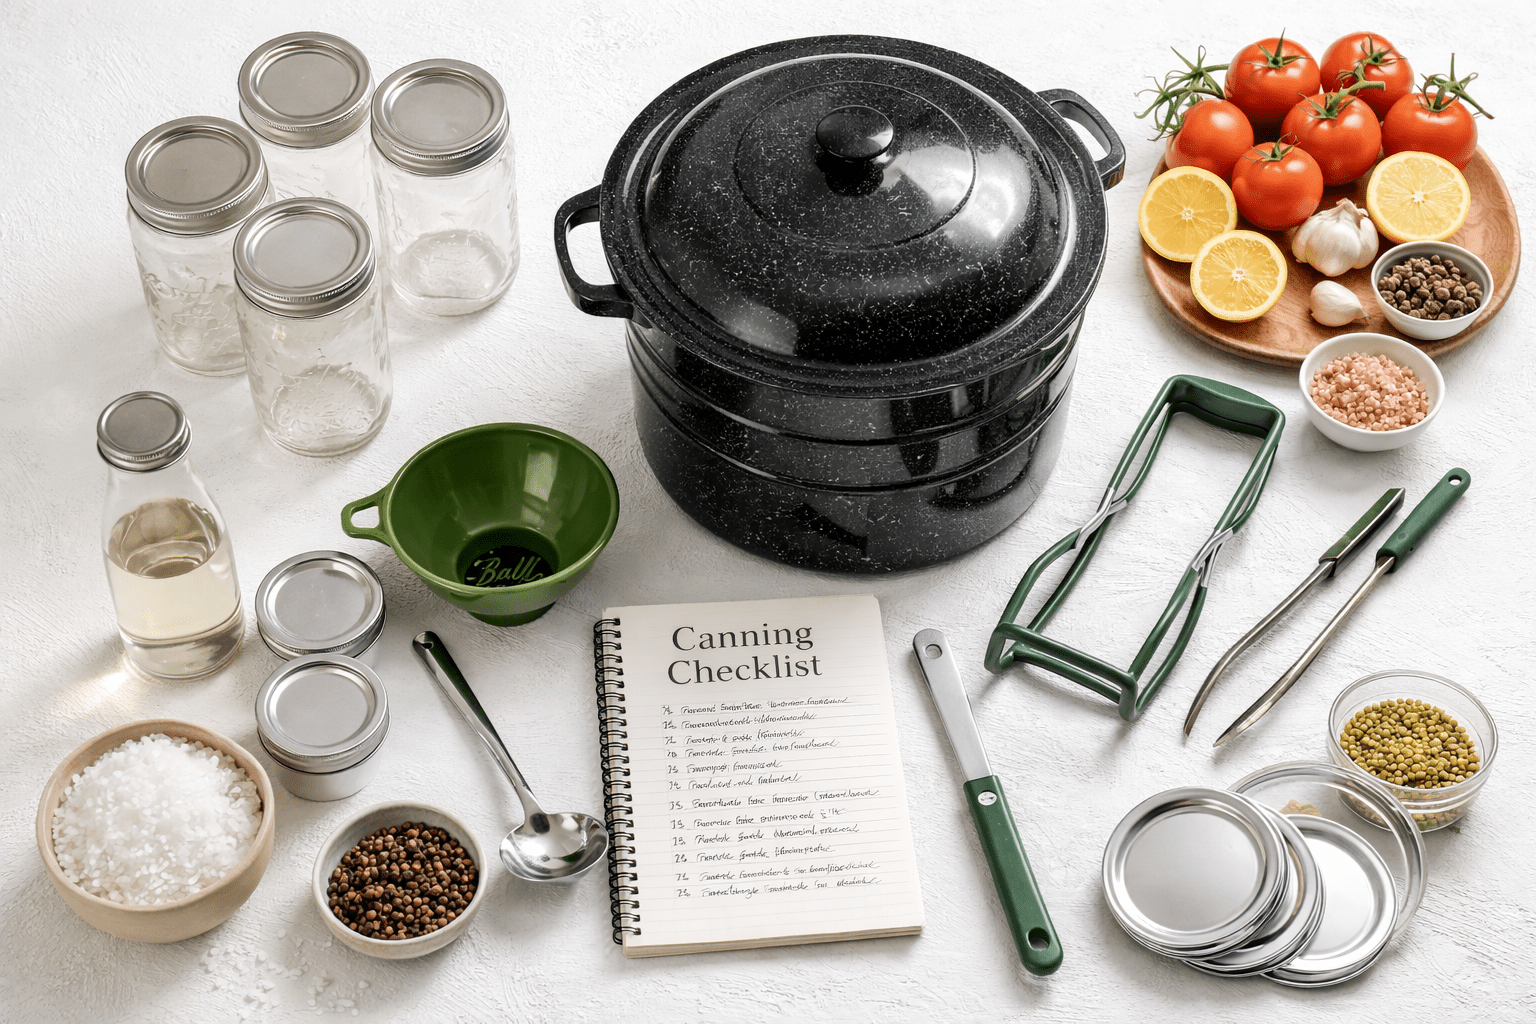
Basic beginner supplies:
- Water bath canner (or large stock pot with rack)
- Mason jars
- New lids + bands
- Jar lifter
- Canning funnel
- Clean towels
- Ladle
You do NOT need fancy equipment to get started.
Step-by-Step: How to Water Bath Can (Beginner Version)
- Wash jars and keep them hot.
- Prepare your recipe exactly as written.
- Fill jars using a funnel.
- Wipe rims clean.
- Apply lids and bands fingertip tight.
- Lower jars into boiling water.
- Process for the time specified in the recipe.
- Remove and let cool 12–24 hours.
- Check seals (listen for the pop!).
Common Beginner Mistakes to Avoid
- Skipping tested recipes
- Reusing old lids
- Changing processing times
- Not adjusting for altitude
- Tightening lids too much
Food safety matters — always use tested recipes from trusted sources.
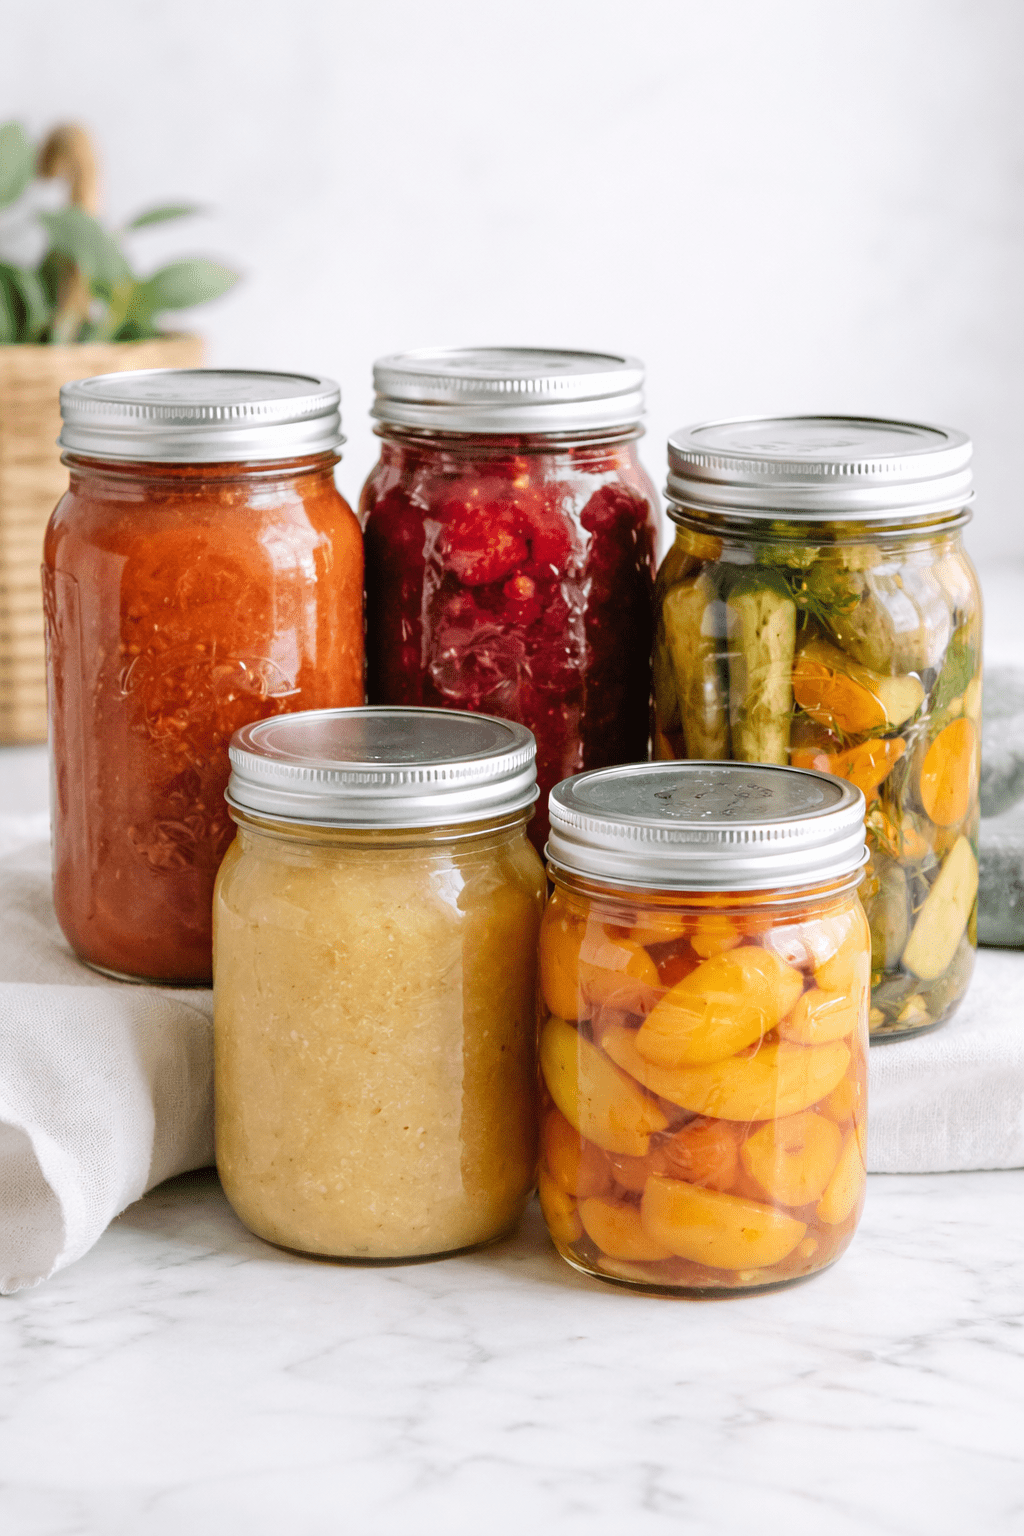
What Can You Safely Can as a Beginner?
Start simple:
- Tomato sauce
- Strawberry jam
- Pickles
- Applesauce
- Peaches
These are forgiving and beginner-friendly.
Is Canning Worth It?
Absolutely.
- Saves money
- Reduces food waste
- Supports seasonal eating
- Builds food security
- Feels incredibly satisfying
There’s something special about opening a jar of summer tomatoes in the middle of winter.
Final Thoughts
Canning for beginners doesn’t have to be intimidating. Start small, follow safe recipes, and build confidence one batch at a time.
Once you master water bath canning, you’ll wonder why you didn’t start sooner.