
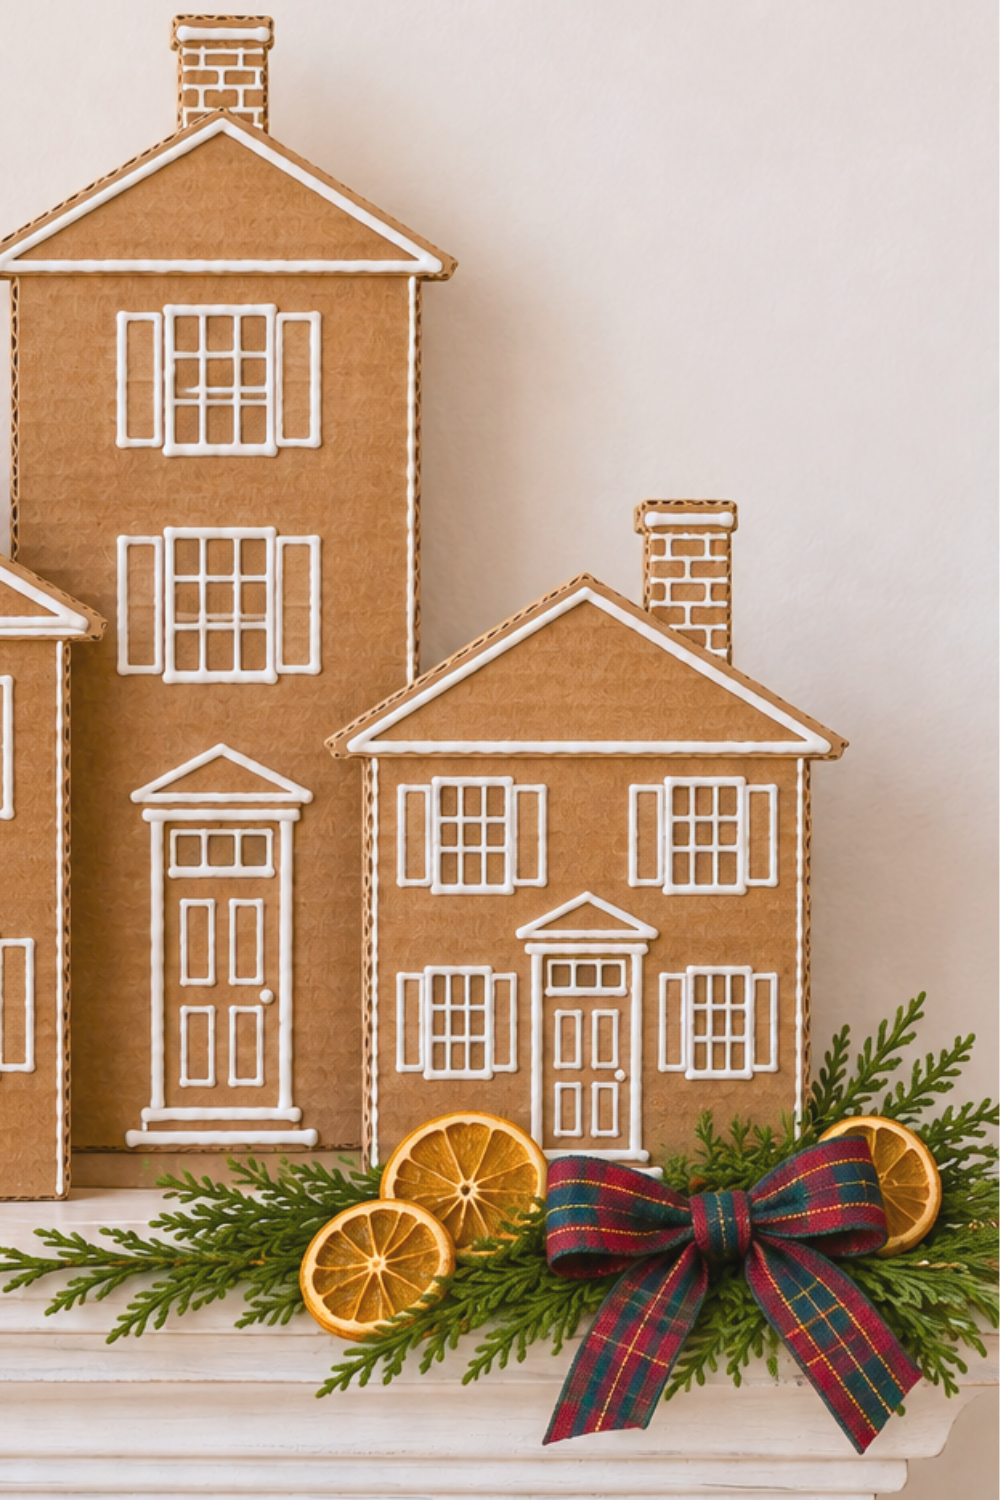
A few empty boxes and a bottle of white puffy paint are all it takes to start a charming little Christmas village. These DIY cardboard gingerbread houses have the warm brown color and pretty icing details of gingerbread, making them a sweet addition to a mantel, windowsill, or holiday table.
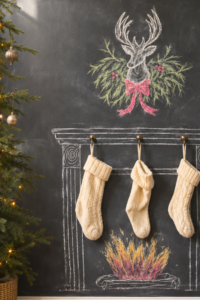
I love the simplicity of brown cardboard and white “icing” paired with greenery and a little ribbon. It’s an easy way to bring a handmade touch into your Christmas decorating. If you enjoy creative holiday projects like my Christmas chalkboard fireplace, this cardboard gingerbread house display is another fun idea to try.
This tutorial uses flat house fronts with supports on the back, so you can create an entire gingerbread village without assembling individual roofs and walls.
Why You’ll Love This Christmas Craft
- Uses simple supplies: Save clean shipping boxes and turn them into Christmas decorations.
- Easy to customize: Make tiny cottages, tall townhouses, or a whole row of little shops.
- Fits small spaces: The flat houses work well on narrow shelves and windowsills.
- Classic holiday colors: Brown cardboard and white paint look beautiful with greenery, neutral decor, and traditional Christmas accents.
- Easy to store: The slim pieces take up much less room than a collection of full-size decorative houses.
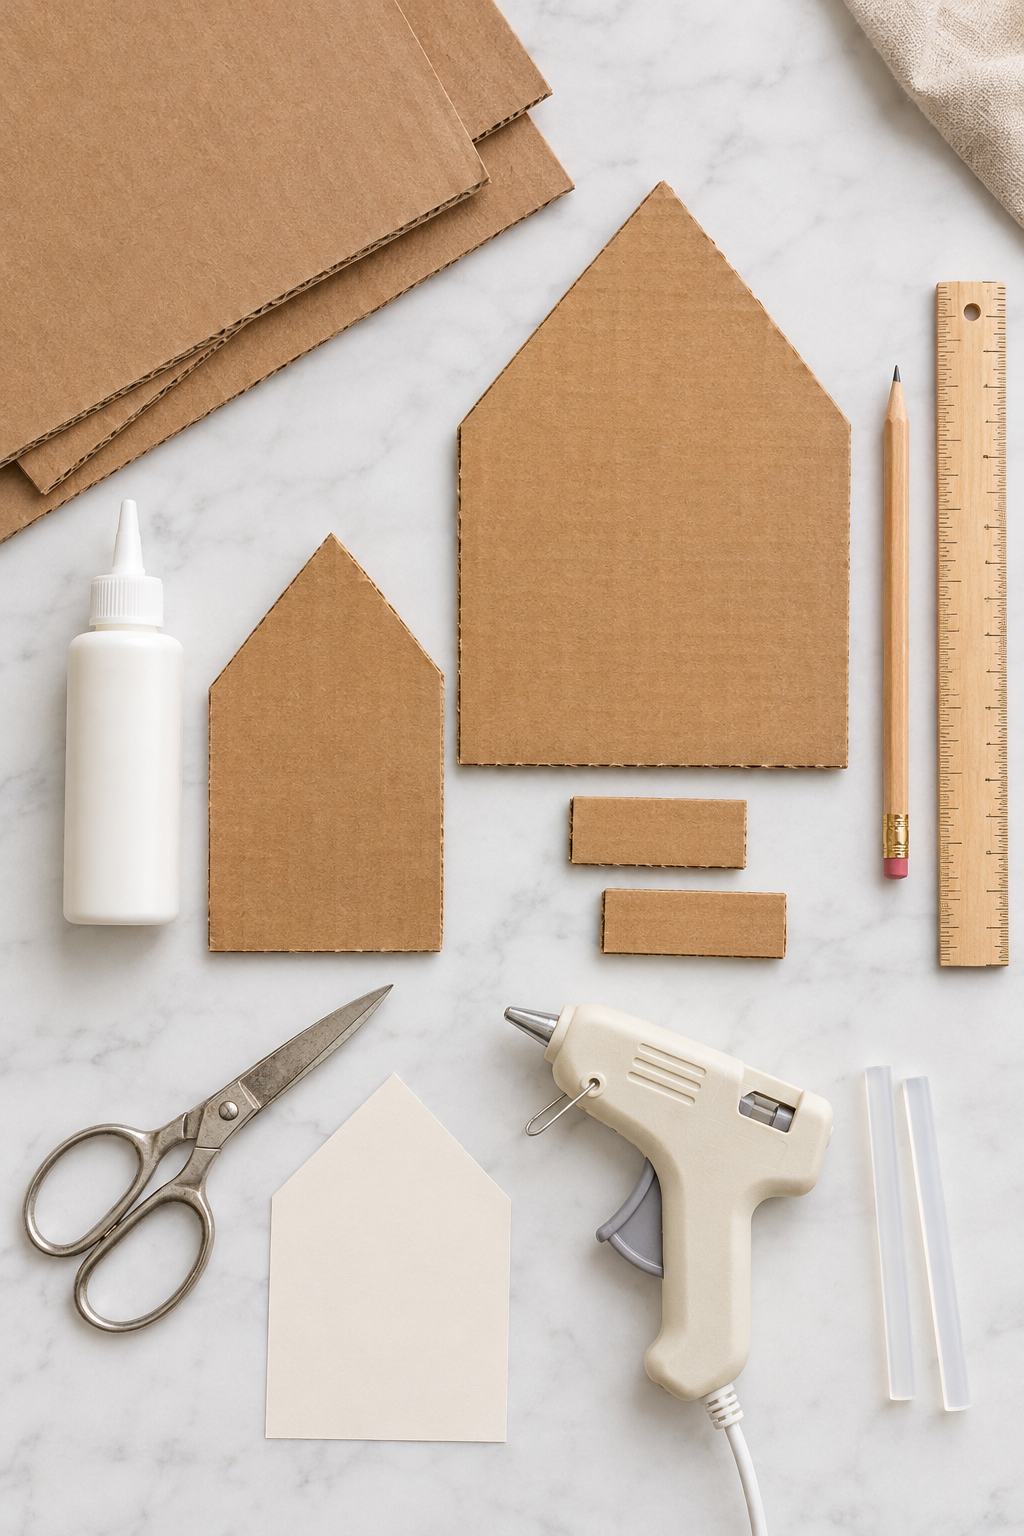
Supplies for Cardboard Gingerbread Houses
- Clean, dry brown cardboard
- White dimensional craft paint, often called puffy paint, with a fine applicator tip
- Pencil
- Ruler
- Scissors
- Craft knife and cutting mat for thicker cardboard
- Scrap paper for templates
- Extra cardboard for back supports
- Craft glue or a hot glue gun
- Scrap cardboard for practicing your paint lines
Optional display supplies:
- Small bottle brush trees
- Faux greenery
- Battery-operated LED lights
- A shallow tray or wooden board
- Velvet or gingham ribbon
- Small pieces of white felt for a snowy base
Choose white dimensional paint that dries with a raised finish and is labeled for your surface. The raised lines create the look of piped icing. Test the paint on a cardboard scrap before decorating your houses.
Adults should handle craft knives and hot glue, while children can help draw and decorate.
How to Make Cardboard Gingerbread Houses
1. Choose and Prepare Your Cardboard
Start with flat sections of cardboard that have a clean brown side. Remove packing tape and shipping labels, then cut away damaged edges.
Corrugated shipping boxes work well for larger house fronts. Thinner cardboard is easier to cut for small decorations, although it may need extra backing to stand neatly.
Try to avoid placing an existing fold through the middle of a house, since the crease can make it lean forward.
2. Draw Your House Shapes
Draw a rectangle for the body of each house, then add a triangle above it for a peaked roof. Keep the bottom edge straight so the finished house can sit level.
For a small cardboard gingerbread village, use these suggested dimensions:
| House | Width | Total height |
|---|---|---|
| Small cottage | 4 inches | 6 inches |
| Medium house | 5 inches | 8 inches |
| Tall townhouse | 4 inches | 10 inches |
The measurements include the roof peak. Adjust them to fit your shelf or mantel.
Mixing heights makes the display more interesting. Try a wide cottage beside a narrow townhouse, then add a smaller house slightly in front.
Tip: Draw your first house on scrap paper and cut it out as a reusable template.
3. Cut Out the Houses
Cut along your pencil lines with scissors or a craft knife, depending on the thickness of the cardboard. Use a cutting mat beneath any knife work.
Trim loose fibers around the edges, especially at the roof peak. If a house looks uneven, lightly redraw the edge and trim it before adding paint.
For the easiest version, leave the doors and windows solid and draw them with white paint. Cut out the windows before painting if you want lights to show through them later.
4. Sketch the Gingerbread Details
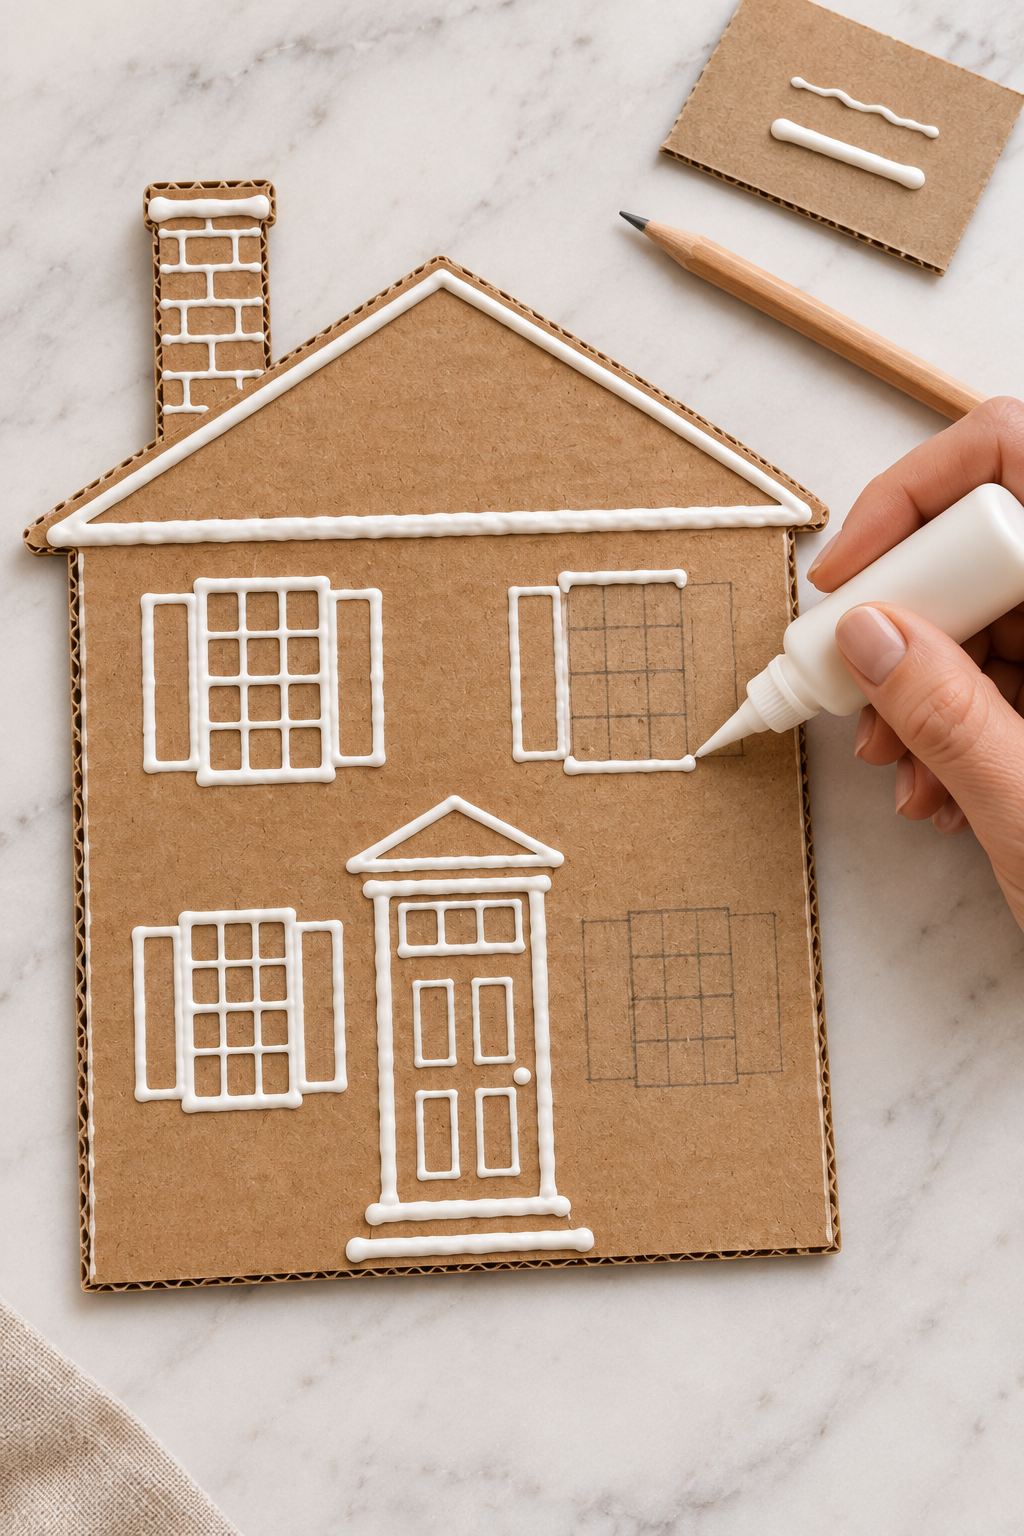
Lightly draw your design in pencil. You only need a few details to make each cardboard house look like gingerbread:
- An outline around the roof
- A front door
- Square or arched windows
- Windowpanes
- A scalloped border
- Small dots along the roofline
- A simple wreath above the door
Keep the pencil marks faint so they won’t distract from the white paint.
For a classic gingerbread village, repeat one detail across all the houses, such as dotted roof trim, while changing the doors and windows.
5. Decorate With White Puffy Paint
Practice a few lines and dots on scrap cardboard first. Use gentle, steady pressure and let the paint flow from the tip as you move.
Start with the roof outline, then add the door and windows. Finish with smaller details, working from the top of the house downward so your hand stays clear of wet paint.
For an icing effect, try:
- Scallops beneath the roof: Draw a row of connected curves.
- Dotted borders: Squeeze small individual dots with space between them.
- Snowy windowsills: Add a slightly thicker line beneath each window.
- Roof shingles: Draw loose rows of curved lines.
- A wreath: Make a small ring of dots and add a simple bow underneath.
Leave some of the brown cardboard showing. The white details stand out beautifully when the design has a little breathing room.
A few uneven lines give these handmade Christmas houses their charm.
6. Let the Paint Dry Flat
Lay the houses flat where they can dry undisturbed. Follow the drying instructions on your paint bottle, and allow extra time for thick dots or heavy borders.
Drying time depends on the product, the amount applied, and humidity. Avoid stacking the houses or attaching supports while the paint is still soft or tacky. Tulip Color Crafts
7. Add Supports to the Back
Once the paint is completely dry, add a simple cardboard stand.
- Cut a cardboard strip about 2 inches wide and roughly two-thirds the height of your house.
- Fold a 1-inch tab at the top.
- Glue that tab to the upper-middle portion of the back.
- Angle the remaining strip backward to form an easel leg.
- Trim the bottom of the leg until the house stands with a slight backward lean.
To keep the leg from spreading, glue a short strip of ribbon between the lower back of the house and the support leg.
For larger houses, use a wider support or two legs. Check that each house stands securely before arranging the display.
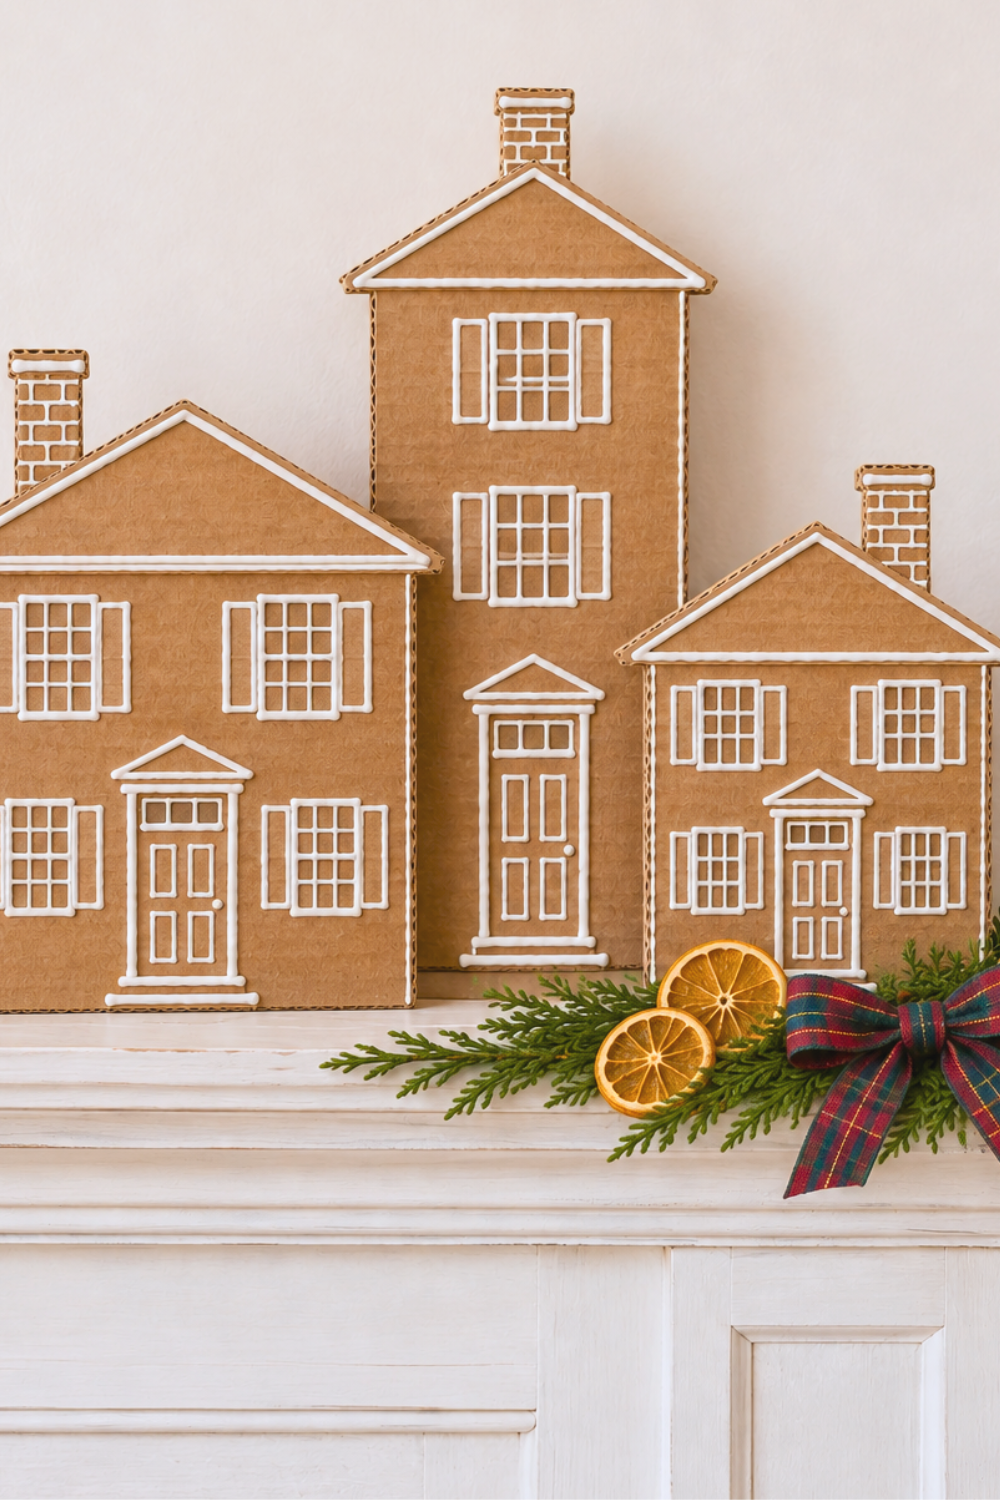
How to Create a Cardboard Gingerbread House Display
Once your houses are finished, arrange them together before adding any accessories. Start with the tallest houses toward the back and tuck smaller cottages slightly in front.
Leave enough space to see the painted doors and windows.
Gingerbread Village for a Mantel
Arrange five or seven houses across the mantel, alternating heights. Add a few small bottle brush trees and tuck faux greenery around the bases without covering the icing details.
Brown cardboard, white paint, evergreen branches, and a simple velvet bow make a cozy Christmas combination.
Keep cardboard decorations away from fireplace heat and open flames.
Christmas Windowsill Display
Line several houses along a deep windowsill with their decorated sides facing into the room. If the display will be visible from both sides, decorate the backs too, allowing each side to dry before turning it over.
Choose a dry window where condensation won’t reach the cardboard.
Gingerbread House Table Centerpiece
Arrange three or five houses on a shallow tray or wooden board. Add a few miniature trees and small patches of white felt for snow.
The tray makes it easy to move the whole display when you need more room for serving dishes.
Shelf or Entry Table Village
For a smaller arrangement, group three houses with one bottle brush tree. A little greenery at the base is enough to finish the display.
You can also place the village near your Christmas chalkboard fireplace to carry the handmade holiday look through the room.
Can You Add Lights Behind Cardboard Gingerbread Houses?
Yes. Cut out a few windows before painting, then position battery-operated LED lights behind the finished house fronts.
Because these houses are flat silhouettes, the lights sit behind the village rather than inside individual buildings. Conceal the wire behind the bases and keep the battery pack accessible.
Use lights according to their instructions. Do not use real candles with cardboard decorations.
Tips for Pretty Puffy Paint Details
Practice your pressure first. A few lines on scrap cardboard help you find a comfortable speed before decorating the houses.
Keep a scrap beside you. If the paint starts flowing unevenly, test the tip on the scrap before returning to your design.
Start with simple shapes. A roof outline, four-pane windows, and a rounded door are enough to create a recognizable gingerbread cottage.
Repeat a few details. Matching dotted borders or scalloped rooflines help different house shapes feel like one village.
Keep the palette simple. White paint on natural brown cardboard gives the display a timeless look. Bring in color with ribbon, trees, or greenery.
Decorate before attaching the stands. Painting the houses while they lie flat gives you more control.
How to Store Your Cardboard Gingerbread Village
Make sure the paint is fully dry before packing the houses away. Store them in a dry, sturdy box with enough room to protect the raised details.
Place parchment paper between decorated surfaces without pressing them tightly together. Keep fixed supports from bending by packing loosely around them.
Avoid damp storage areas, since moisture can soften and warp cardboard.
Frequently Asked Questions
What kind of cardboard works best for gingerbread houses?
Clean, flat corrugated cardboard works well for freestanding house fronts because it has more structure than thin paperboard. Choose pieces without large creases or damaged corners.
What paint do you use for icing on cardboard gingerbread houses?
Use white dimensional craft paint with a fine applicator tip. Choose a product suitable for cardboard or paper and test it on a scrap first. The raised paint creates the appearance of piped icing.
Can I use a white paint pen instead of puffy paint?
Yes. A white paint pen can create fine outlines and detailed patterns. The finish will generally be flatter, so dimensional paint is the better choice when you want raised icing details.
Do I need to paint the cardboard brown first?
No. Plain brown cardboard already gives the houses a gingerbread color. If your cardboard has printing on both sides, cover it with brown craft paint and let it dry before decorating.
How do you make flat cardboard gingerbread houses stand up?
Attach a folded cardboard easel leg to the back of each house. Add a ribbon brace between the leg and the house to keep the support from spreading.
Can these cardboard gingerbread houses go outside?
Keep this version indoors. Untreated cardboard and its glued supports can soften or lose their shape when exposed to rain, snow, or moisture.
Can kids help make this craft?
Yes. Children can help sketch houses and add painted details. Adults should cut thick cardboard, cut out windows, and handle hot glue.
A Simple Handmade Christmas Village
These cardboard gingerbread houses turn everyday boxes into a holiday display full of little windows, snowy rooflines, and pretty white icing. Make a few for a shelf or keep adding houses until you have a whole Christmas village.
For another handmade holiday project, try these DIY succulent Christmas ornaments. Both projects bring a personal touch to your seasonal decorating and make a fun excuse to set aside an afternoon for creating.






WOW! That is a heafty price tag and I LOVE how yours turned out. Isn’t it amazing how when we aren’t fan of a certain tecnique until we find just the right project for it? Great job and love it!
Thanks so much Beckie! XO
Just lovely! Merry Christmas!
i flippin’ love this! i must try this.
They turned out beautifully, wow you really did a great job and saved a bundle too!
I know, right?! 49.99 was pretty steep and I think mine turned out just as good and without all the cheap glitter falling everywhere that they had on theirs!
How super cool are these? love good DIY’s thank you so much for sharing…xo
Thank you so much for popping over!
This might be my favorite Internet craft project EVER – you are a genius. I love the faux bois trend but haven’t jumped on it yet – now that I know it can be affordable I’m definitely going to try this out 🙂
You’re the sweetest Heather! So glad you came by! Let me know how yours turns out! 🙂
So pretty. I tried that puffy paint recently and did not do it right. I must give it another whirl…and swirl. Thanks for sharing with my knock off decor party.
How cool”
This is such a beautiful project! Well done 🙂 I want to try it now!
Aww thank you Sherry! So glad I could inspire you! Let me know how yours turns out 🙂 XO
I love it when this happens. Something you really like but the price tag is soooo unreasonable and then you realise you can DIY it. The finished product is excellent, well done!
I love it when it happens too! Thanks a bunch!
These are so, SO pretty! I love the tutorial and your fantastic idea!!
Thanks so much Shannon! XO