Painting- While daunting to some people, is one of the quickest and least expensive ways to put your personal mark on a space in the interior of your home.
In this three part series I plan to show you the prep steps we take, products we use, and how we paint an interior room in our house…
If you remember, one of my 2013 home goals was to get started working on my daughters “big girl” room. Well…I’m happy to report that we have jumped right into this room makeover and it should be finished within the next few weeks!
In the meantime though, I thought it might be helpful for you to see what steps we usually take to get a room prepped and ready for painting. So here it goes…starting with supplies…
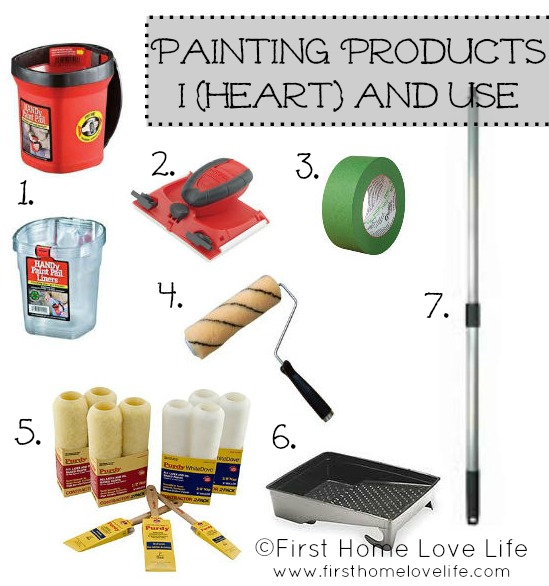
- The Handy Paint Pail and Liners have seriously changed my life. It has a magnet on the inside that holds your paint brush if you need to set it down quickly, and its soft rubber hand grip makes painting trim and molding comfortable and less clumsy! Clean up? A breeze! Seriously…no more messy paint cups, just pull the liner out when you’re done and toss it in the trash. ALL DONE!
- Shurline Trim Edgers are another product that I totally stand behind! I don’t have the steadiest hand for edging, but with this product and it’s easy to use disposable cloth sheets, painting trim and edges is a quick and painless experience!
- Painters tape- You have to prep your rooms if you want to paint like a pro! Lately I’ve been using FROGTAPE and totally loving it’s smooth application and removal.
- A roller…I’ve found that it’s not so much the roller brand as the roller itself. I just make sure it rotates smoothly and I’m good to go!
- Purdy products- Yep, I know…They’re kind of pricey, but the quality is just like no other in my experience. I make sure I clean them well in between uses and they last quite a long time, so it justifies the price in my opinion.
- Paint pan and liners. Again, no name brand here, but a good, solid, heavy duty plastic or metal pan with replaceable liners will get the job done easily and with minimal clean up to follow!
- Paint roller poll is another must have… This adjustable roller pole not only helps me get hard to reach wall surface with my roller, but I can also screw my Shurline Edger onto it as well!
- Some other MISC. items (not pictured) that I always need for prepping to paint are drop cloths (or old blankets) spackling paste or nail hole filler, caulk, and a sanding block or sandpaper.
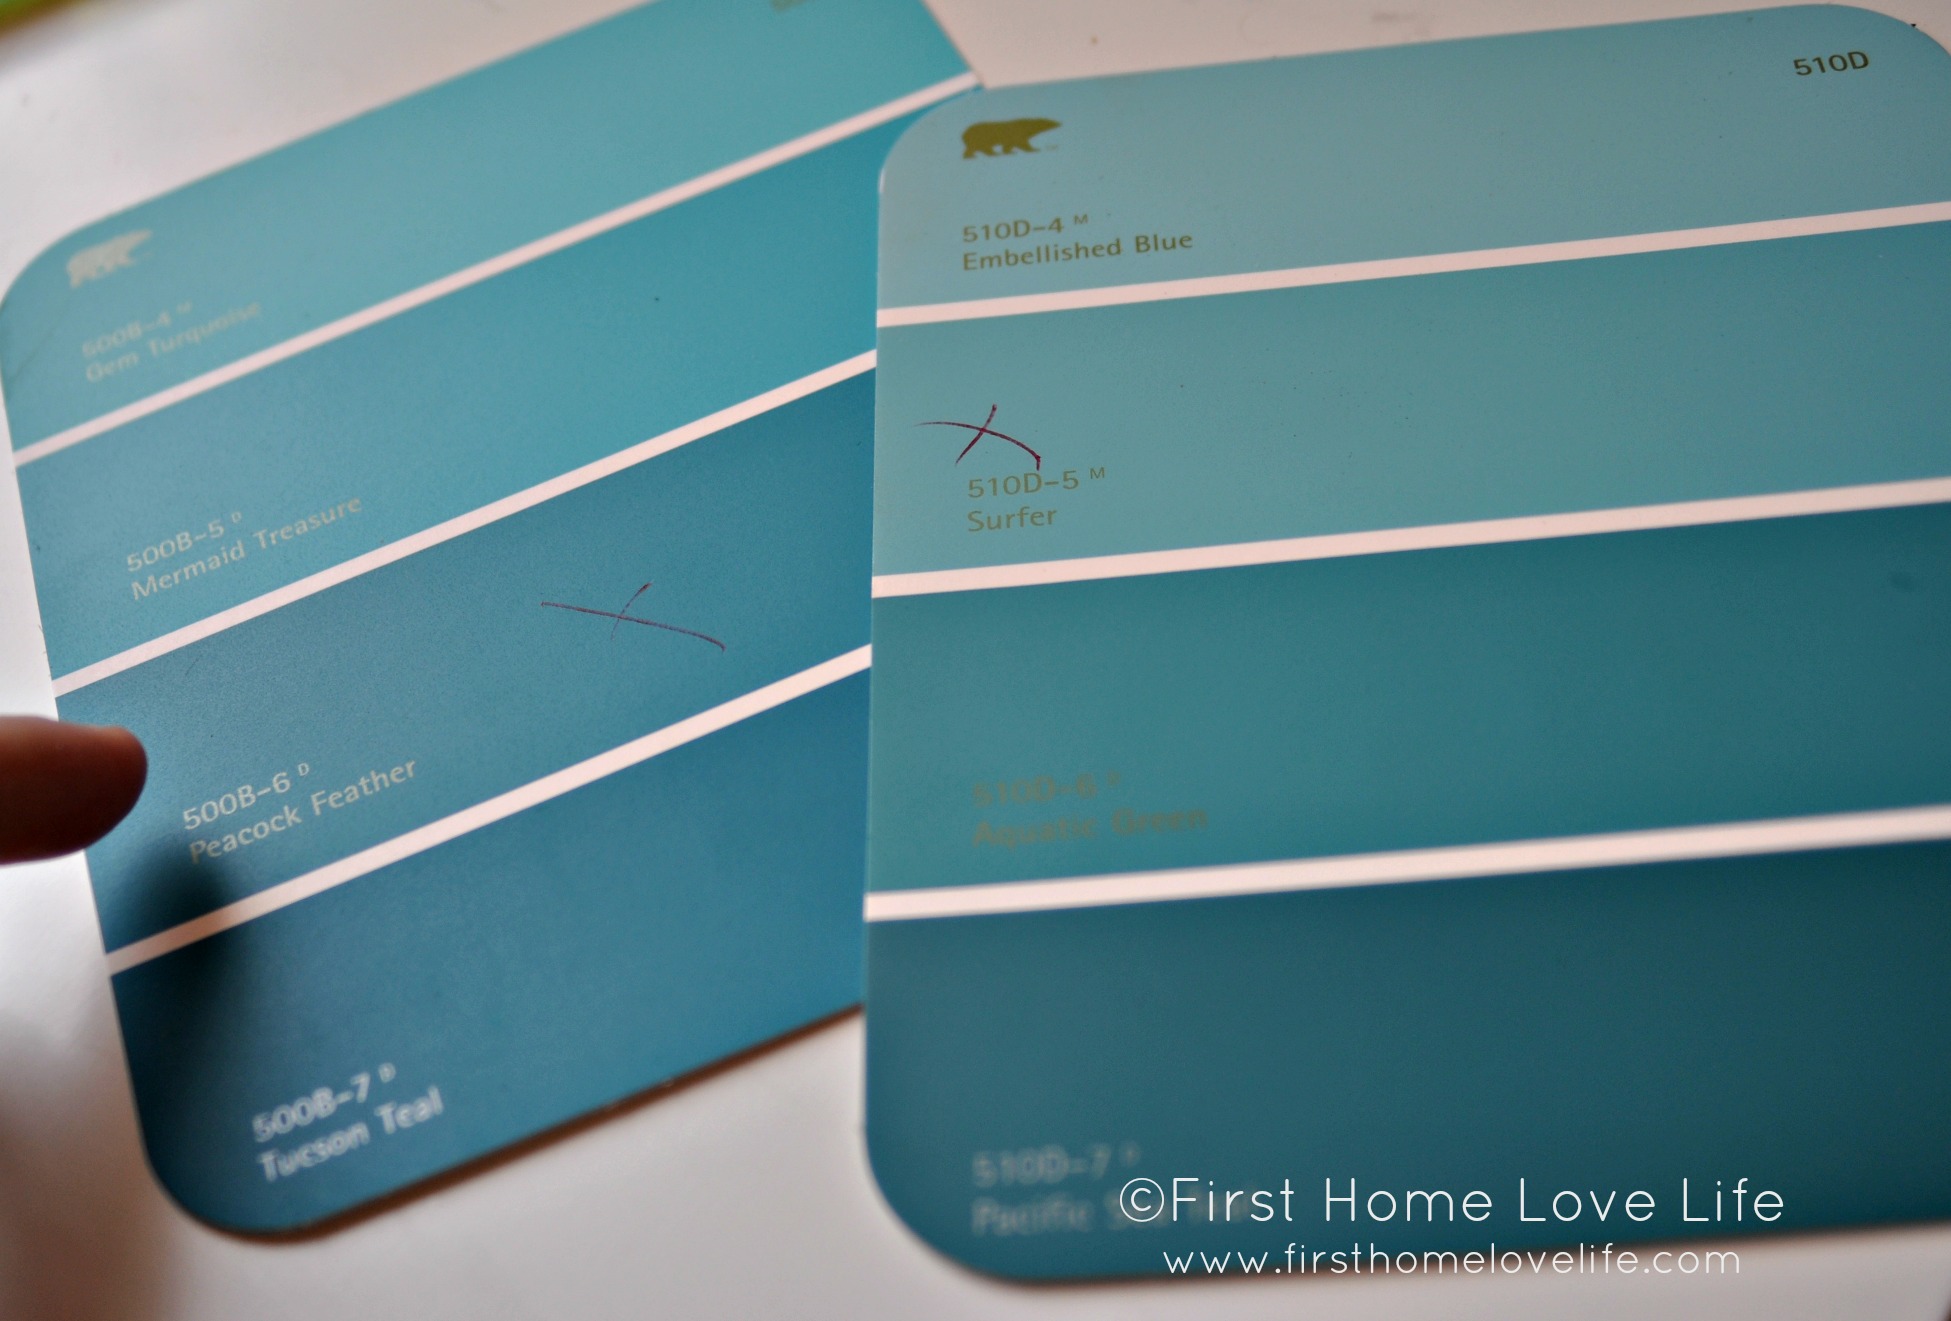
Picking out paint is completely preferential. The only advice I can give you is to go with your gut and test out samples (3 at most) if you have to. Any more then 3 is bound to confuse you and make your decision so much harder. These were the swatches I had picked out at Home Depot for my daughters room. I narrowed it down to two colors and had samples made up to take home and try.

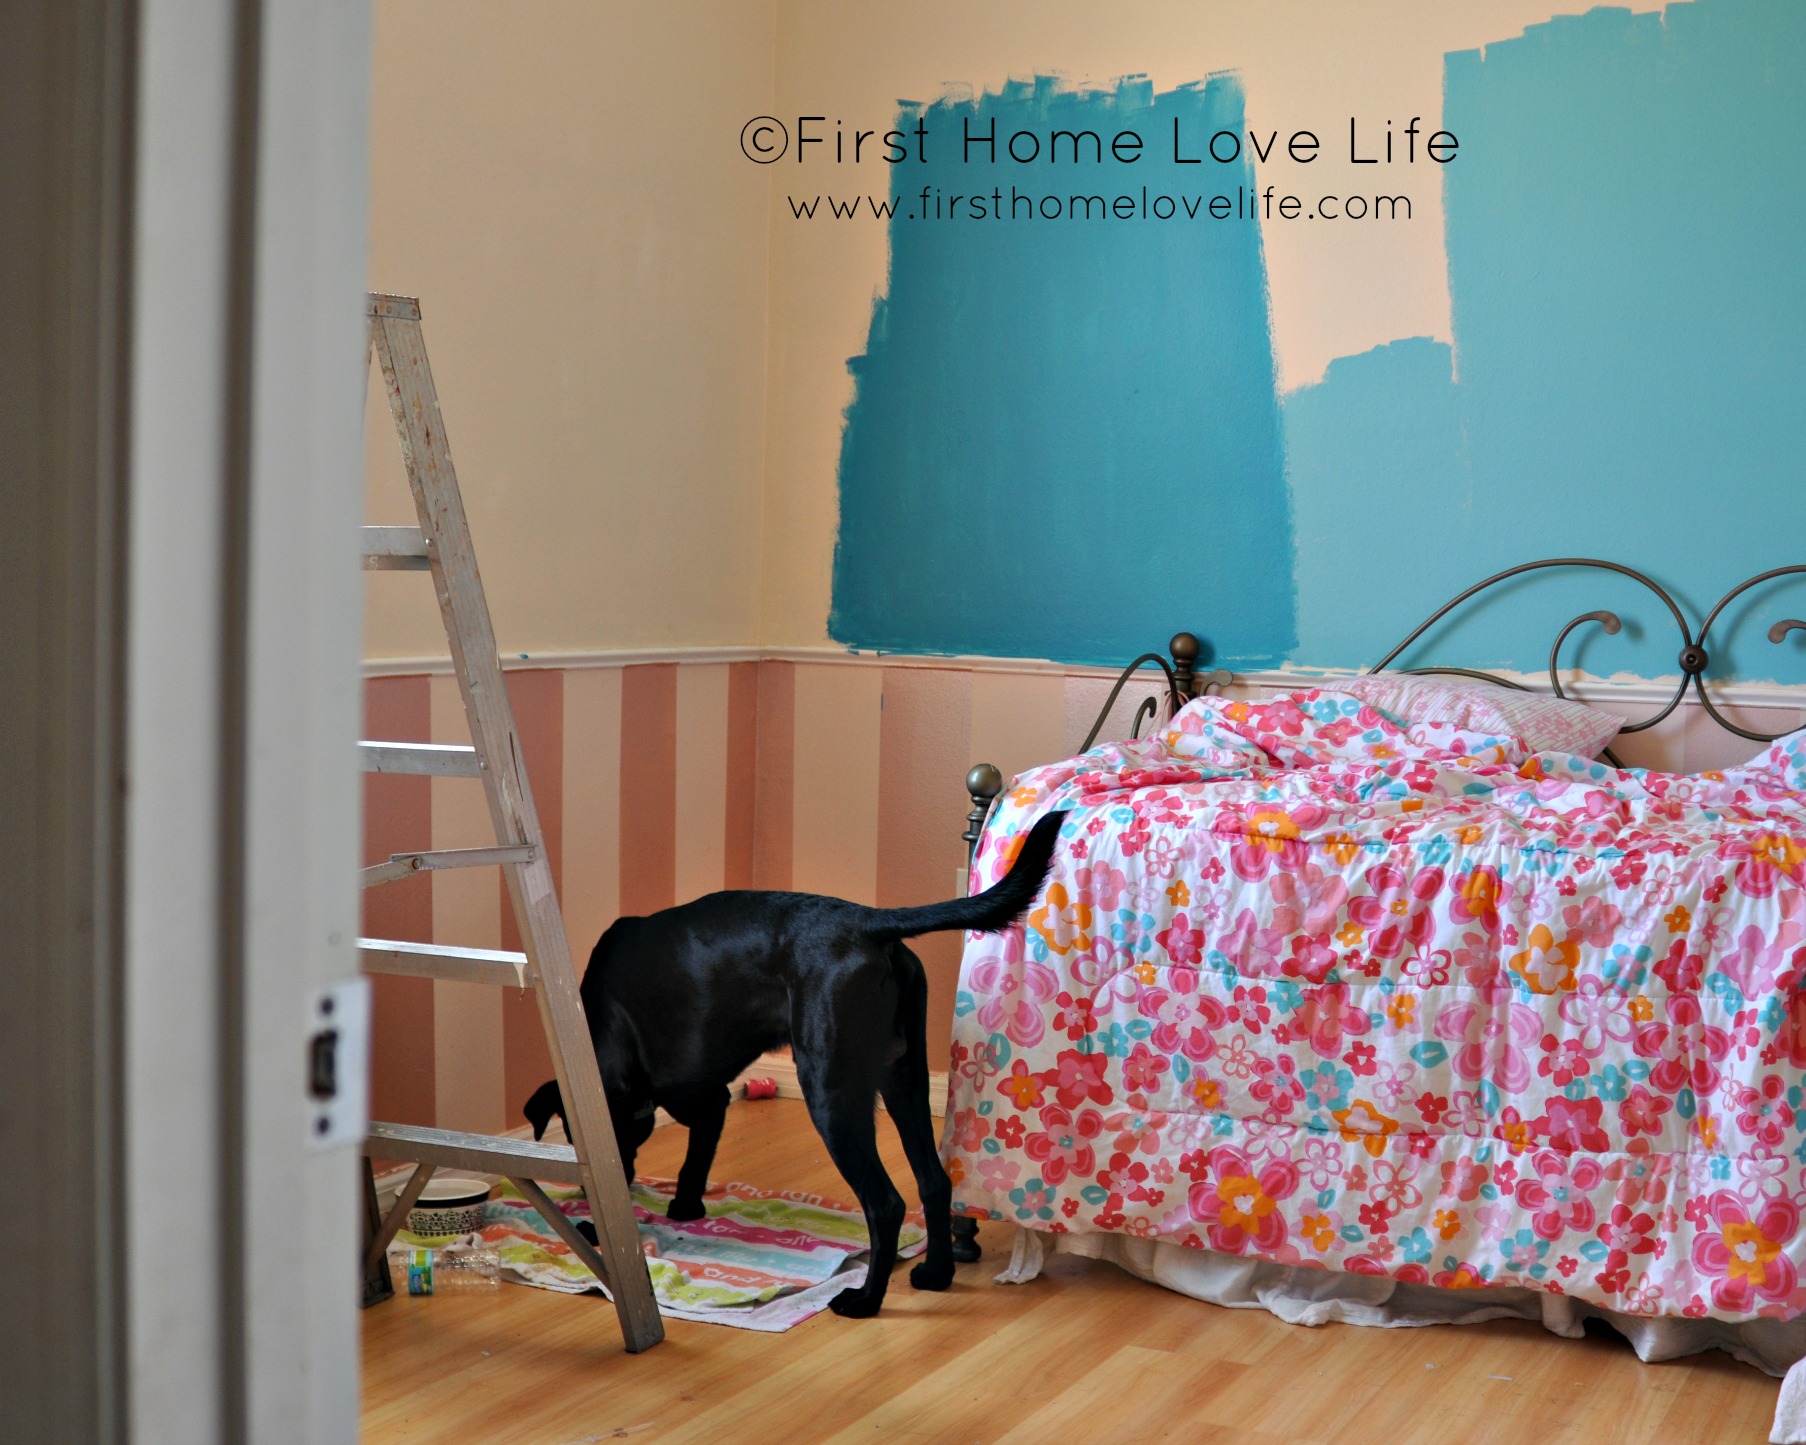
When I brought the samples home I immediately put them up on the wall. At first I was leaning more towards the lighter color, but as the day progressed and I saw it in different lighting I realized the darker color choice was the way to go. So I definitely recommend leaving your color sample up for at least 12 hours to look at it in every light.
Now here you see, we are going from a light paint to a dark paint,so primer is not necessary, but if you are going from a dark to a light color then it’s always best to prime your entire room first, then you can start painting samples on the wall so you can see the true color.
Once we knew the color and how much we needed it was time to start prepping.
THE MOST IMPORTANT STEP…
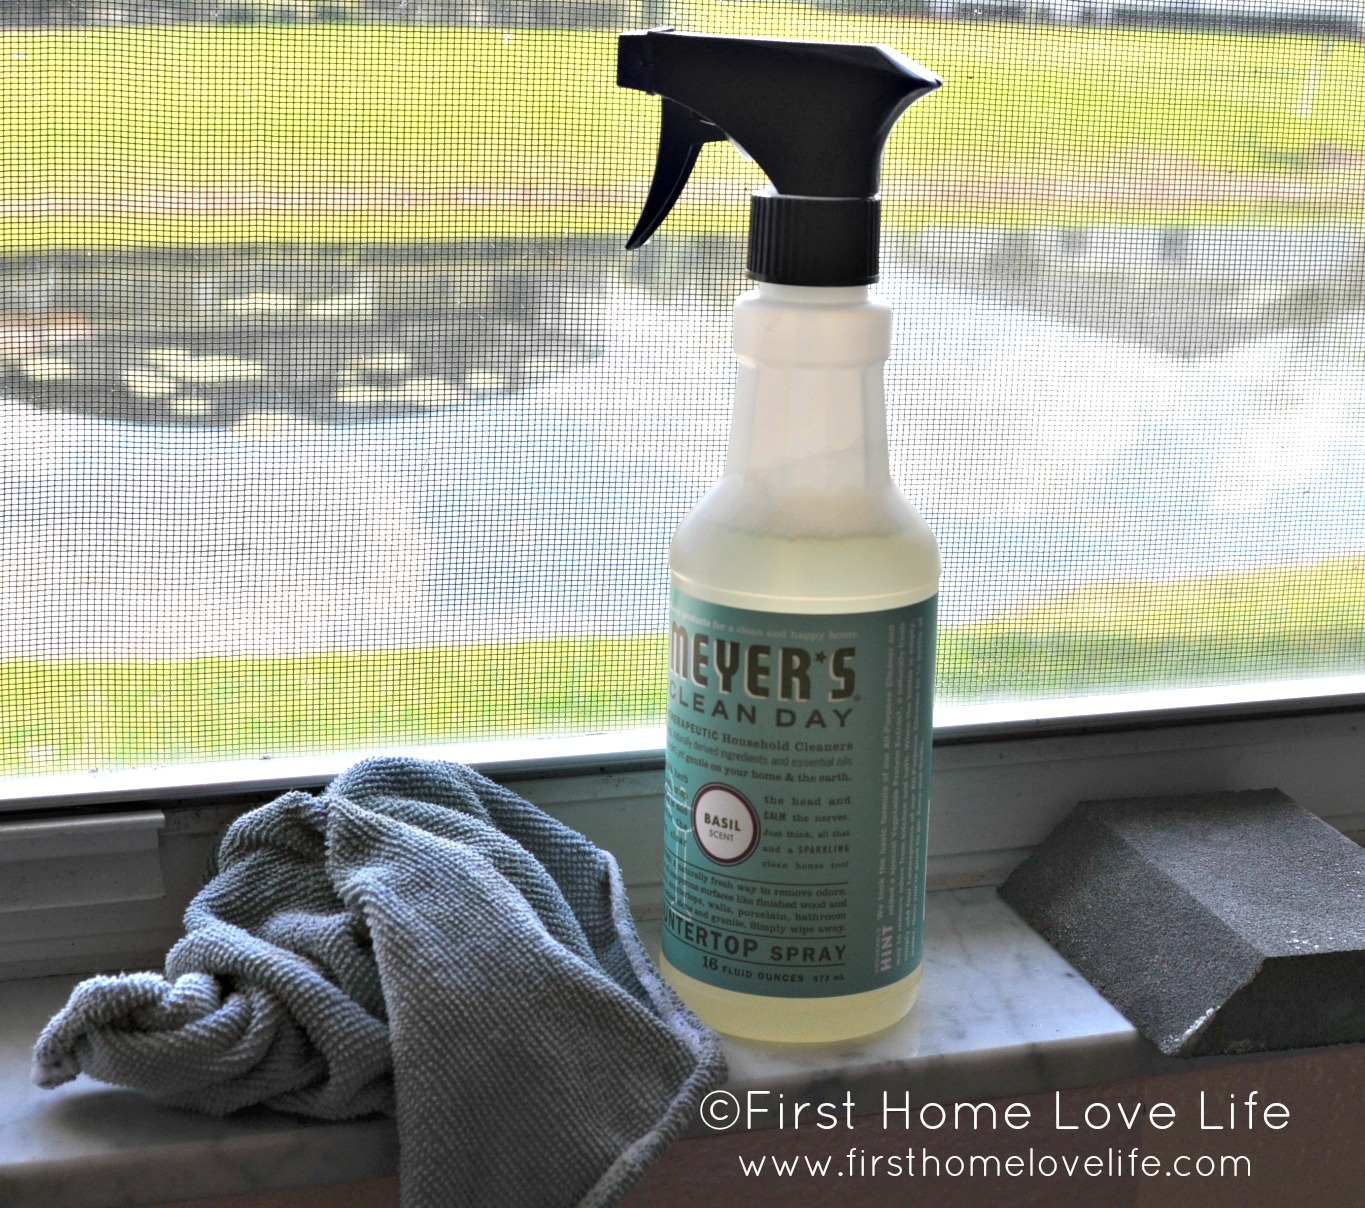
You have to clean your walls, baseboards, trim, and molding guys! It’s shocking to me that so many people skip over this step! If you’re going as far to pay for new paint and supplies, you might as well make sure it has a nice clean surface to adhere to; am I right?
Most of the time I just use a damp cloth with warm soapy water, but because this was my daughters room and she had some paint, lipgloss, and god knows what else on her walls I brought in reinforcements.
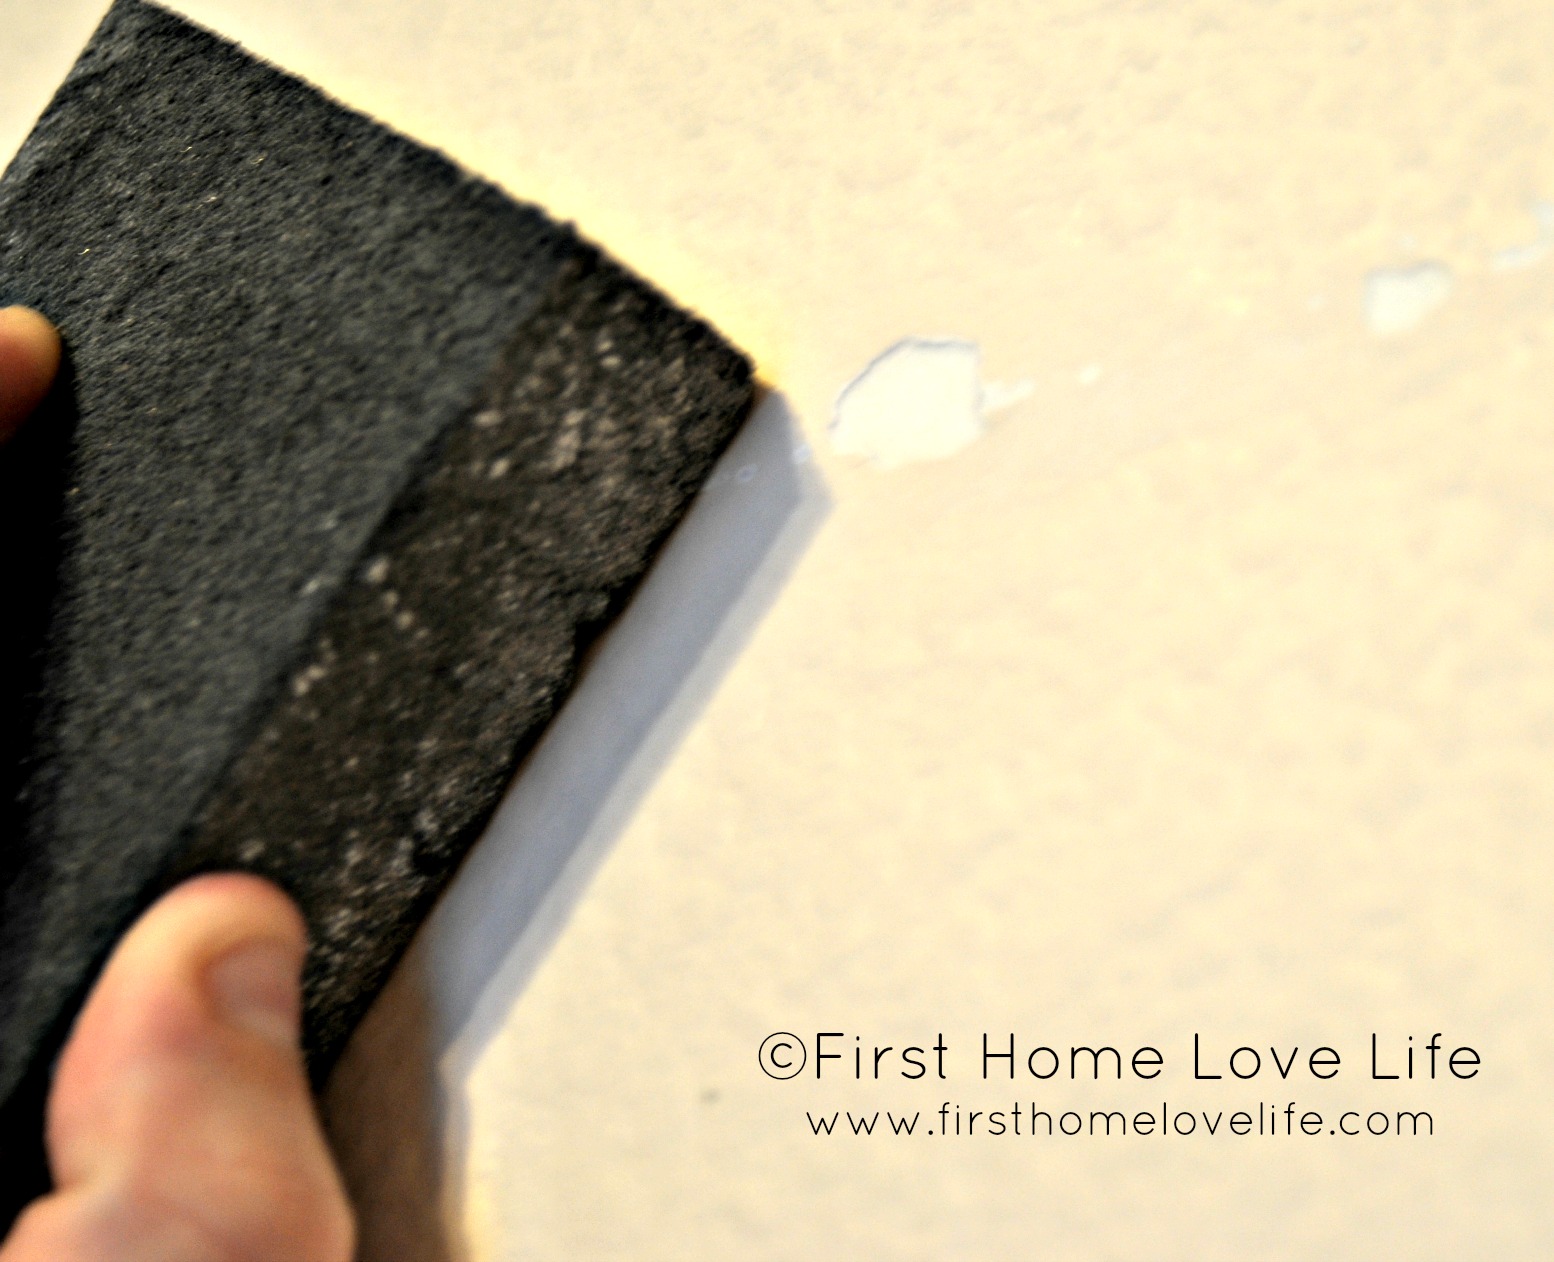
After everything was clean and dry I filled in all the nail holes and sanded any imperfections on the walls until everything was smooth, and then went over the area again with my wet cloth to get the sanding dust off the wall.
I also checked out her baseboards and chair rail to see if there were any gaps or cracks (there wasn’t) but if there was I would have re-caulked….
You can find part two of this painting series ‘Painting 101 -Paint Finishes and Trim’ here.
Disclaimer: I am not getting paid to endorse any of the products listed above. I just simply love them, and thought you would too!


Great post – thanks and I’ve got this linked to my DIY painting advice roundup post too today!
Inspire Me Heather recently posted…project: painting
Oh fun! Thanks so much, heading over to check it out now 🙂