My motto when it comes to holiday decorating is less is more. I can remember growing up how much my mother loved to buy all these little knick knacks for every holiday, and although at the time it seemed so festive, as I grew older I realized I liked a simpler approach.
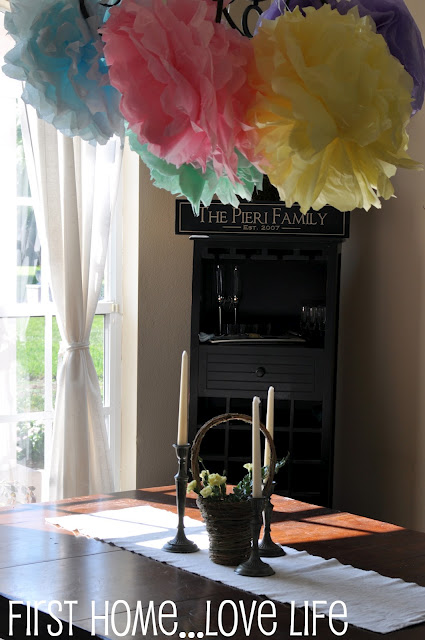
Tomorrow I’m hosting an Easter playdate for some of our friends and without going overboard cost wise and decor wise I decided tissue pompoms would be a perfect addition to our Easter brunch.
I know you can buy kits at craft stores, and you can even buy them pre-made on Etsy, but I’m going to show you how EASY and CHEAP this project really is.
Supplies-
Tissue paper (15 individual tissues for each pom pom)
Scissors
Zip Ties
Ribbon
I went to Dollar Tree earlier today and picked up 3 packages of pastel tissue. Each package had five sheets of each color. For a $3 total, this project is not only fun, but it makes an eye catching arrangement anywhere you decide to hang it!
The first step is to stack your tissue paper in a pile. Then fold everything together accordion style (like if you were making a paper fan). Make sure to score your folds, it makes it look neater.
Then using a medium size zip tie, secure it in the middle. The reason I like zip ties over ribbon or string is I find it easier to fluff the pom pom without it tearing in the middle.
Cut off the excess
Then using a smaller zip tie, make a ring. This way you can position your pom pom once it’s hanging up without having to untie everything.
Now tie your string in a double knot onto your little ring.
Next, cut, anyway you want really. You could round the edge, make a point like I did, or just leave it square. Any way you do it will make the pom pom a different shape in the end.
Next, you want to spread your creases out and make it into a butterfly shape. This will ensure you have a nice round pomp pom.
Then fluff! Pull each individual tissue away, making sure to get your hands all the way down to the middle. Don’t worry if you tear a few edges, it won’t be noticeable. Give a few shakes as well while you doing this. It helps.
Your final result is perfectly plump pom poms, and what you do with them is up to you. I hung them on our dining room fixture.
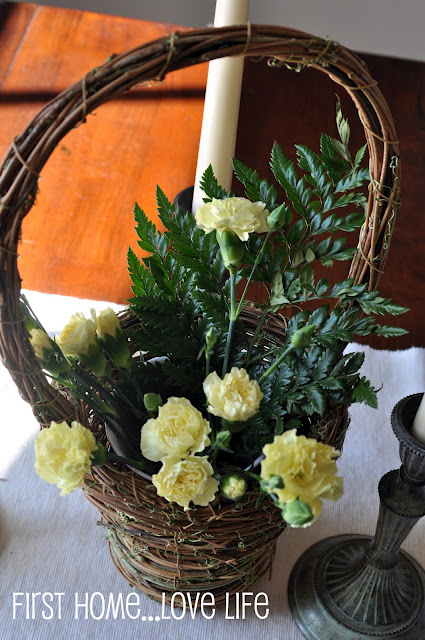
I’m also BIG on having fresh flowers when decorating for holidays or parties. I put fresh yellow carnations into a small basket on the table. I love it, it looks as if my daughter just picked them out of the garden.
I put them in a cup of water hidden in the basket, so no, they won’t die.
So that’s it for today. Tomorrow I’ll show you more, but now I have to go finish cleaning and preparing some food.
Talk to you soon,
Partying at…




Cute!
So neat, I love how they look! Thanks for sharing how to do them too!
Cute! And they seem so simple to make! These would look great in my daughters room 🙂
Love the tutorial! Thanks for linking up to my baby link party!
Hi Christine!
I’ve always wanted to try some tissue paper pom poms… yours turned out really cute! I wanted to come say hi and thank you for your sweet comments over at Burlap and Buttons. Totally made my day! Hope I’ll see you again soon! Happy Easter!