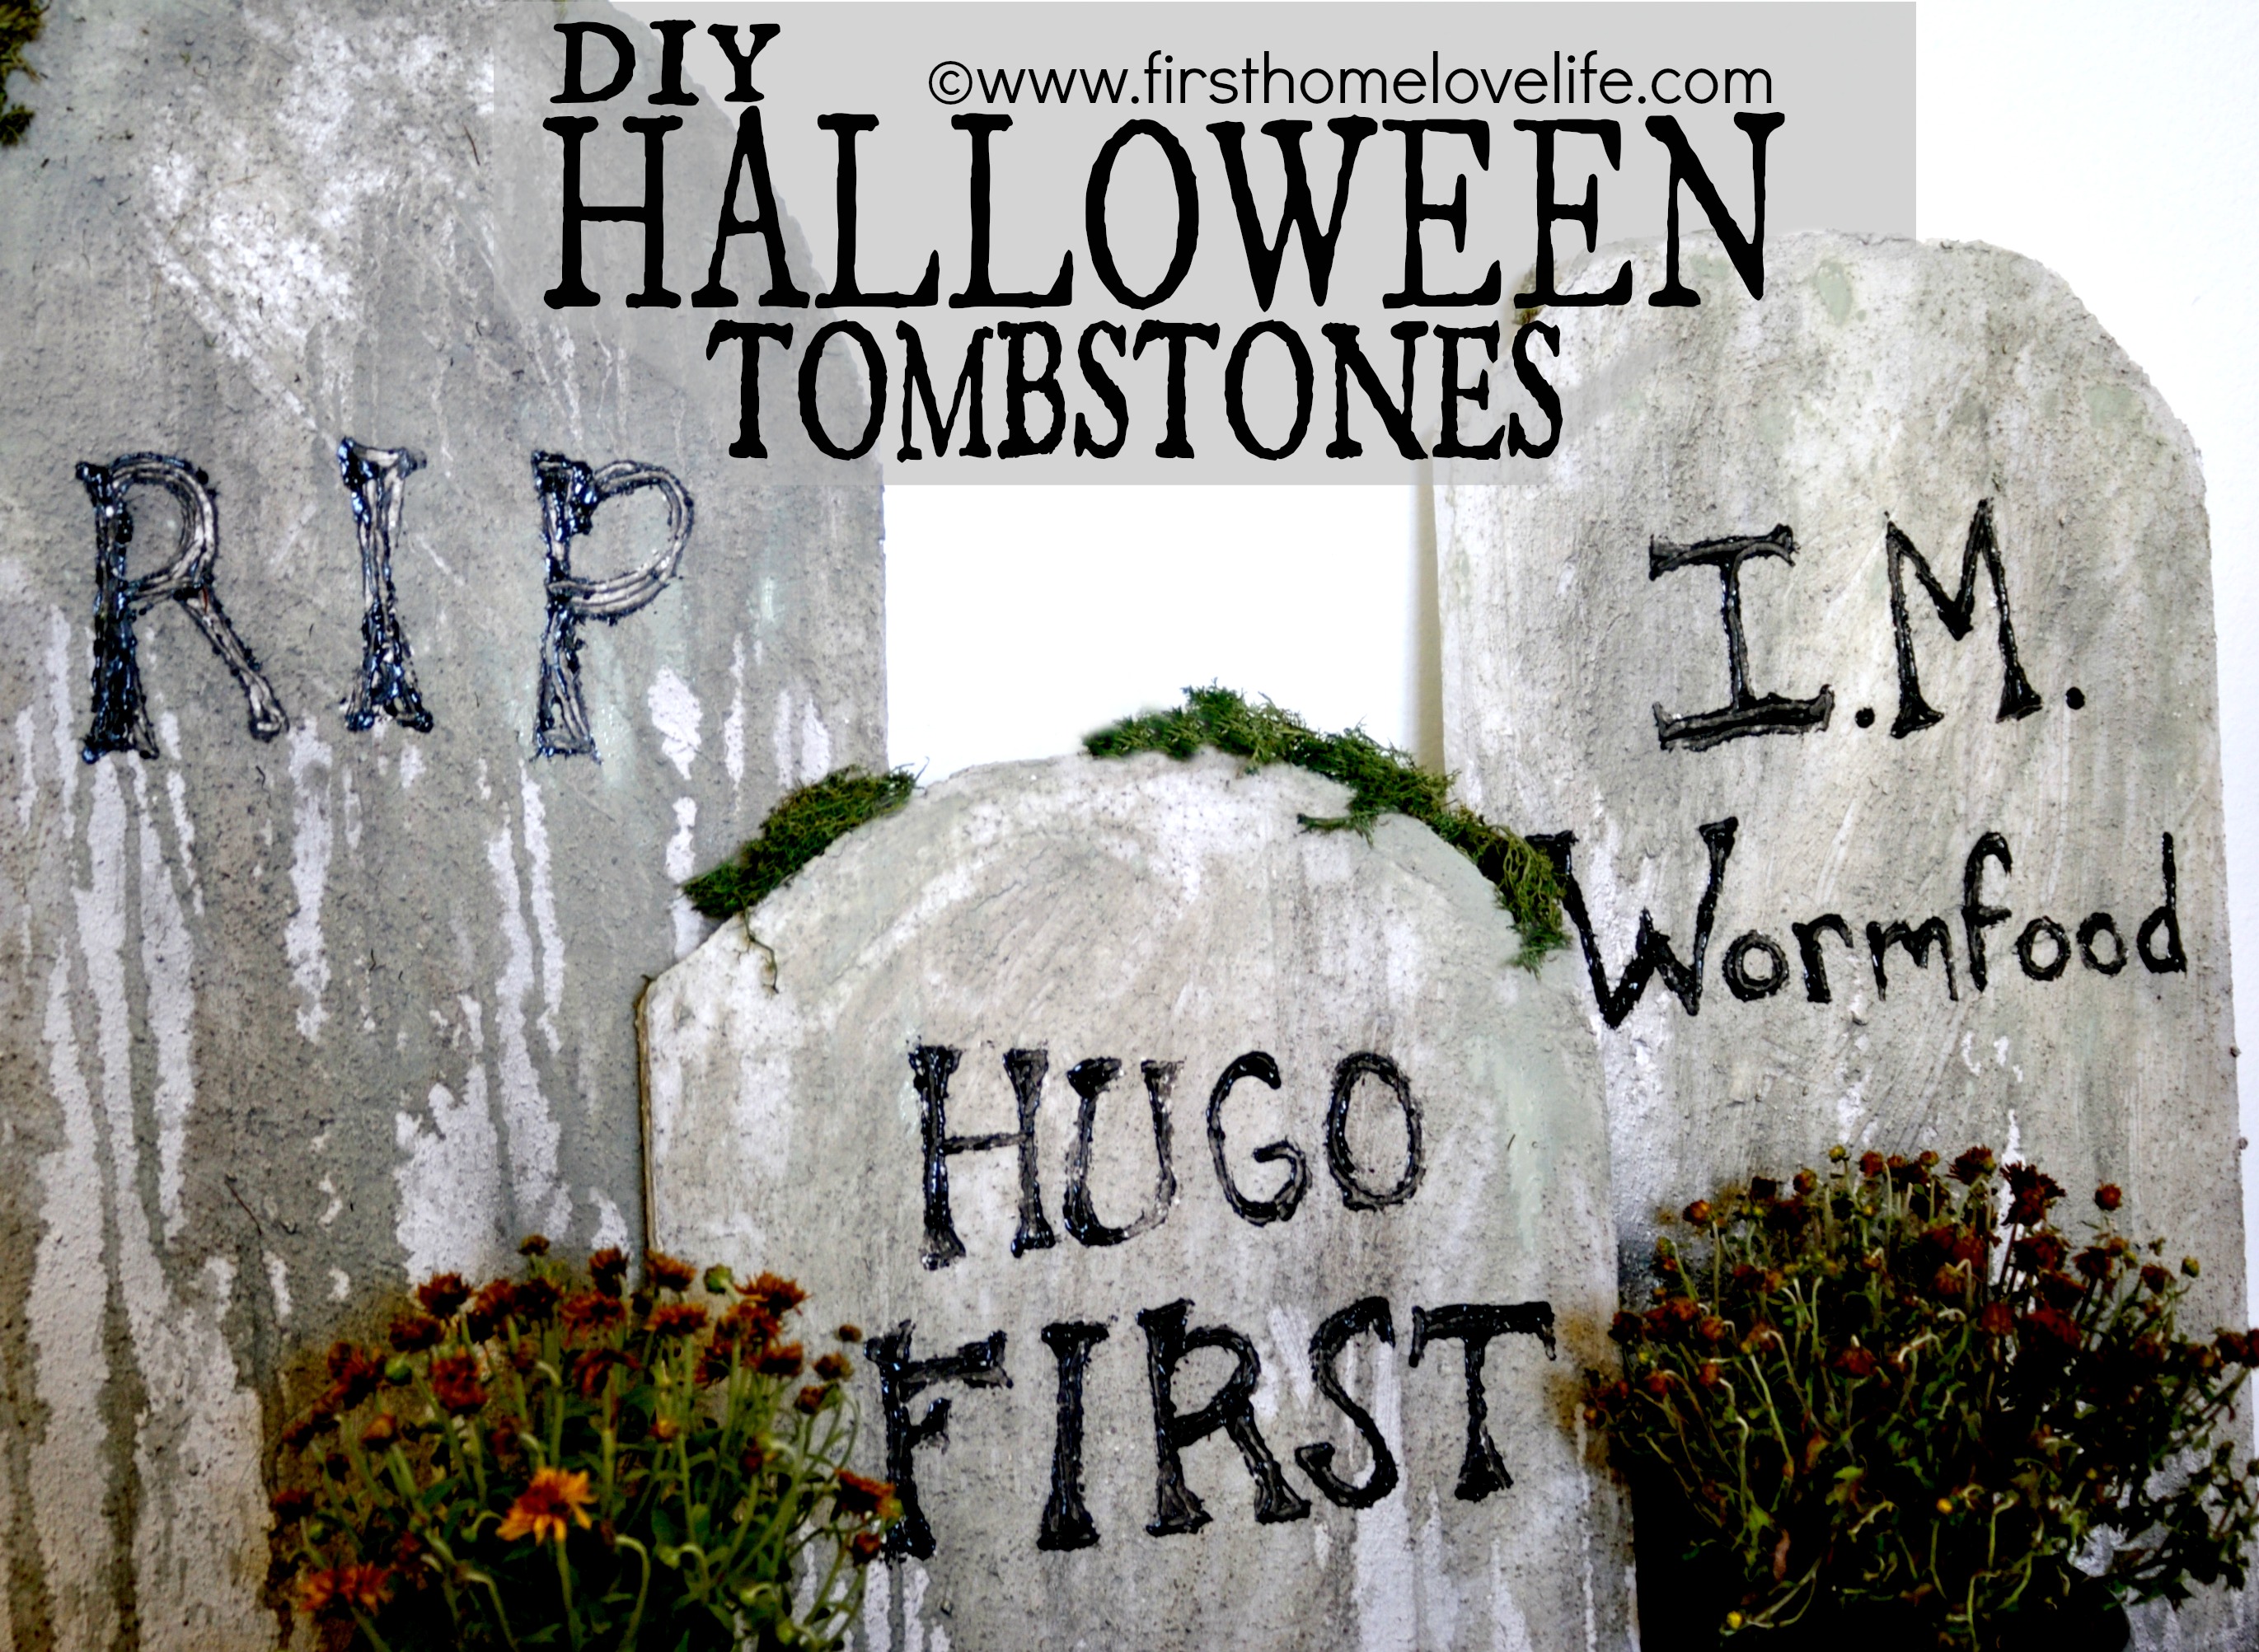
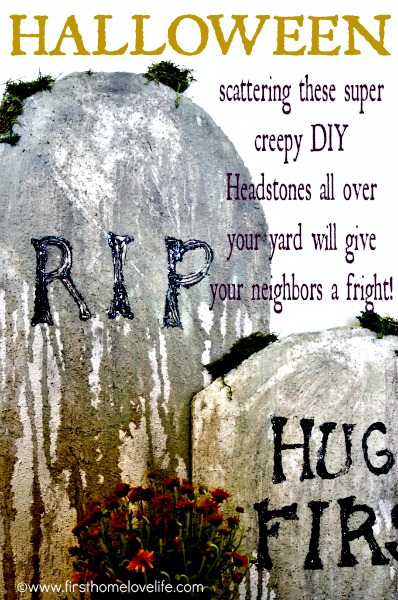
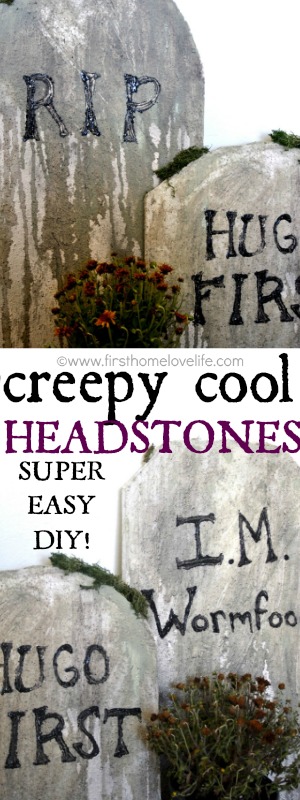
Hey guys! I hope Halloween decorating is in full force at your house, it sure is at mine! The last two years I have taken my daughter trick-or-treating at Mickeys Halloween Party at Disney World. Both years I’ve lucked out to grab last minute tickets on EBay heavily discounted. One of my all time absolute favorite rides is the Haunted Mansion! I love walking around and reading the tombstones. So this year, I decided I wanted some of my own Halloween tombstones in our yard, and after looking at ready made-cheaply made-but not so cheap ones at a few stores I decided to make my own, and I’m so happy I did because they came out way better and less expensive overall!
How fun are these?!
Here’s how I made them…
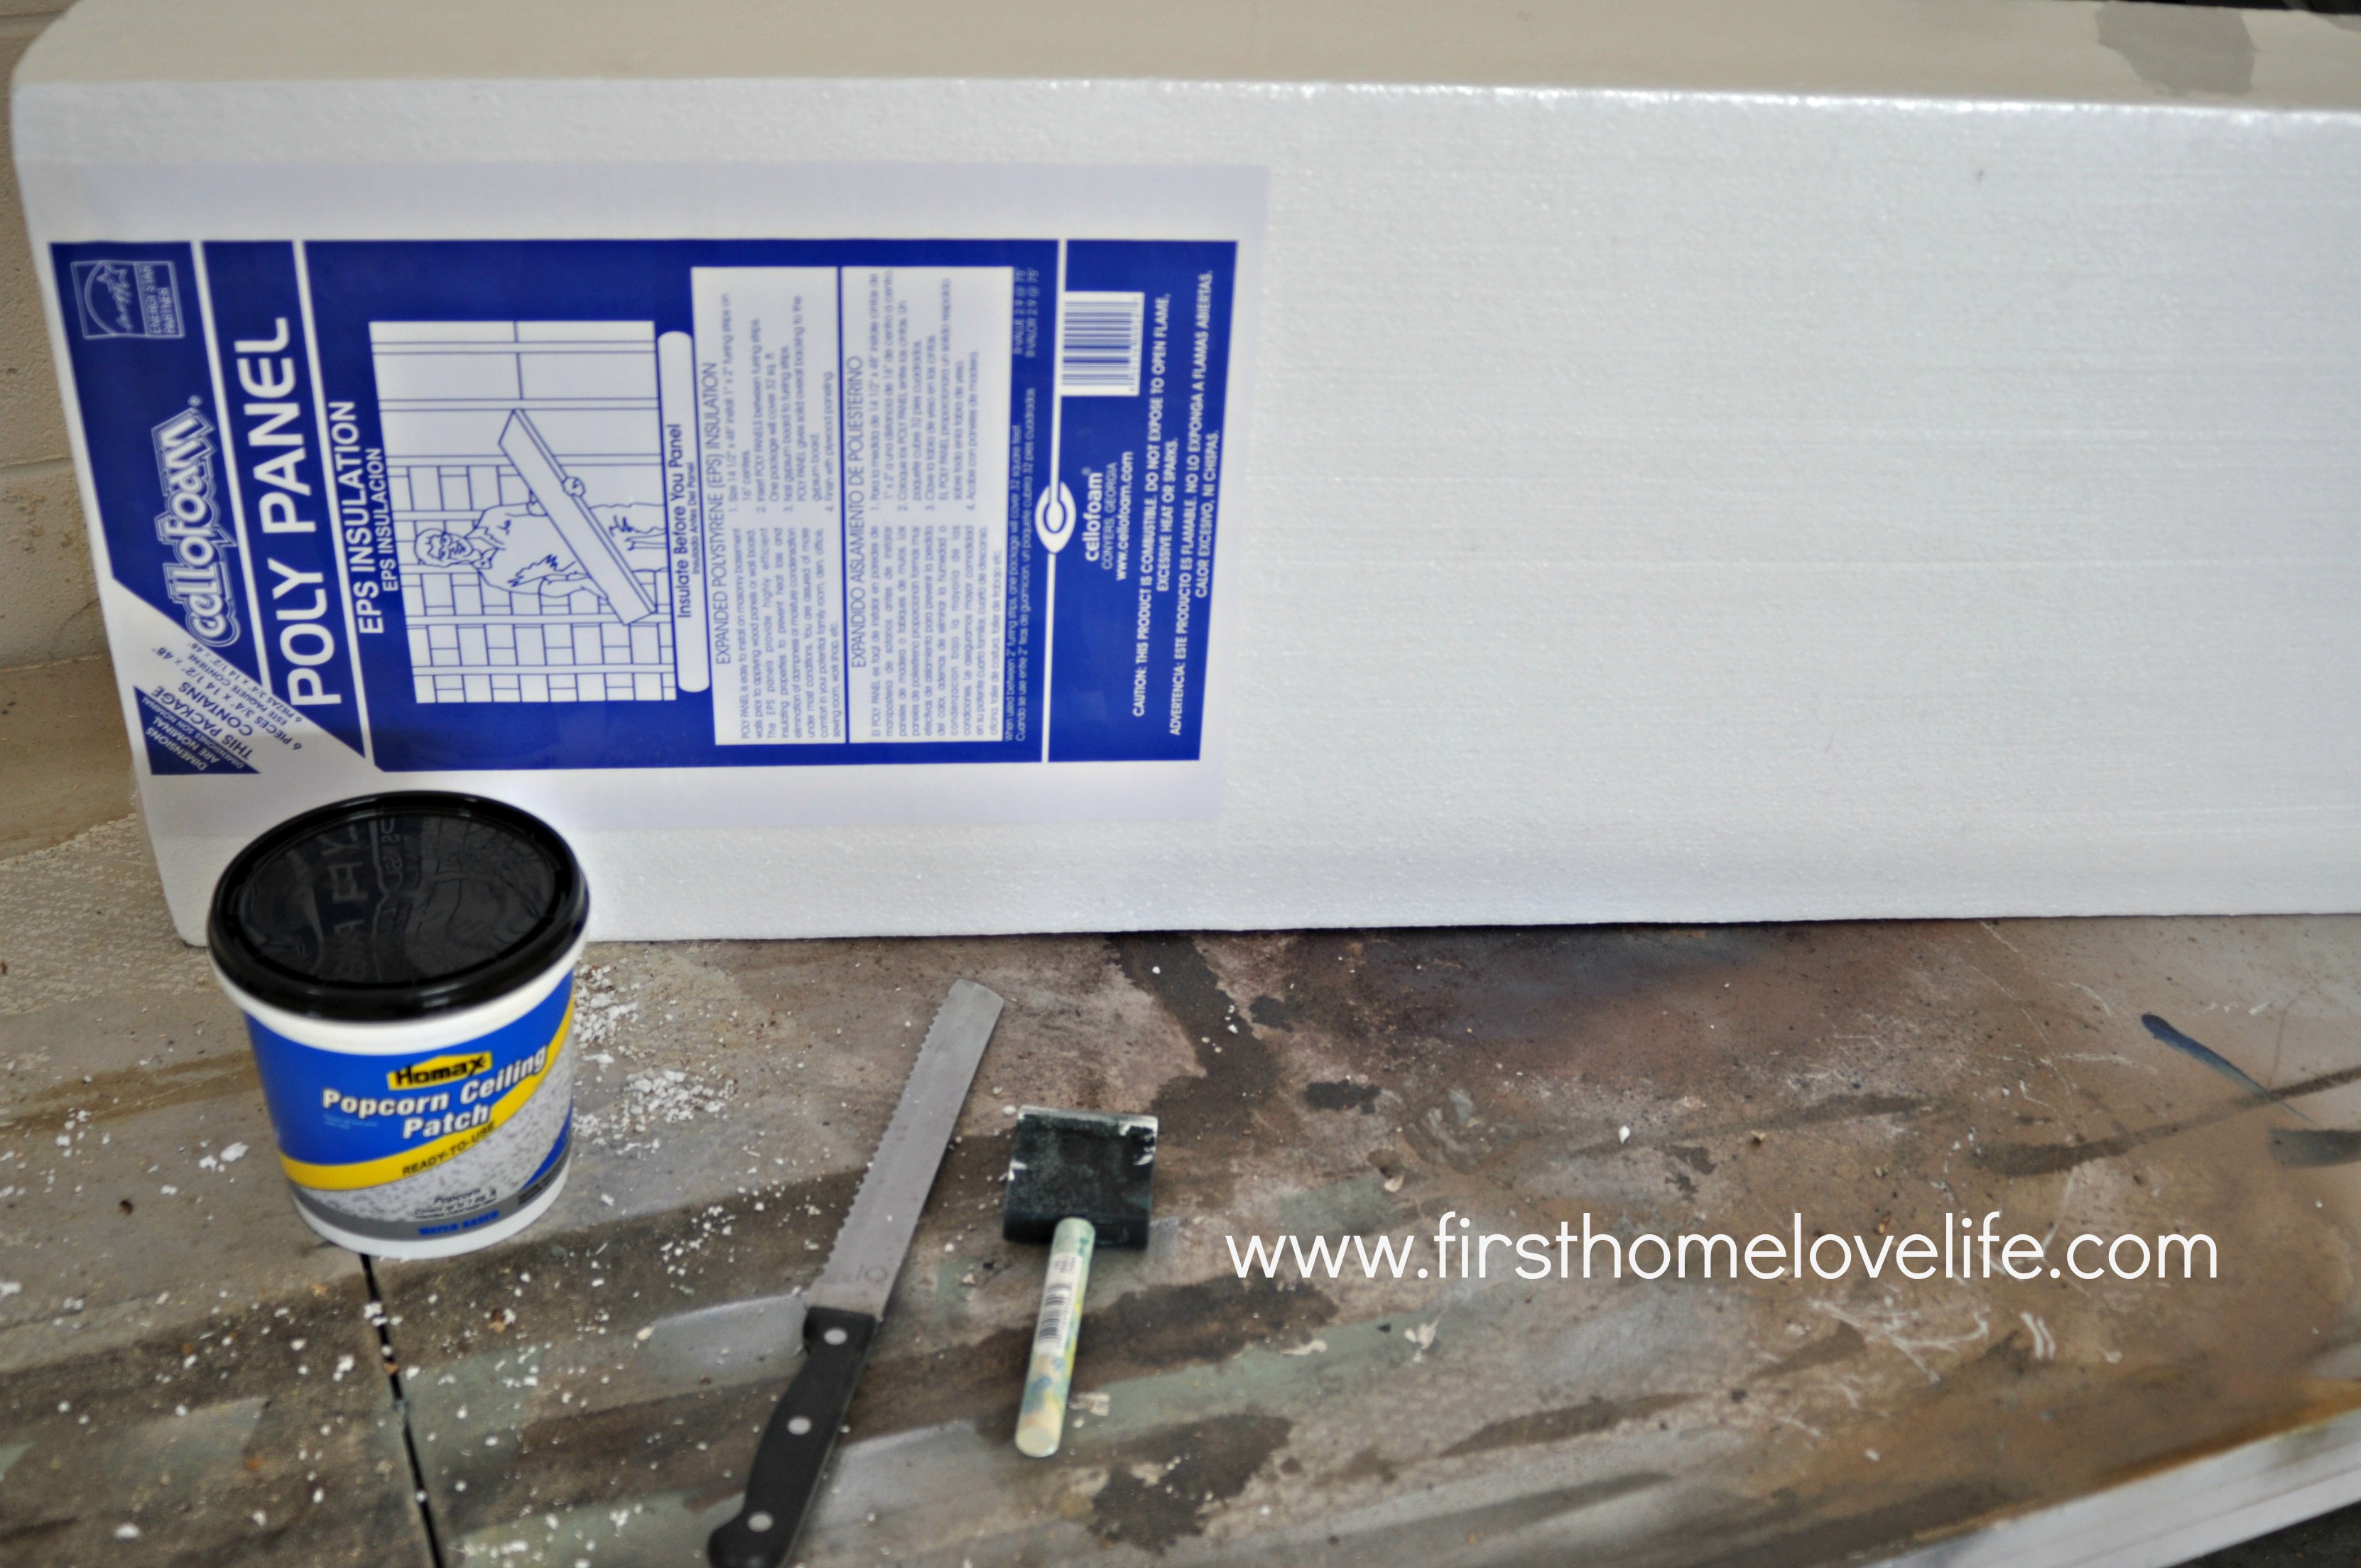
I picked up this 6 pack of poly panels installation foam board at Home Depot. Each board is the perfect width for a tombstone and you could get 2 medium sized ones out of one board. The 6 pack cost around $8 so it was an even cheaper option than buying foam board from the craft store! To add some texture to the foam, I also picked up a tub of popcorn ceiling patch because I thought it would give the look of real, old, and cruddy stones. The tub was less than $5!
When I got home I used a serrated knife to cut out my tombstone shapes.

So fun! I just love Halloween…
Then using a cheap foam brush, I slopped a bunch on the popcorn patch all over the foam and spread it out somewhat evenly. It doesn’t have to be perfect guys, actually the less perfect you do it, the better it turns out!
Once I covered one side and the edges in the popcorn stuff I leaned them against some bushes to dry.
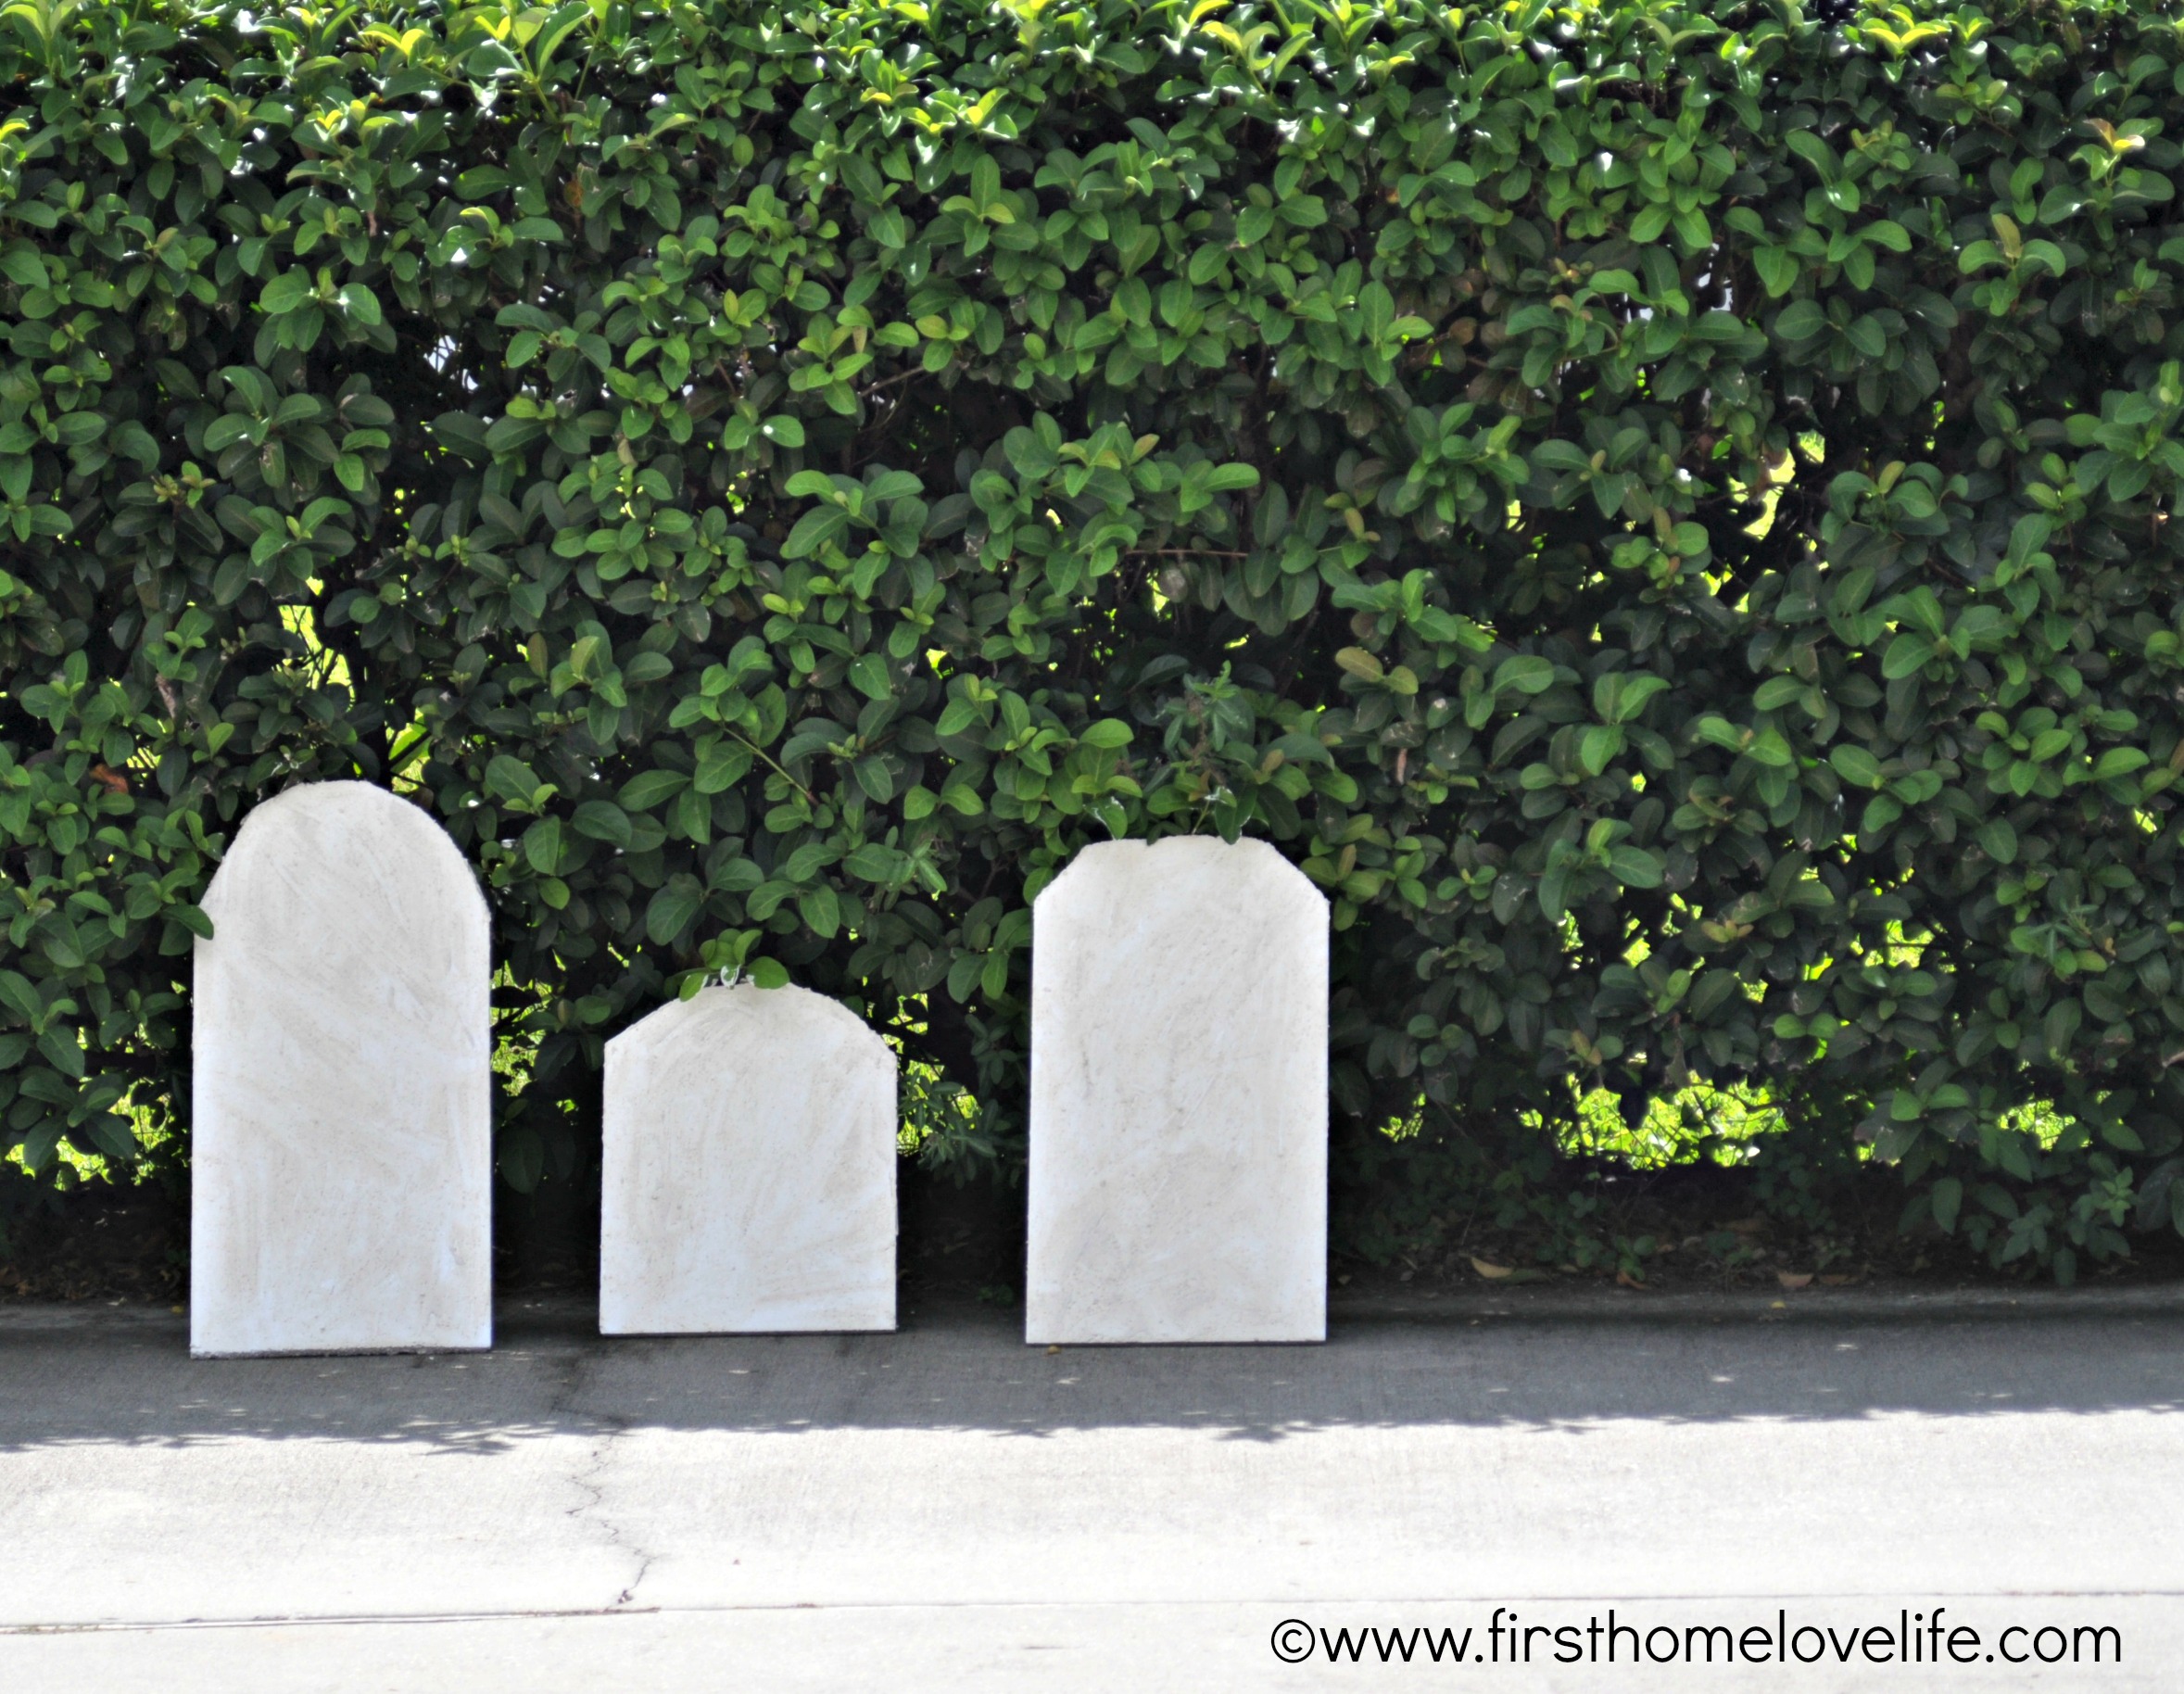
This took the longest part of this fun Halloween craft! In about 2 hours they were ready for paint…
I lightly sprayed some black spray paint over them to highlight the bumpy texture from the popcorn patch. You could just use spray paint for this if you wanted but I wanted to do something a little more special…You’ll see in a bit 😉

Then I took some charcoal paint, and some mossy green paint and put them in two separate dishes and heavily watered them down.
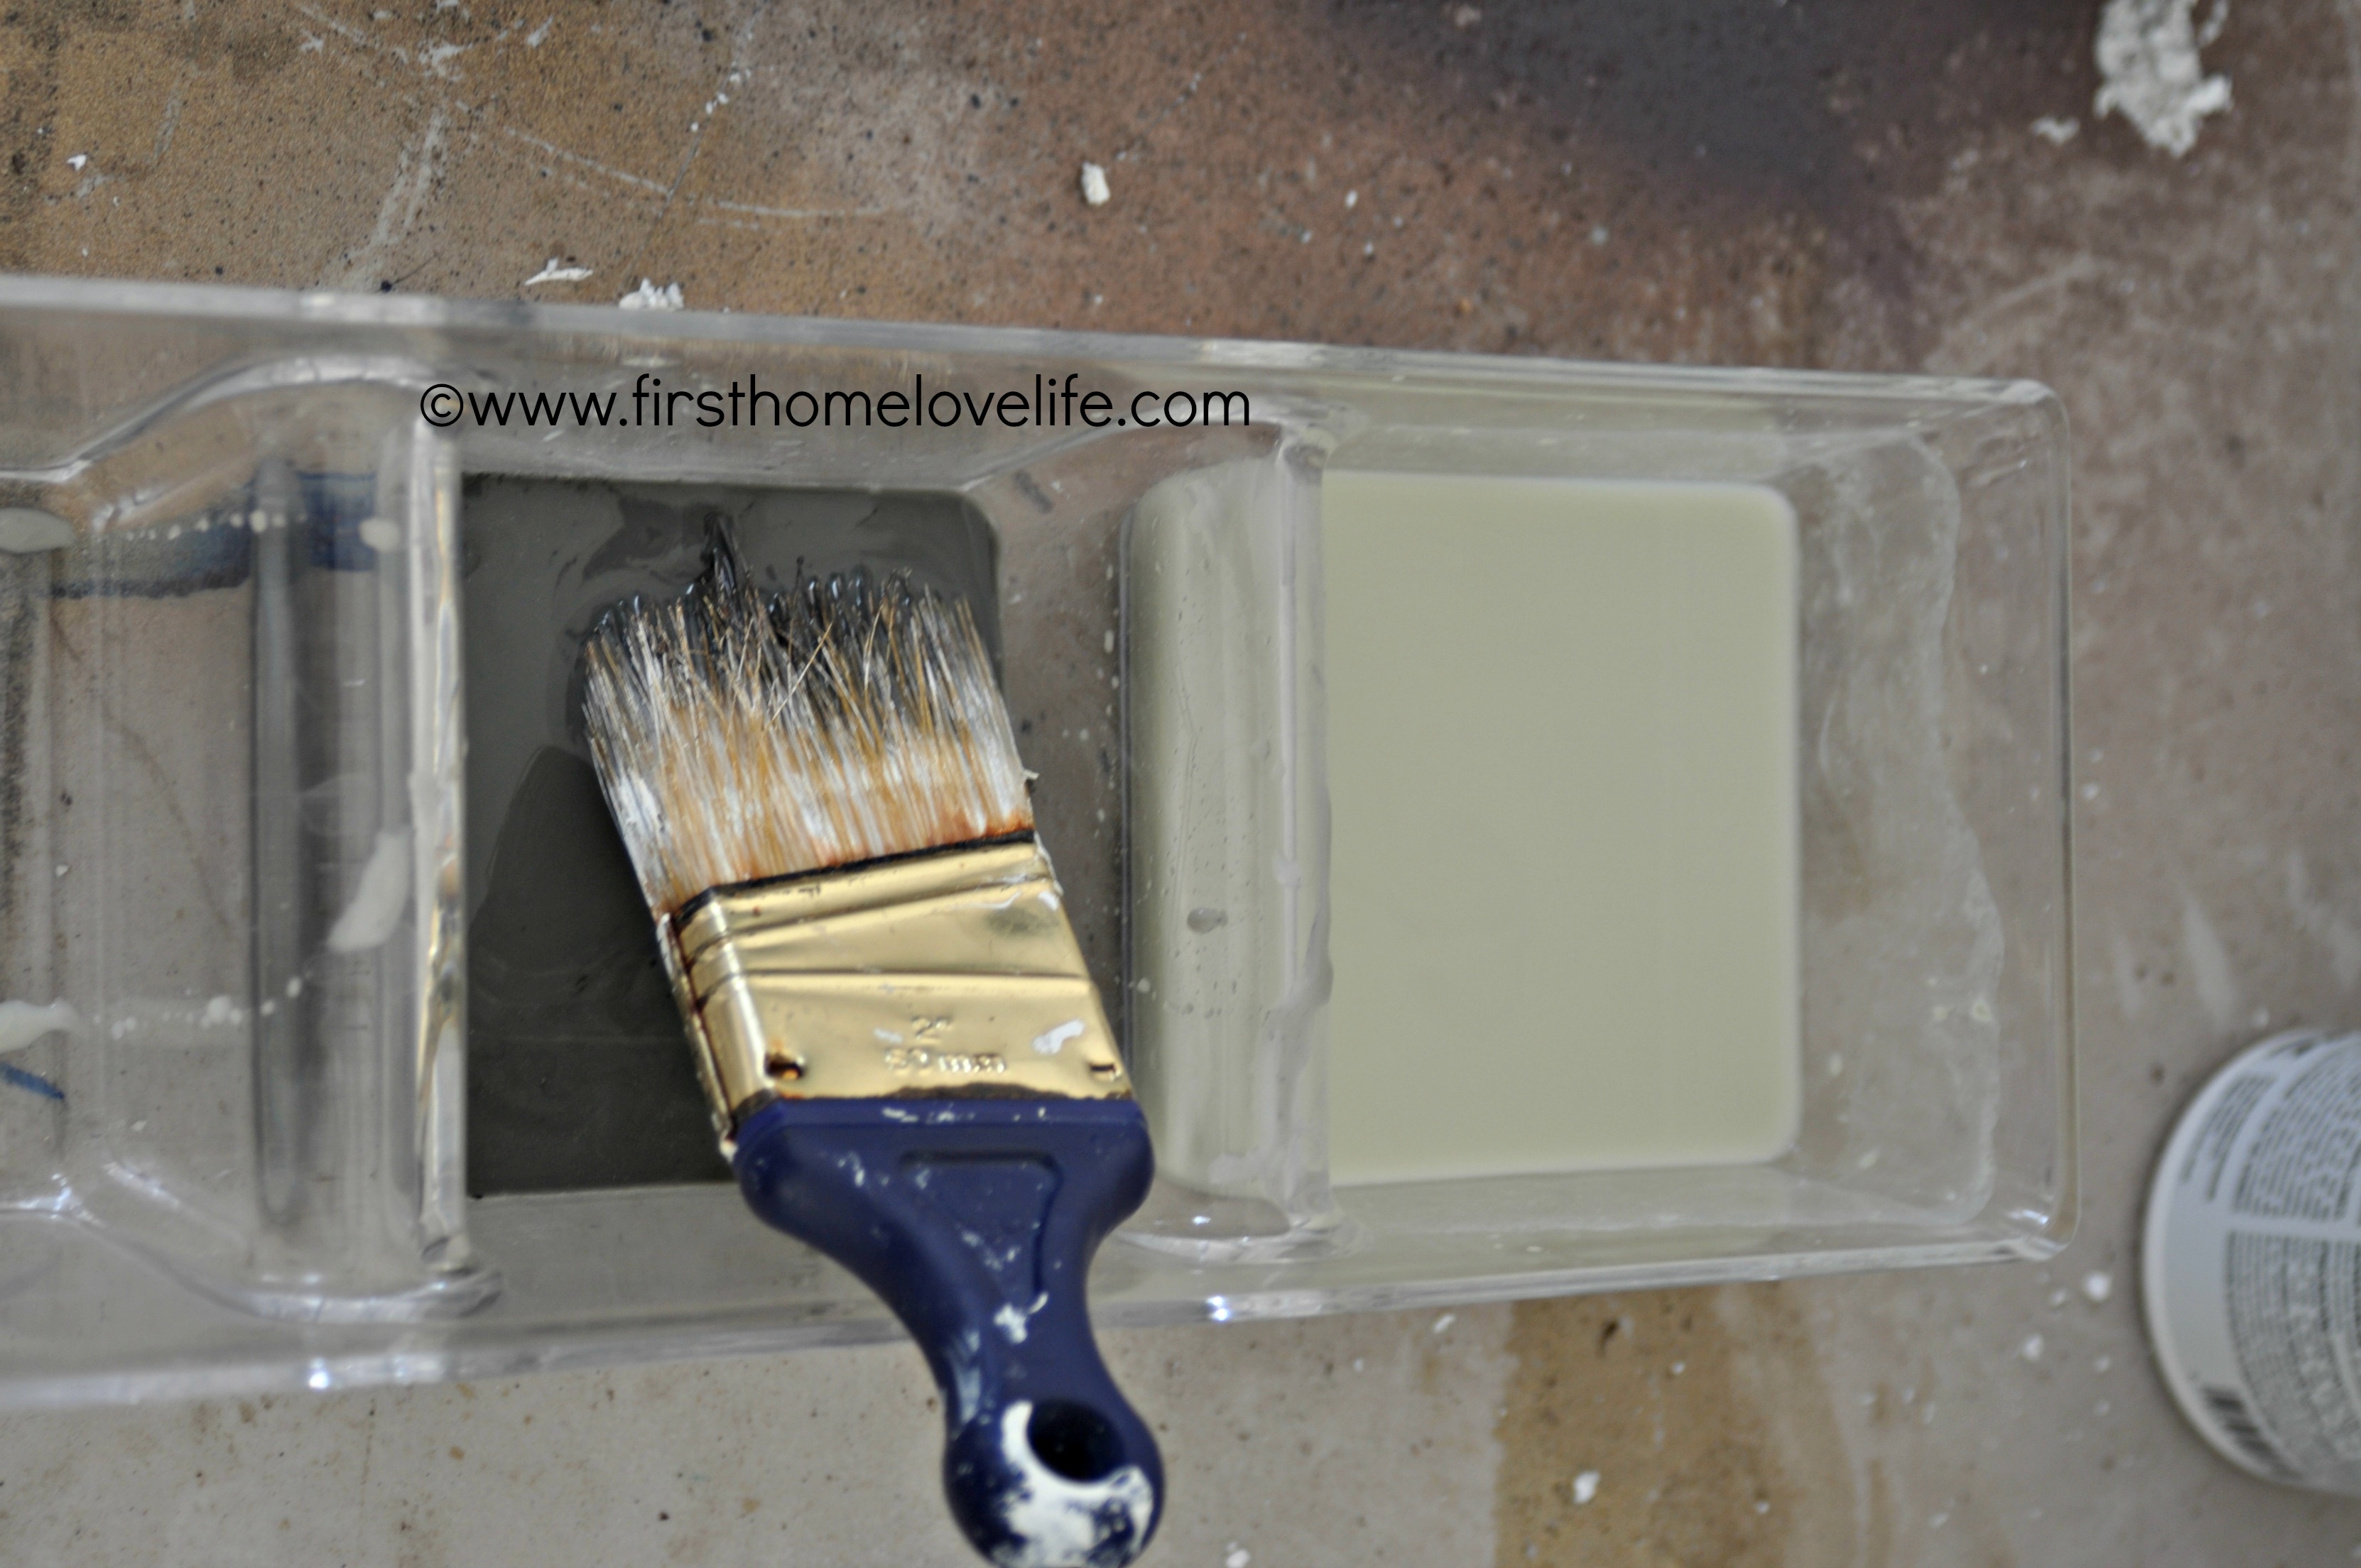
I popped my tombstones up against the wall and then using the brush soaked in the watery paint I would press into the tombstone at the top and let the paint drip down. It just it such a crazy cool effect, just like gravestones that have gone through one too many rainstorms and have mold growing on them.
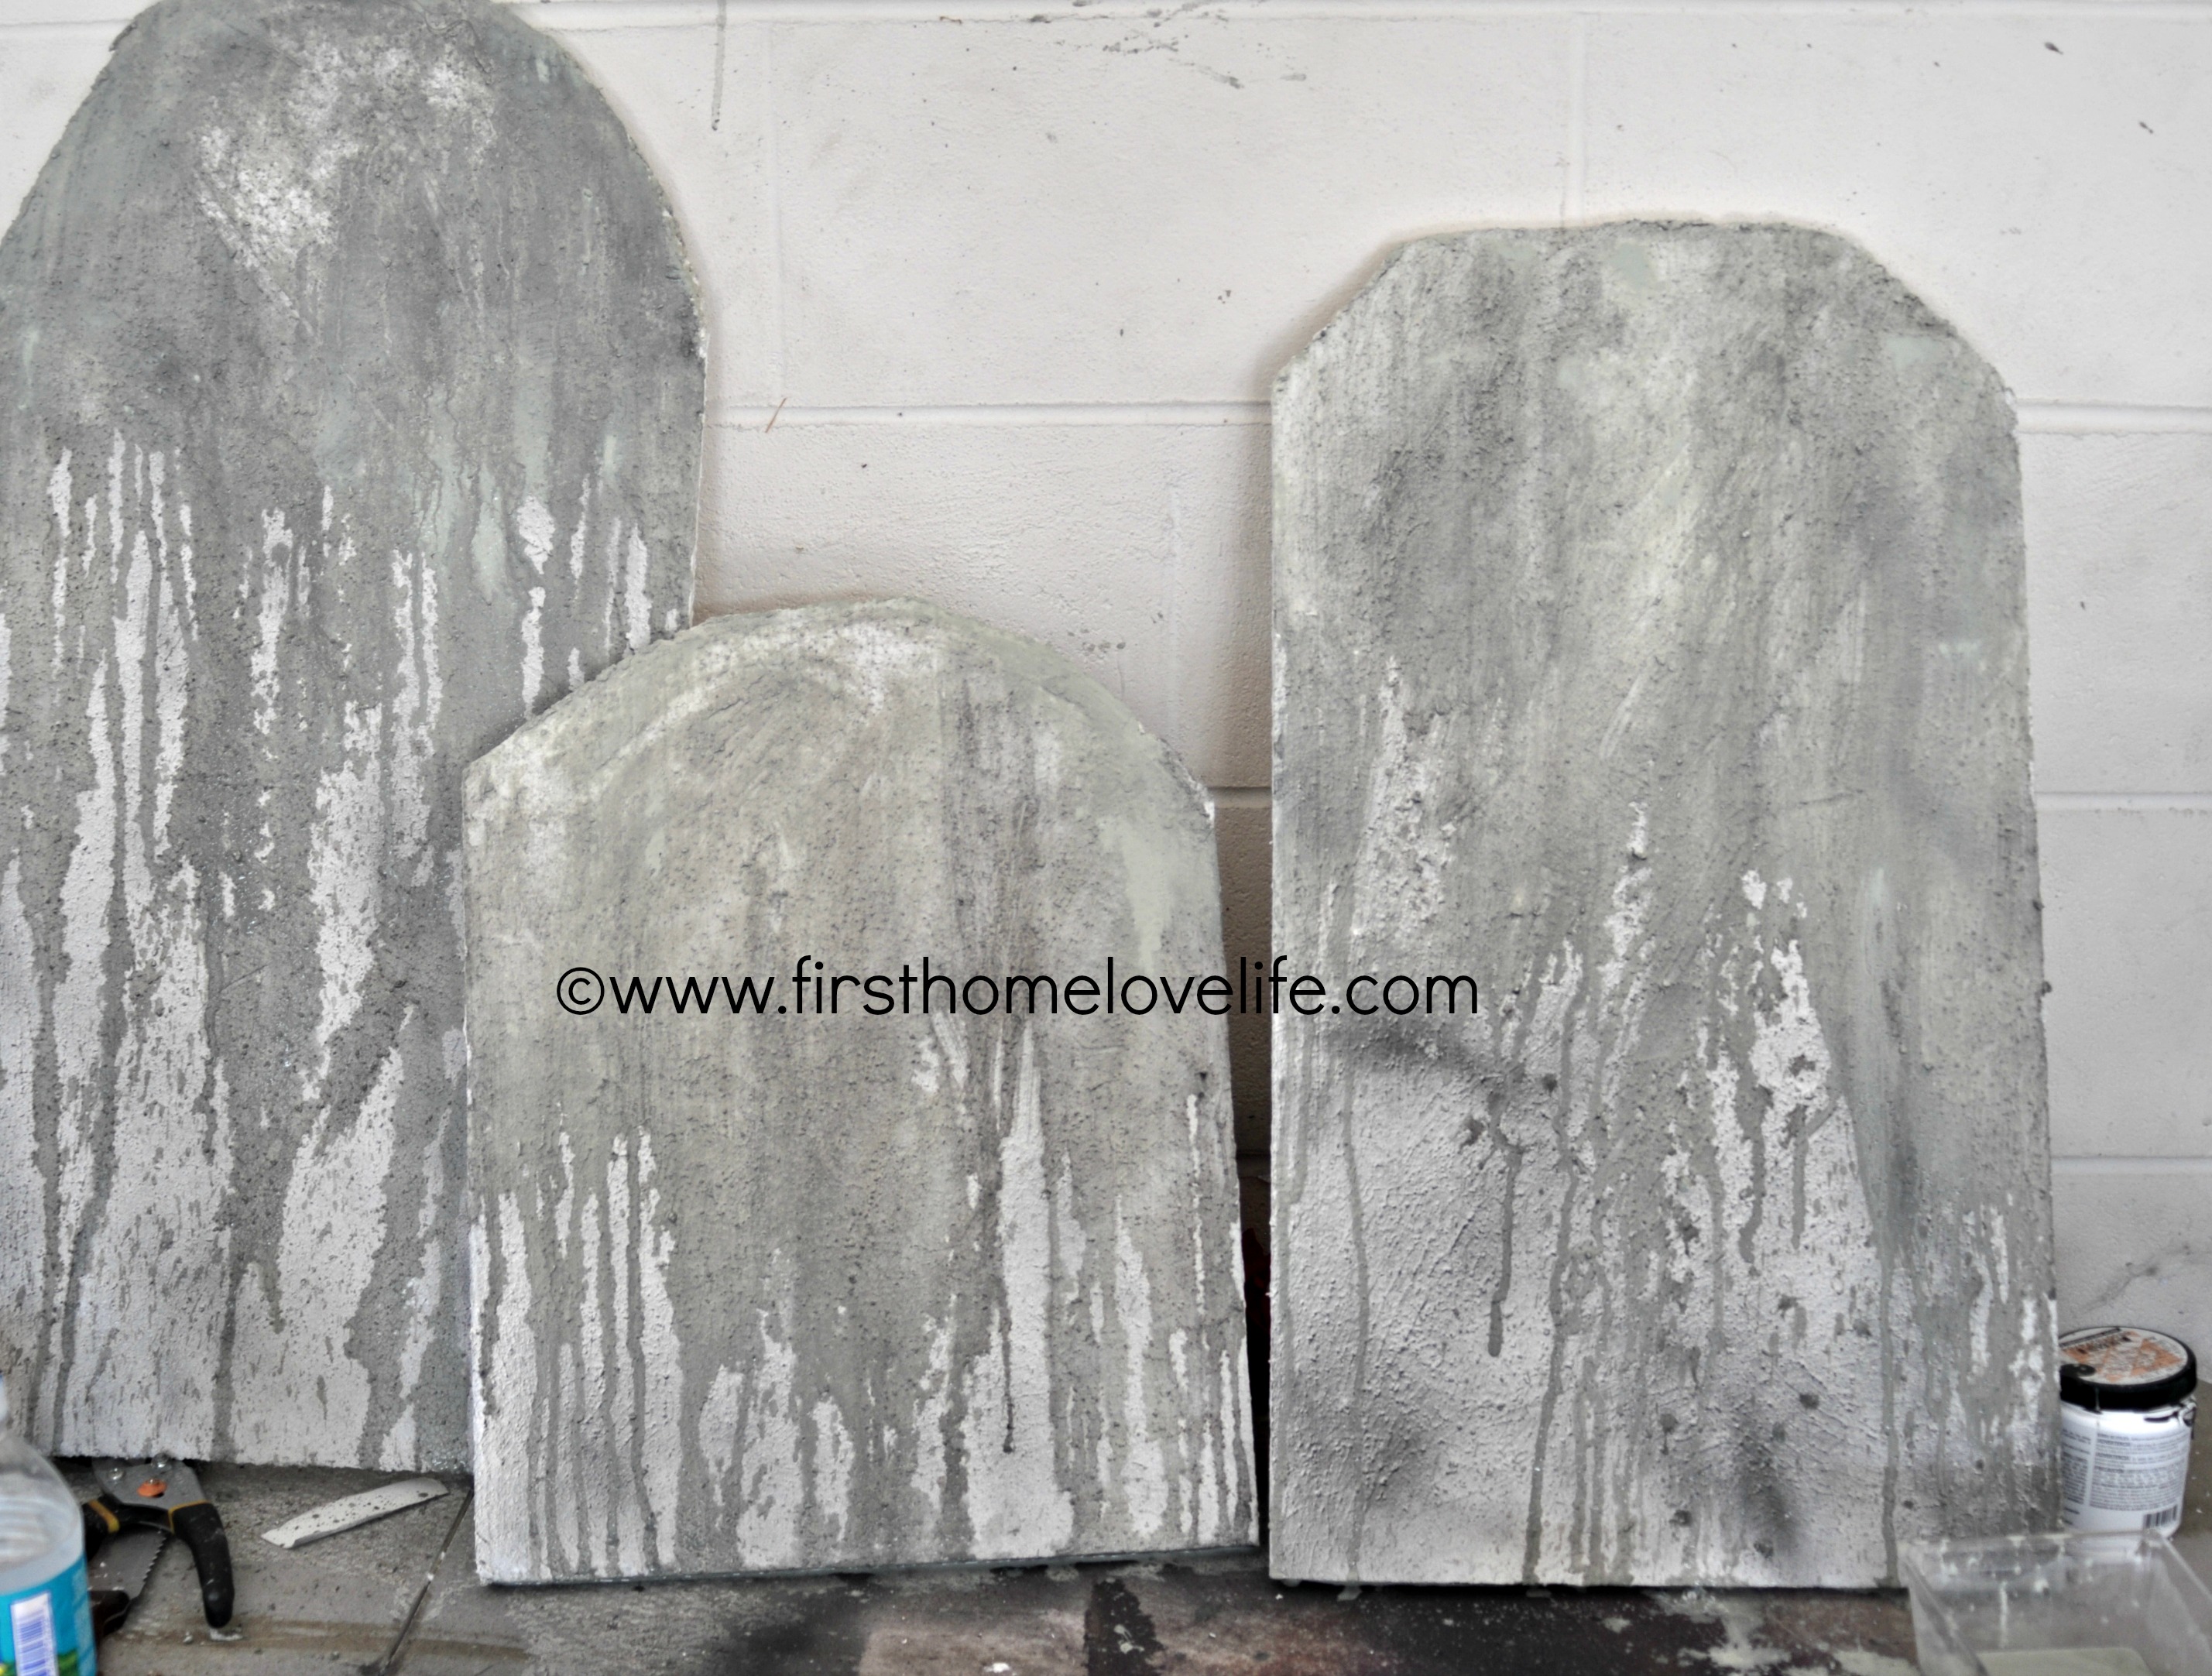
Eeeek…so cool, right?!
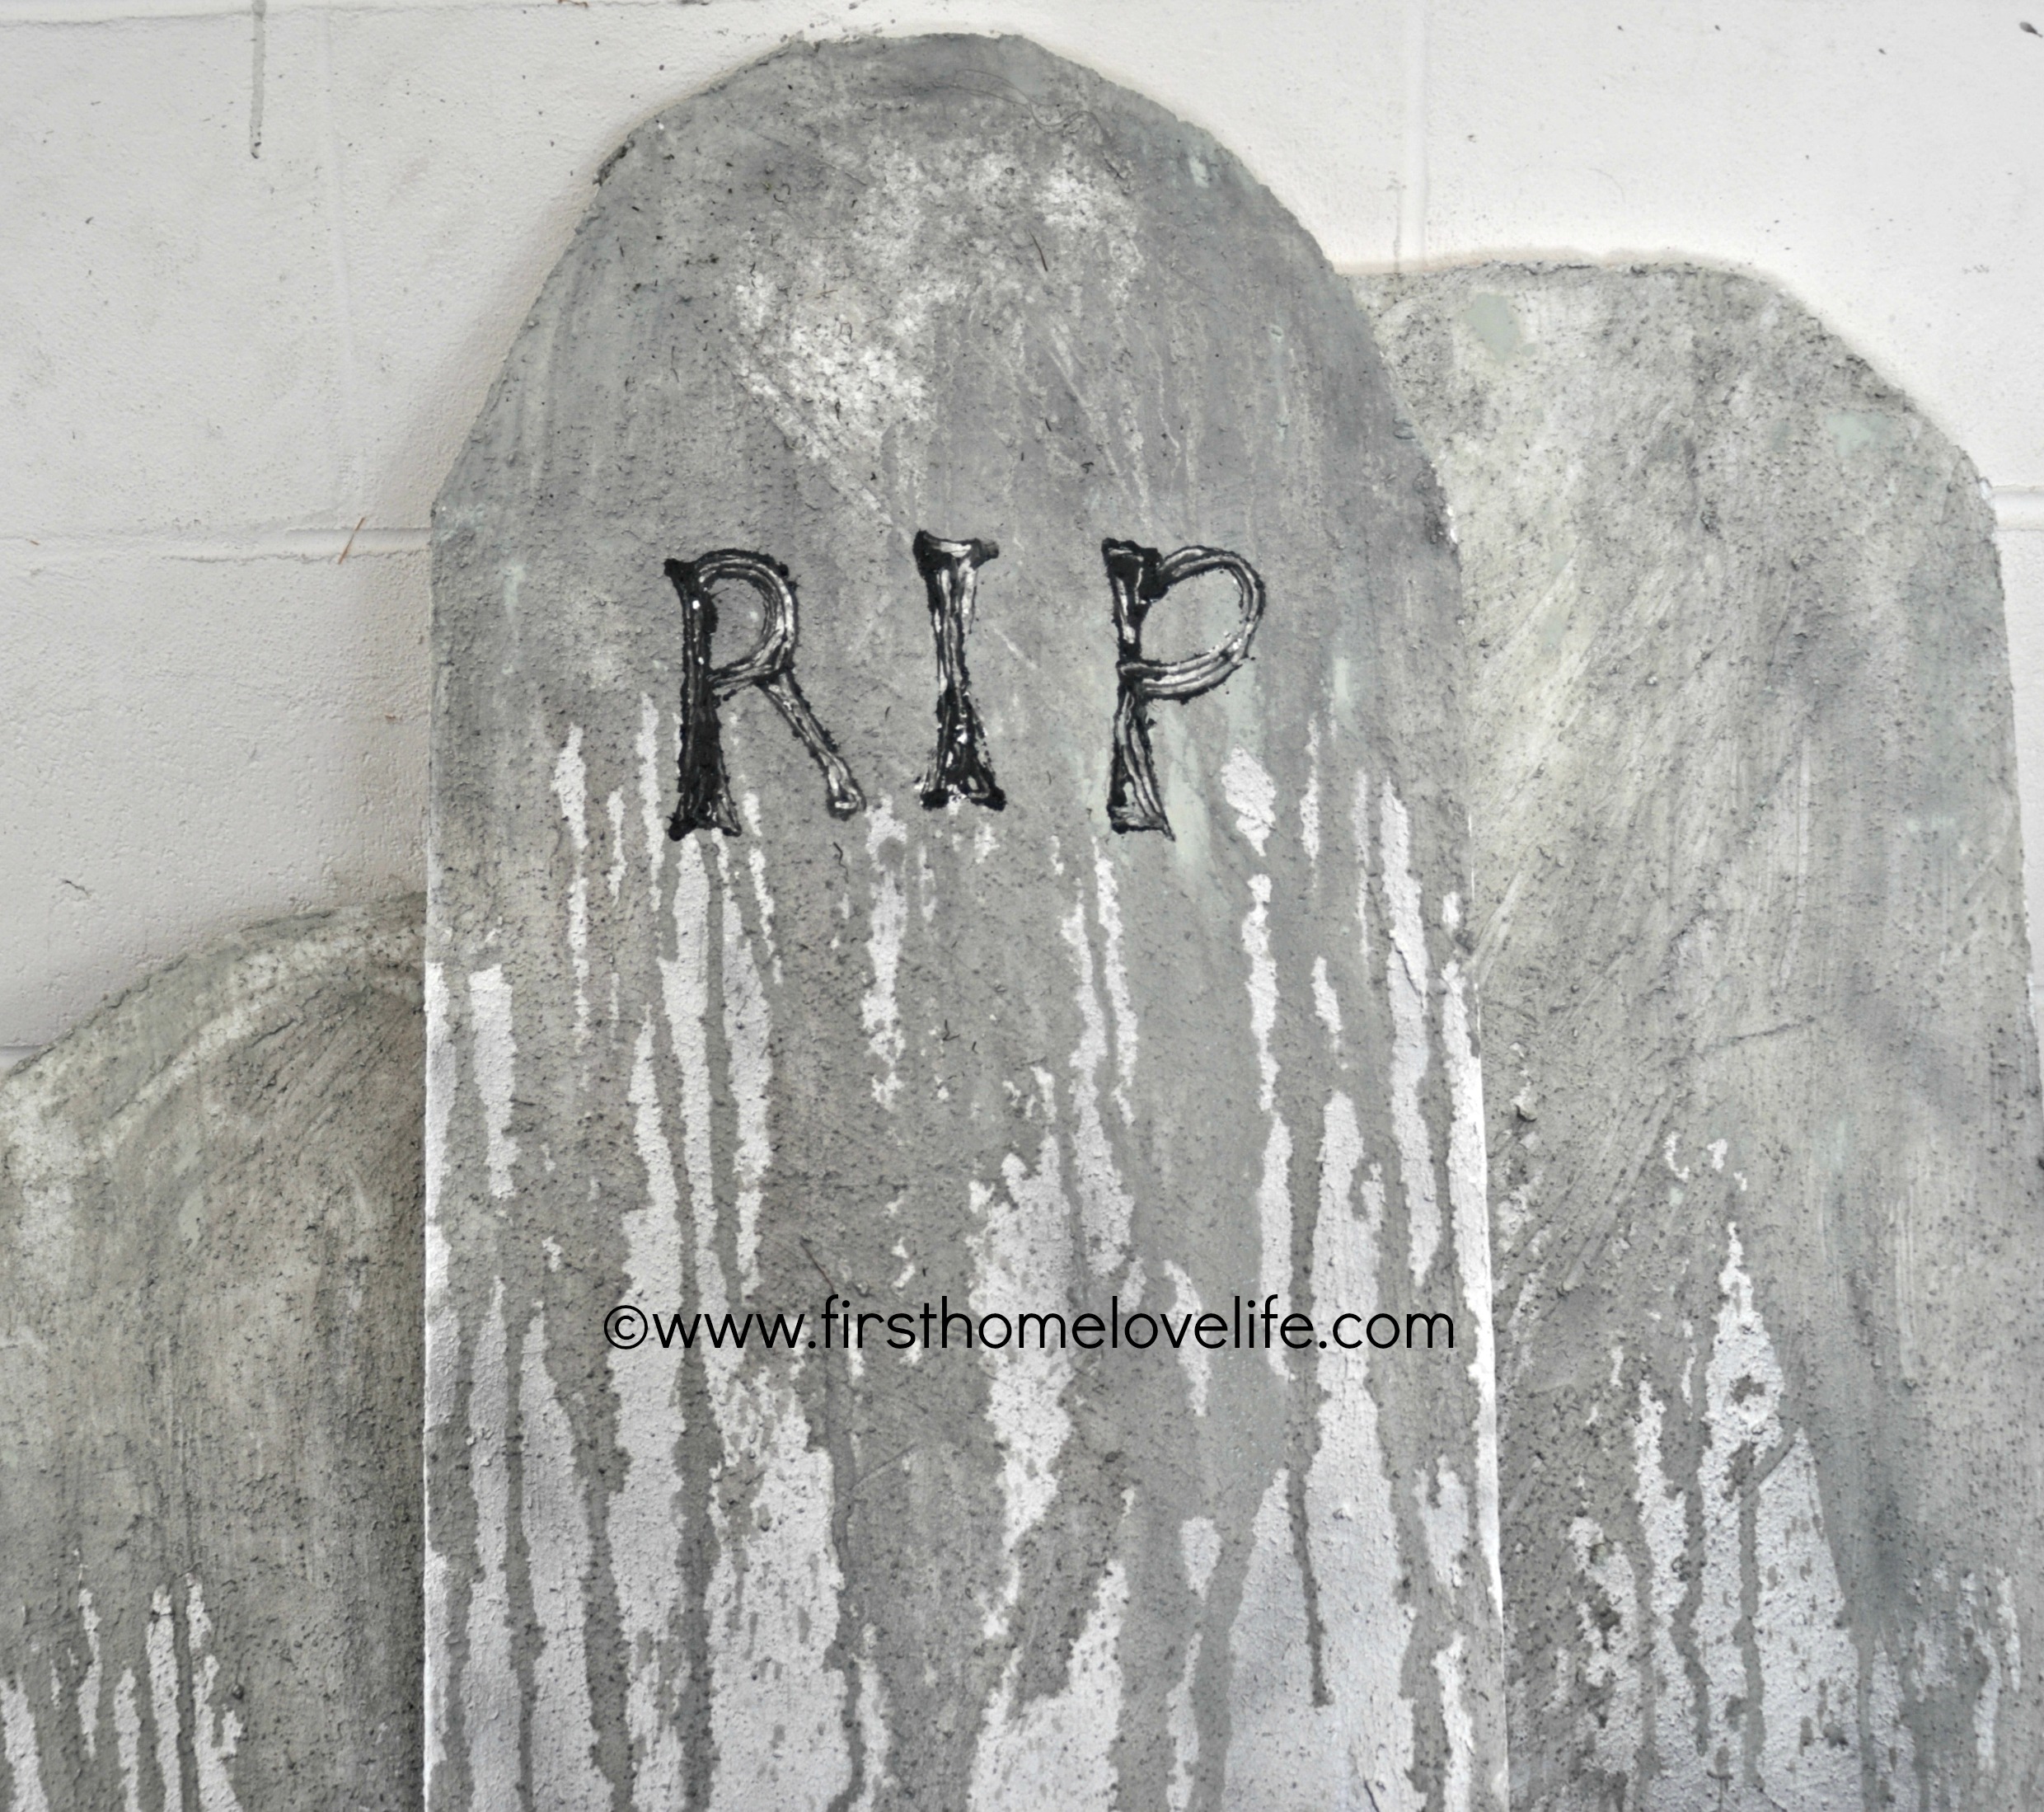
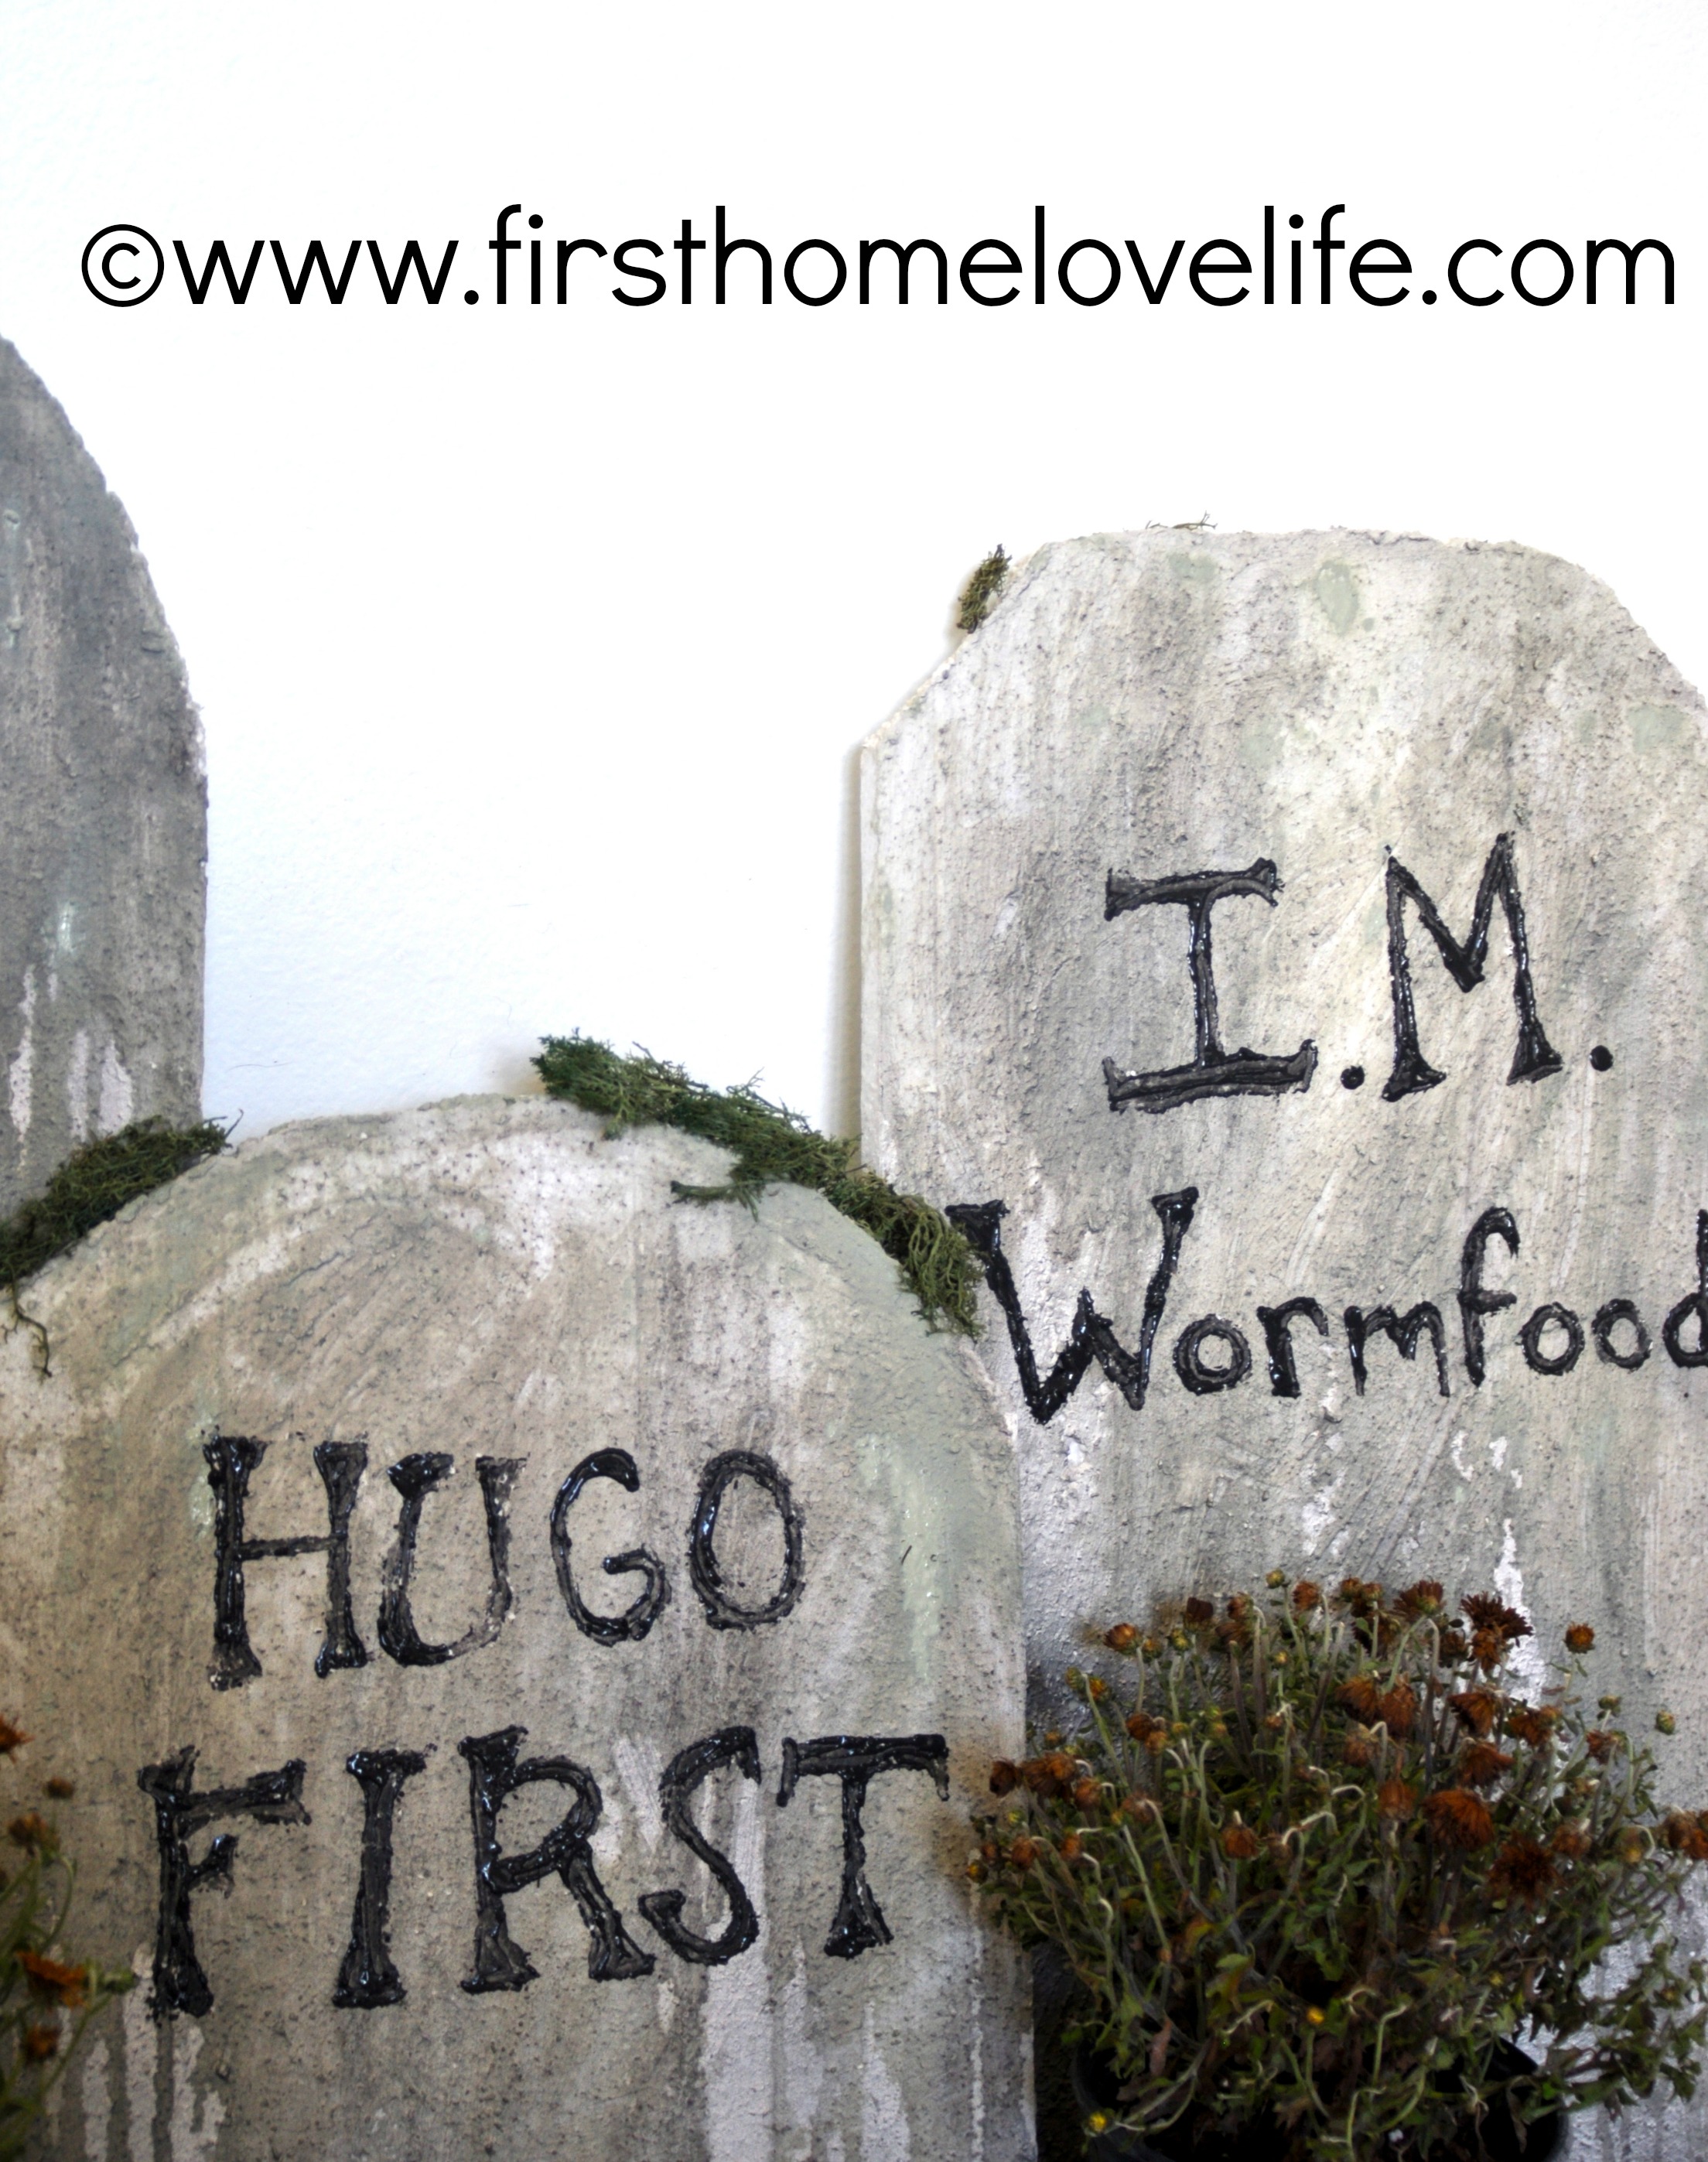
All that was left to do was to paint some funny names on it and call it a day!
These are going in my book as one of the easiest and most amazing Halloween decorations I’ve ever made, and I still have 4 foam boards left, so you can count on it that I’m going to be making more and creating a little Halloween cemetery in a yard!
MWUAH HA HA HA HA HA HA!!!!
Have you ever made your own Halloween tombstones before?! I’d love to here the names or funny phrases you put on them either by leaving a comment for me below or on my Facebook page!
Talk to you soon guys, take care!
XO
Pssst!!! Want more Halloween inspiration?! Check out my Halloween page with all my past projects and more being added!


LOVE your tombstones. We started working on some a few years ago and have yet to finish them… hopefully we will get to them before this Halloween!
katie recently posted…Our Greatest DIY Project to Date…
Thanks 🙂 They’re so easy to make! I would of made more the other day but it was SO HOT in the garage! Just waiting for the weather to cool down now!
These are great, thanks for sharing! What did you do to secure them in the ground?