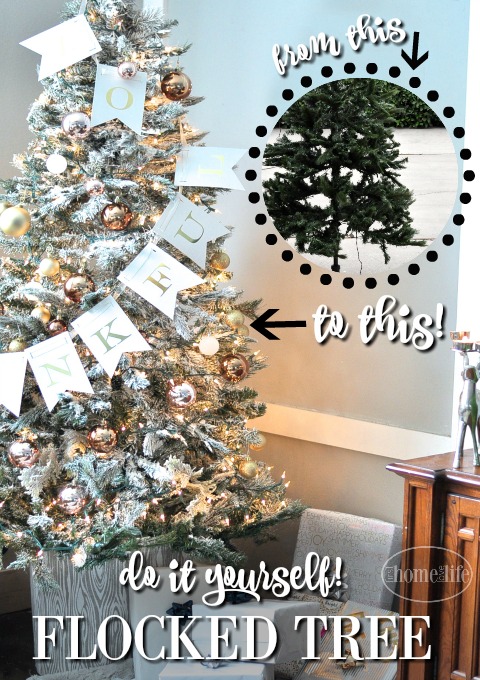
If you come across a cheap fake Christmas tree, scoop it up! This DIY flocked Christmas tree tutorial is so easy to do and will make your tree look way more expensive!
I can’t even tell you how long I’ve been wanting a flocked Christmas tree for! It’s been years, and every year I have the same problem…
I have 10 ft ceilings, so most of the flocked trees I fall in love with are either too short, or if I do find one that is 9 ft, it’s insanely out of my budget!
So this year, I was all decorated and ready to go with my holiday festivities and then BAM. A neighbor posted on our neighborhood website that he was giving away a free tree!
Lights out? No problem…
Only 6 ft? I could deal with it…it’s FREE. 😀
I figured it would be the perfect little guinea pig tree to test out some DIY flocking and, you guys! It turned out SO MUCH BETTER than I could have imagined! The pictures really don’t even do it justice!
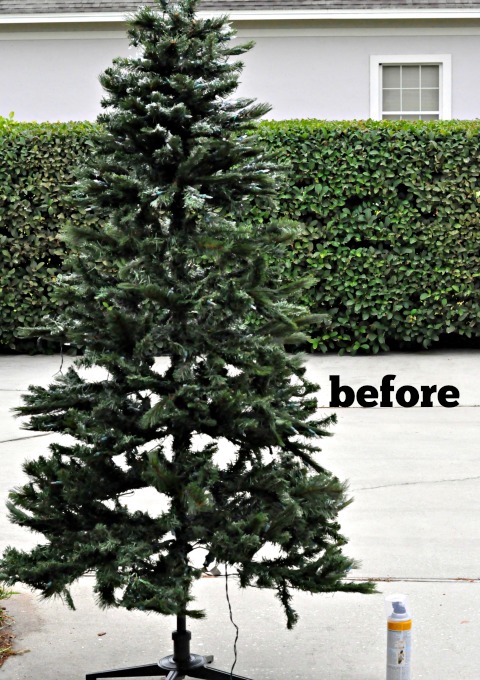
What I started with…
And now…
It’s the same tree, I promise! 🙂
So while I can’t vouch (yet) for the longevity of this technique. I can tell you it was very easy to do and only cost me $20!
Here’s how I flocked it…
First thing I did was attempt to cut off all the lights that weren’t working. I say “attempt” because I quickly realized that I wasn’t going to be bothered and that the non working lights would just add some more texture. 😉 If you’re into self torture though, go for it!
Next I headed to Home Depot to grab a can of this *orange peel texturizing spray. The same stuff I used to repair my wall when it was damaged.
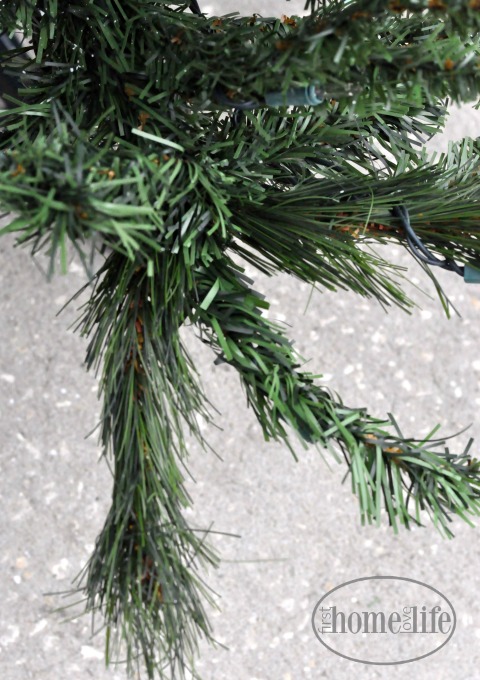
That made the tree go from this…
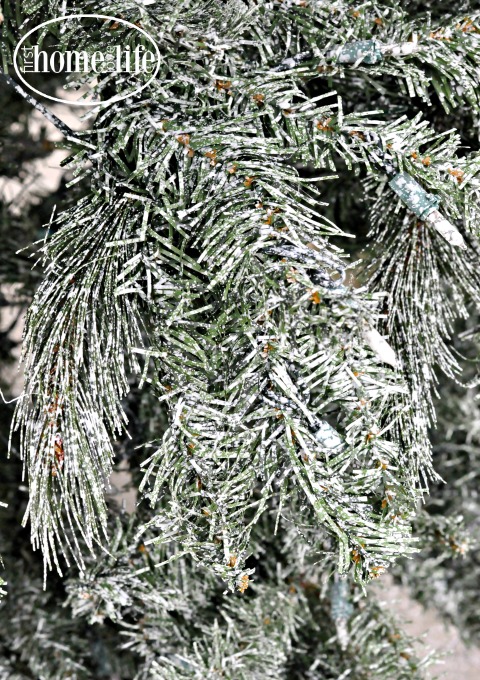
To this…
It looked like a light dusting of snow at this point, which is okay if that’s what you want, but I wanted more snow…I know, I know. Poor little Floridian, has no idea… 😉
So I went online to look for some ideas on how to get that clumping look on the branches, and saw an idea using shaving cream and glue mixed together. I tested it out on a small area and it looked okay at first but the shaving cream fell flat once it dried, and didn’t look very realistic.
So I started playing around with things I already had in my garage, and ended up making a mixture of shaving cream, plaster of paris, and a little bit of grout, and a bit of water so everything was easy to mix. Then I just put on some gloves and went for it. Raking my fingers through the branches and letting the stuff drop wherever it landed…
Weird right? I know, but it worked! 😀
It hardened up great and kept the texture very snow like.
Pictures really don’t even do it justice!
So if you happen to come across a really cheap or (even better) free tree at the end of the season, grab it! You can easily make you’re own flocked Christmas tree for next year. 🙂
Talk to you soon friends, take care!
XO
**This post contains Amazon affiliate links





[…] shared with you the other day how to flock a tree, and you may have noticed the banner hanging on it. “So […]