Learning how to carve a turkey is so important! This one act could be the make it or (literally) break it of your Thanksgiving dinner.
Carving a turkey can be a personal thing.
Some people like their turkey breast sliced ultra thin, others like myself like it on the thick side with a bit of crispy skin still in tact.
No matter how you like to do it, I’m here to tell you to not stress! Carving a turkey is pretty easy to do, and doesn’t require any chainsaw type kitchen gadgets!
FIRST OFF, I NEED TO TELL YOU THE MOST IMPORTANT THING ABOUT TURKEY CARVING 101…
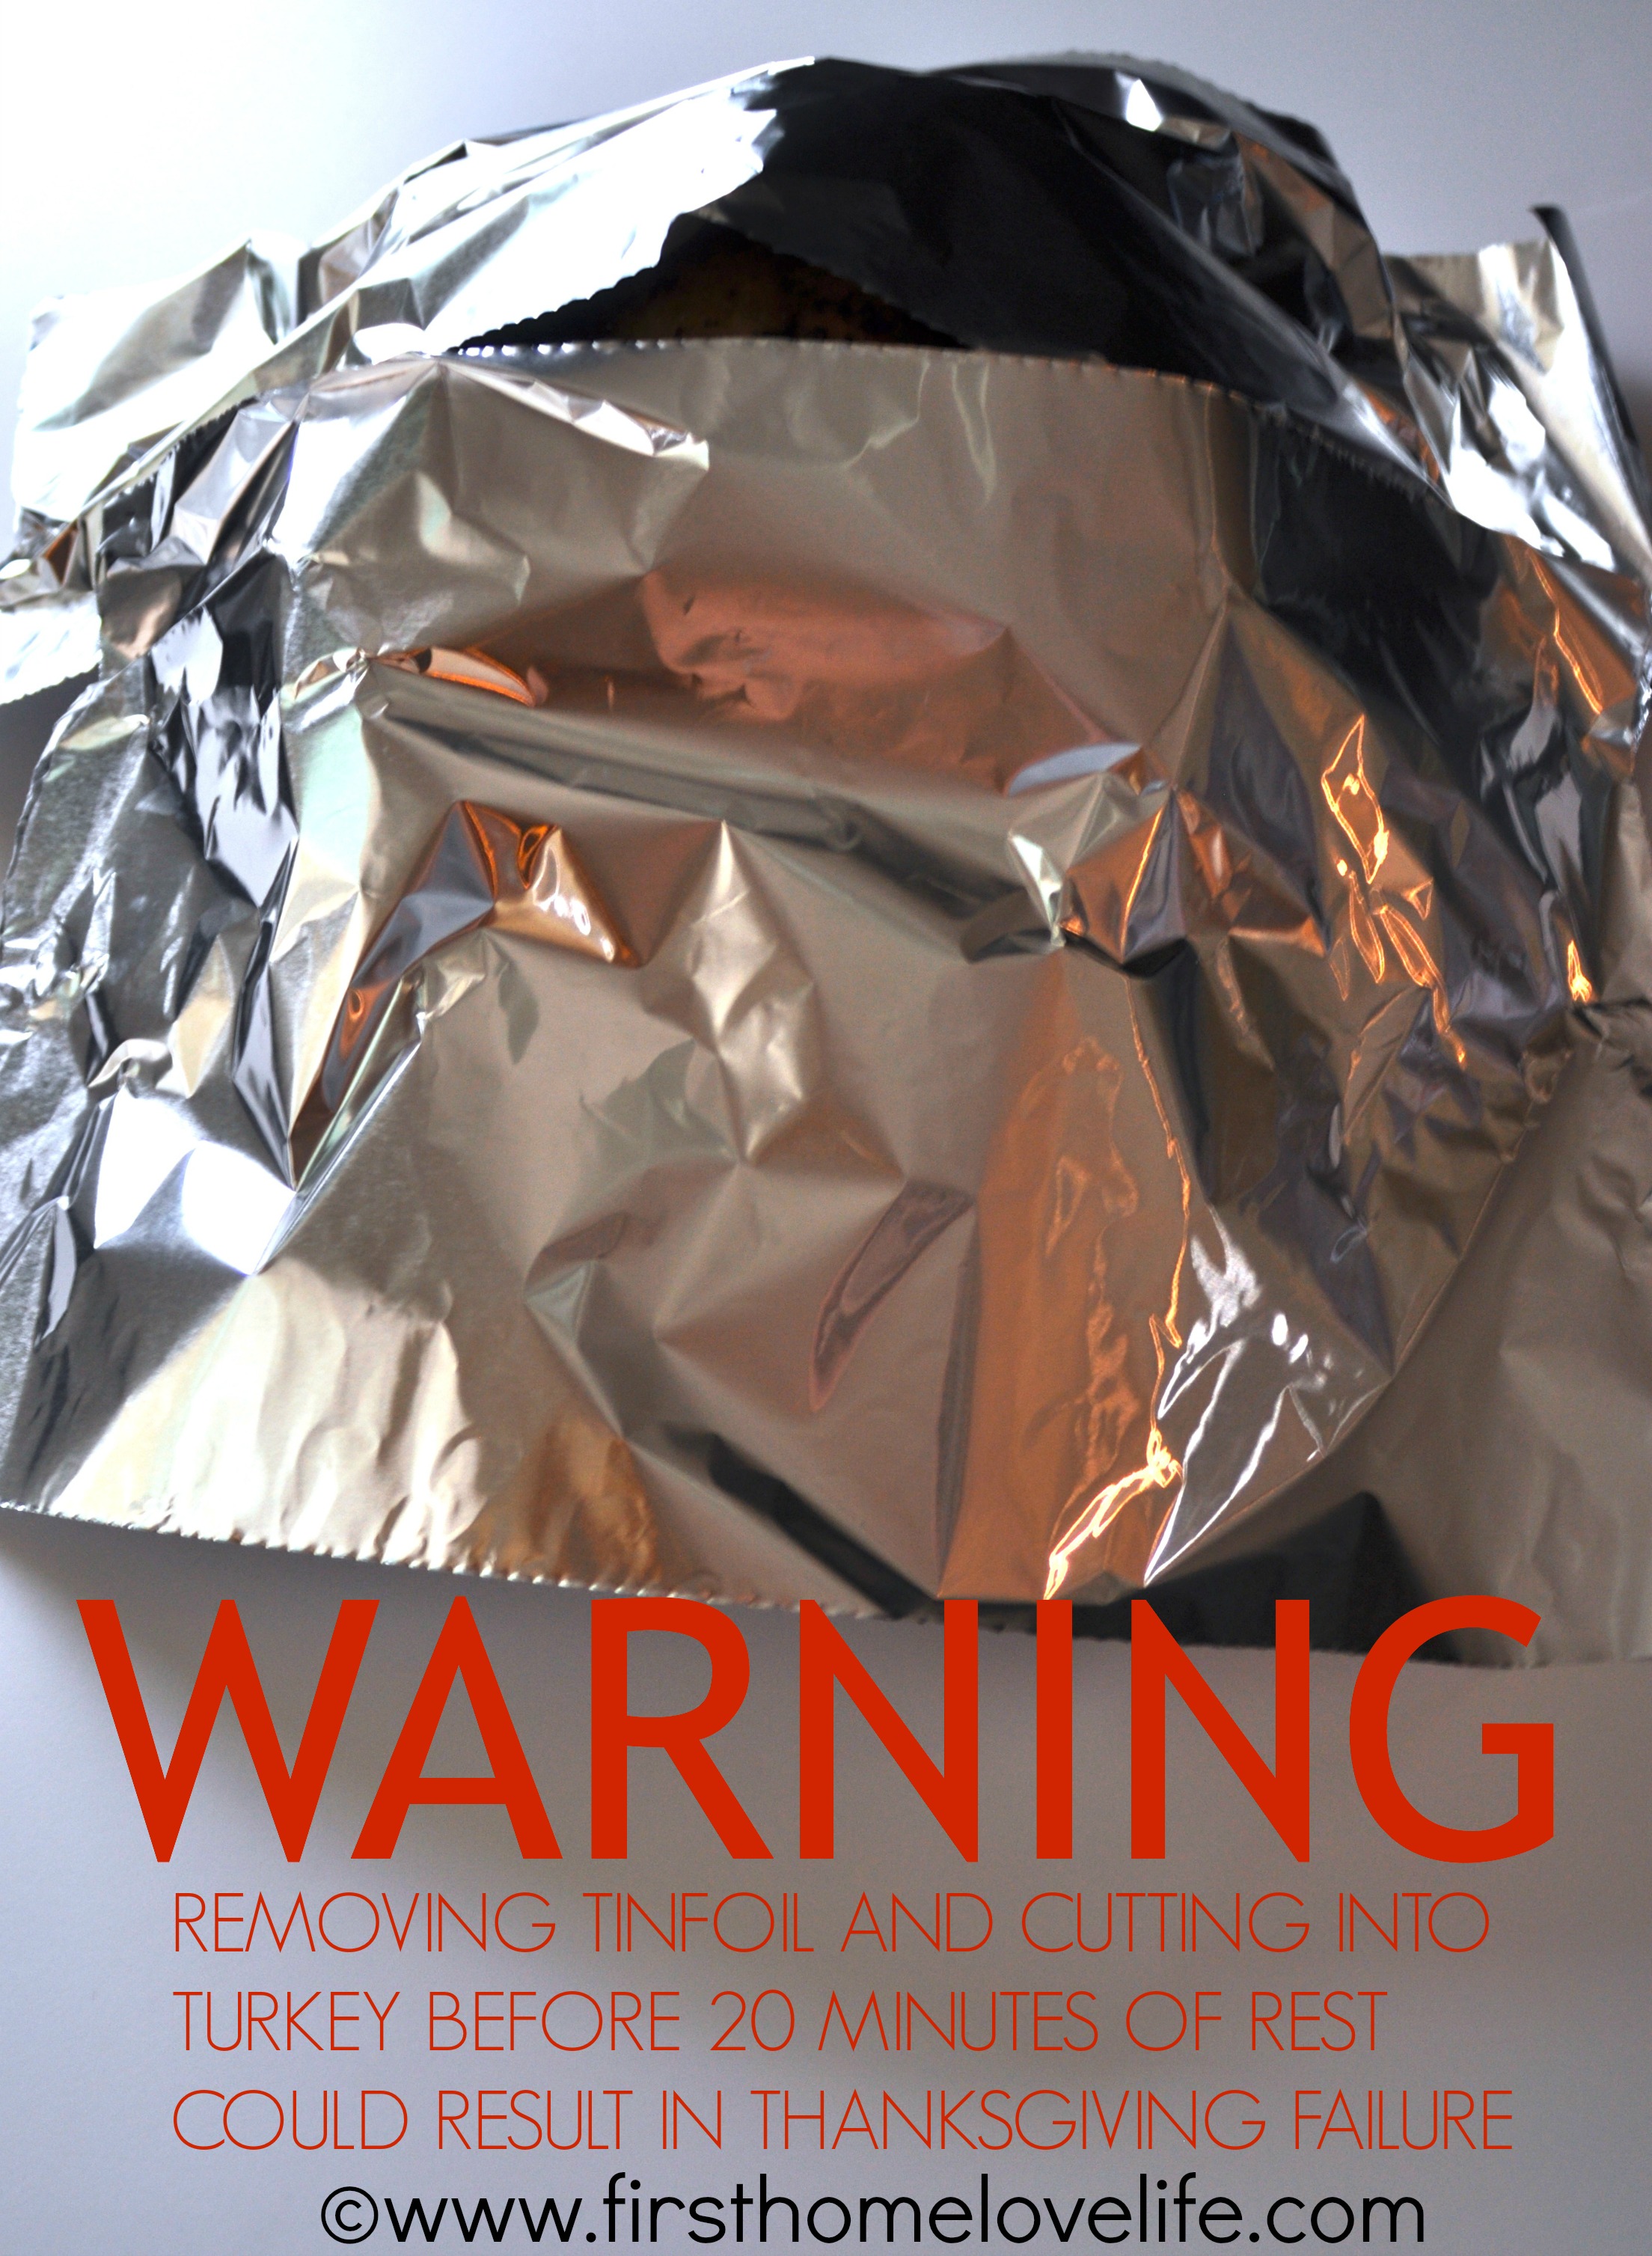
For the love of stuffing people!
You slaved away all morning…do not hastily undo all of your hours of hard work in a moment of weakness!
I know uncle Al is getting restless but please…
Please…let your bird rest.
Let all of those juices redistribute throughout the meat, so they can explode in your mouth as you’re taking bite after bite!
If you cut into a turkey that’s fresh out of the oven without rest…those juices will pour out all over your cutting board, drip onto your floor, and dry out your meat.
Causing you more of a mess to clean up and a VERY dry turkey dinner. So let uncle Al wait a few more minutes.
It will be worth it, promise! 😉
There are TWO things you need to carve a turkey.
- clean hands
- sharp chefs knife
That’s it!
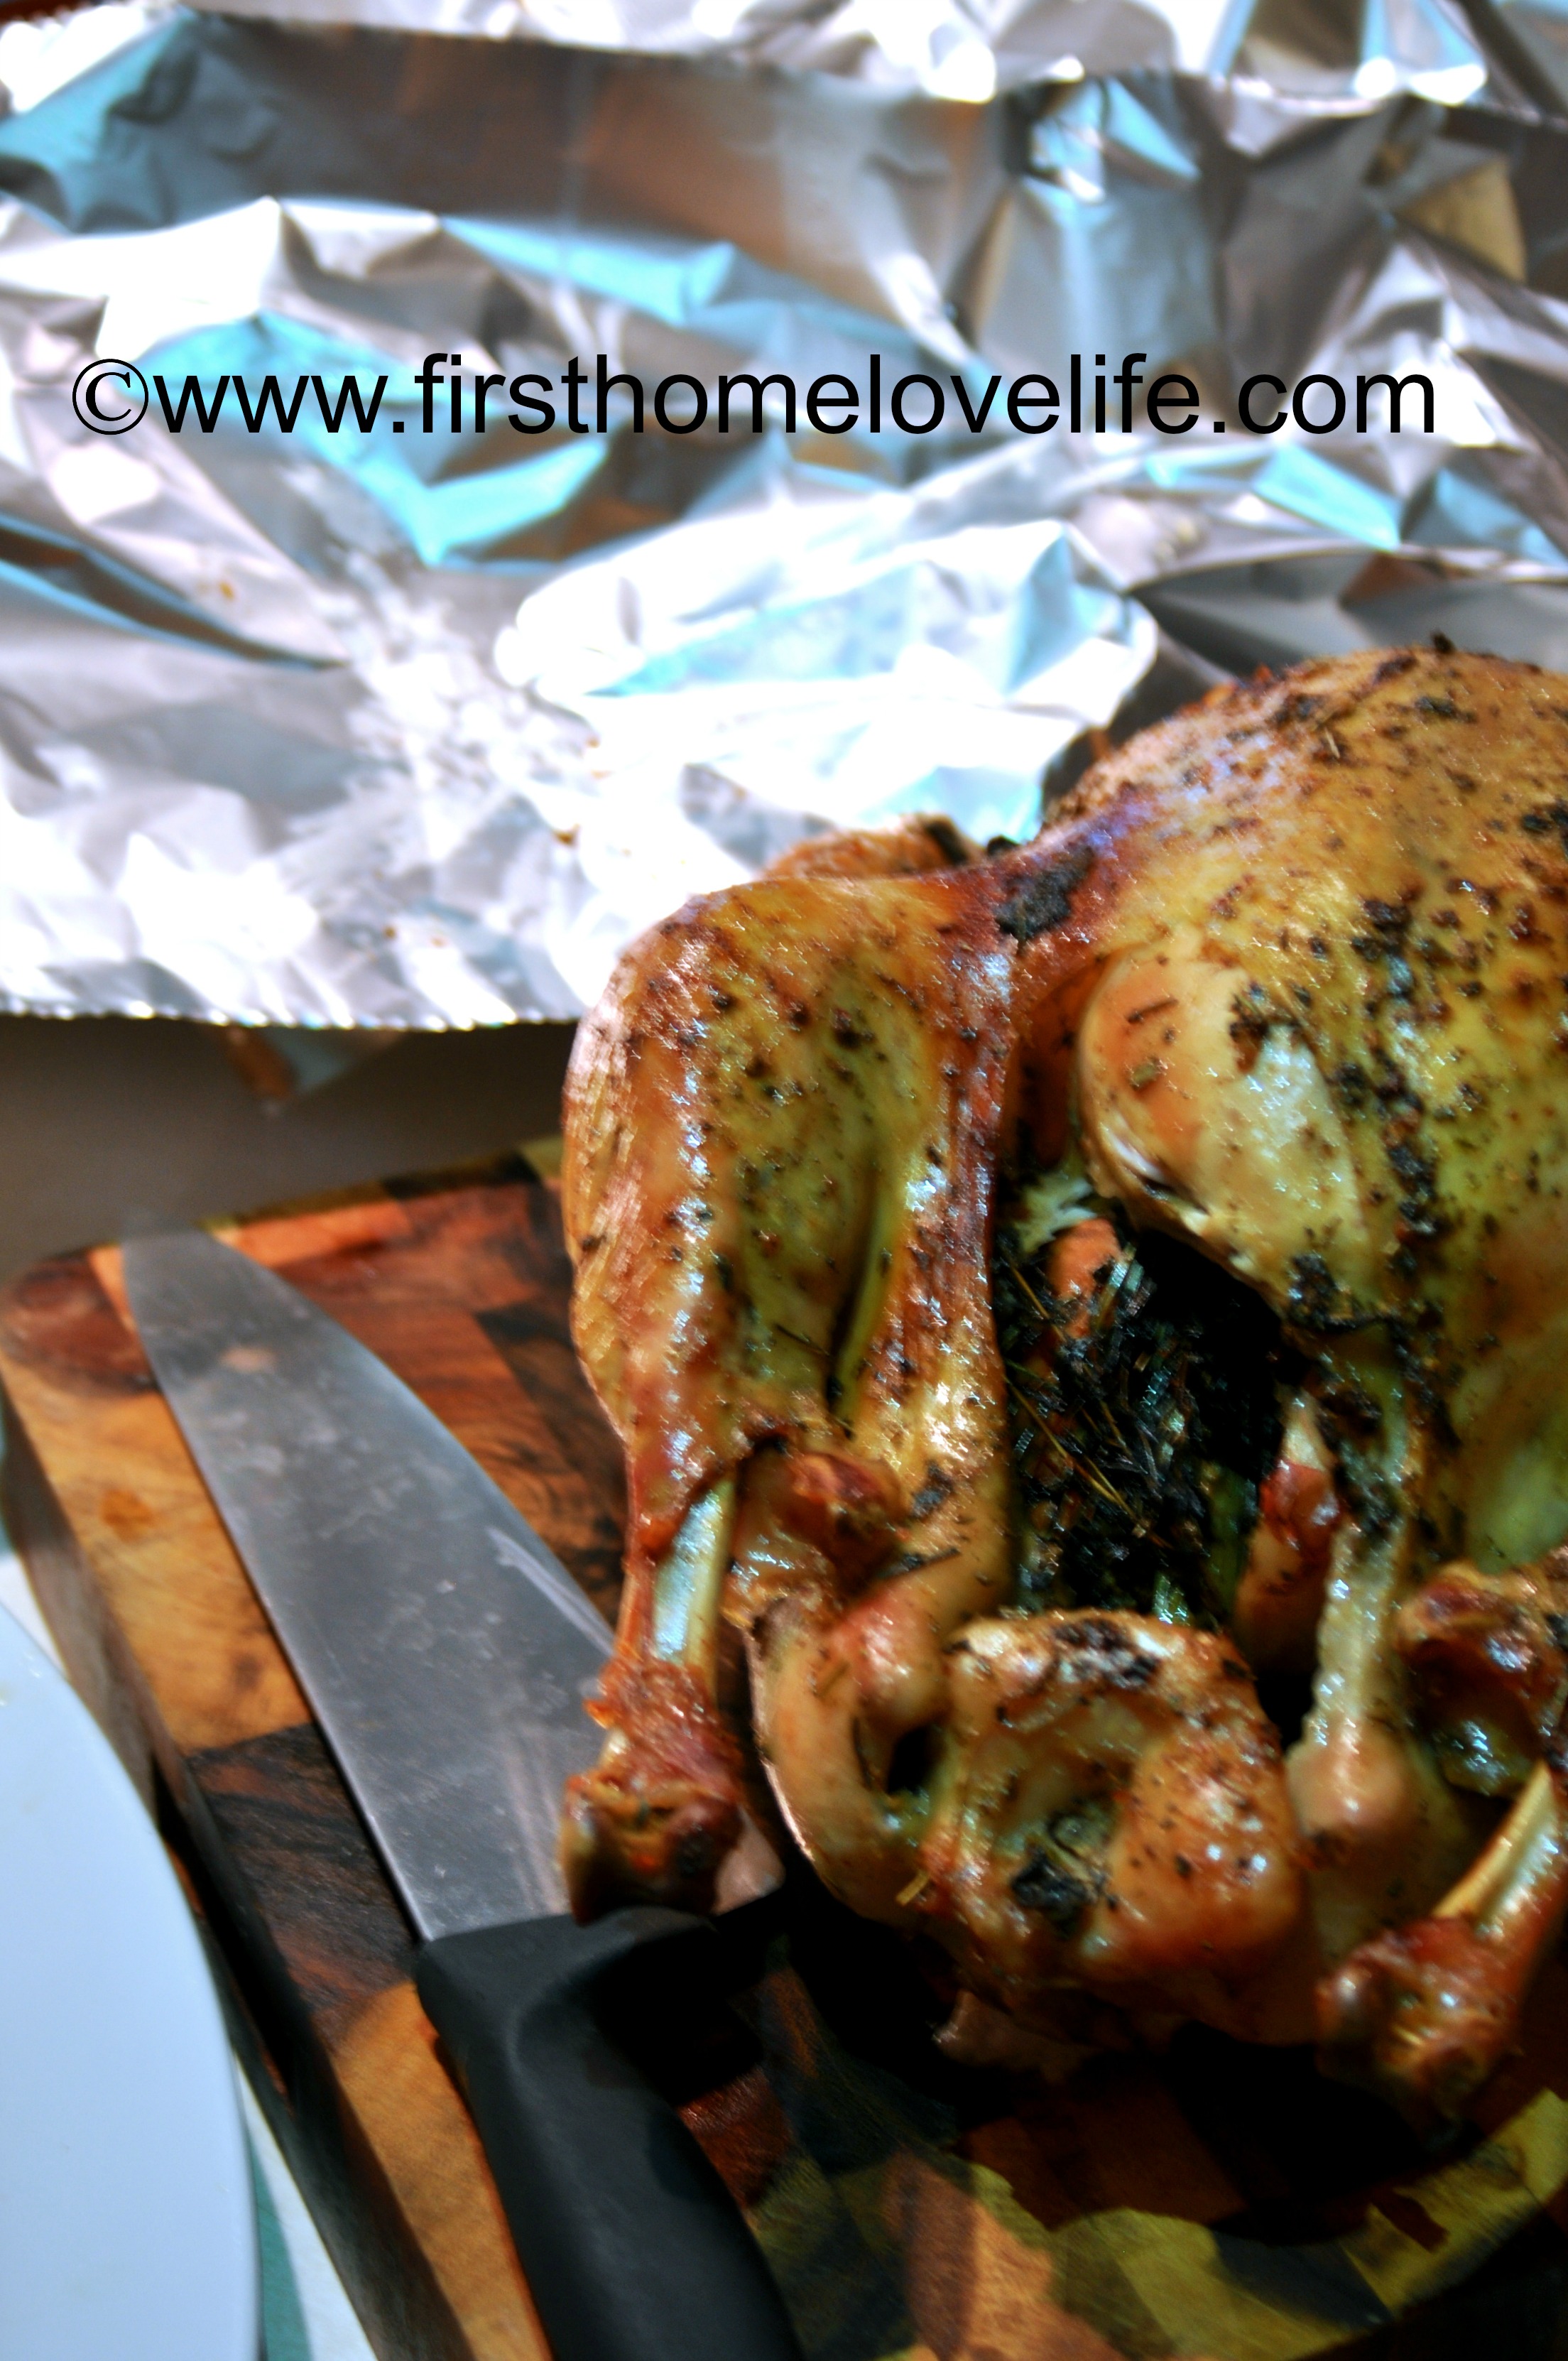
STEP 1: REMOVE THE LEGS
Place the turkey on your cutting board breast side up, with the legs facing away from you.
Steady it with your hand. (If you let it rest long enough it should be cool enough to handle)
With your other hand pull the leg gently away from the bird until the ball joint to the body pops out of the socket.
You should see where it begins to pull away- that’s where you’re going to cut. Cut straight through the joint with the knife. The leg will now pull easily away from the body.
Do that to both sides and then place them on your platter.
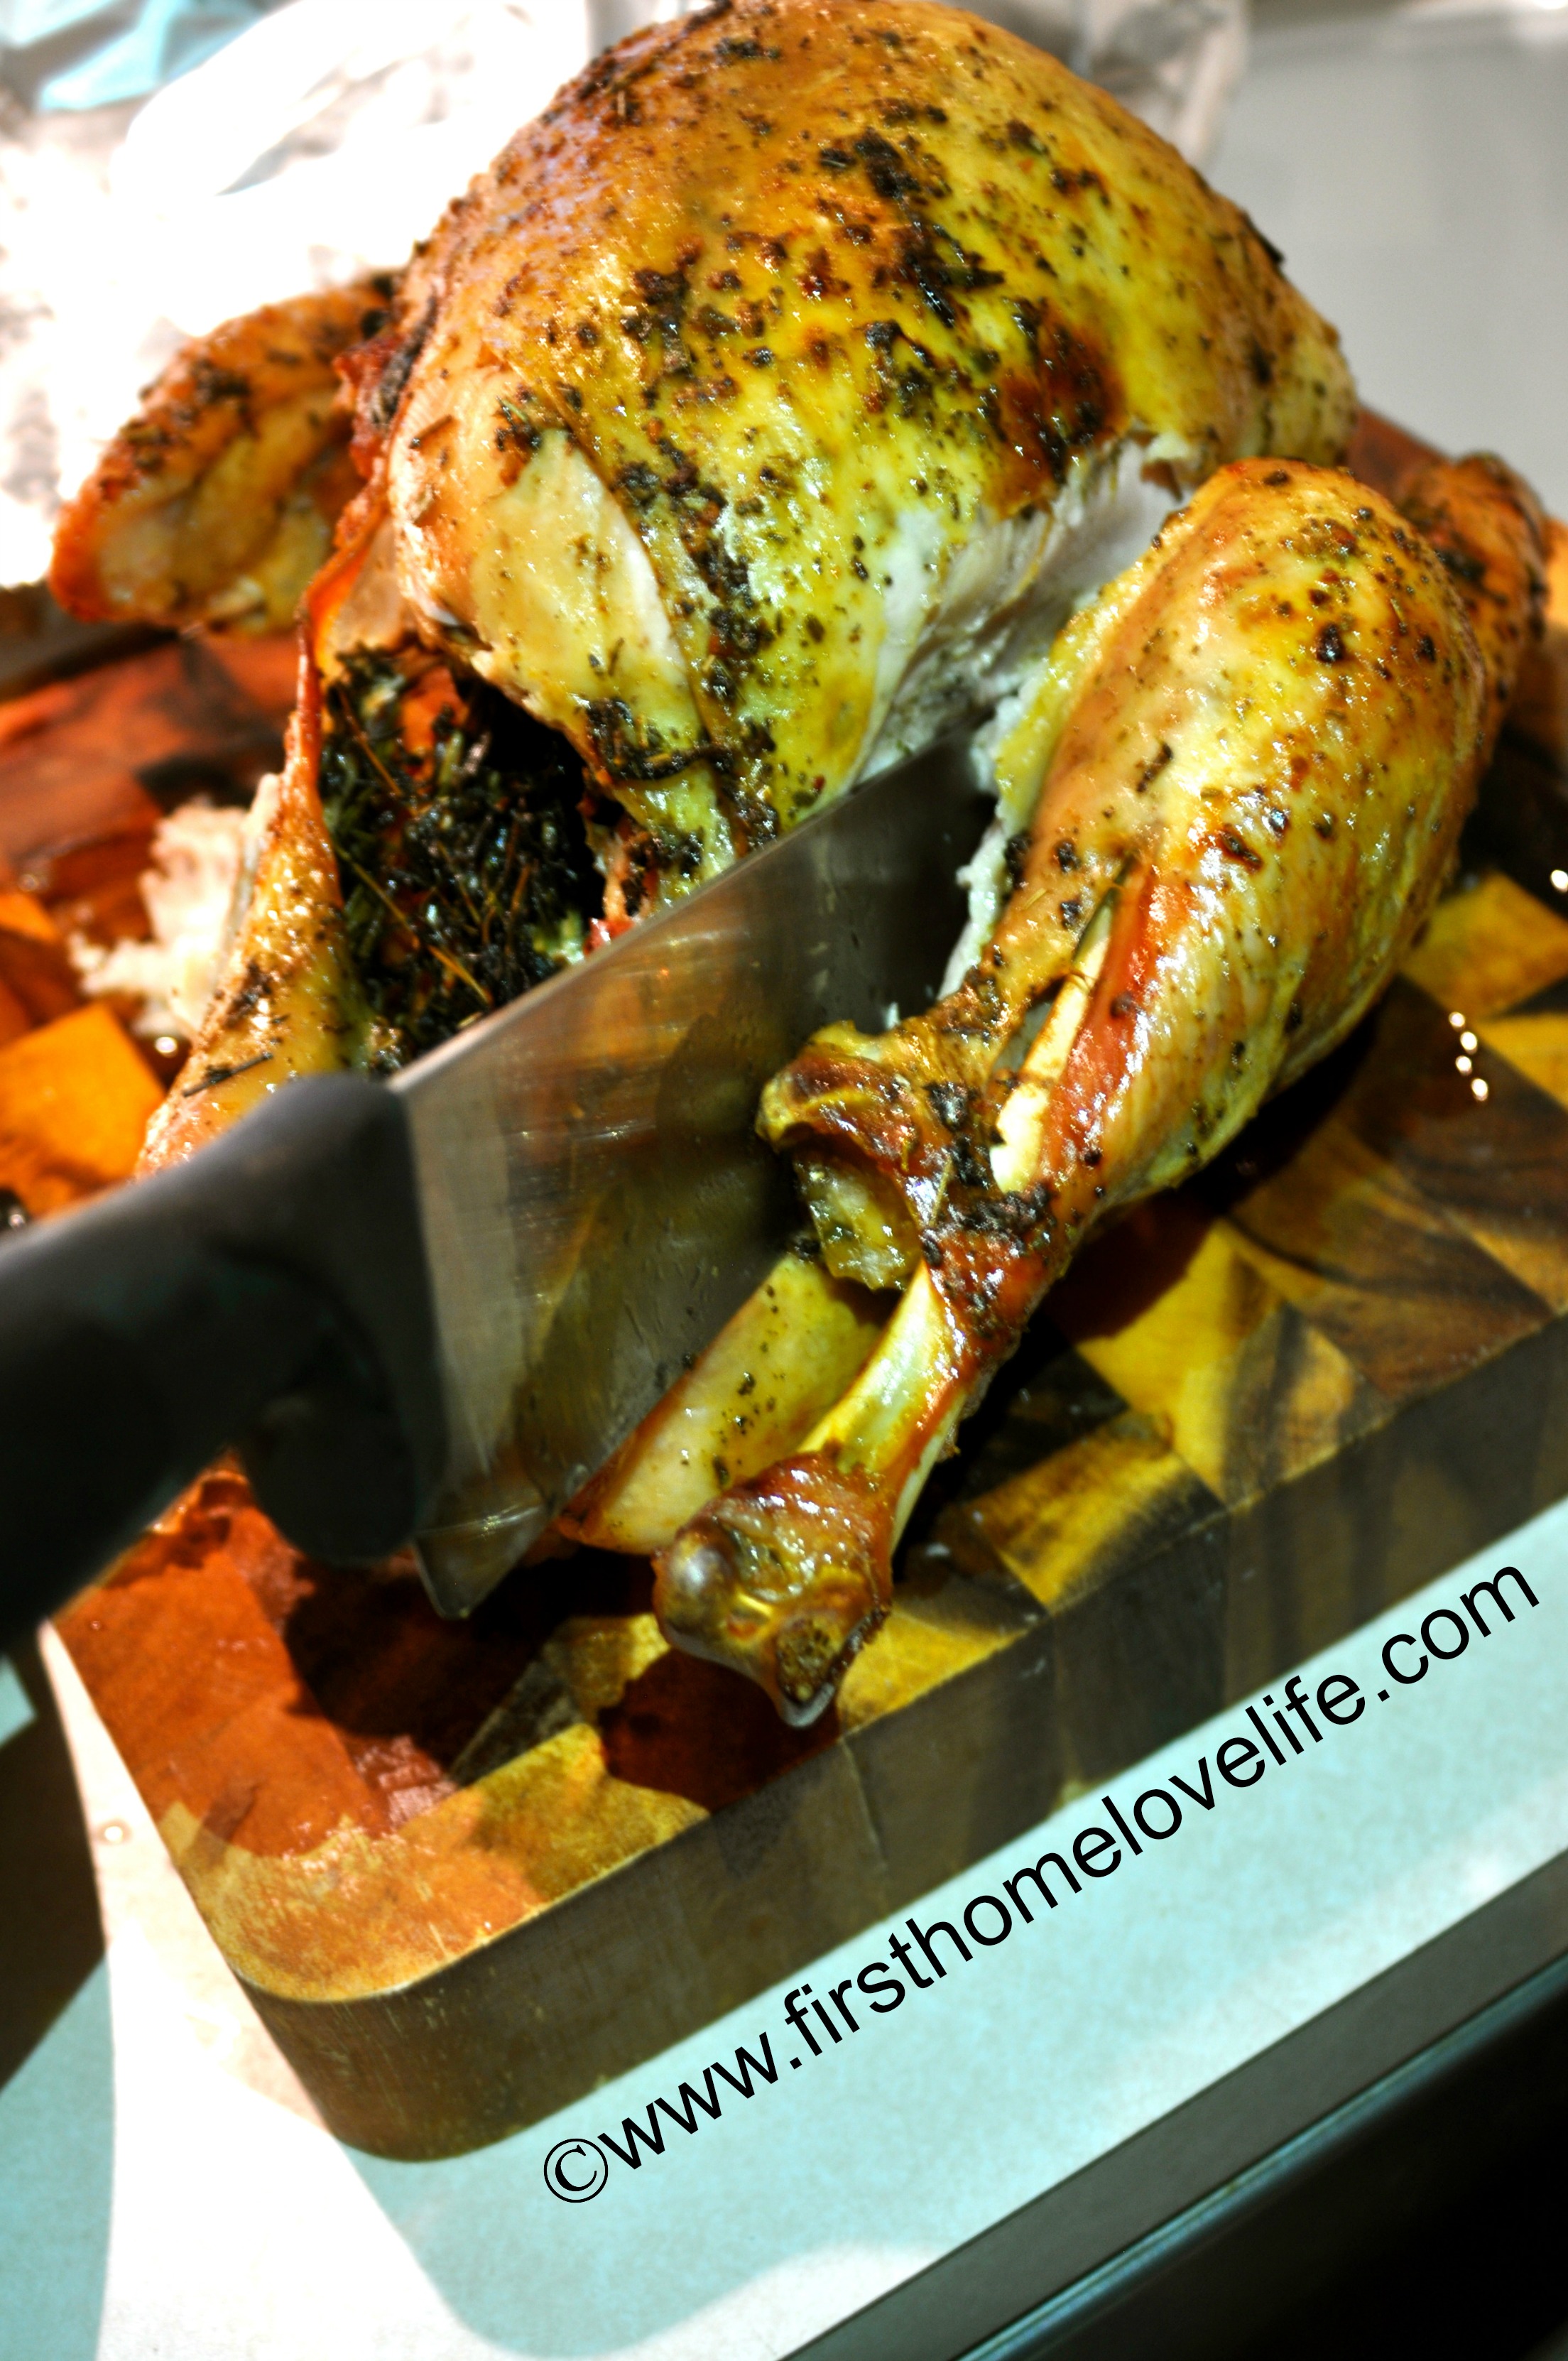
STEP 2: REMOVE THE WINGS
My wing pictures came out super blurry so I don’t have any to post, but pretty much it’s the same steps as the legs.
Pull gently until you find the ball joint and use your knife to cut the wings away from the body of the bird, and place them on your platter.
STEP 3: CARVE THE BREAST
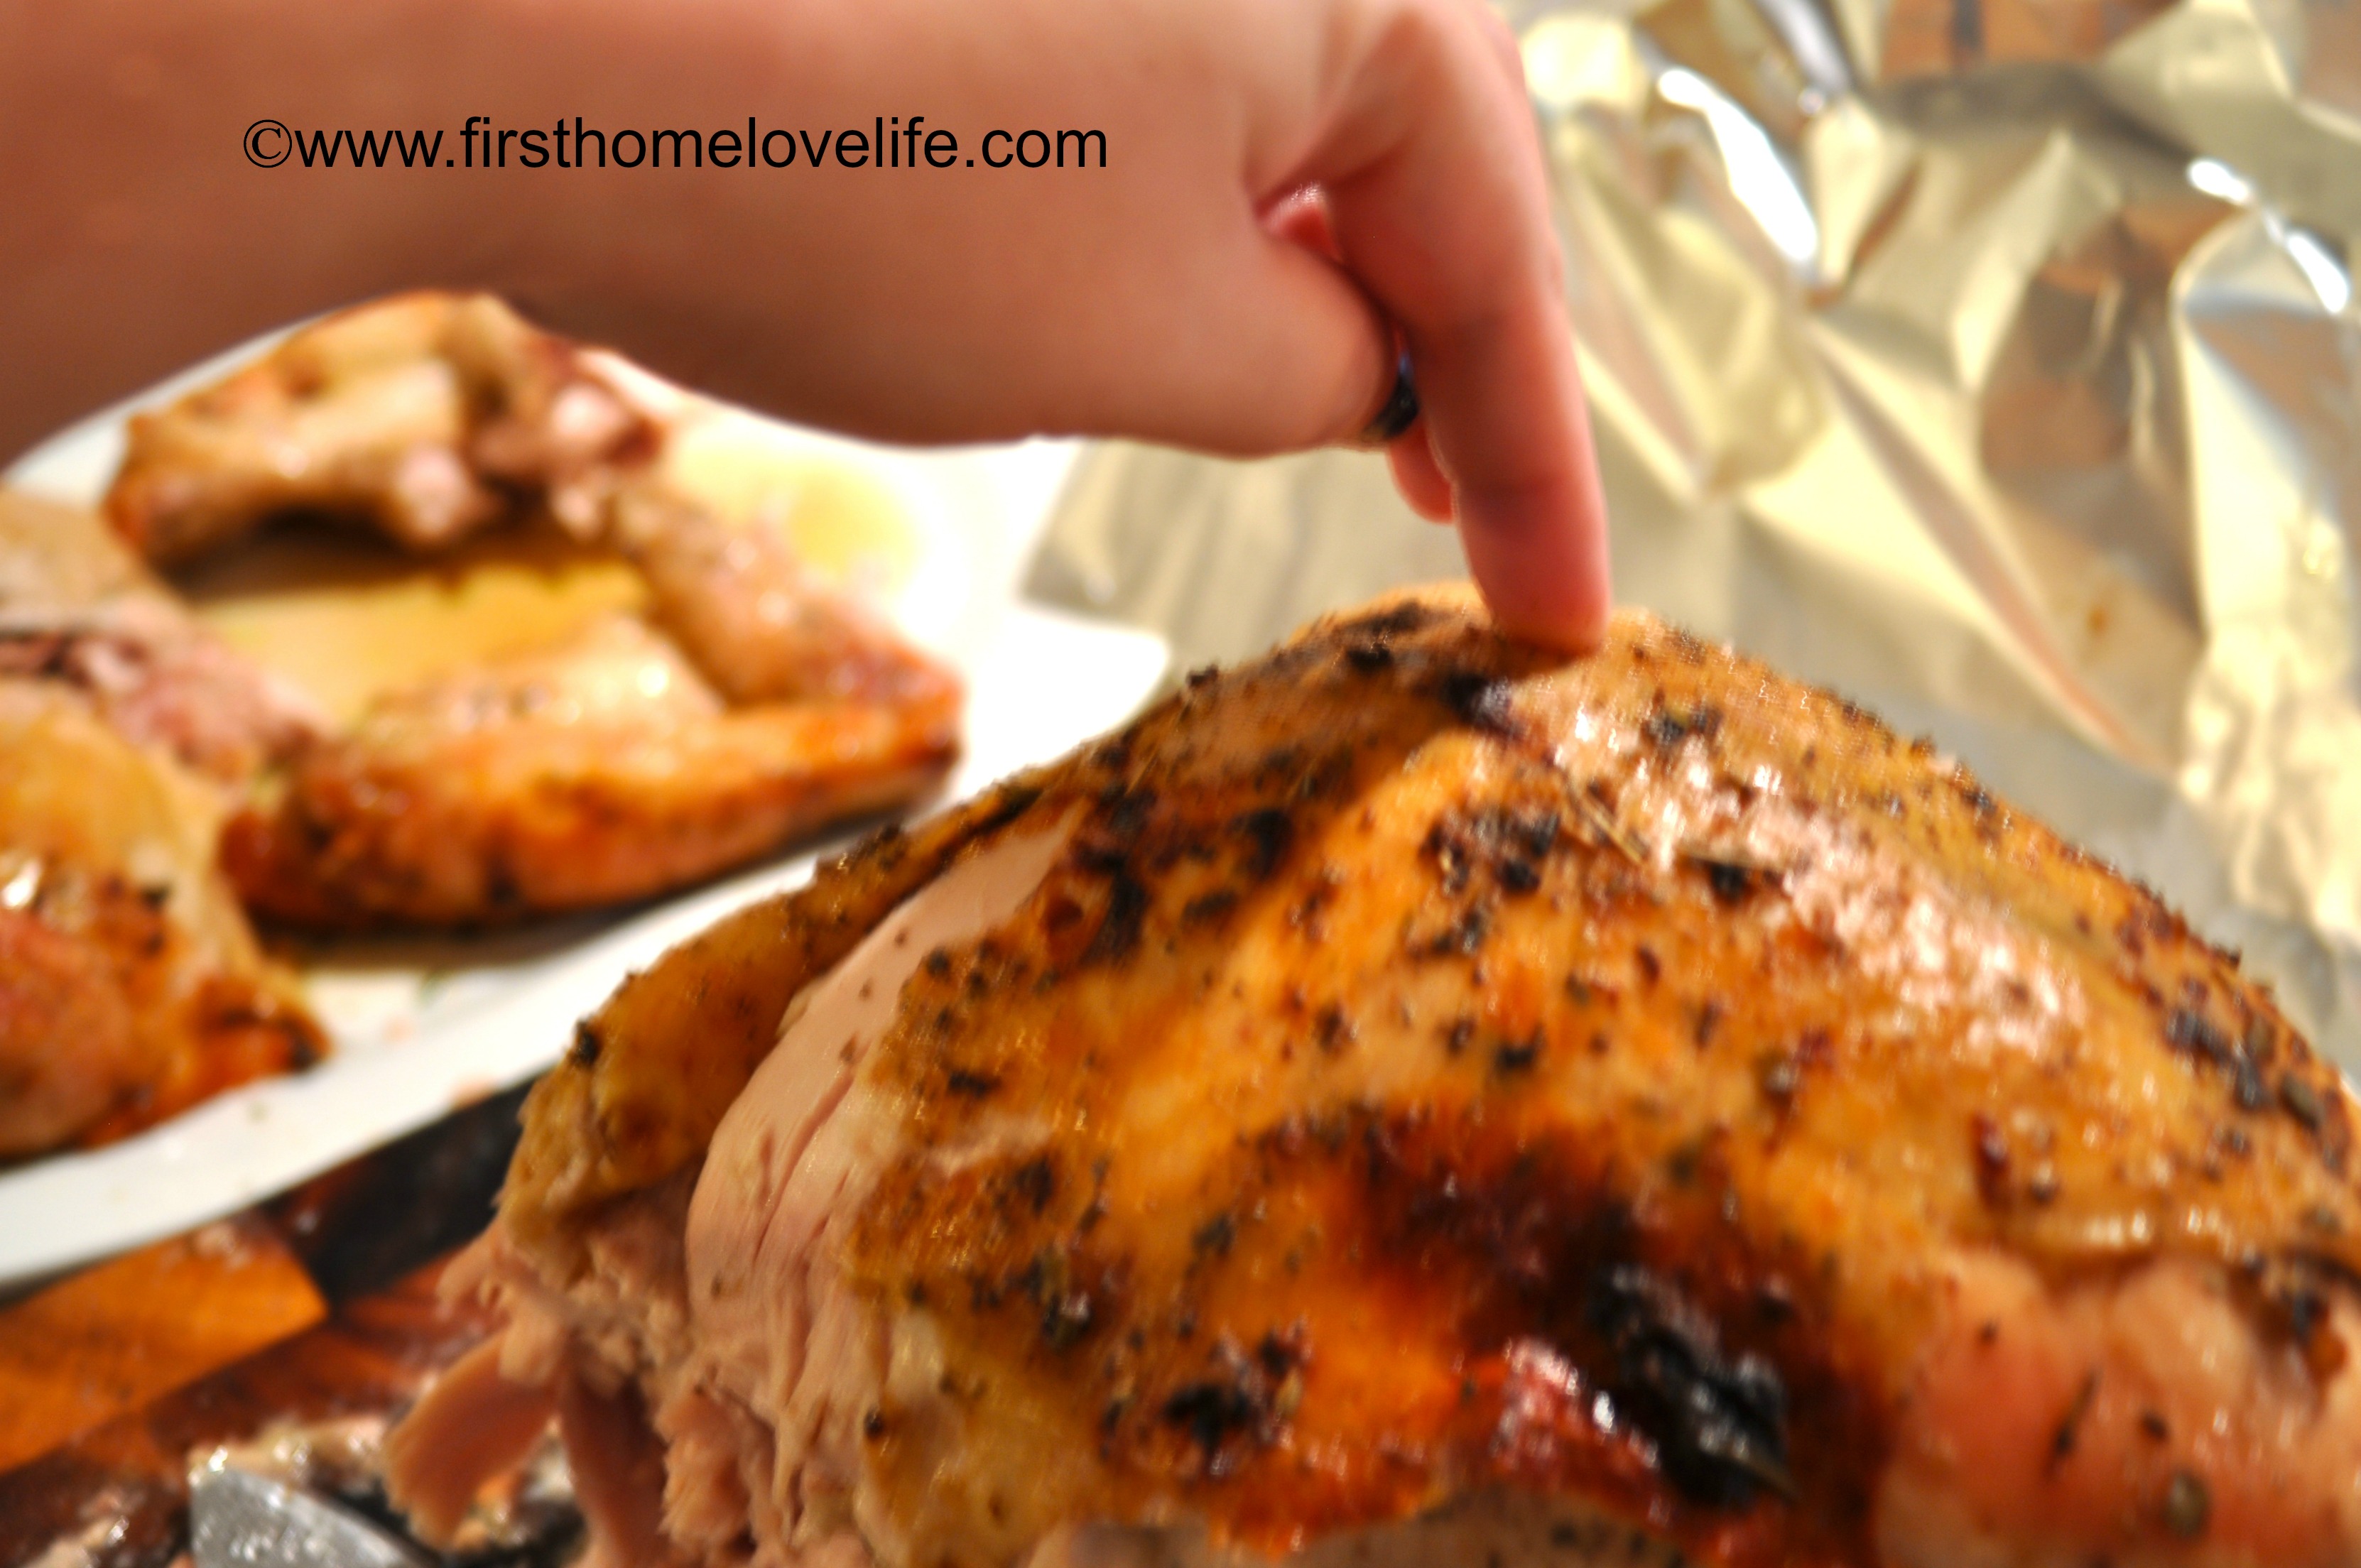
Take your finger and press on the center of the breast.
You should be able to feel the breast bone to get and idea how thick it is. Take your knife on one side and get as close to the bone as possible.
Use the bone as a guide to tell you where to cut.
Make a long, thin cut along the breastbone, in the center of the breast.
Now with the tip of the knife cut down along one side of the rib cage while using your other hand to pull the breast meat gently away from the ribs as you go.
The whole side of the breast should come off in one big piece once your done.

Now if you brined your bird like we do, chances are the meat is falling of the bone at this point. Don’t worry about that, try to get as clean of a cut as possible on both sides of the breast.
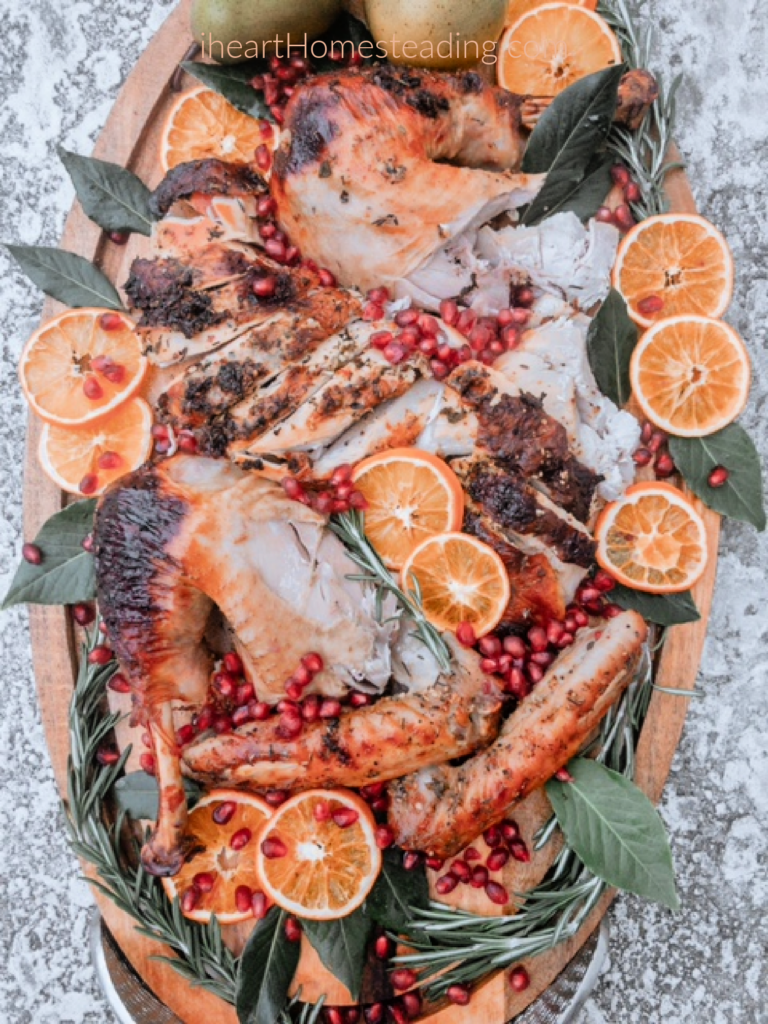
Lay the breast halves on your cutting board skin side up, cut on an angle into serving-size slices, and then use your knife as a spatula to pick everything up in one swoop and place it on your platter.

Once all of your main components are carved away, and you’re left with the body. I pick off whatever meat is left (usually the under side where the dark meat is) and anything that fell off while carving, and make a pile of loose meat somewhere on the platter.
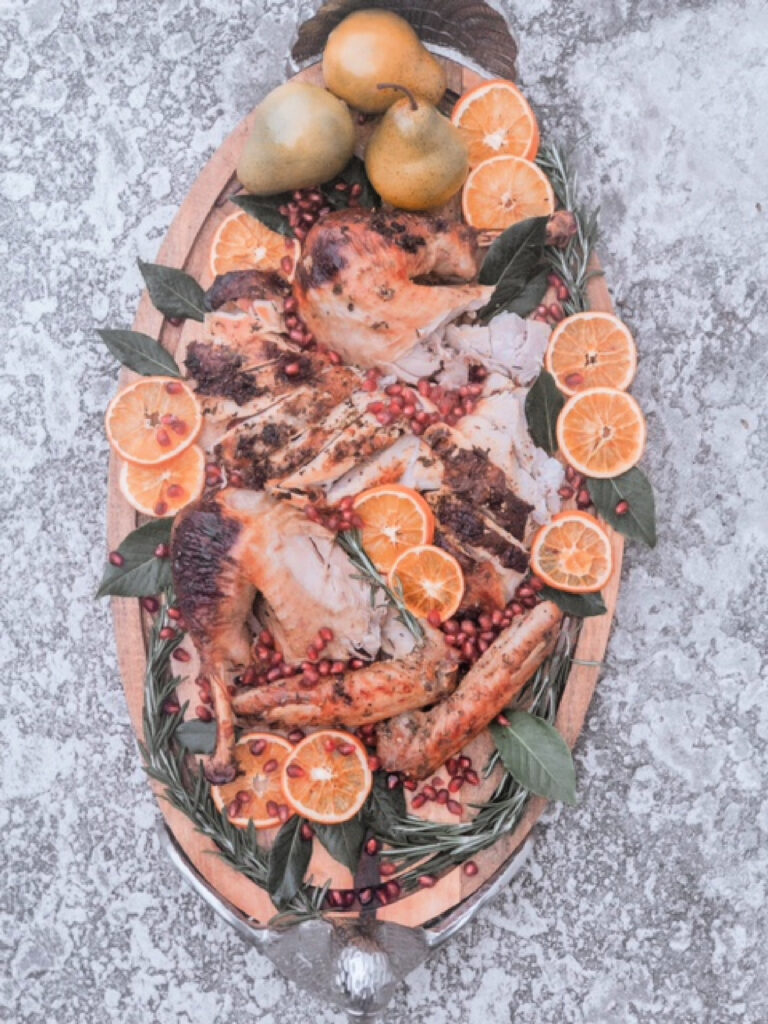
Here’s the finished product…
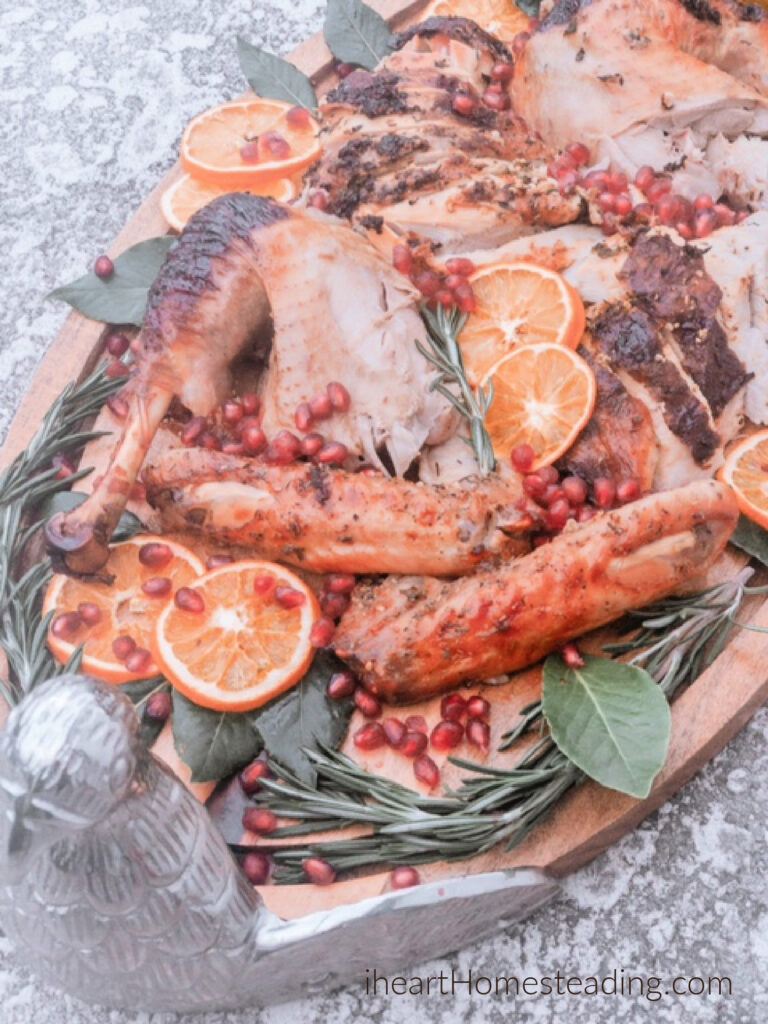
I hope you found this helpful!
I apologize for the somewhat cruddy quality of some of the pictures. Night time snuck up on me so I had to use indoor lighting.
*Want to know my tried and true method to the perfect turkey? You can find my step by steps here*
Talk to you soon friends, take care!
XO


Wow your end result is gorgeous! I have never seen the meat cut and arranged that way, I LOVE It!! Now I’m starving and so wish I were eating some of this 🙂
Dria recently posted…Color Trends for 2014
What’s your address? I’ll send you a care package 😉