Yesterday was my birthday 🙂 , and while most normal people would choose to spend the day relaxing and taking it easy…I chose to help my husband do some building! Nothing says happy birthday like shooting some nails into wood, am I right?! So today I thought it would be fun to show you how we decided to build the window seat in the playroom/guestroom. It’s a pretty easy project that you can complete in a couple of hours!

We’ve never attempted to do anything like this before, so it was a great learning experience for both us! We watched YouTube videos and read a few different online tutorials from other bloggers, like this one from Heather At The Picket Fence. Hers was a bay window built in, and she wasn’t attaching it to cabinets so it was a little different, but I loved her step by steps and it really helped us figure out how to build a strong and sturdy frame.
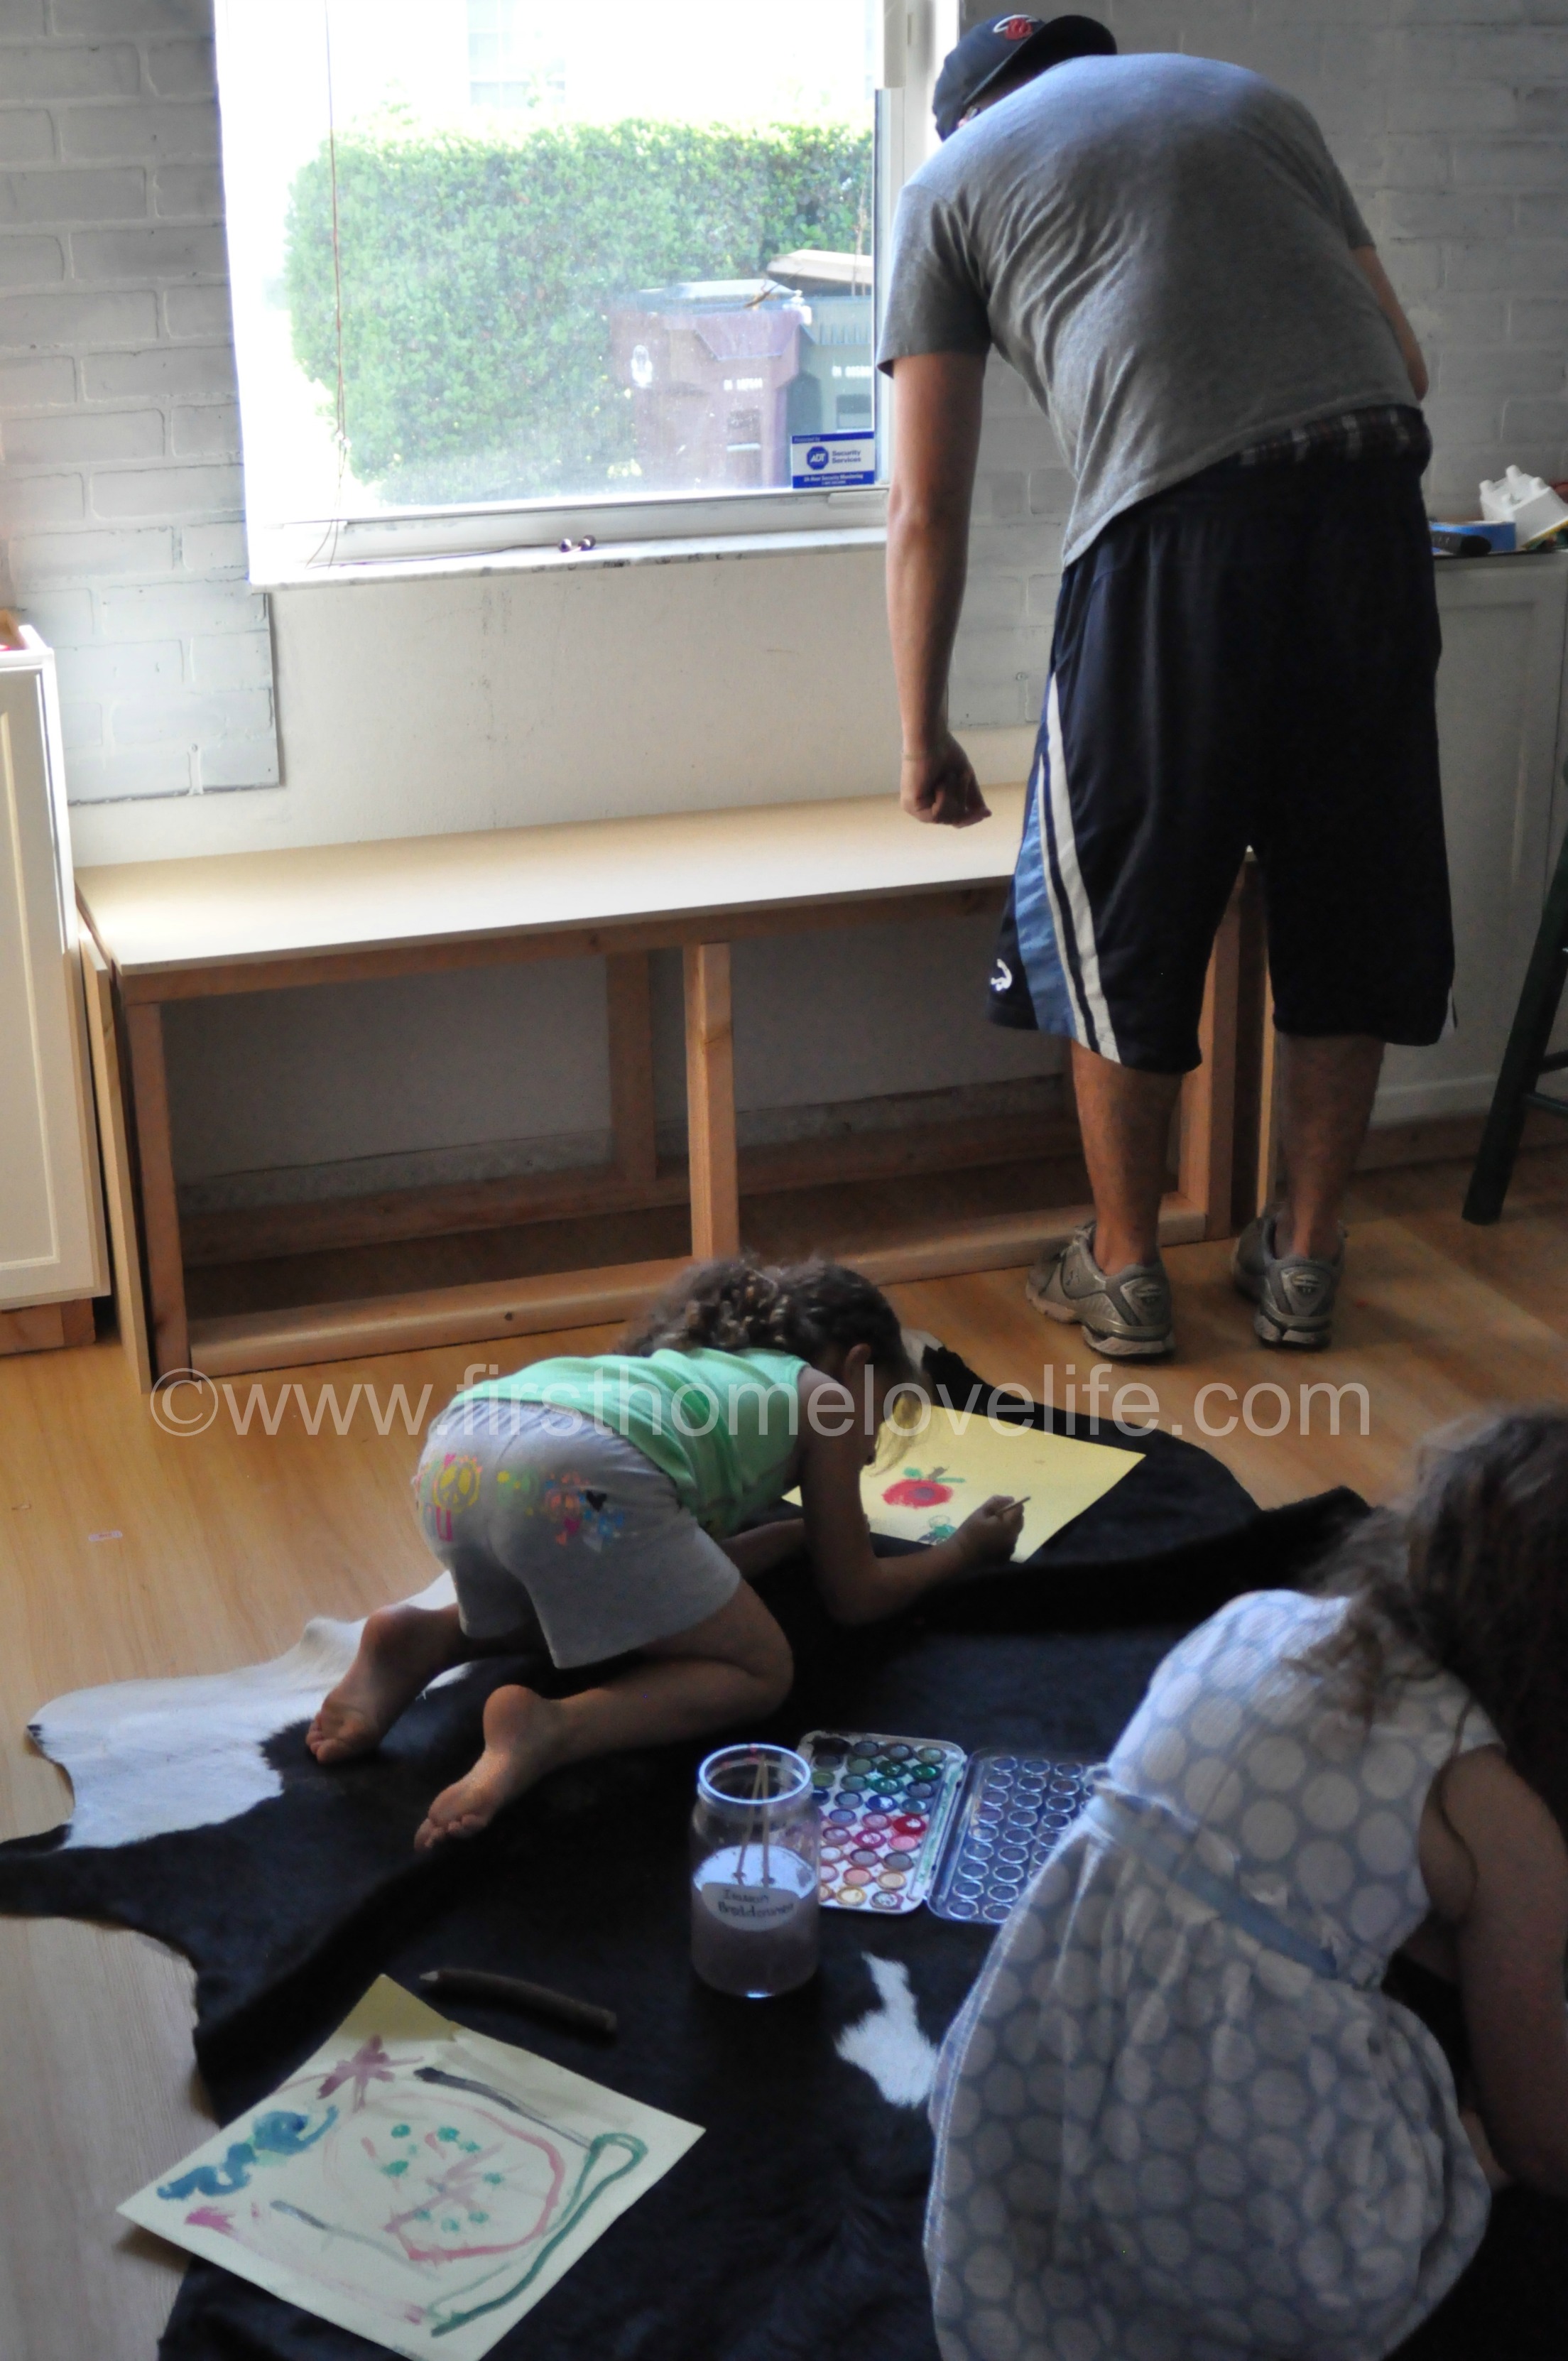
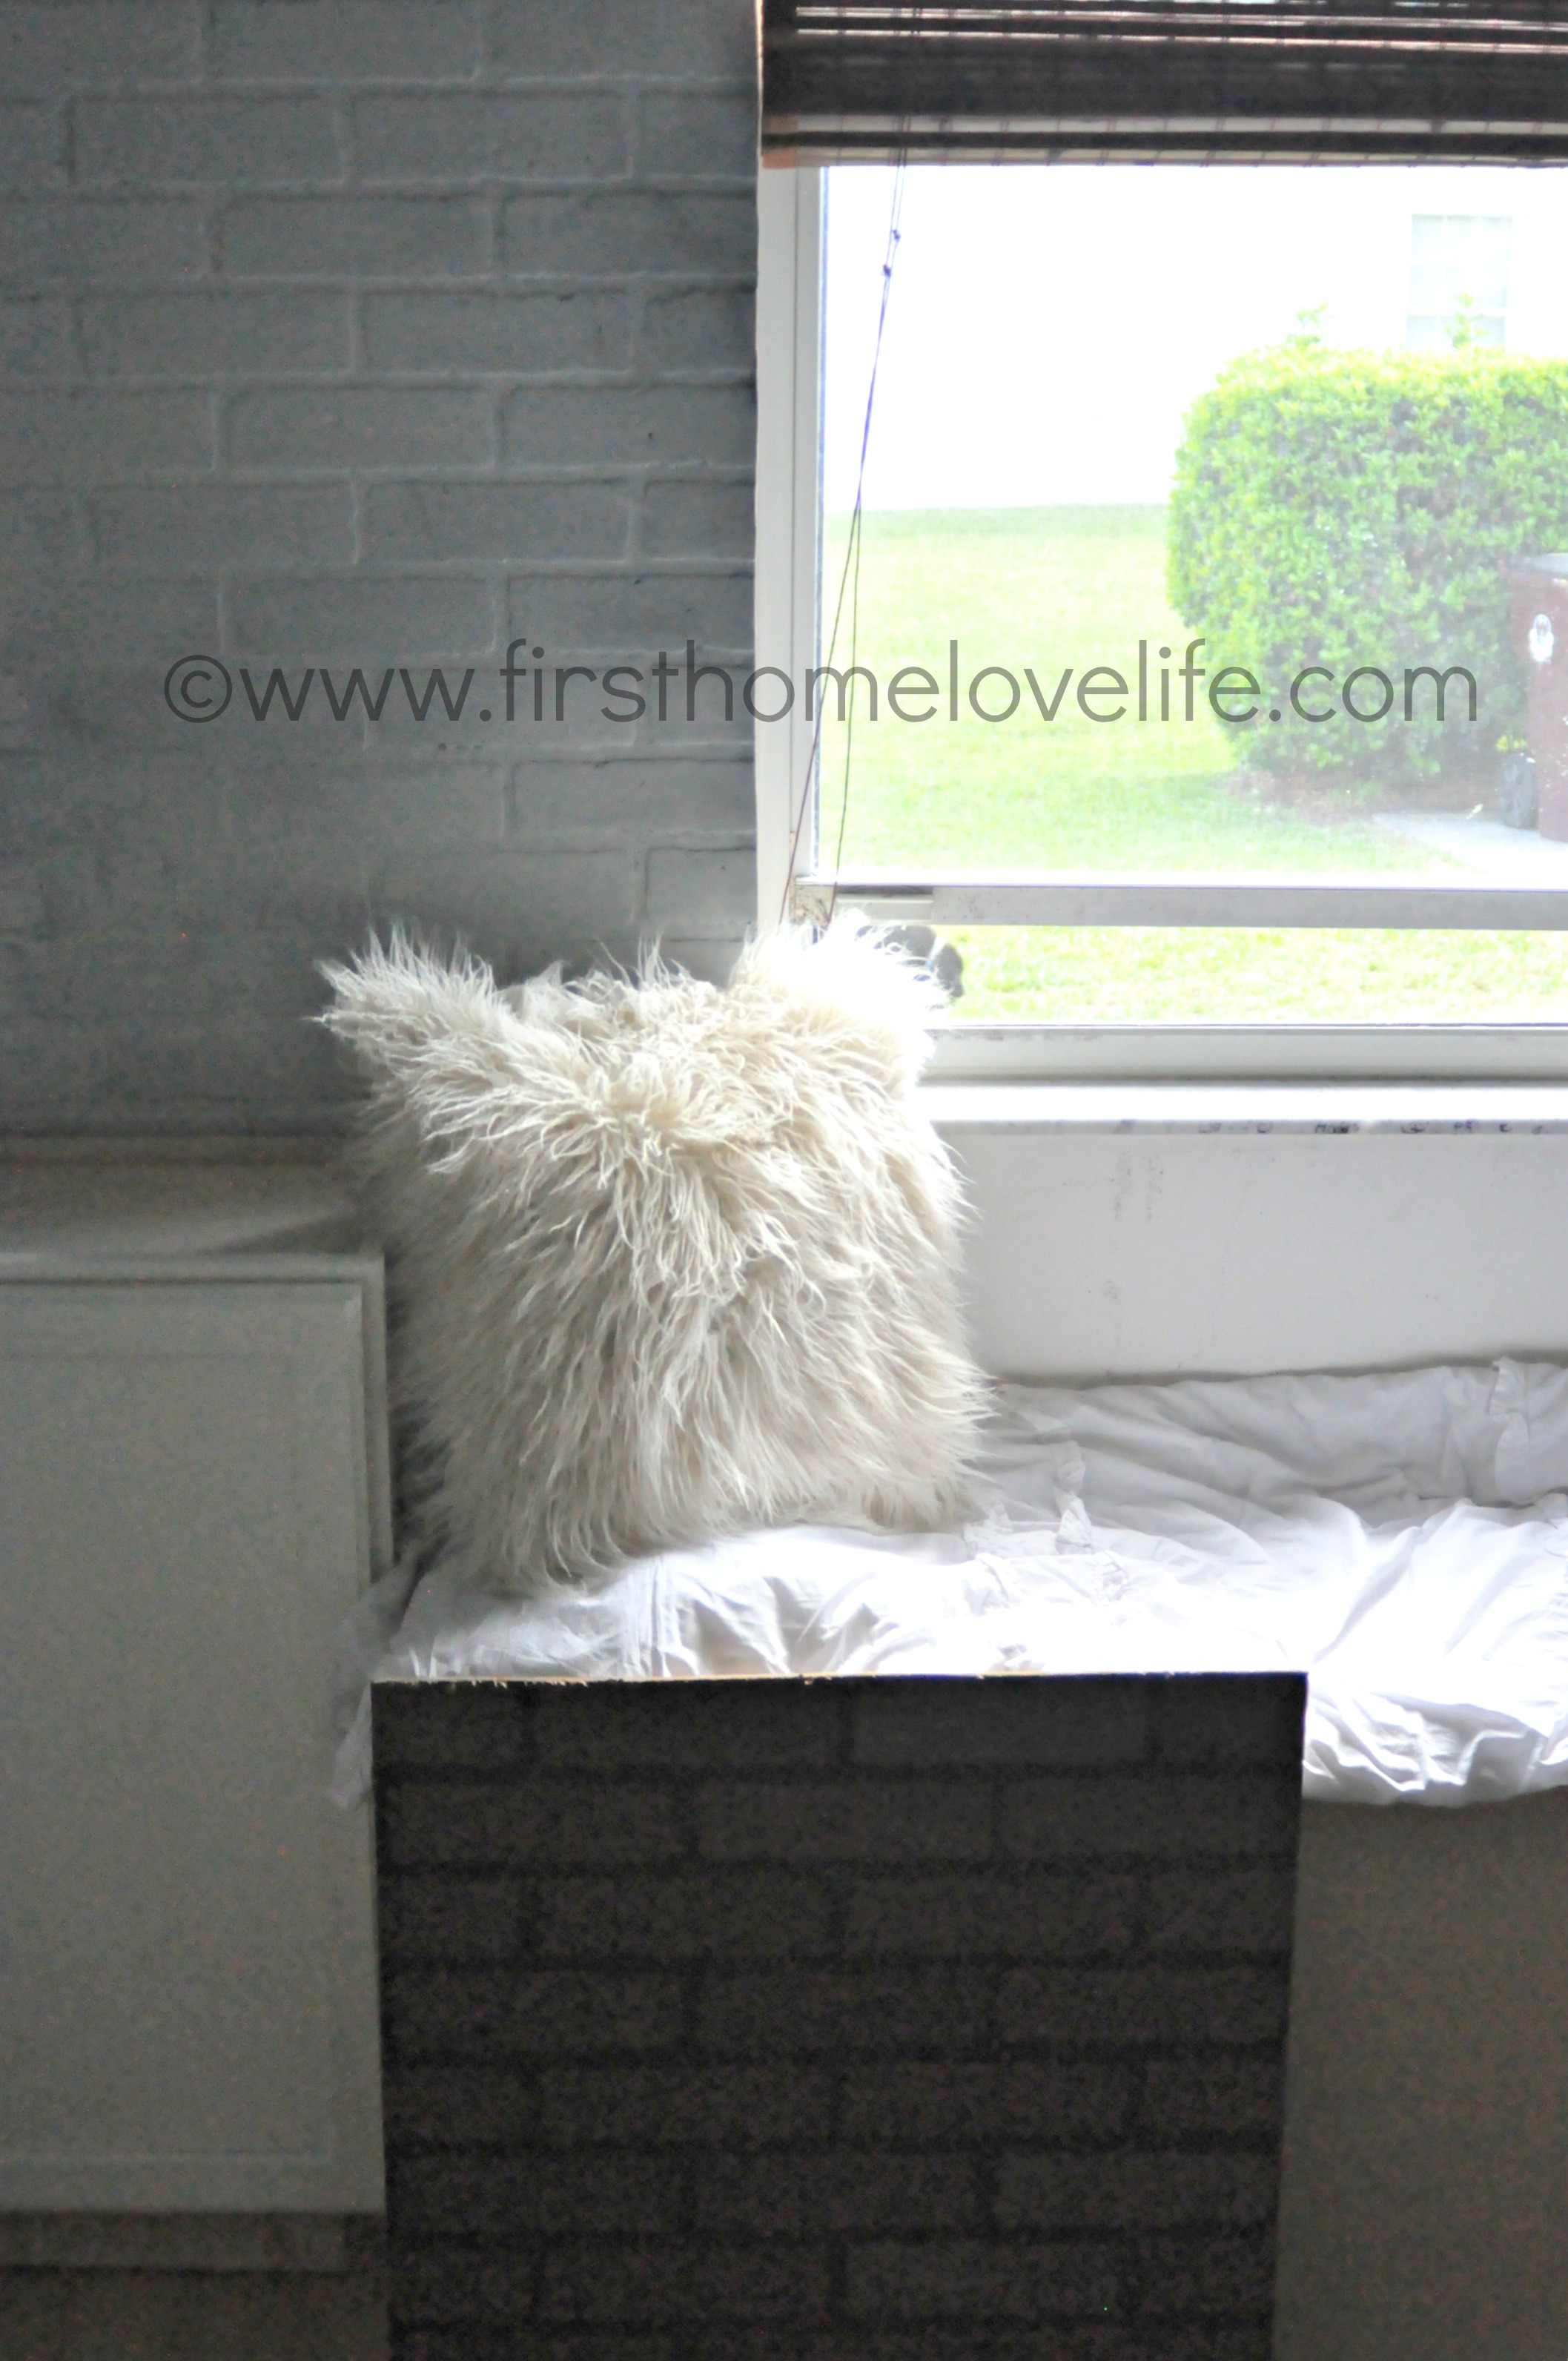
We ended up building an open sided frame box out of 2×4’s and then attaching it to the wall. This thing is sturdy! I sat on it, with my husband, and our big lab Bentley and it held all of our weight which was just what I wanted, because I could easily see my daughter and her friends jumping around on it and using it as a stage for singing and dancing rather than a seat!
When the frame was built and secured into the wall studs we covered up the sides with 1/2 inch MDF that we had cut down to our measurements at Home Depot.
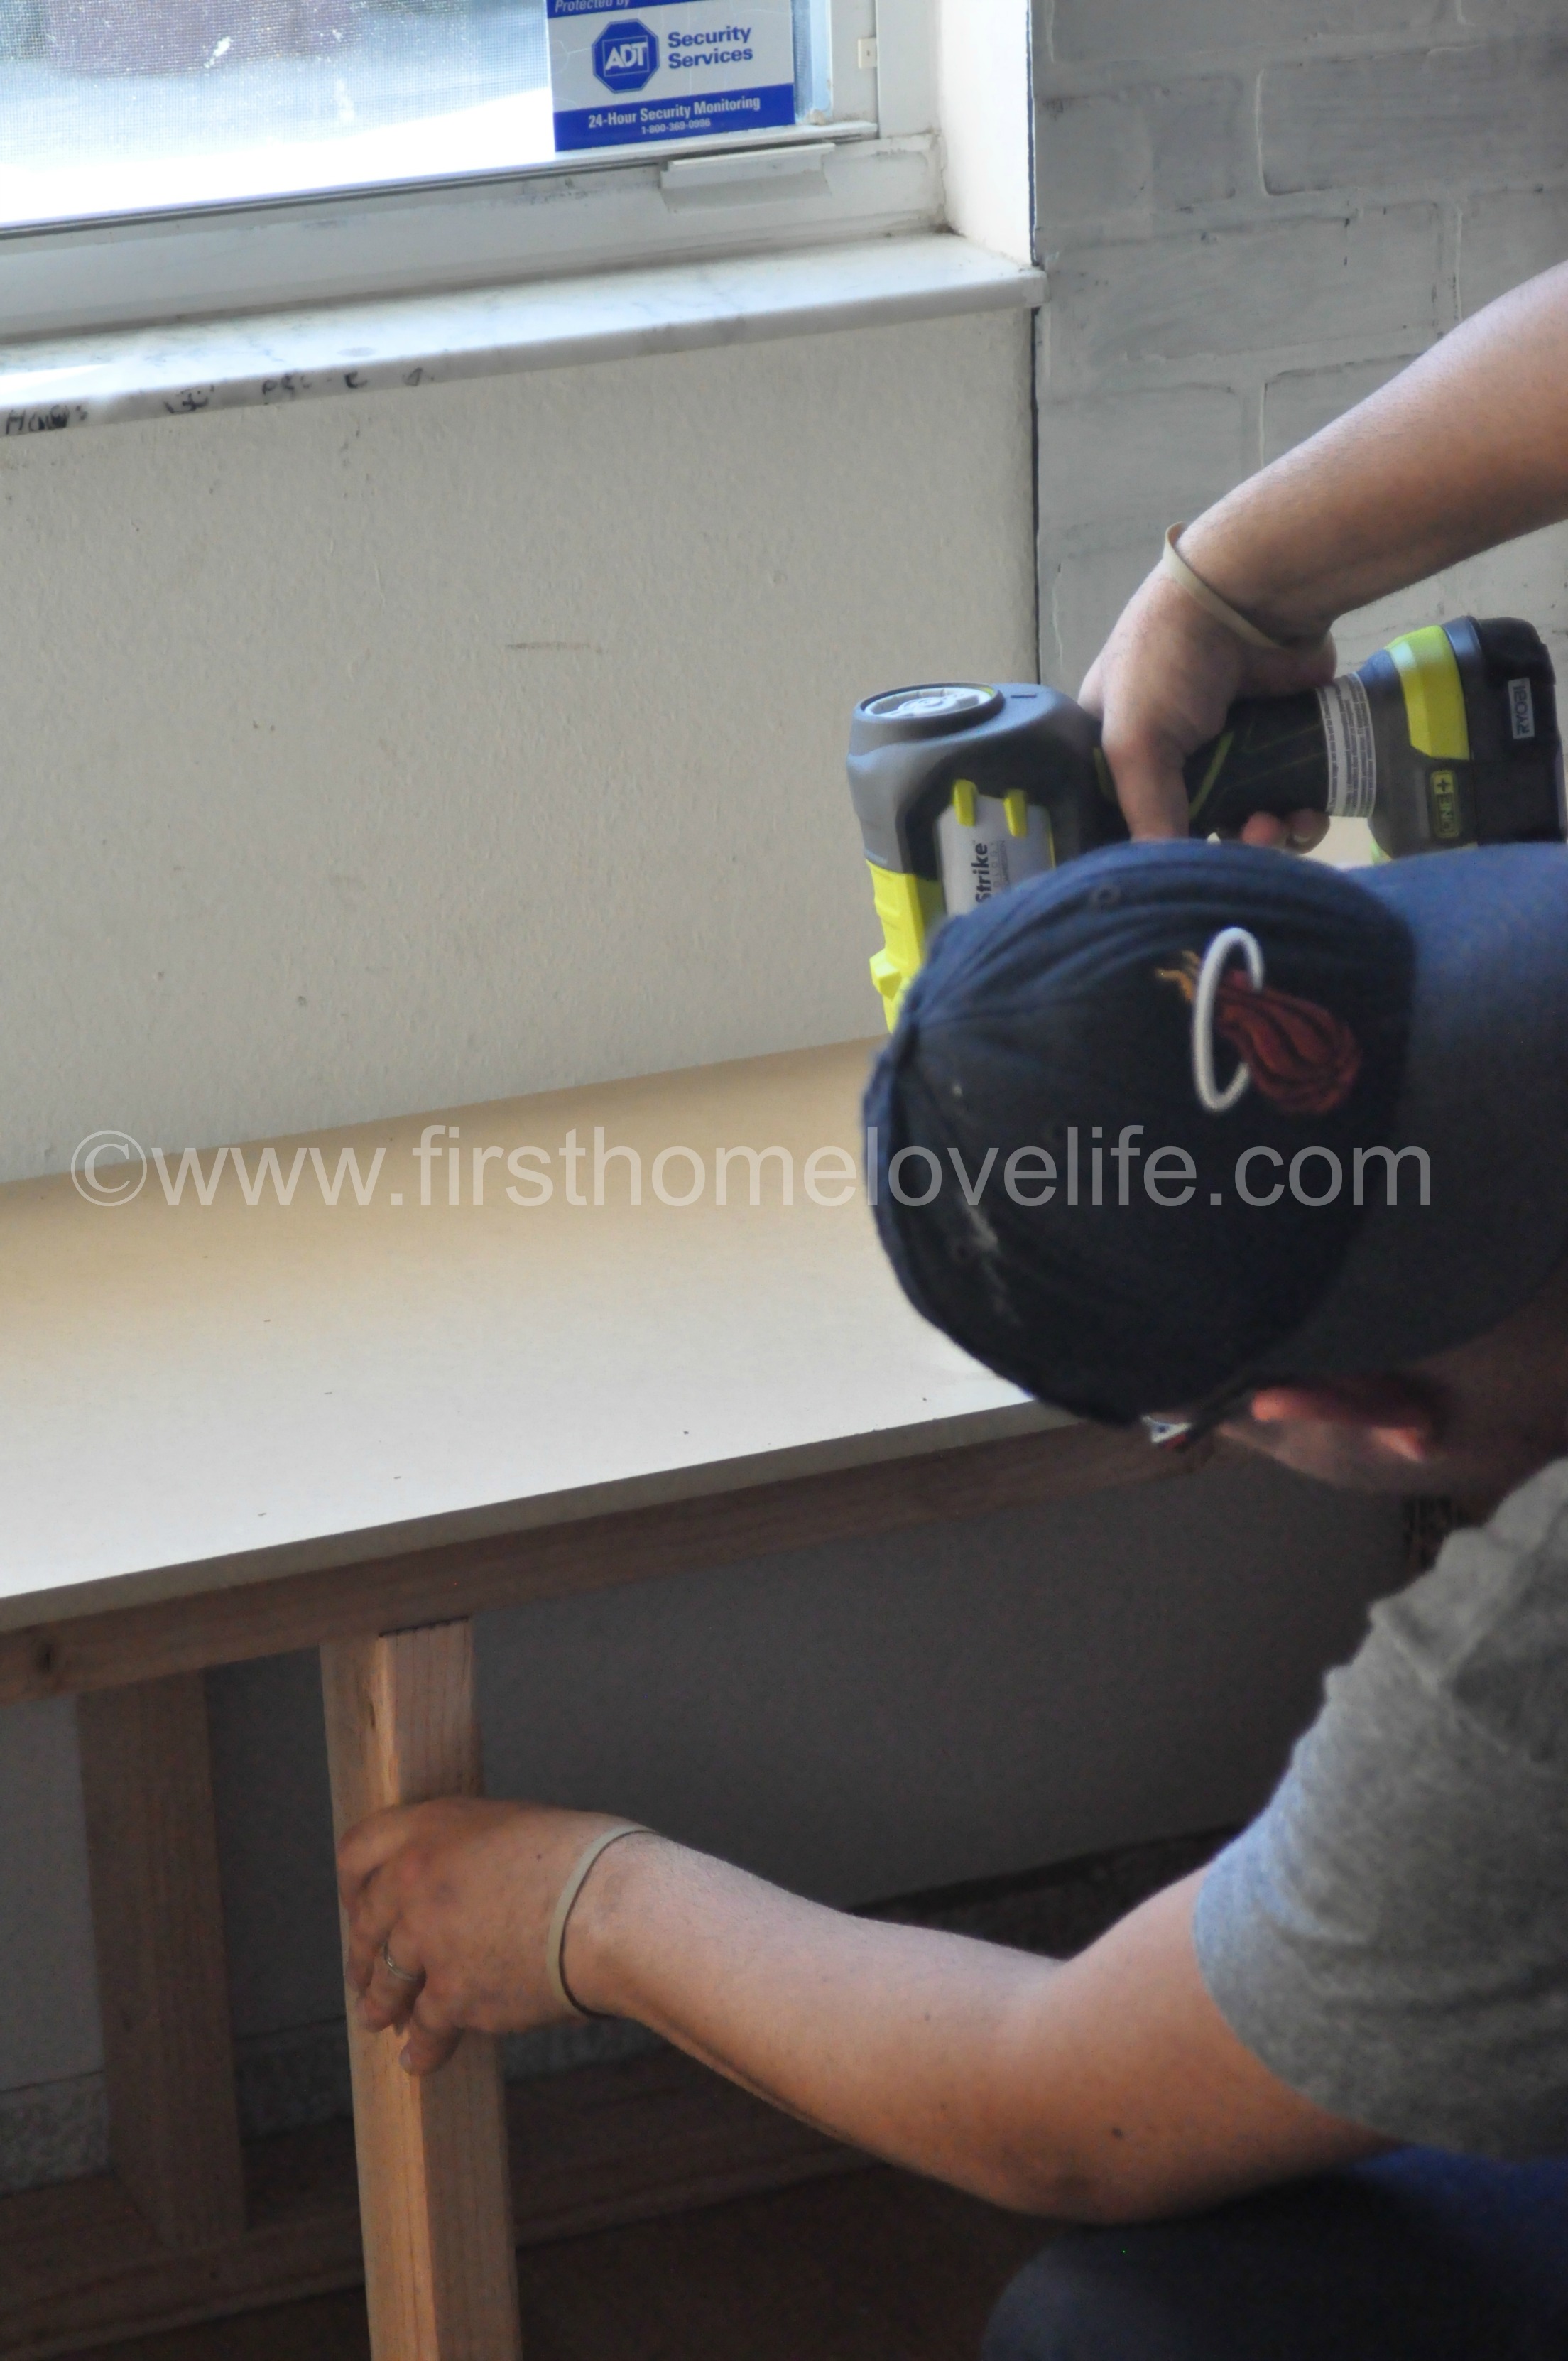
My birthday present to myself was the Ryobi Airstrike Brad Nailer. Some girls like clothes, shoes, bags…Just give me new tools and I’m a happy camper 🙂 I. LOVE. THIS. THING! It made securing the MDF to the frame a breeze and just having this new tool makes we want to build something else! (I think our master bedroom closet might be getting a much needed makeover next)
I wish I had more pictures of the whole process, but like I said I was helping out, but there are so many online tutorials on how to build a window seat so I won’t bore you with another 🙂 Just know that if we can do it, you can too! We are totally DIY novices when it comes to this type of stuff!
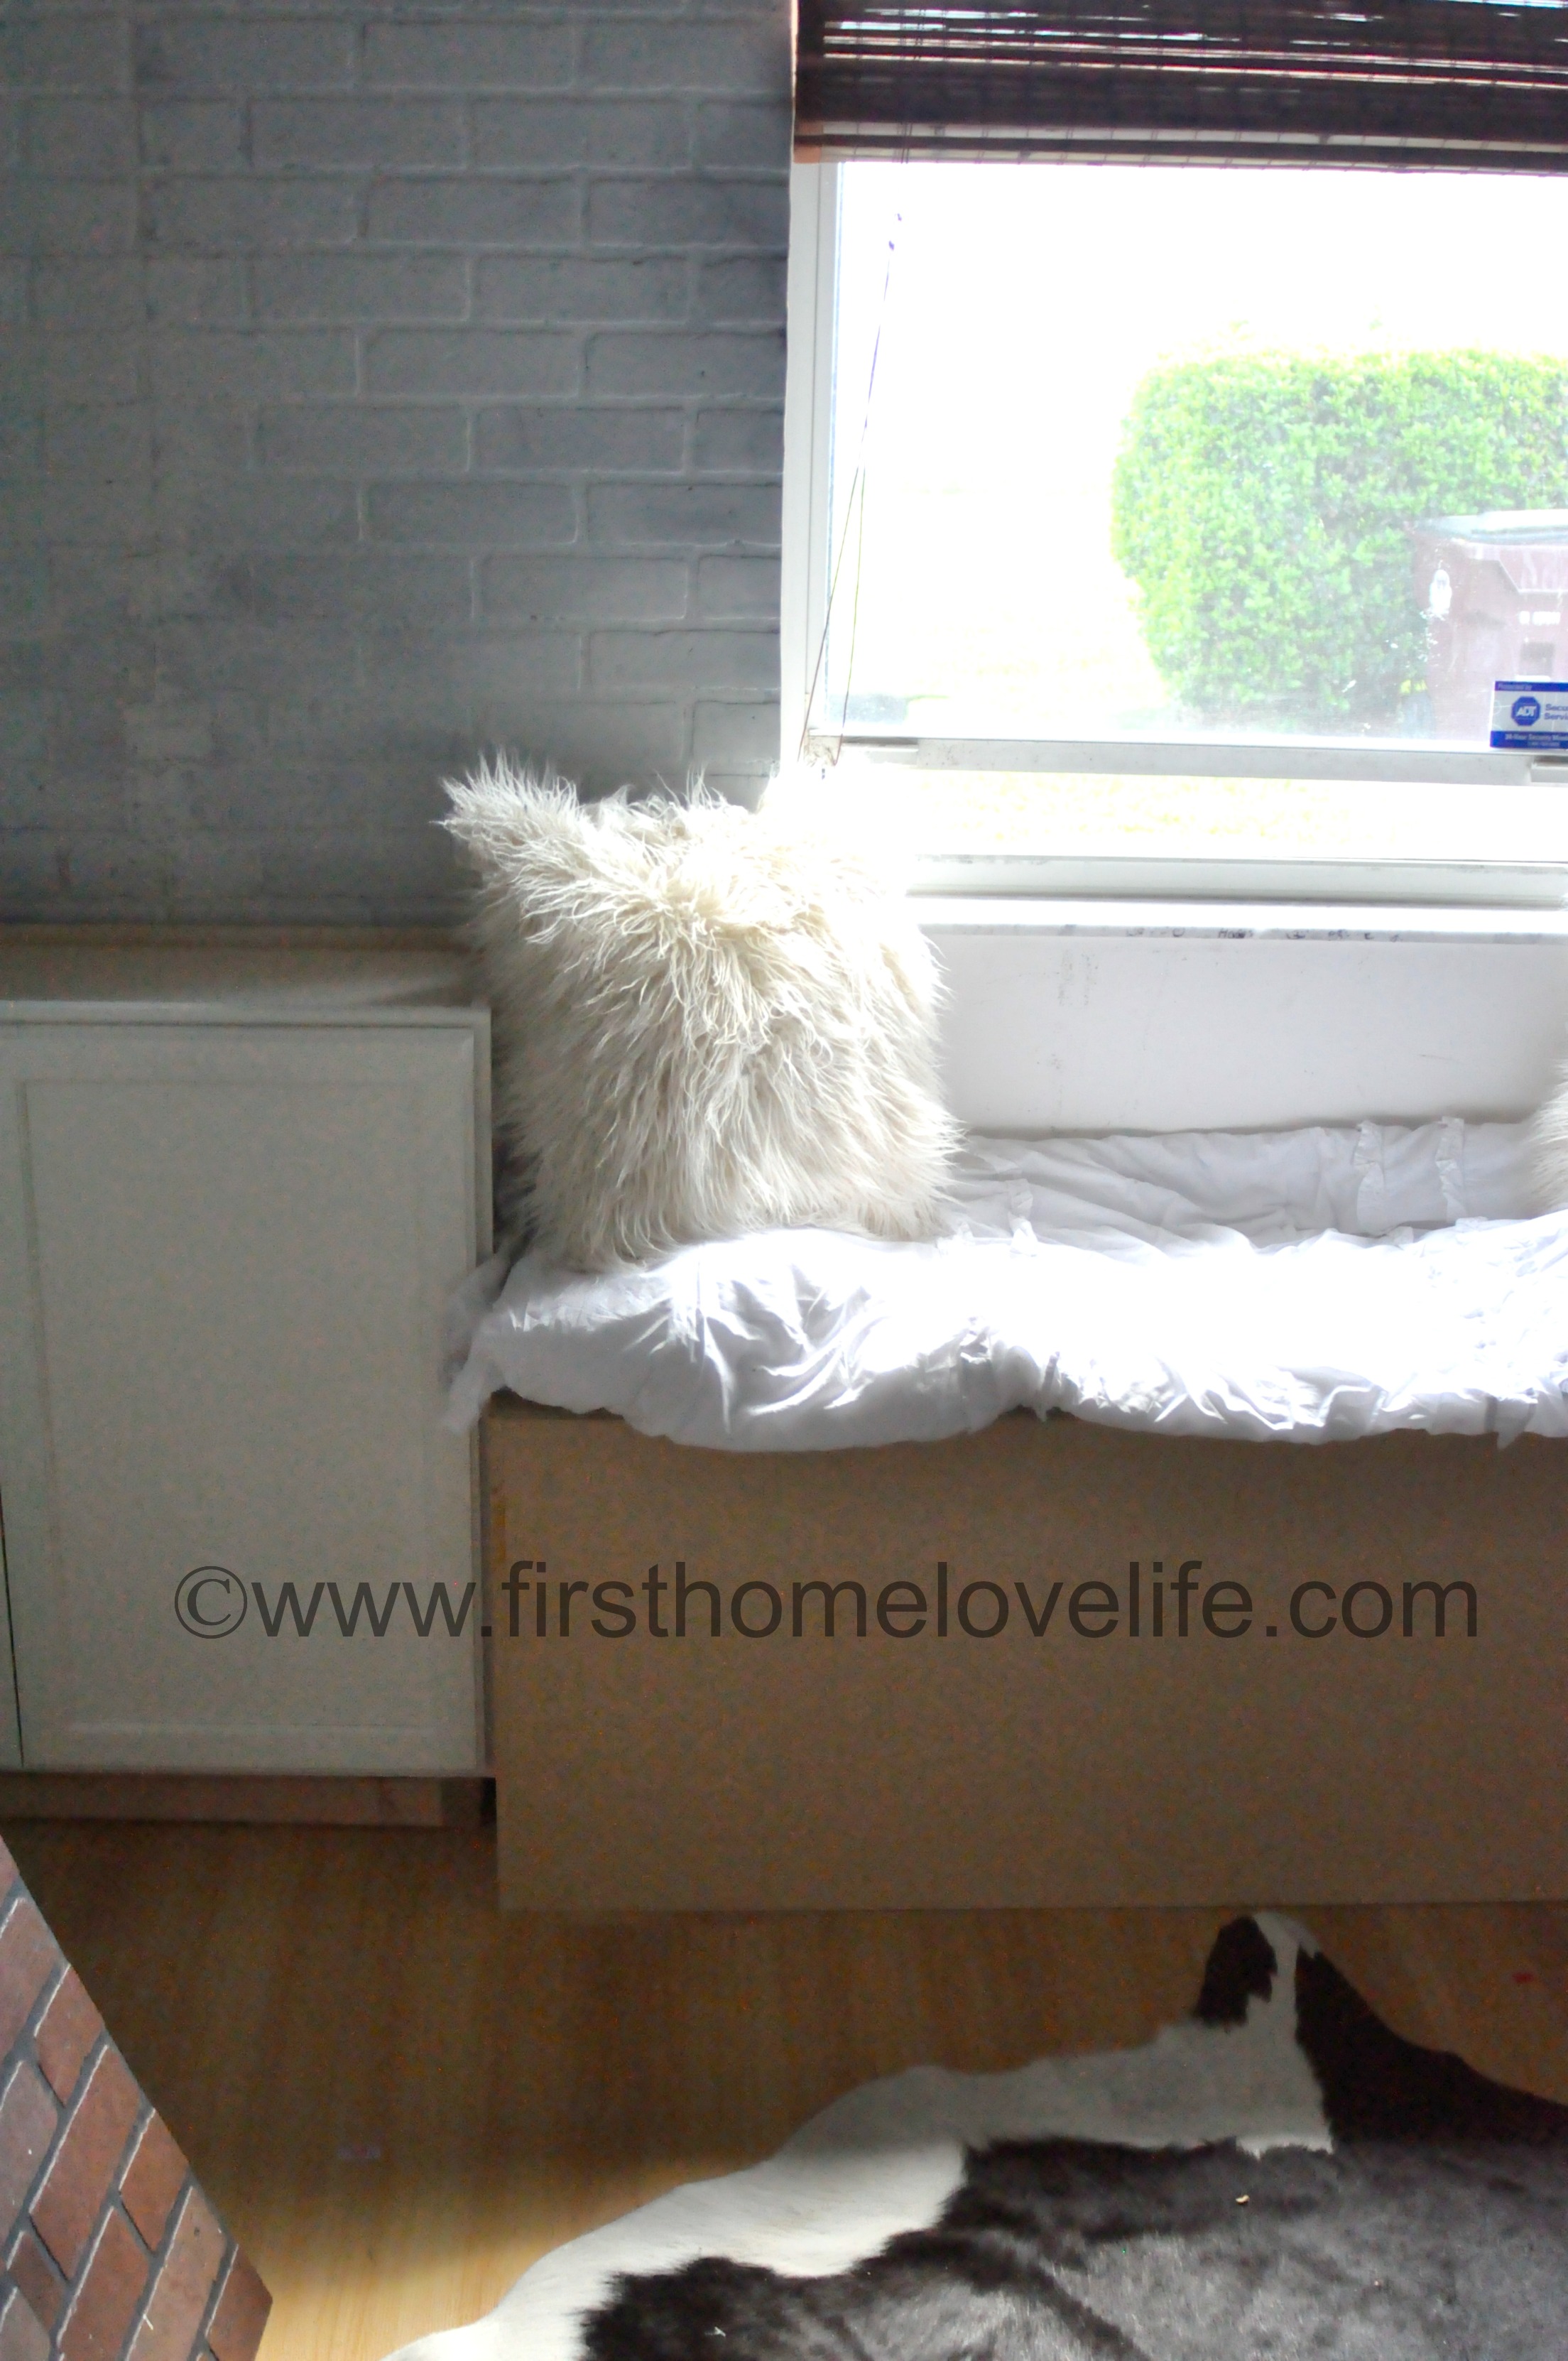
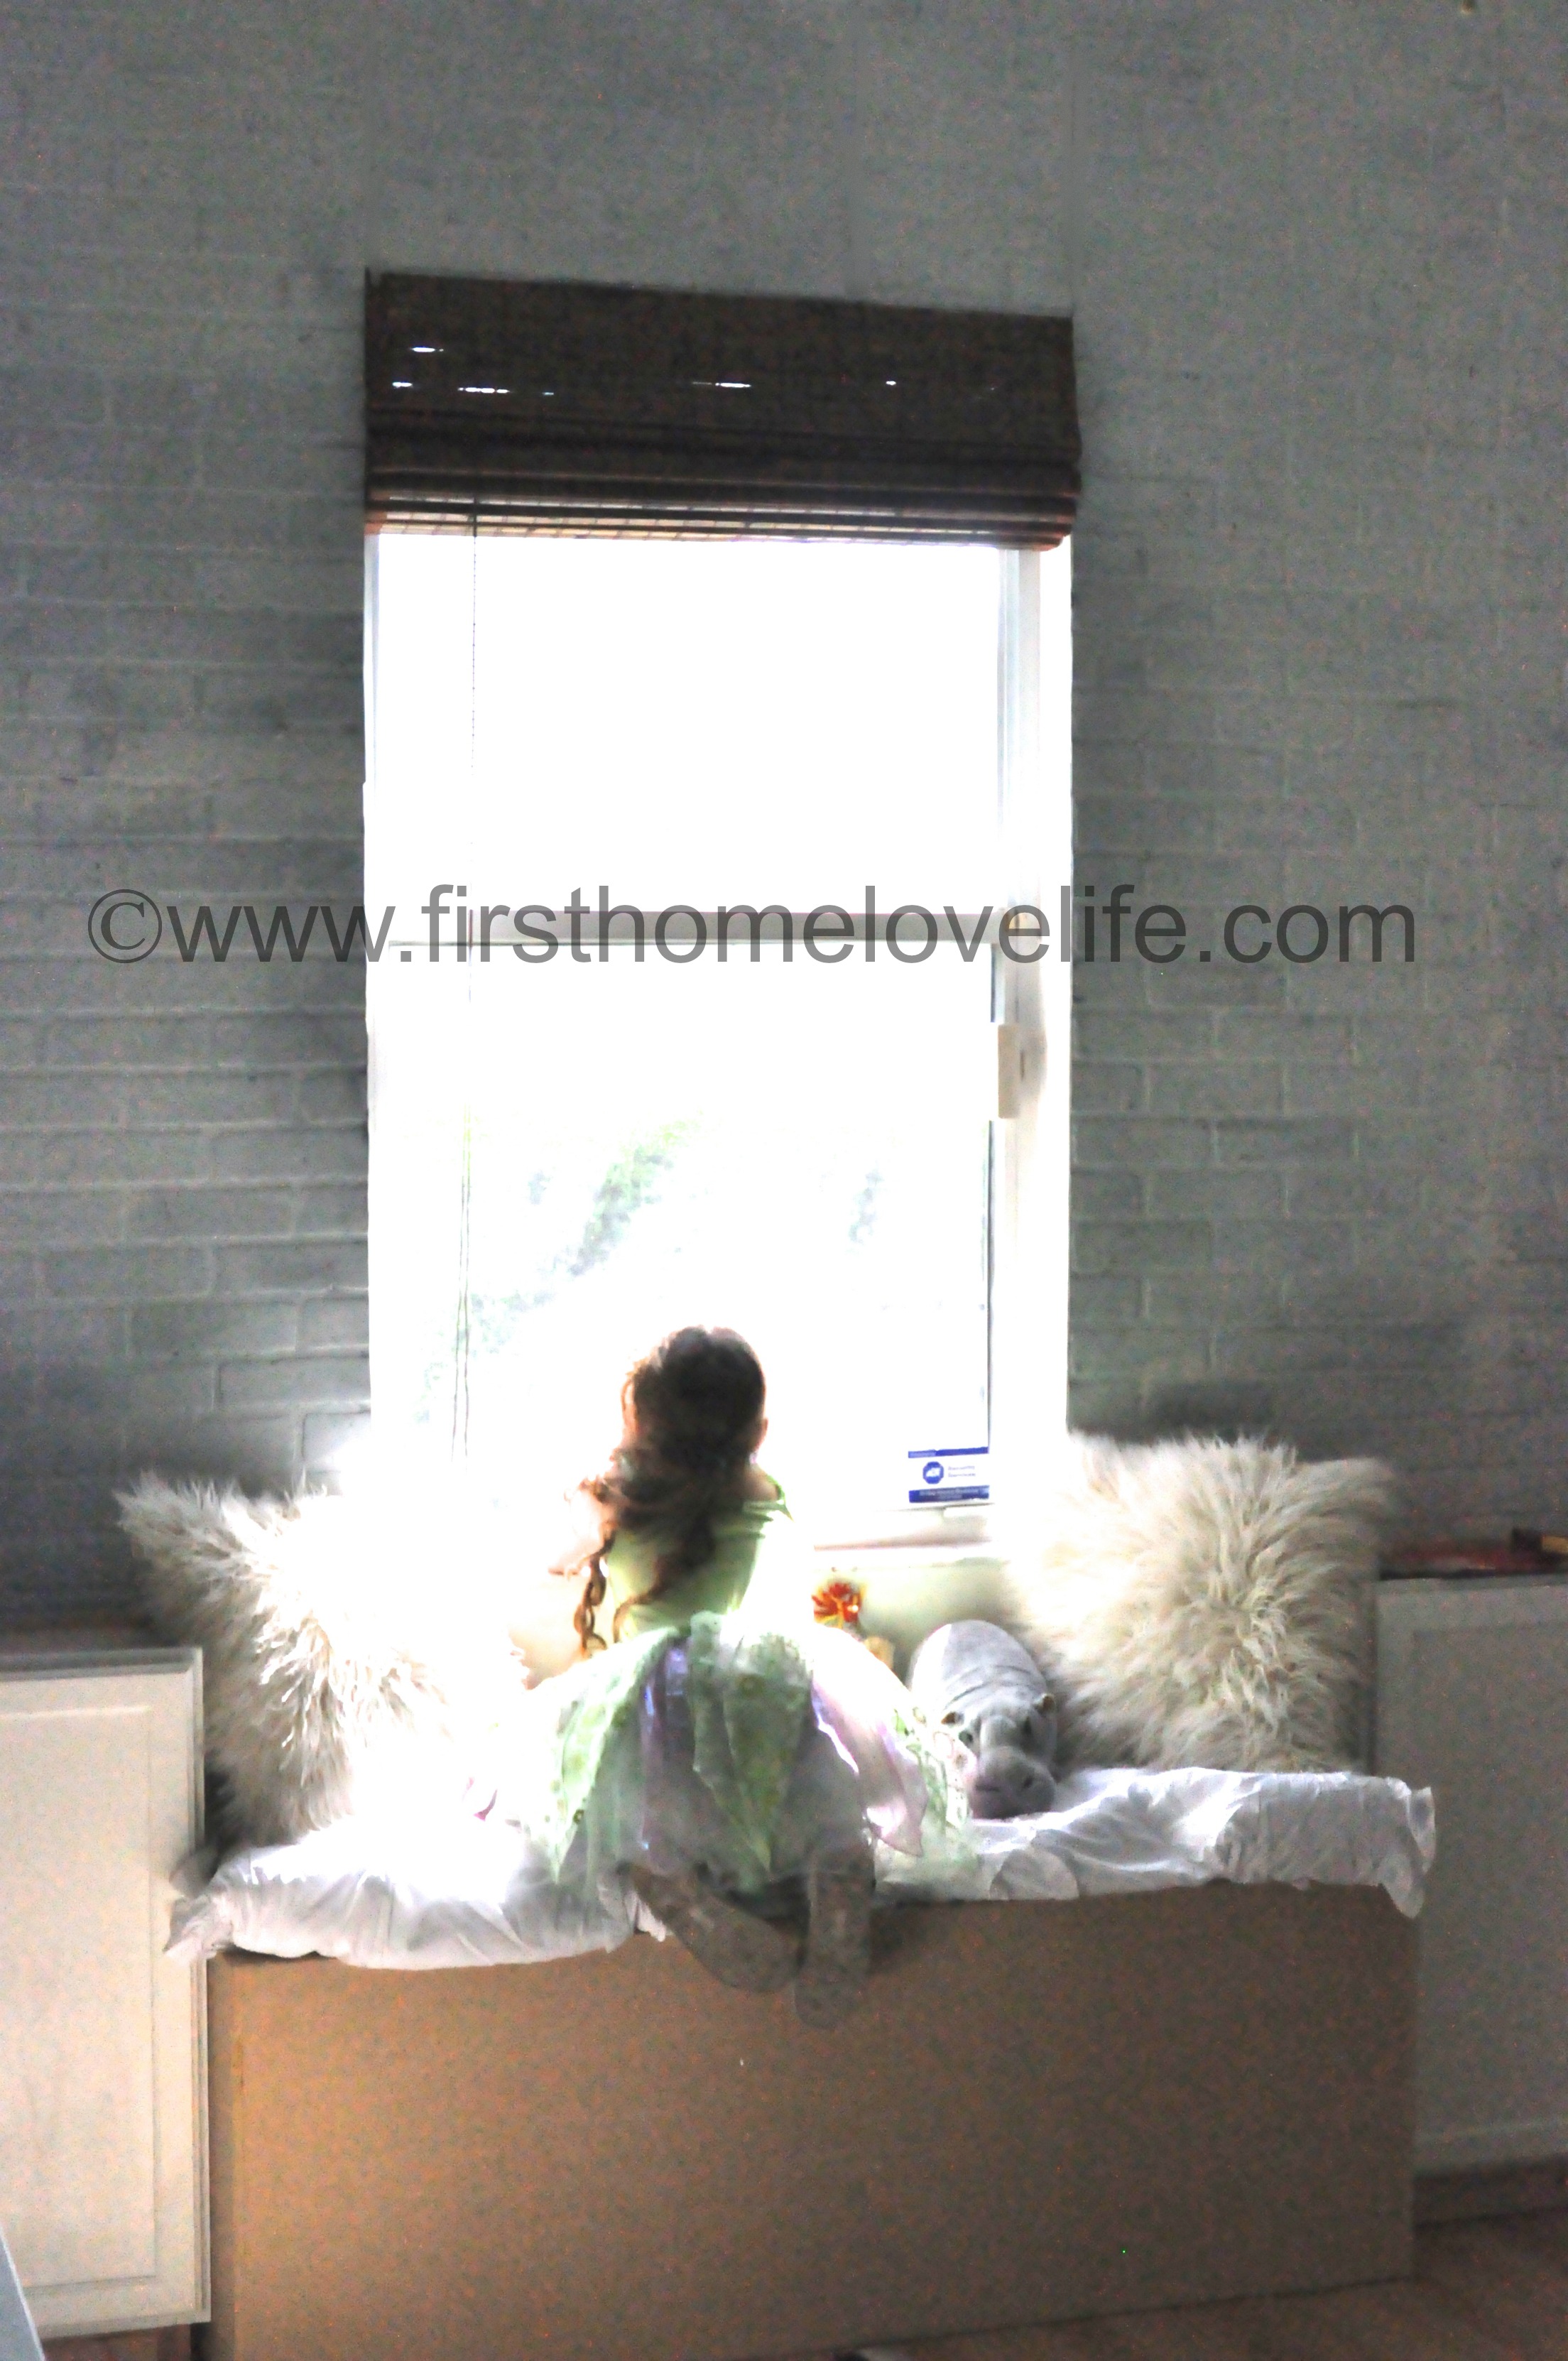
My daughter was so excited when the whole box was built, that she grabbed a spare comforter and the pillows off the couch to curl up and read a book. It was so cute, that I didn’t have the heart to tell her to get off so I could paint, and add the trim to finish it off 🙂
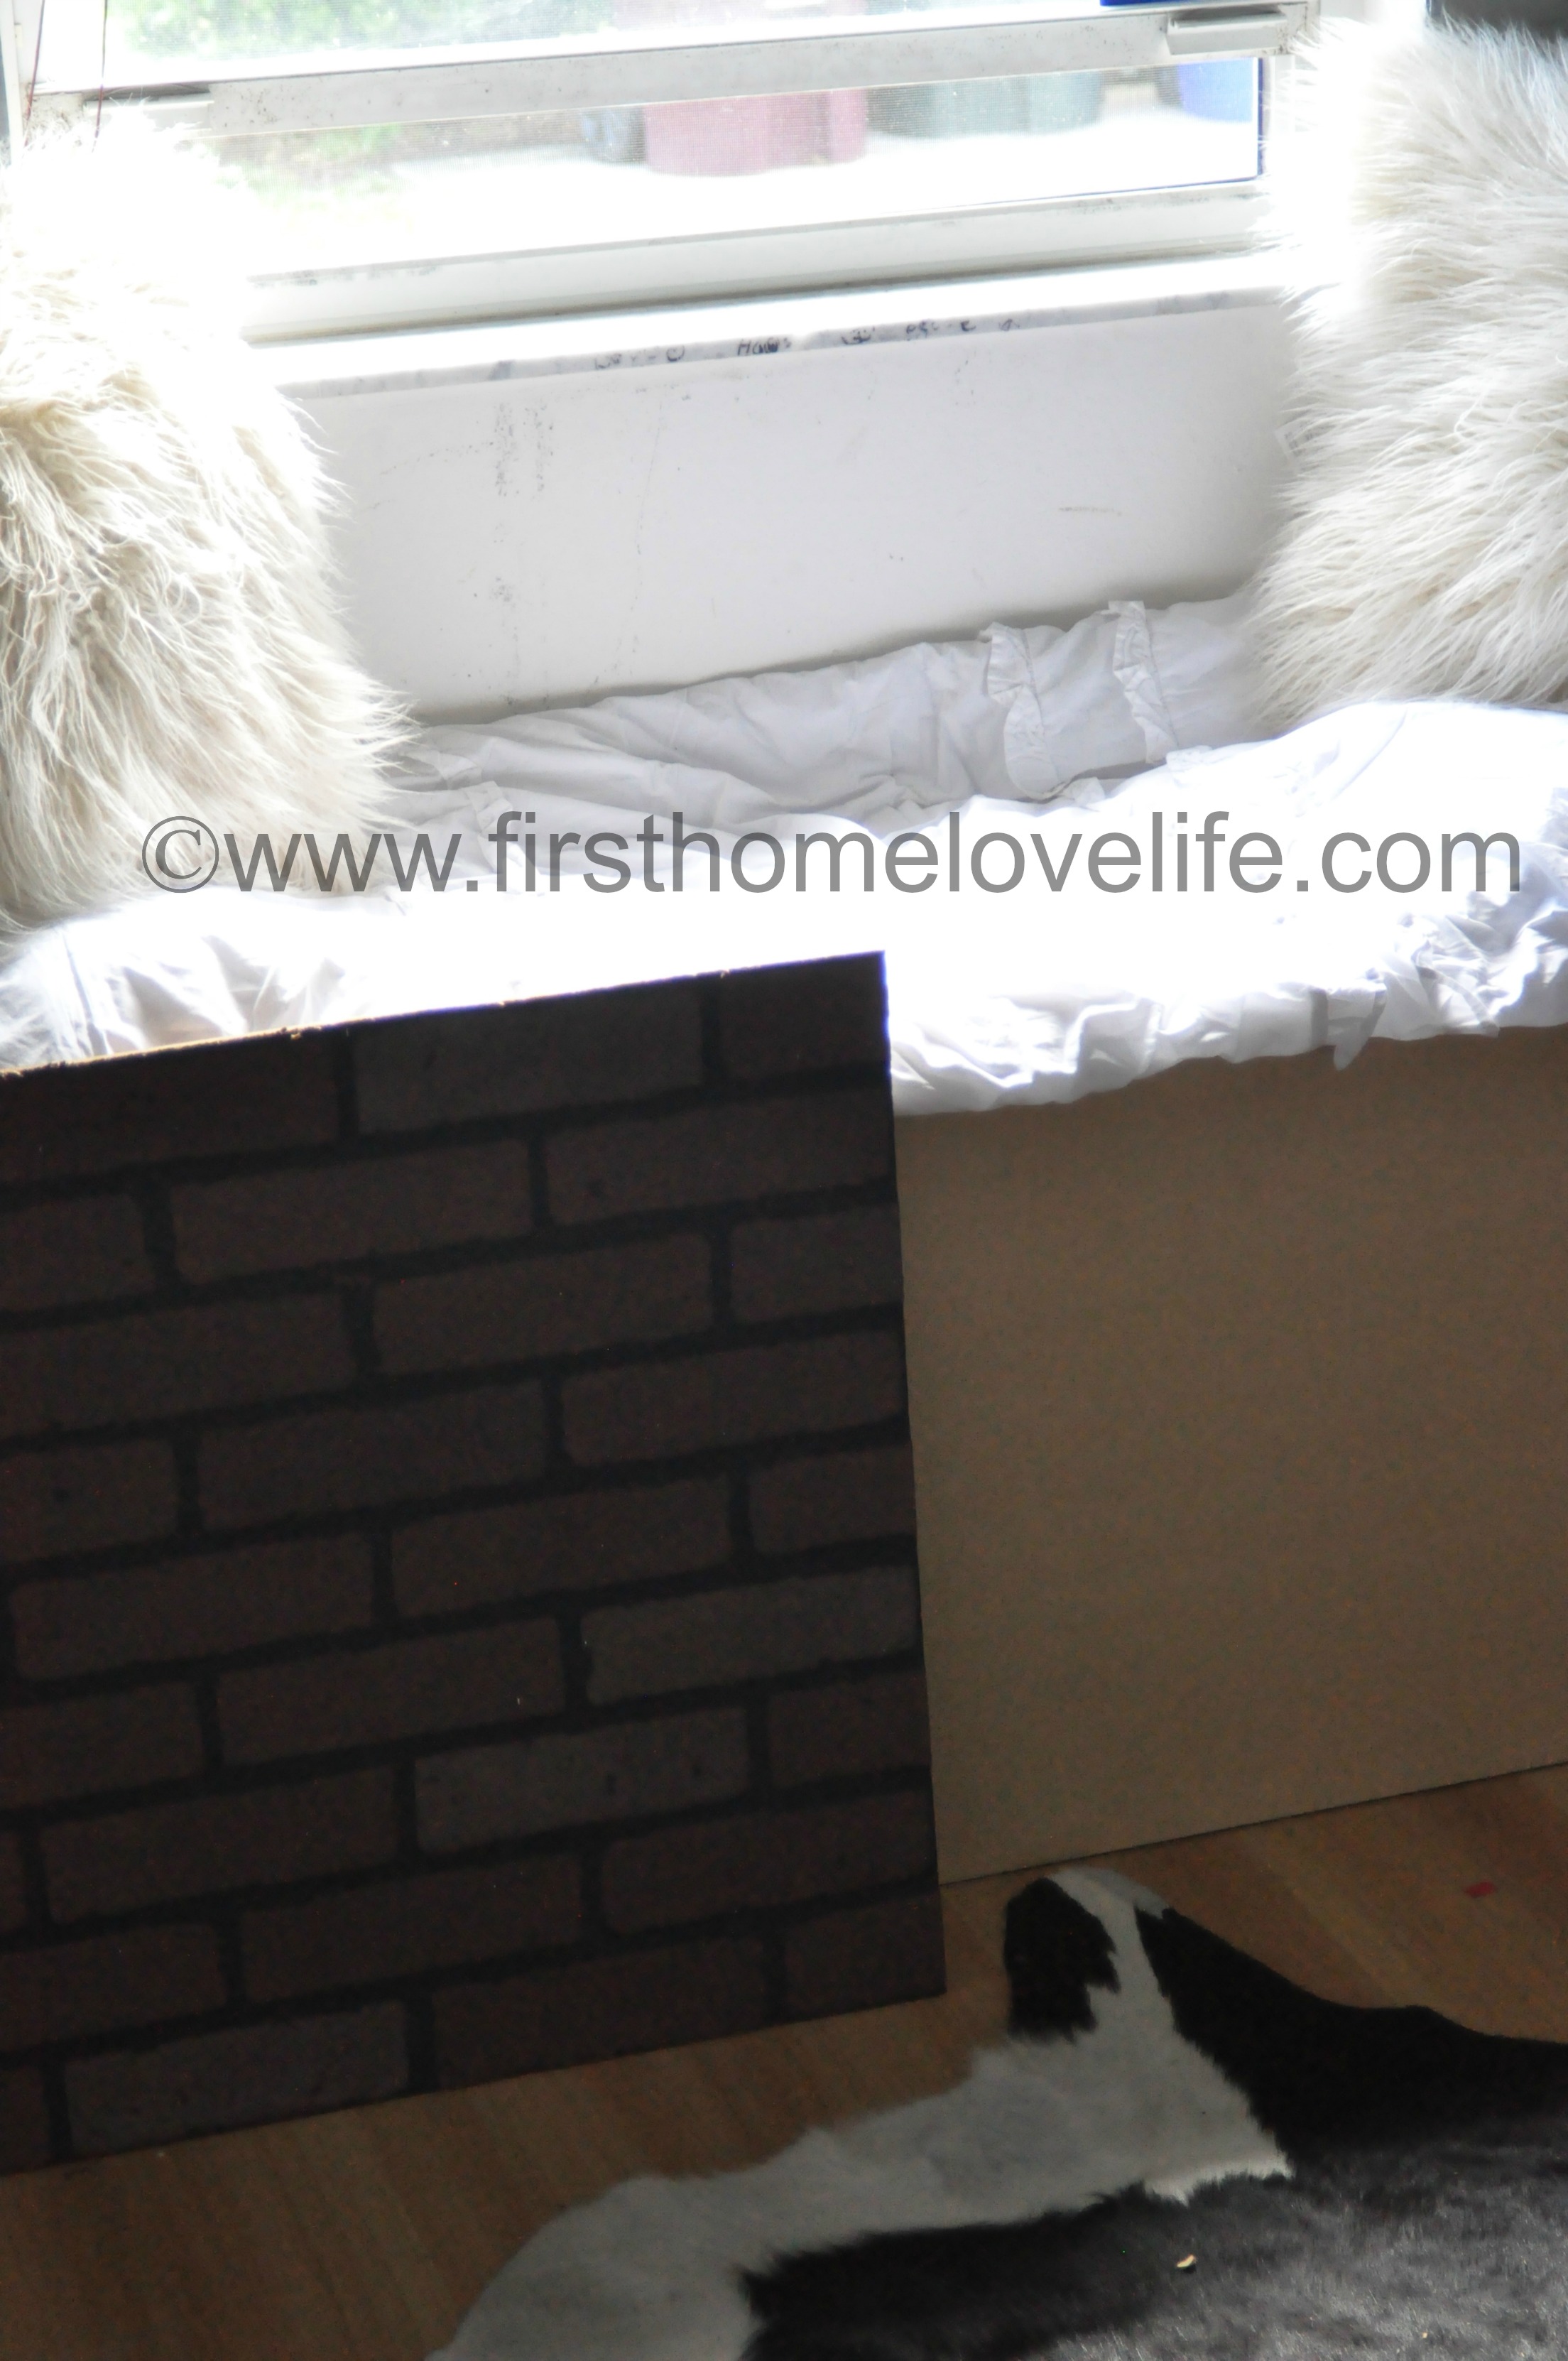
But…now I’m left with a bit of a design dilemma that maybe you can give me some advice. I leaned the faux brick up against the box, and now I’m wondering if I should add that to the “face” of the box, and white wash it like the walls to bring the brick down, or if I should leave it plain with a bit of molding to mimic the cabinets like I had originally planned…What would you do?
Oh and let’s pretend we didn’t see that faux cow hide rug yet, okay? 🙂 Pretty things are starting to happen in that room finally!
Are you currently tackling a room makeover? Why does it always seem to take longer than anticipated?! 😉
Talk to you soon friends, take care!
XO


I would love a window seat in my front windows…what a great place to read and daydream!
Cheryl @ The Creative Me and My McG recently posted…House Lovin’
Trim it out like the cabinets. It looks great. Jo @Let’s Face the Music
If the front of it is mdf which I think you said it is, you should really seal it due to the chemicals used it make it. This will keep it child safe. Looks great!