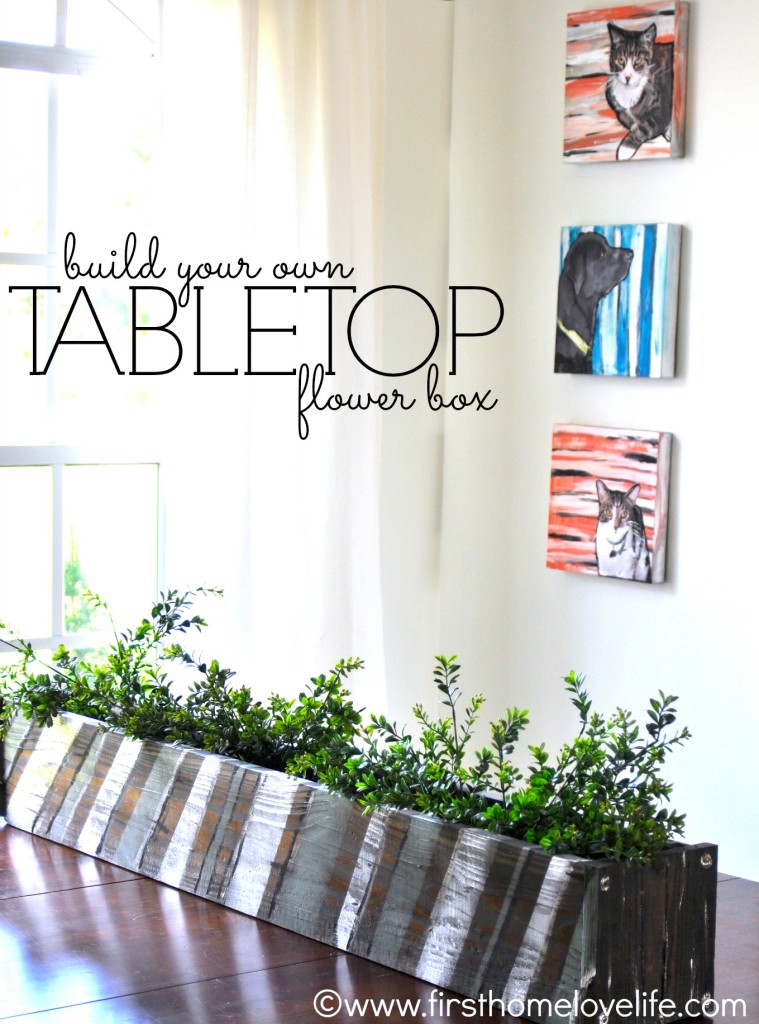
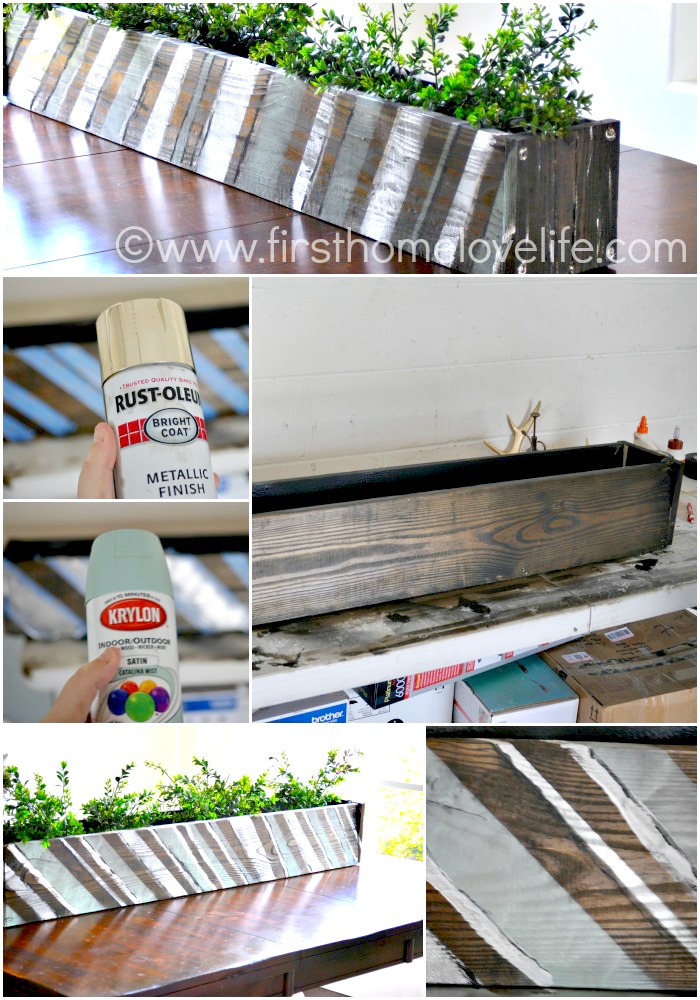
This is one of those projects I have been meaning to do for a while. I love having fresh flowers on our table all the time, but when I would put them in a vase and stick it on our dining room table- it always felt really formal. I’ve kind of been on an undocumented quest to de-formalize our house. I want every room to feel lived in and used. So when it came to our formal dining room I wanted to create something that would blend in more with my home and I love the rustic industrial look of this. Here’s how you can build your own tabletop flower box….
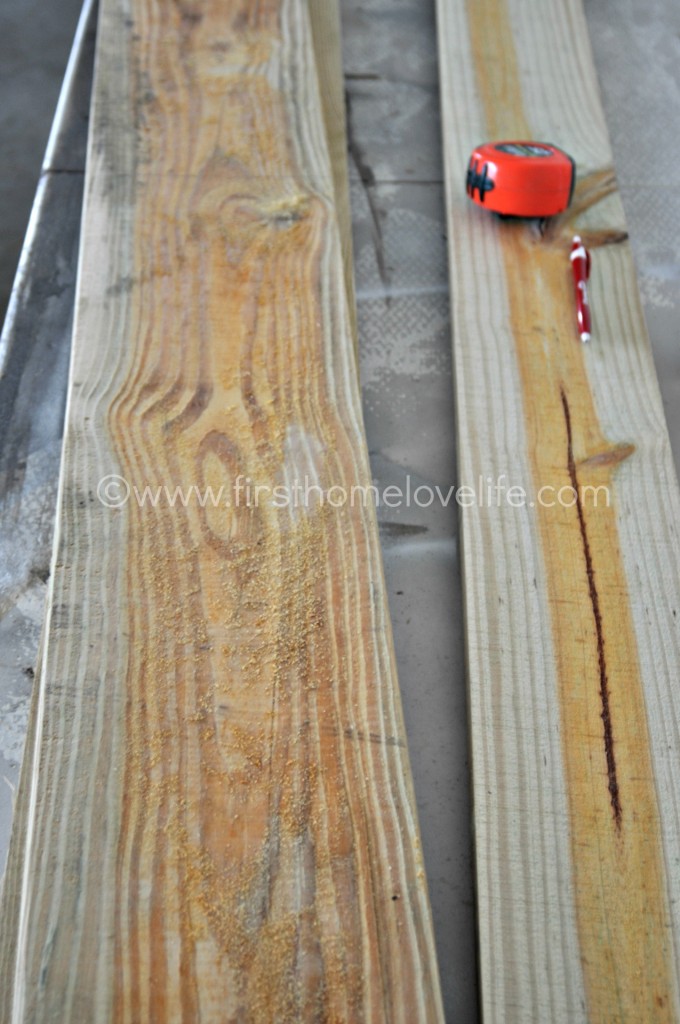
I had left over wood from when we built our framed chalkboard art, so I used that, but if you need to go out and buy something then I would get something that is treated for moisture resistance.
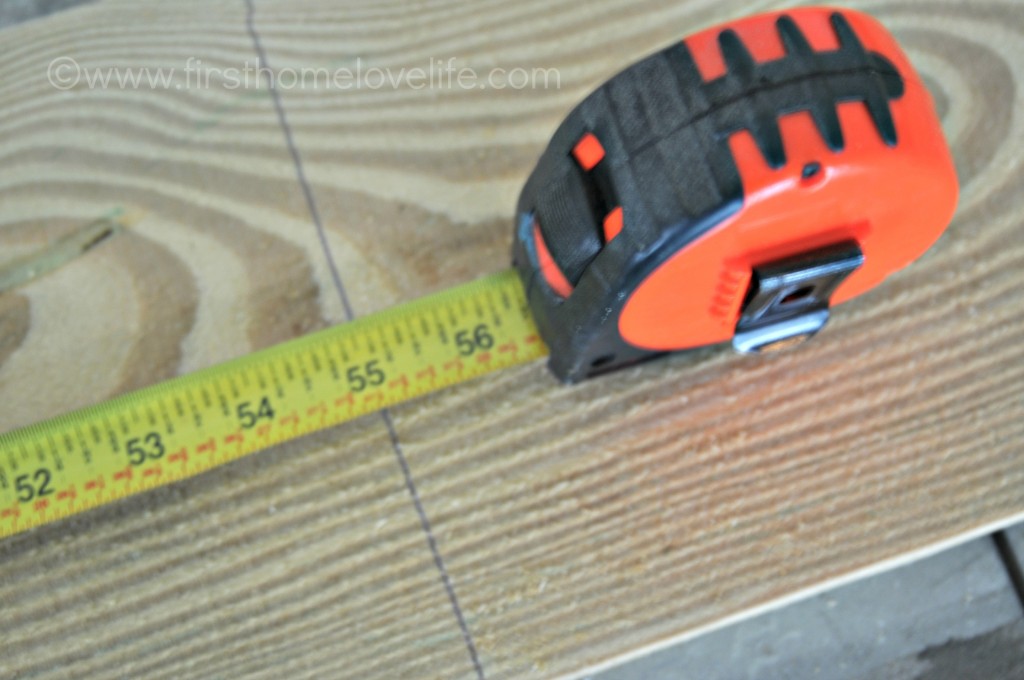
The first thing I did was measure my table, and decide how long I wanted to make the box. Then I measured and marked the wood.
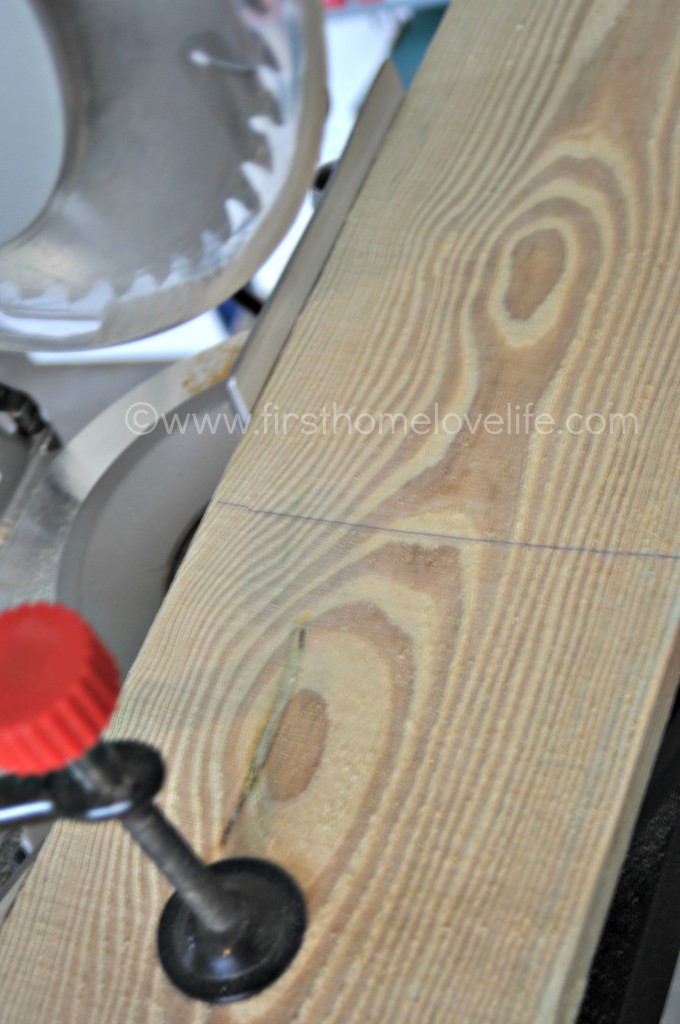
Then using my miter saw I cut on the marks.
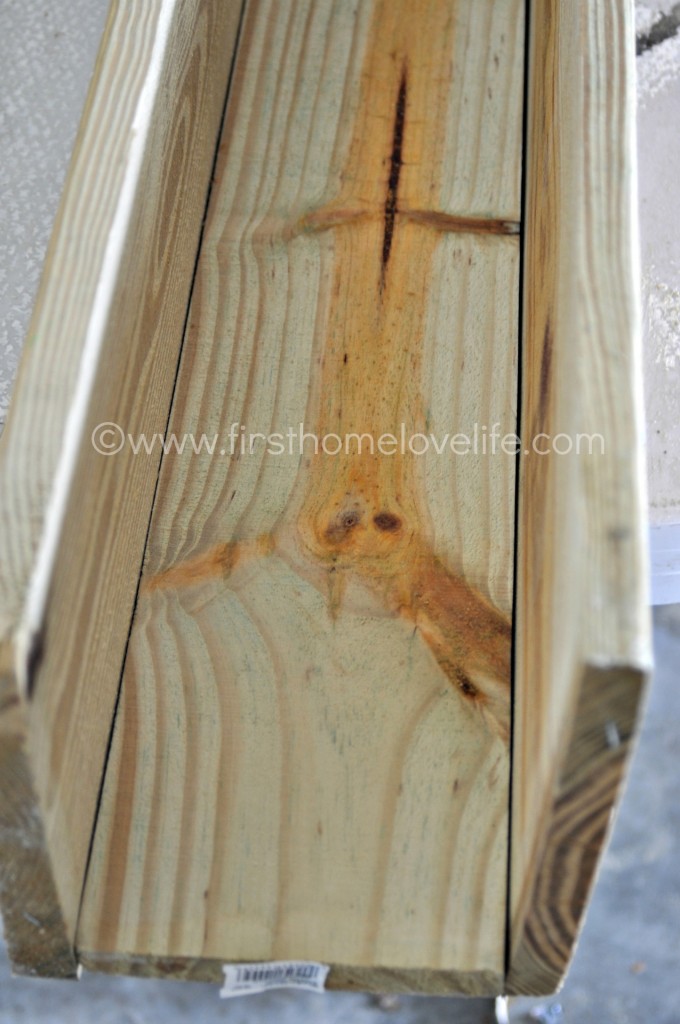
Once all my pieces were cut out (2 long sides, 2 short sides, and a bottom) I got to work putting everything together.
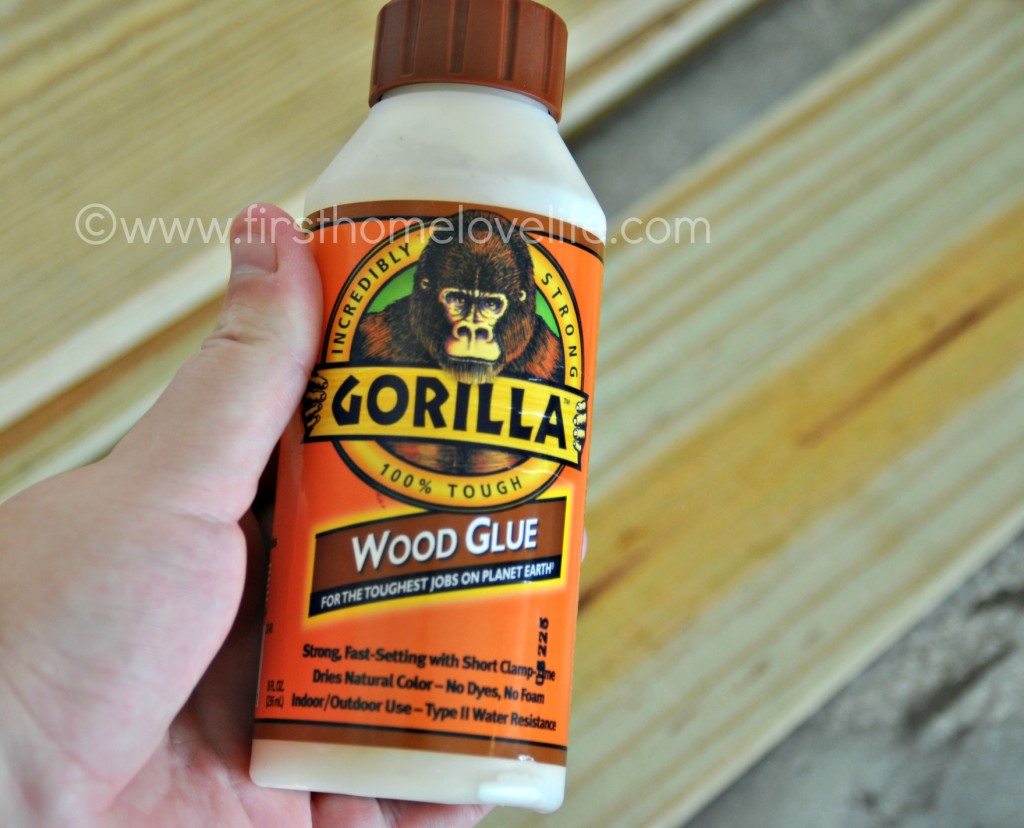
I used wood glue, and small nails to put the box together, being really careful not to split the wood, and spacing the nails every 4 inches or so to make sure it was really secure.
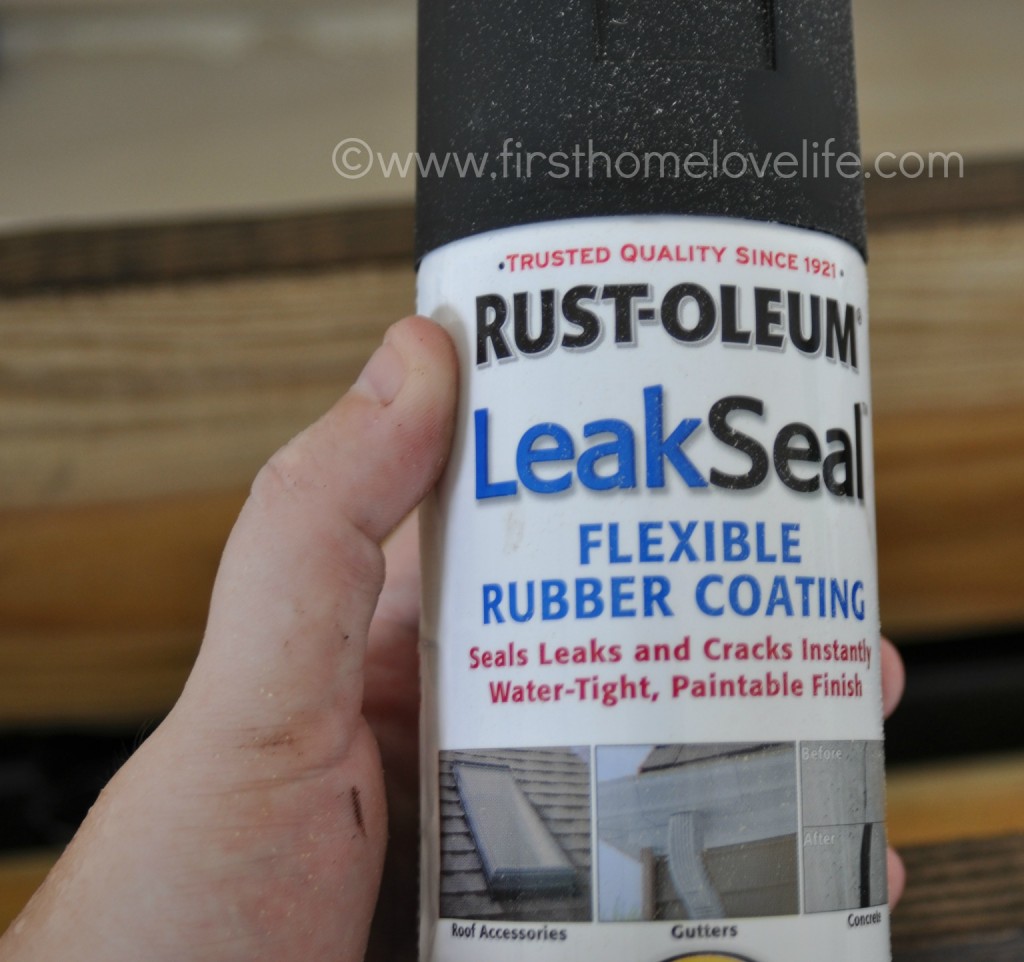
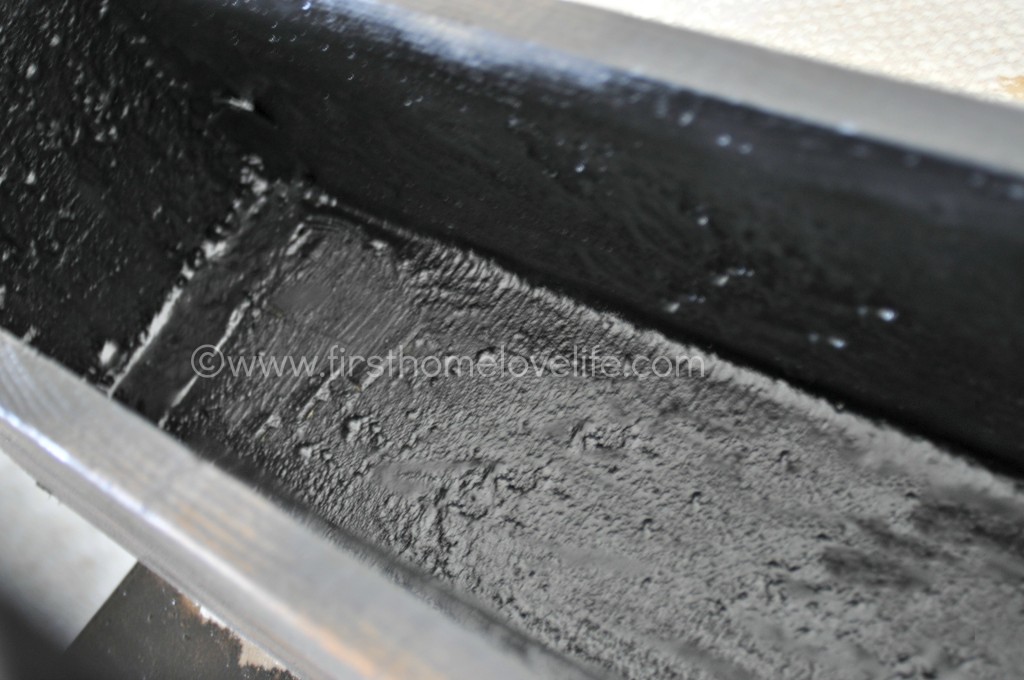
When the box was built and I was positive that the glue dried, I used Rustoleum’s spray rubber coating to spray the entire inside to seal the cracks since my intention for this flower box is to put soil and real plants in there, and I don’t want water to leak and ruin my dining room table. I used the entire can which retails for just under $10 for this box.
One the spray rubber was dry, I stained it, and painted stripes to add a little character, but the possibilities are endless. You could stencil “herbs” and plant herbs there. You could paint polka dots. Do what you want, and make it personal for your decor and taste 🙂
It seriously just makes me happy every time I walk by this table now. I love it!
You might also notice something different around here…
Besides my DIY Pet Portraits that were recently hung, we have begun to de-beige our house. Even though beige is considered a neutral I have regretted the color since the minute I put it up on the walls two years ago. I felt limited to what I could add as far as in our decor, and like I said above it felt really formal (which just isn’t us). One of the reasons I fell in love with this house was because of how light and bright it was when we toured it with our realtor, and the beige paint seriously sucked out the life and vibrancy of the natural light- strange but true. So I decided to do something drastic that seems safe and boring but really it’s the complete opposite. Paint the walls white, but not just any white, a soft, warm tinted, creamy white that could be the backdrop to punches of color all around. So that’s what we’re doing, and I have to tell you…My photo’s have never looked so good 😉
Talk to you soon guys, take care.
XO
Linking this project up to: Setting for Four, Tatertots&Jello, Sew Woodsy





Christine this is awesome! I have never used Leak Seal before, going to have to try it. I love this project 🙂
xo, Tanya
Tanya recently posted…Kid-Friendly Craft: Simple Stitched Cards
Thanks so much Tanya! It’s a really neat product for so many uses. I’m pretty excited about it 🙂
Christne, I just LOVE this flower box and I never heard of Leak Seal before, so thank you so much for introducing me to this product. You did a great job on this and what a wonderful gift this would make, too! Pinning! I know you are a busy lady, but if you have time, would love you to come and share this at our Best of the Weekend party this Friday. Thanks for the wonderful inspiration and have a happy week!
Cindy Eikenberg recently posted…Party Time! I’m Co-Hosting The Collective Blog Hop
Thanks so much Cindy. I”ll try to remember to stop by! Thanks for the invite 🙂
How cute! Love this and the no leak! What a great idea
Recreateanddecorate recently posted…Easy tips for decorating a summer home
Thanks Wanda 🙂 It’s definitely a neat product to try out!
Ooh I love this! I just clicked over from Tatertots and Jello and I’m hooked. Your pet portraits are FANTASTIC! I would love to link to your tutorial if you didn’t mind.
Thank you Rachel! As long as it’s just one picture and a brief description with a link back I’d love to be included. Thanks 🙂
This flower box and I never heard of Leak Seal before, so thank you so much for introducing me to this product. You did a great job on this and what a wonderful gift this would make. Your portraits are fantastic.
I love this tabletop flower box! I agree that a vase sometimes looks way too formal! And I couldn’t agree more with you–I hate the beige in my home. I want to paint some of my walls but just don’t know what to do… maybe a soft white is what I need! p.s. featuring this project tomorrow at Sew Woodsy!
katie recently posted…40 DIY Succulent Ideas
I’m totally stealing this project one day. 🙂 So glad you linked up to Life Inspired! I featured you this week!
Sarah recently posted…Life Inspired Link Party #4 + Home Depot and Martha Stewart Living Giveaway
OK I really love this! but then I’ve got a thing for wood planters/boxes…I especially like the fact that you used Rust-Oleun’s LeakSeal on the inside. I actually didn’t know that they had such a product, thinking I might have to pick some up…
Thank you so much for sharing.