Bathroom Vanity with Quartz Counter- This has got to be by far the most exciting part of this bathroom redo for me…
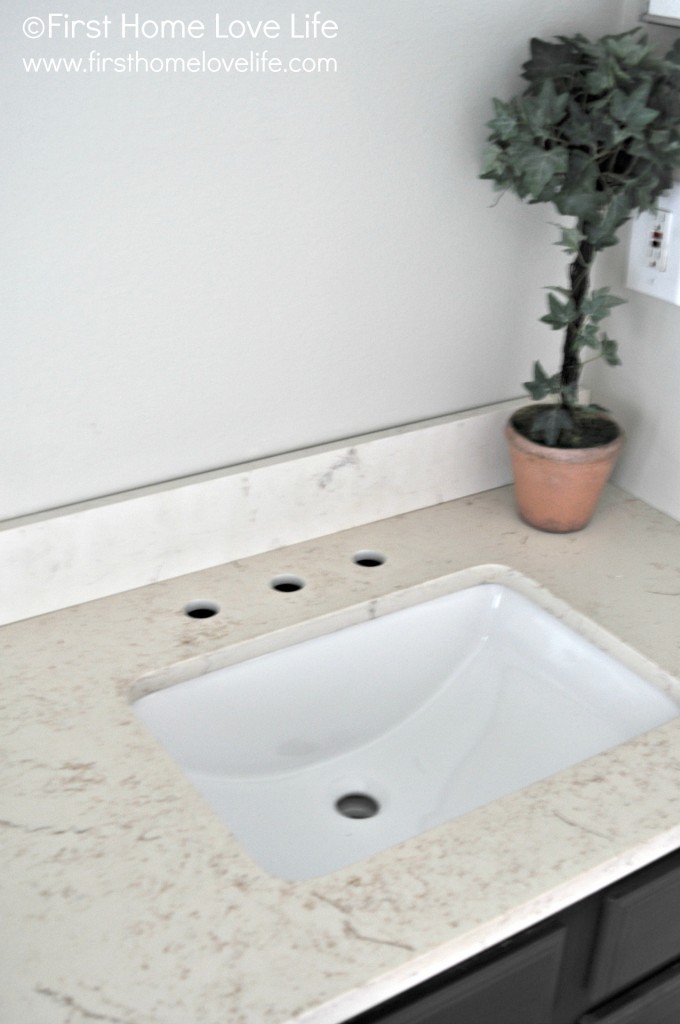
We have real QUARTZ in the house!
Our kitchen counters may still be white formica, but in this little corner of our home I can come in and glide my hands over it’s smooth, soft, sparkly surface.
It was love at first sight I tell ya.
My original plan for this bathroom was to get a vanity/sink combo.
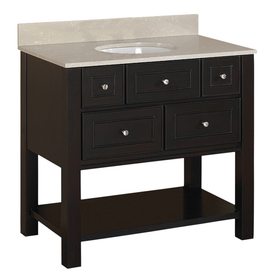
Something like this…
IMG. VIA LOWES
Gorgeous as it may be, the $449 price tag had me running the other direction.
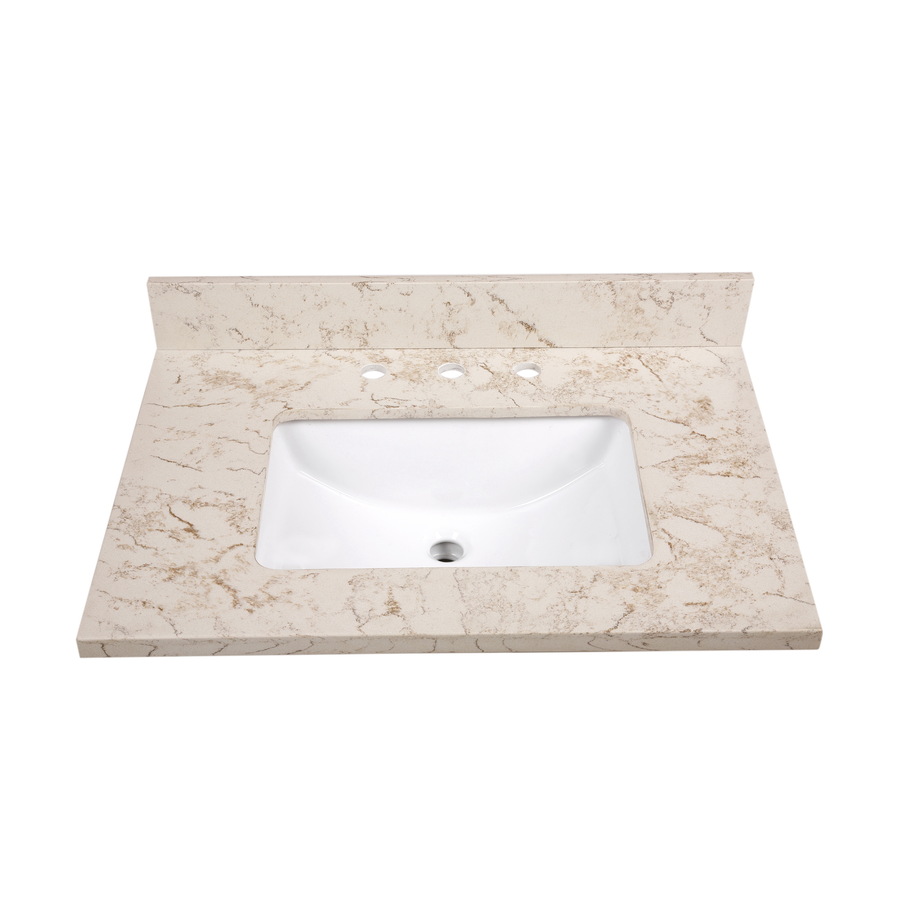
While perusing the endless list of bathroom vanities on various websites I noticed that a few of the big box home improvement stores sold ready to go granite and composite vanity tops, but then I stumbled upon this…
Product via Lowes
QUARTZ…the exact size I needed…undermount sink…pre drilled faucet holes…5 stars…and $189.00…WHAT?!
I wasn’t able to order it online and pick it up for some reason, so a quick call to the 1800 number to make sure I wasn’t losing it, confirmed that they were out of stock in my neck of the woods. Just. My. Luck. But the amazing customer service rep called around to pretty much every store in the southeastern seaboard and within 30 minutes it was found and put on the next shipment from AL.
Saaaa-weeeeet.
So…Like I said here, our cabinet was in fine condition…it just needed a little love.
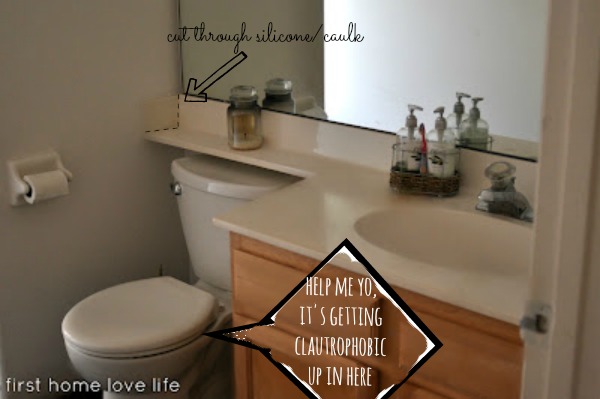
The only thing we needed to do was get rid of the outdated, oddly shaped counter and free the claustrophobic potty.
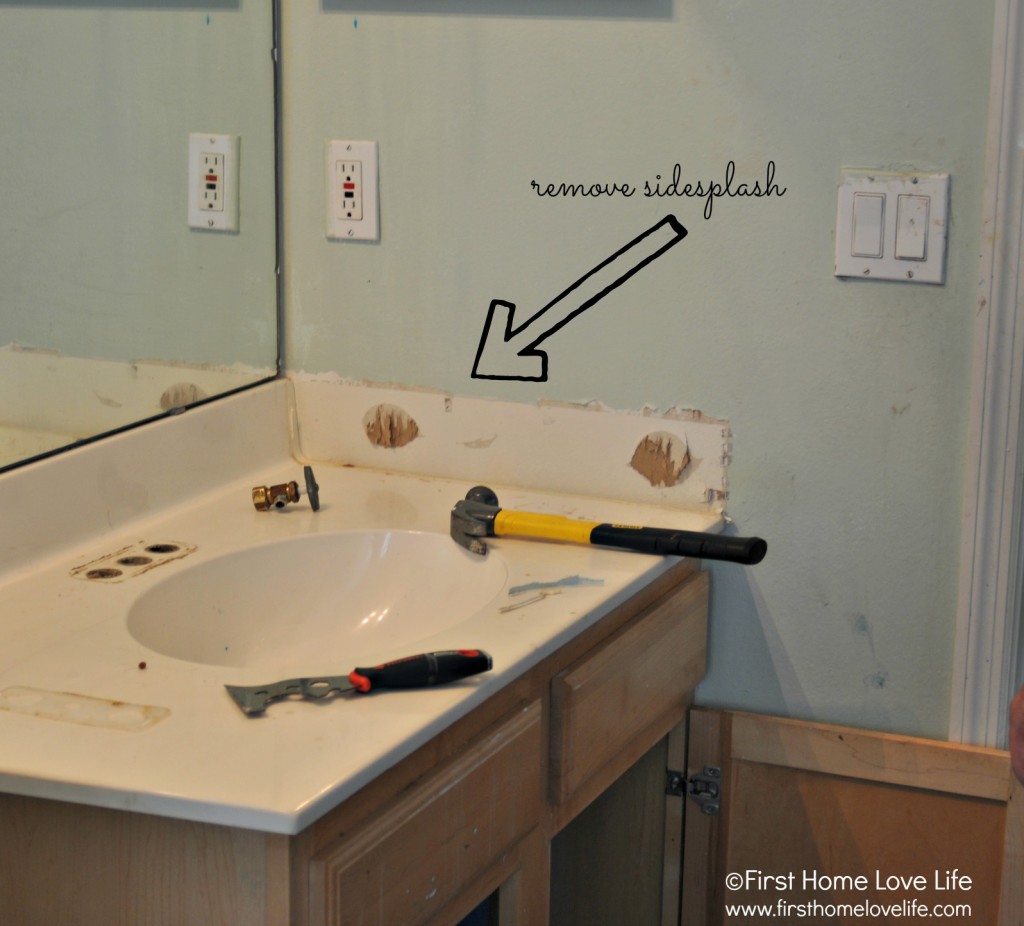
Removing the 14 year old counter top was pretty easy, and for the record…we are total newbie DIYers, so if we can do it so can you.
All you’ll need is a sharp utility knife, a flat head screwdriver or something similar to pry the side splash away, and possibly a hammer to tap the screw driver a bit.
Once you remove the side splash or back splash you never know what you’ll find. Luckily for us the wall damage wasn’t bad at all.
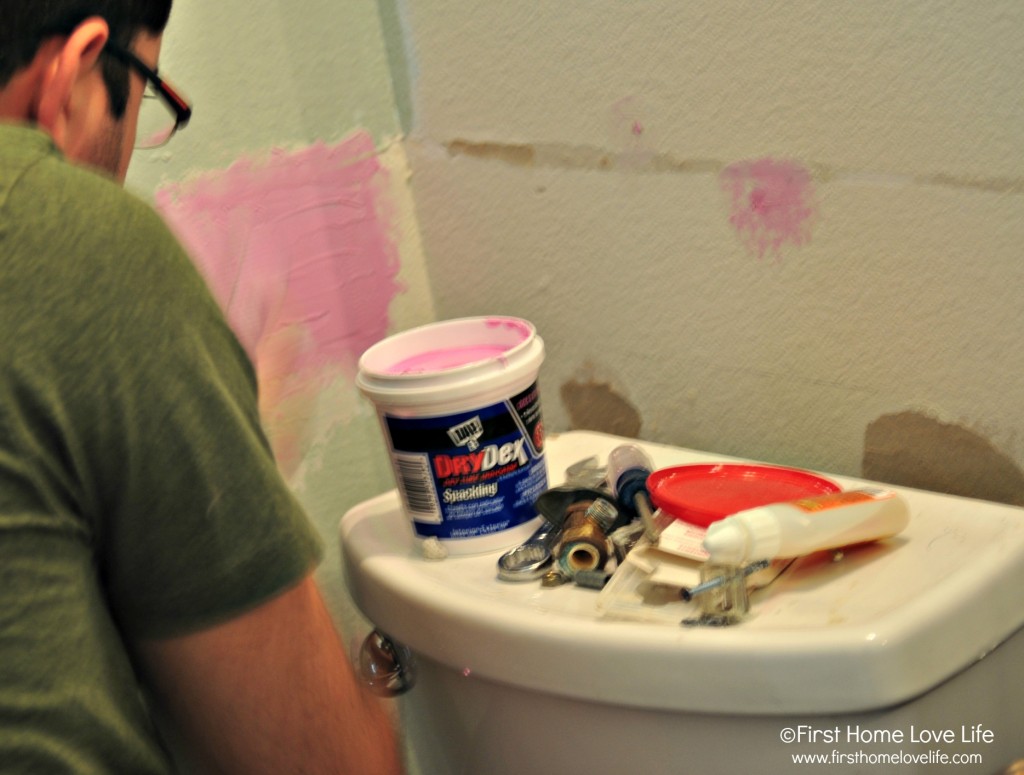
Nothing a little patch, spackle, and sanding can’t fix.
When the side splashes on each side were removed the whole counter was able to be lifted and removed in one piece.
So while hubs got to spackling…
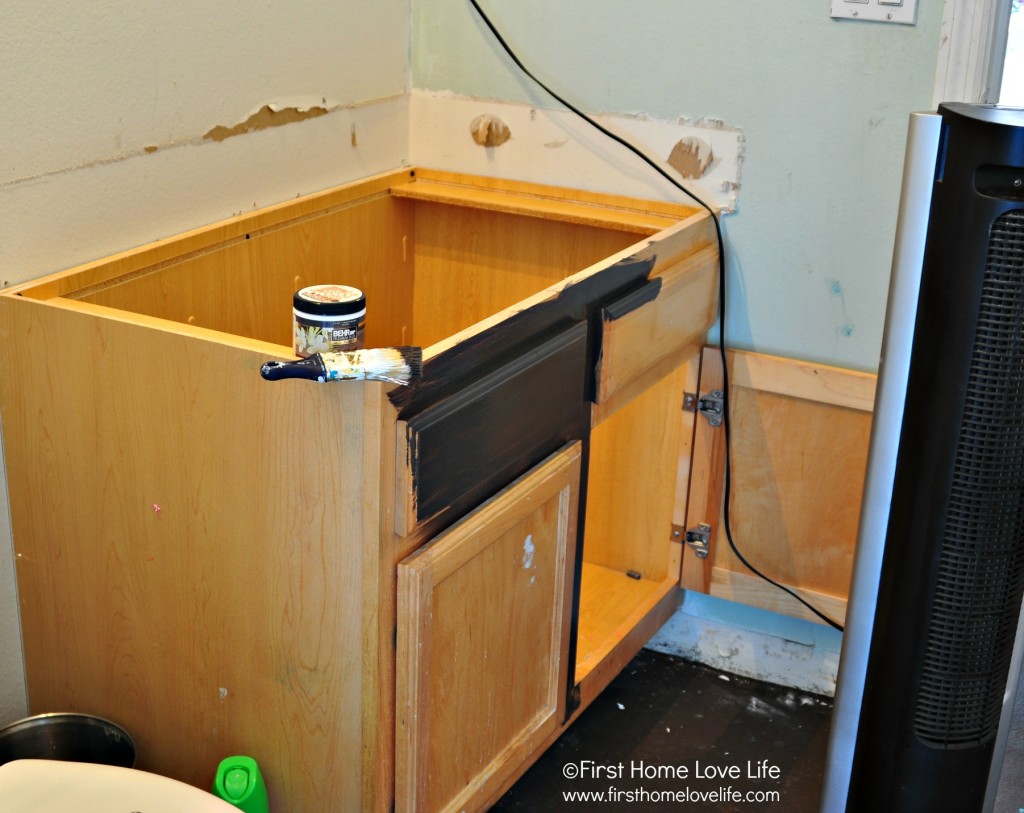
I got to painting…
Team work I tell ya, and I apologize for the crappy pictures.
My camera hates me at night.
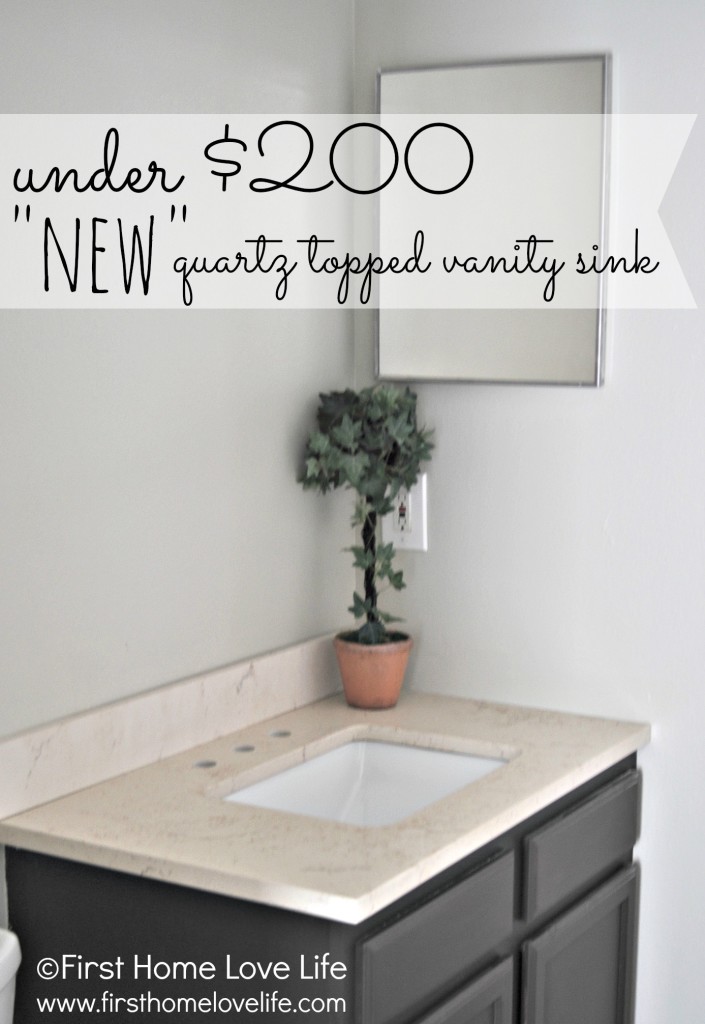
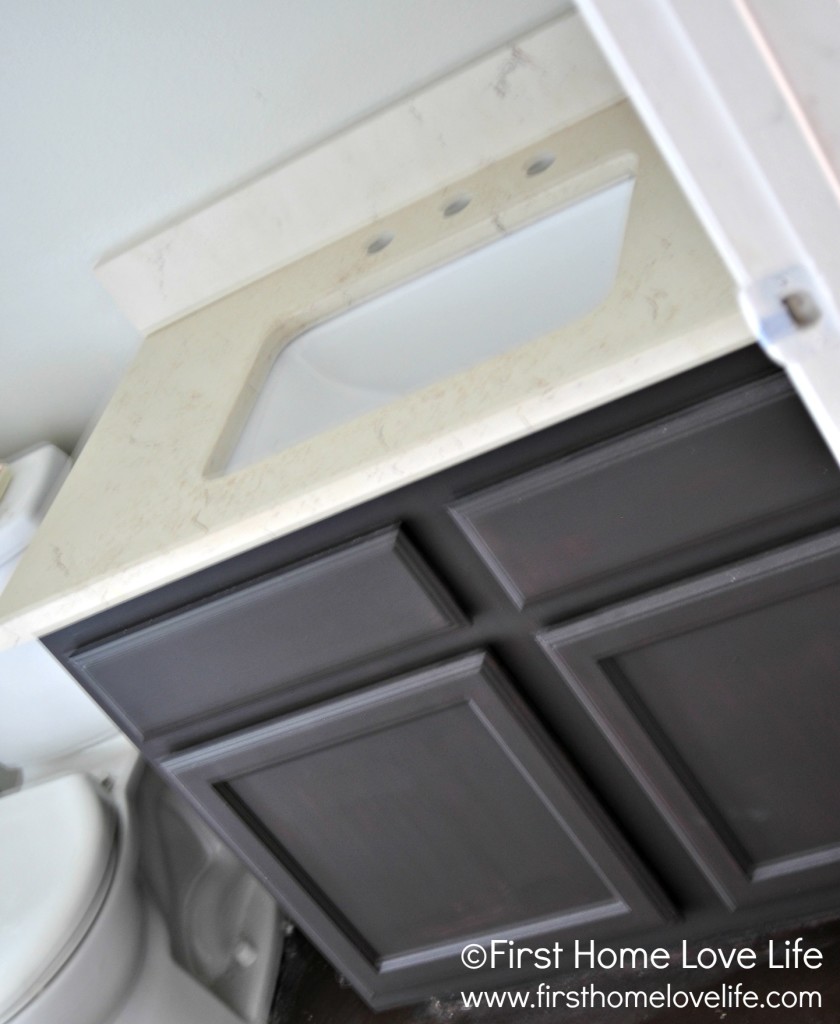
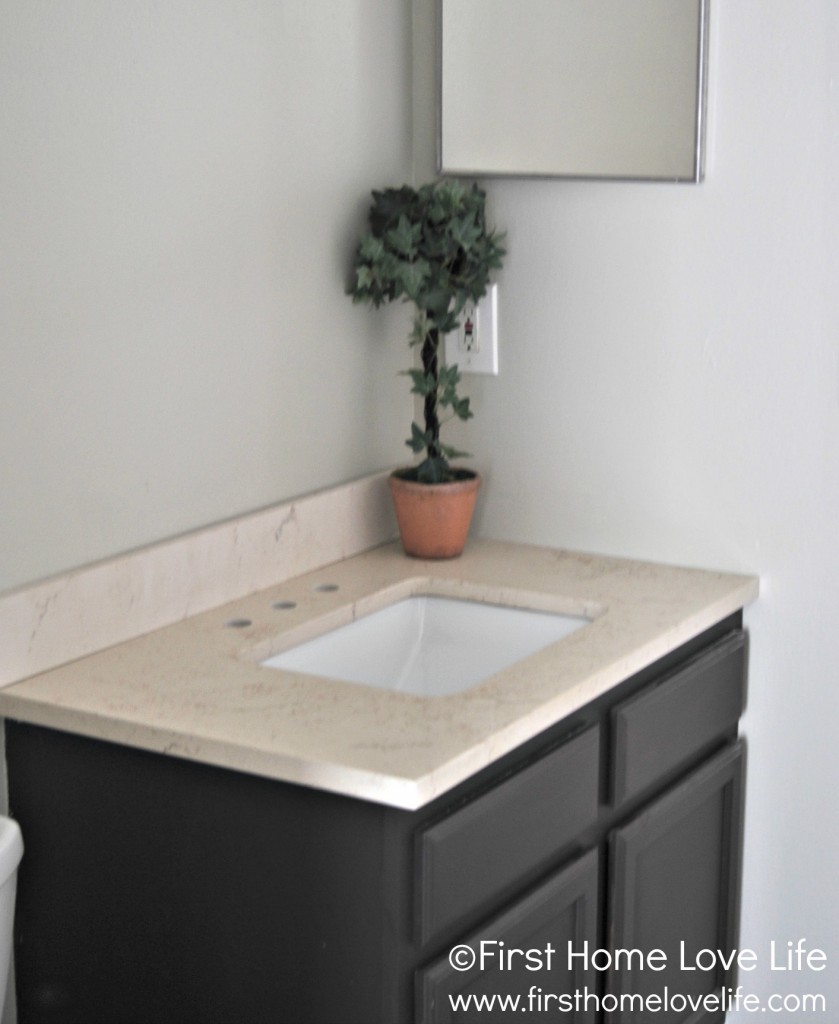
We knocked it out in a few hours. Total weekend warrior project if you ask me, and now…
$189 (sink top) + $3 (sample paint) = $192 for a “new” bathroom sink vanity.
Awesome.



Wow, Christine, this is turning out to be a fantastic bathroom! And what an awesome find, but honestly, I think the best part of this project was the fact that your hubby helped out, mine lifts not one finger around the house 🙁 Big bummer I tell ya!
Aww that is a bummer! Mine knew what he was getting into when he married me ;o)
Great deal and the dark color on the cabinets brought them totally up to date, love it!
xo, Tanya
Tanya recently posted…To The Moon And Back Painted Sign
Thank You so Much for posting this. You made it look so easy. Although my fiancee came with a ready made home…… It needed some love!! We have done the floors, working on the kitchen counters and cabinets… But this will just complete the look of the bathroom we just put the floor in. Thank YOU!!!
It really wasn’t hard Alisha! I know you can do it! Good luck and thanks for stopping by! XO
Love the make-over! There is nothing better than recycling and making it beautiful! Do you happen to know the name of your wall color? I love it! Thank you!!! – Madi
Hi Madi! Thanks for your sweet comment…The name of the paint color is BEHR premium “Ocean Pearl”in satin finish, you can read about the paint colors in this post.https://www.firsthomelovelife.com/2013/03/greige-bathroom-paint.html Let me know if you have any other questions 🙂
Hi.. love your bathroom makeover. Your vanity is exactly like mine. did you have to sand the vanity or prep it at all before putting the paint on?
Thanks so much Annette! I did sand it by hand just to rough it up a bit, then I wiped it down with a damp cloth and let it dry completely before painting. 🙂
I am sooo excited! This is exactly what I want to do to my bathroom ! So great to find your pin so I can show my husband I am not crazy it can be done! Thanks so much!
Hi
Looks great!
Did you have to sand down the vanity at all before you painted?
Thanks!
What did you do for a mirror? I see Ltd of folks trimming their old big mirror but I see you took yours down
What did you do for a new mirror?
Jacque Ruch recently posted…I’m starting with the man in the mirror
Hi! I love that you shared your trial and error process and your narration is priceless! At my house, we talk alot about what everybody ELSE does themselves; Your bathroom is phenomenal. Our main bath needs this exact type of facelift. Maybe its the baby blue walls in there that has made me hate that room so much!! Thanks for the inspiration – and the motivation!
Ha! I may or may not have been high on paint fumes when writing this…kidding…maybe…;)
Go get it girl! You can do it!
Omg!! I just saved my vanity cabinet with a $3 paint sample & I absolutely love the results!! Thanks for sharing!!