There’s a lot of how to’s and tutorials out there about stenciling.
Is there a right way or wrong way?
I’m not sure, but I would imagine if there was…my way would be totally wrong!
Want to know a secret about me?
I love to DIY and do projects, but get sidetracked and lose interest if something takes longer then an hour or two.
It’s true. I have the attention span of a 2 year old.
So if you’re like me, when a project comes along that you know is going to be phenomenal, and you just HAVE TO do it…but…
You also know that this project is going to take a long time to complete…like really really long…
You need to find a shortcut!
Here my friends, is the absolutely absurd way to stencil a wall, but with fantastic end results!
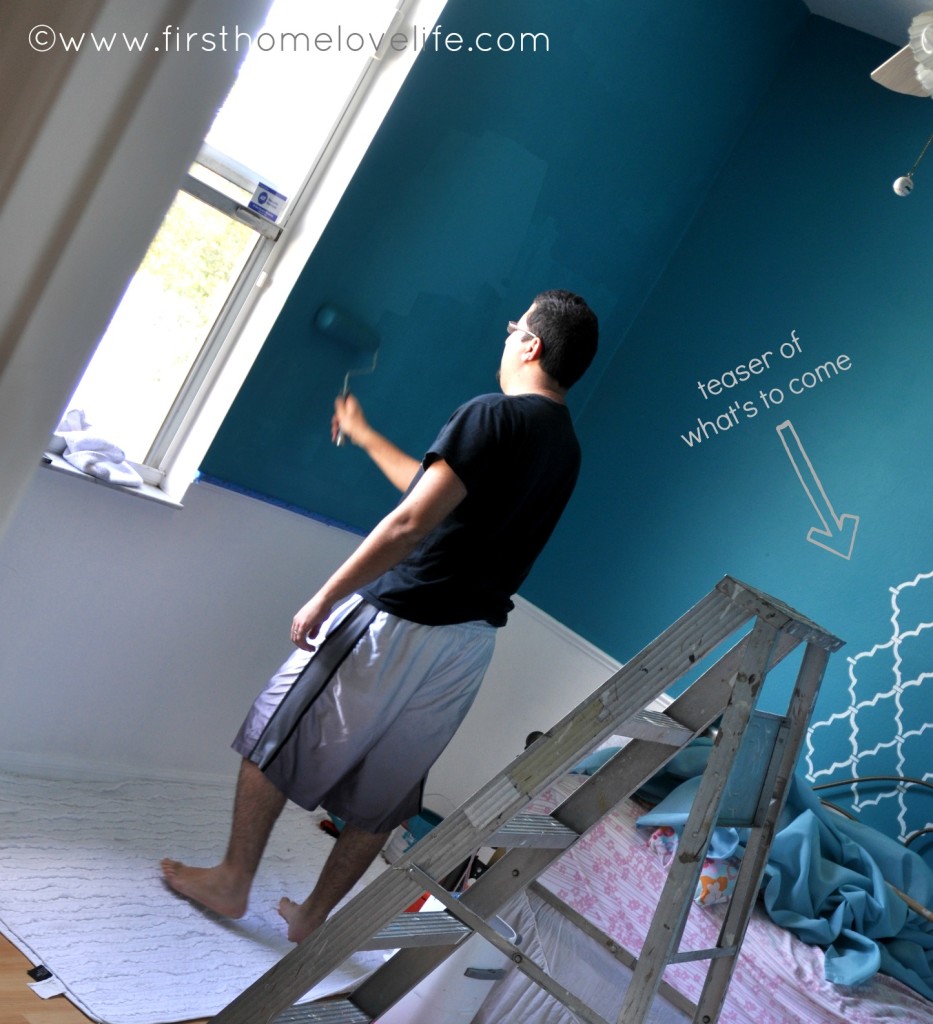
When you last checked in on my daughter’s room progress we were in the midst of painting, you can find part 1, part 2 and part 3 here. I also gave you a glimpse at what was to come.
Stenciling.
A few months ago, I stumbled onto Royal Design Studio stencils, and at that time they just happened to be having a promotion on one of their stencils that I had been eyeing- ‘Casablanca Trellis.’ So of course I ordered it because it was a GREAT deal I just didn’t know what I was going to use it for yet.
Now, I’ve never been big on directions. Seriously, I’m more of a lets do this, and read later when we make a mistake type of gal. I probably was a man in a past life, y’know the kind that wont pull over for directions when he’s lost. That’s me…
So of course after opening the box months ago, and tossing out everything (including the directions inside), I had to go online in search of tutorials from other bloggers that used it. I read some how to’s, I watched tutorials on YouTube, and began tapping with my brush the repetition of tile trellis onto my daughter’s wall…I knew it wasn’t going to end well if I didn’t find an easier way!
Getting the stencil to stick to the wall…
The tutorials I read called for spray adhesive. I didn’t have spray adhesive, and wasn’t going to go out and buy some. I also wasn’t keen on the idea of putting glue all over our freshly painted walls.
Tape? Ehh I tried..it worked for the first two times and then started to become a nuisance when I was pulling and replacing the stencil off and on the wall. Also my stencil seemed too heavy to be held up with tape (maybe it was the tape, maybe it was the texture of my walls…who knows!). It kept flopping around and falling, making a mess everywhere it landed.
So what did I use? Push pins. Seriously.
I may have a million teeny tiny holes all over the wall, but they were super easy to use to maneuver the stencil around on the wall and you can’t even tell they were there!
Where to start?
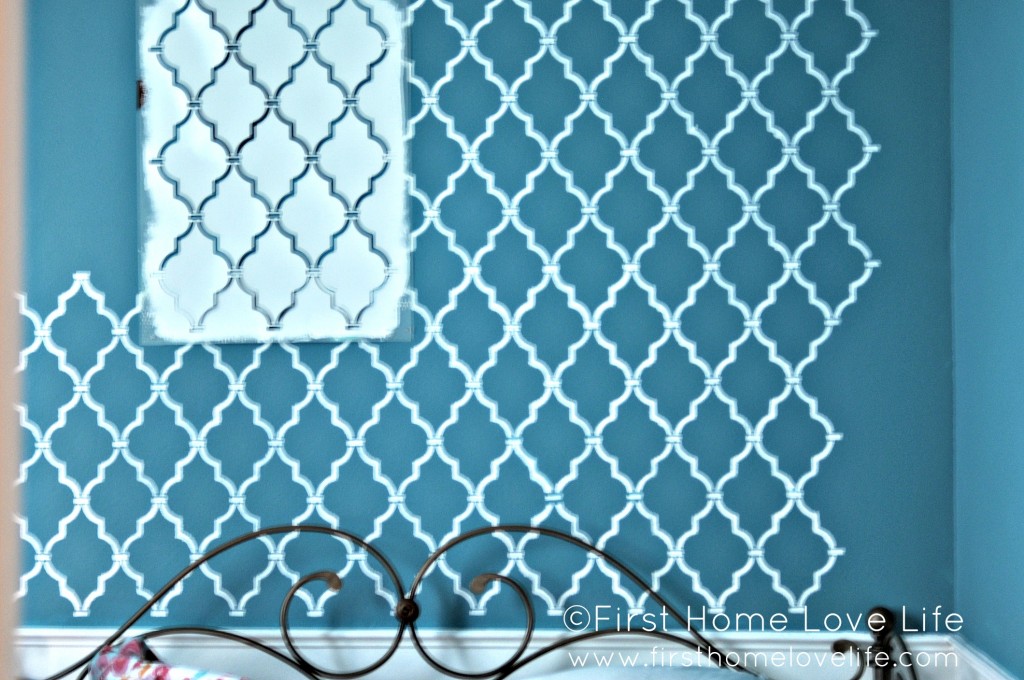
I wanted my stencil to start in the middle and end on the edges since I was using it a focal point for one wall. I basically started at the bottom middle and worked my way to either side and then up.
I measured the stencil decal, and found the center point of that, then measured the wall and found the center and then just lined up the two centers. Get it?
What to use?
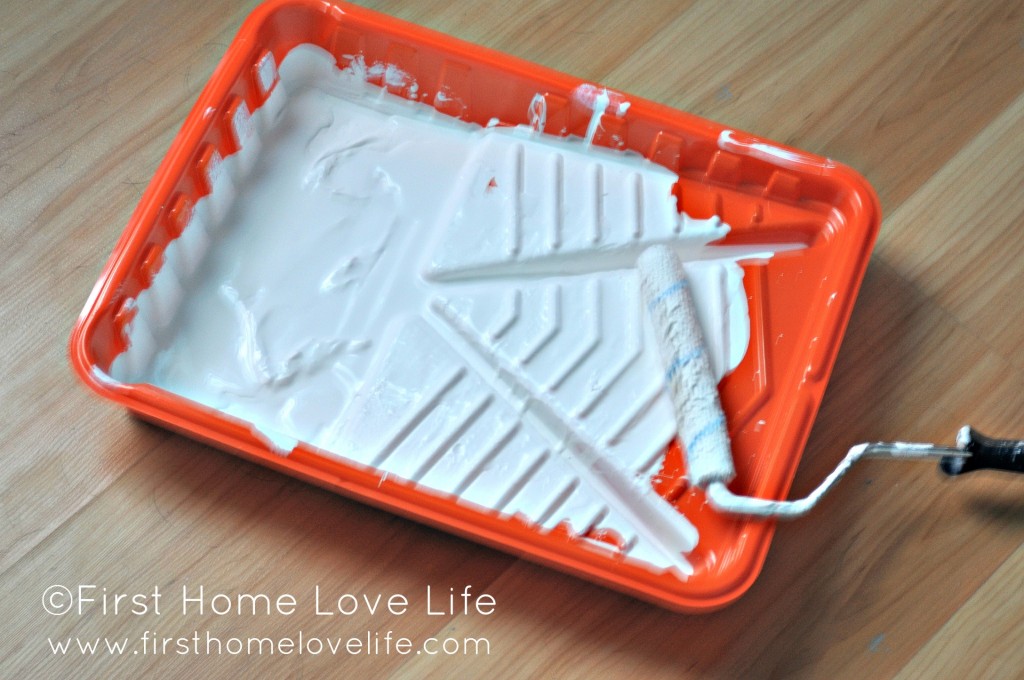
So like I said above the whole stencil brush thing wasn’t working for me, and I again didn’t want to go out and buy a foam roller. So I just winged it and ended up using a regular paint roller.
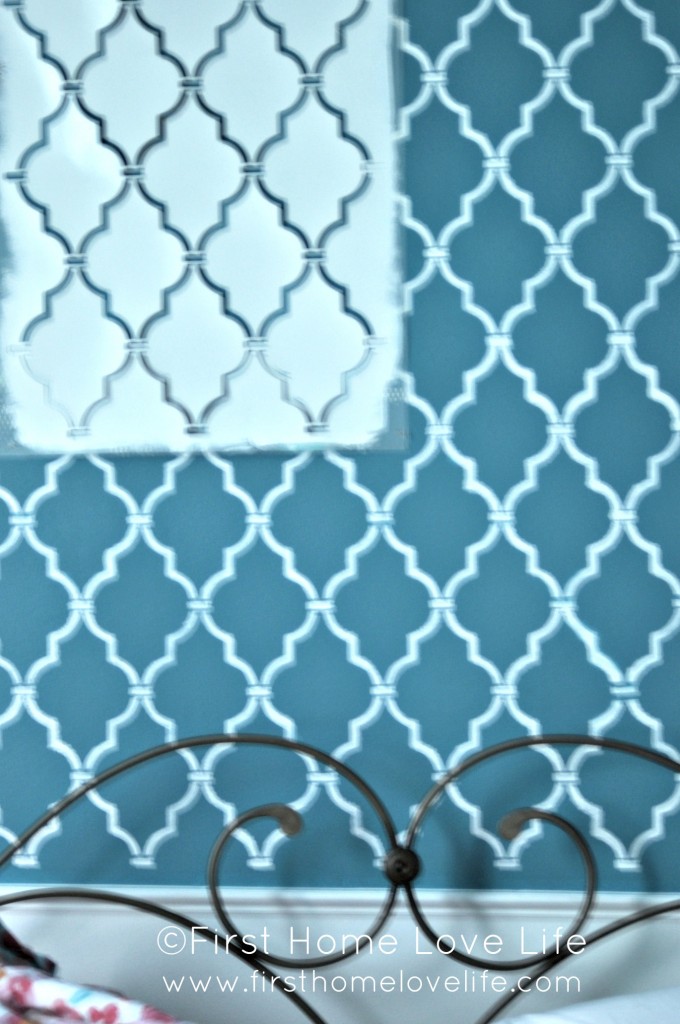
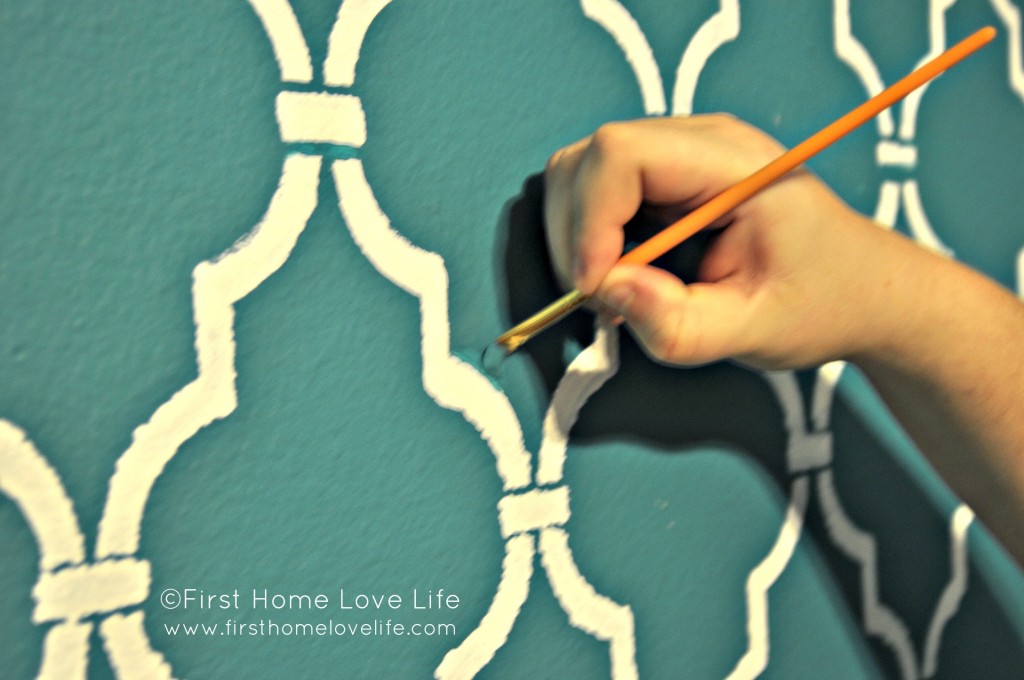
I’m not sure what the heck was wrong with my camera this day, but I could NOT get it to focus! So sorry for these fuzzy images guys!
Now, the texture of our walls are not completely smooth. We have what I believe is called ‘orange peel’ walls. (don’t quote me on that)
So when I would remove the stencil after rolling, this is what it looked like…
Looks like a creepy horror film title right?! Not very pretty!
I later figured out that the less paint I had on the roller, the smoother and less wart-alicious it came out. So do as I say and not what I do. Do NOT load up your roller with paint. You want it to be almost dry and put some muscle into rolling it. You will get a better result.
I didn’t like the fact that my pretty trellis was all warty, so after it was all dry I had to go back and touch it up with a small paint brush, and wall paint.
It looks like tedious work, but I promise you…it didn’t take long to smooth it all out.
From start to finish- I’d say it took 4 hours total to do this wall. 1 hour each night for 3 days, and another hour to touch up in places. The hardest part in the whole process was making sure the stencil was lined up correctly when overlapping the painted part, and using a level to make sure everything was straight. (No shortcuts for that, sorry)
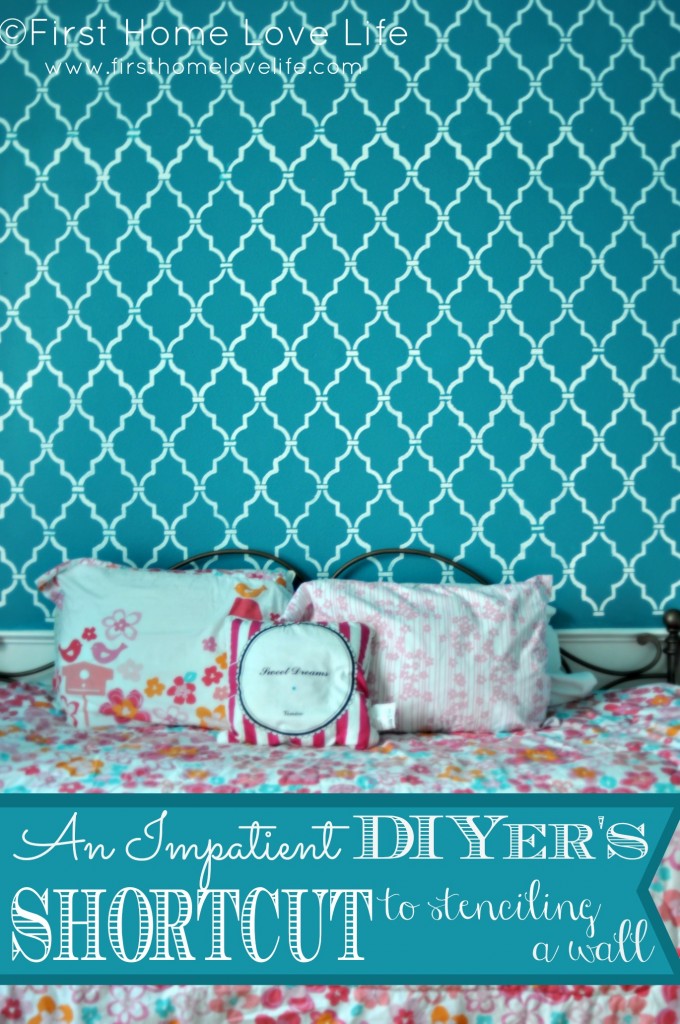
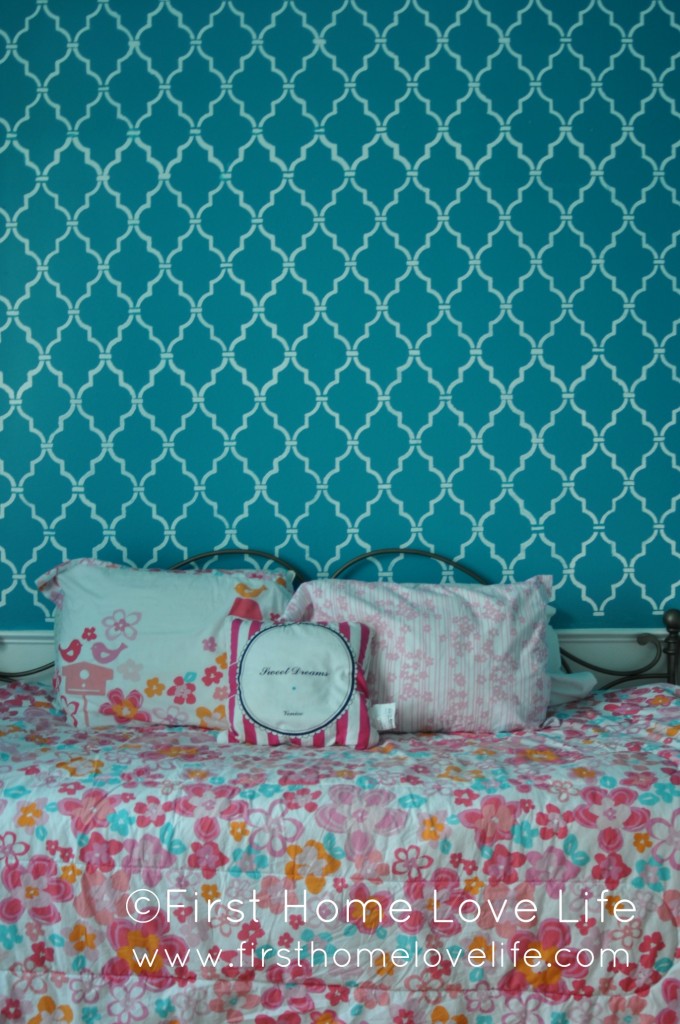
But the end result was totally worth the headaches and hiccups…
And now we can move on to the fun part…shopping!
XO
Linking up with- Setting For Four, The 36th Avenue





WOW! Gorgeous! I am in love love love…what a lucky duck! I want to sleep there! You did a great job..push pins aye? Would have never known!
Jen @ Four Marrs & One Venus recently posted…Got Vanities? Get to jumpin’
Thanks girl! Just don’t come over with a magnifying glass looking for the holes, mmmmkay? 😉
The bedding is super cute, and the wall is gorgeous! I love that you just went with what worked. That’s totally something I would have done. I haven’t met a shortcut I didn’t like!!
Kristin @ Simply Klassic Home recently posted…Two Toned Painted & Stained Dresser
Can you believe she wants new bedding?! I think it looks great together, but she wants new everything! Someone needs to tell her mom and dad aren’t made of moola! 😉 Kids…geesh!
looks great- thanks for the tips! (I found you via Hometalk 🙂 )
Stephanie recently posted…How I Showed My Closet Who’s Boss: Part II
Thanks Stephanie! XO
That looks fabulous! I love your wart-alicious, that was hilarious! I think I have the same walls so it’s great to see how you did it. After seeing all that hard work, I’m not sure I have the patience to pull it off. I will just look at your page over and over and sigh.
🙂 Thank you! It wasn’t as tedious as it seemed, promise!
OMG this seems a lot of work to me! The results are beautiful, I am glad you had the patience (and the steady hand) to go over the details!
Claudine recently posted…A Vintage Valentines Day
Thanks Claudine. I did want to kick the wall a few times, but other than that it wasn’t so bad! I know you could do it! 🙂
It looks amazing! I was curious what stencil you were using to get this look? Thanks!
Thanks Michelle! It’s the Casablanca Trellis from Royal Designs Studios
Four hours???? I just did my daughter’s room and it felt like it took me about 20. I did the same pattern, but in yellow, and used spray adhesive. I wish I would have thought of push pins! Looks great!
Thanks so much Mariah! I’d love to see how your daughters room turned out! I bet it looks great in yellow! 🙂