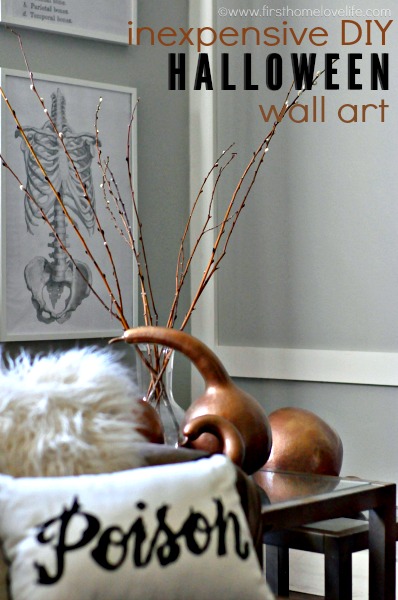
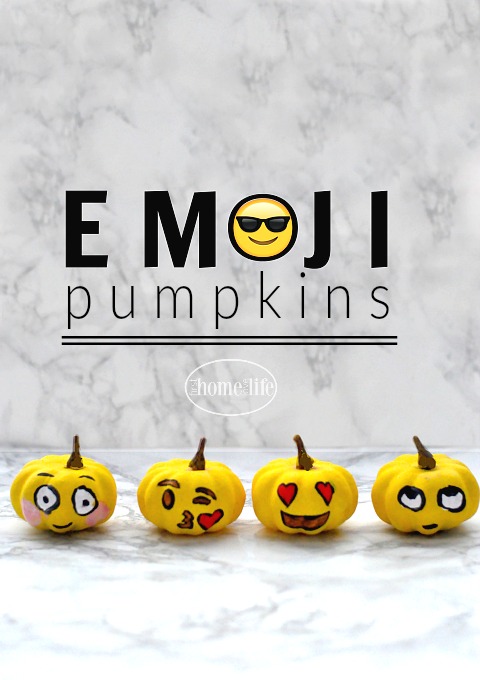
A fun fall activity to do with you older kids, tweens and teens! They’ll love making these Emoji painted pumpkins with you!
Adorbs!!
That’s what my almost nine year old said when we started painting these sweet little guys. 🙂 She may be nine, but acts like she’s sixteen, so encouraging her to craft for holidays with me can be a struggle sometimes. {See: making her put the ipad down and getting off YouTube long enough so we can actually make something together.} The struggle is real.
So while ghouls and goblins are more my taste for this time of year, I figured making something more her style to display in her room would put her in the spirit in it’s own way. And nothing say’s YAY for fall more than Emoji painted pumpkins! 😉
They’re so easy to make. You’ll need…
- fake pumpkins (we used mini’s but choose whatever size you like)
- foam brushes and small detail paint brushes
- acrylic paint in the colors of the Emoji’s you choose

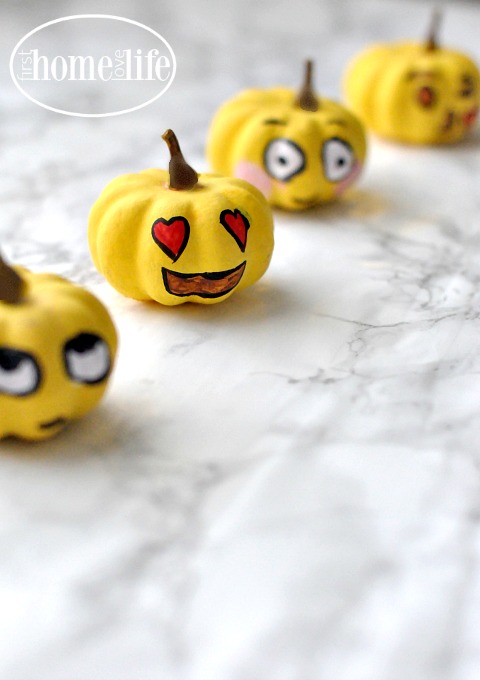
Paint the pumpkins yellow with foam brushes, letting them dry completely in between. It took about 2-3 coats each. Then go in with you smaller detail brush and make the faces. You can choose whatever Emoji’s you like the best, but these are the ones we chose for her room 🙂
She has them displayed on her dresser right now, and while it doesn’t exactly scream fall… I’m just happy I was able to get her to set the ipad down long enough for us to make these together. 😉
How about you?
Have you begun making anything for fall or Halloween?
Talk to you soon, friends! Take care!
XO